
Are you having hot water in your toilet tank flush but not in the sink or shower? This can be a frustrating issue to deal with, especially if you are trying to take a relaxing bath or wash dishes.
Hot water in your toilet tank flush is an unusual and inconvenient issue that can lead to unnecessary water wastage and discomfort. Plumbing errors, such as an incorrect connection between the hot water supply and the toilet, often cause this problem. Fortunately, fixing this issue can be straightforward with the right approach and tools.
In this guide on how to fix hot water in toilet tank flush, we will walk you through the steps to identify the cause of the problem and provide practical solutions to restore your toilet’s proper functionality.
What Are the Causes of Hot Water in Toilet Tank Flush?
Before we dive into the solutions, it is essential to understand why hot water may be present in your toilet tank flush. Here are the most common causes:
- Cross-Connection: This occurs when there is a connection between the hot water supply and the toilet’s cold-water line, leading to hot water flowing into the tank.
- Plumbing Misconfiguration: In some cases, improper plumbing installation can result in hot water being directed to the toilet instead of cold water.
- Failed Mixing Valve: A mixing valve regulates the flow of hot and cold water to different fixtures. If this valve fails, hot water can enter your toilet tank and flush.
- Faulty Toilet Tank Fill Valve: The fill valve in your toilet tank is responsible for refilling the tank after each flush. If this valve malfunctions, it can lead to hot water flowing into the tank.
These are just some potential causes of hot water in a toilet tank flush. Now, let’s move on to the solutions.
What Will You Need?
Before you start troubleshooting, make sure you have the following tools and materials:
- Adjustable wrench
- Screwdriver
- Towels or rags
- Replacement parts (if needed)
Once you have these items, you can proceed with the steps below.
9 Easy Steps on How to Fix Hot Water in Toilet Tank Flush
Step 1. Turn Off the Water Supply
Before you begin any troubleshooting procedure, turning off the water supply to your toilet is crucial. Locate the shut-off valve, typically found behind or near the toilet’s base, and turn it clockwise until it is completely closed. This step prevents
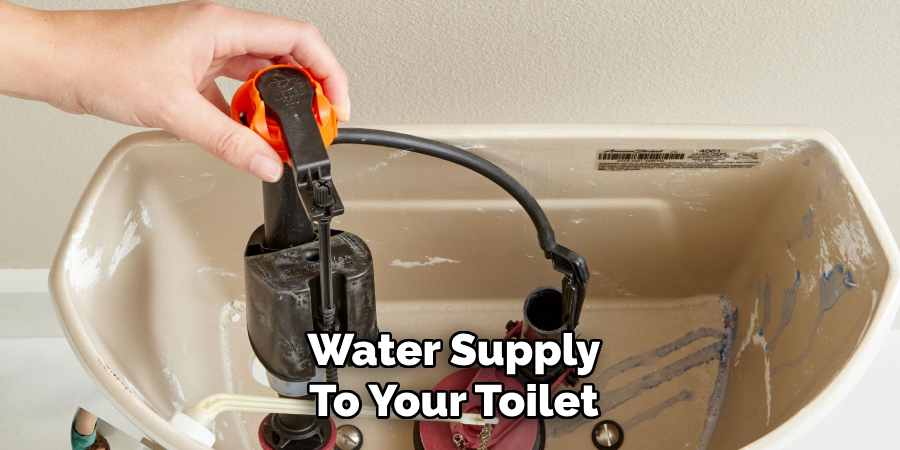
water from flowing into the toilet tank while you work, ensuring a dry and safe environment for the repair process. Additionally, turning off the water supply helps avoid accidental leaks or spills that could complicate the repair. Be sure to flush the toilet after shutting off the water to drain as much water as possible from the tank. Use towels or rags to soak up any remaining water in the tank to ensure it is fully empty and ready for inspection and repairs.
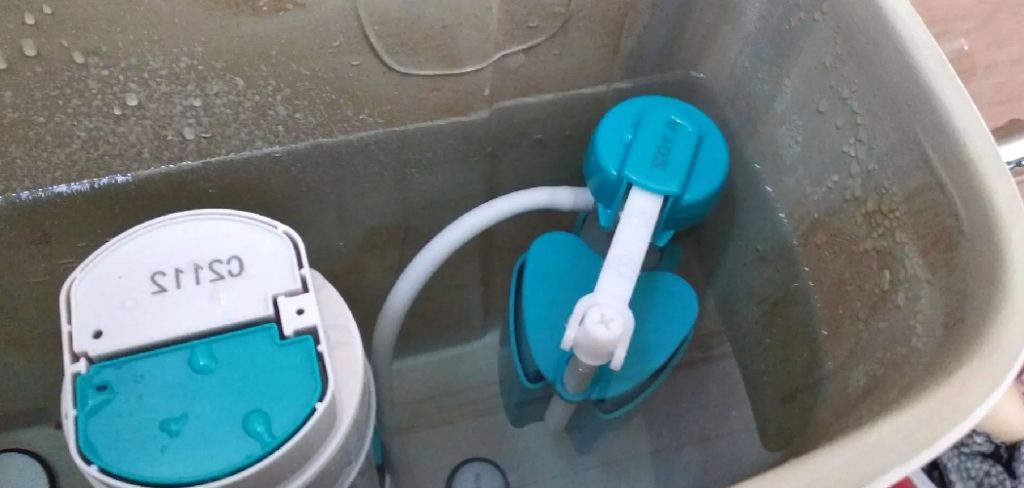
Step 2. Inspect the Tank and Identify the Problem
Once the water supply is turned off and the tank is empty, carefully remove the lid and set it aside in a safe location to prevent damage. Examine the interior of the tank for any visible issues, such as cracks, worn-out seals, or malfunctioning components. Pay close attention to the fill valve, flush valve, and flapper, as these are common culprits behind incorrect water flow and temperature issues. If any parts appear damaged or worn out, note them so you can replace or adjust them in the following steps. Identifying the problem early will help streamline the repair process and ensure you address the root cause effectively.
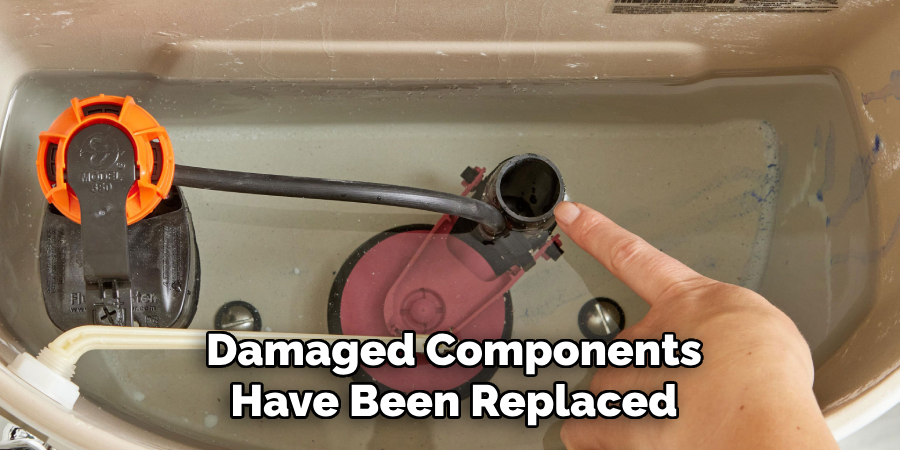
Step 3. Replace or Adjust the Damaged Components
After identifying the problematic components in the tank, proceed to repair or replace them as needed. Purchase compatible replacement parts from a hardware store or plumbing supplier for worn-out or damaged parts, such as the fill valve, flush valve, or flapper. Follow the manufacturer’s instructions to install the new components securely. If adjustments are required, such as repositioning the chain attached to the flapper or tightening connections, make these changes carefully to ensure proper functionality. Once the components are replaced or adjusted, double-check that everything is firmly in place to avoid future issues.
Step 4. Test the Toilet for Proper Functionality
Once the damaged components have been replaced or adjusted, it’s time to test the toilet to ensure it functions correctly. Turn the water supply back on and allow the tank to fill. Flush the toilet a few times to observe its performance. Check for
proper water flow, a complete flush, and the tank refills appropriately without any leaks. If any issues persist, revisit the previous steps to confirm everything is installed correctly. A thorough test ensures the repairs are effective and prevents any future malfunctions.
Step 5. Perform Routine Maintenance
Regular maintenance is essential to maintain your toilet’s longevity and optimal functionality. Inspect the toilet’s internal components periodically for wear and tear, such as the flapper, fill valve or flush handle. Clean the tank and bowl to remove any mineral buildup or debris hindering performance. Additionally, ensure the water supply line is secure and free of leaks. Address any minor issues promptly to prevent them from escalating into more significant problems. Routine maintenance will help keep your toilet functioning efficiently and extend its lifespan.
Step 6. Know When to Seek Professional Help
If you’ve tried troubleshooting and repairing your toilet, but the issue persists, it may be time to call a professional plumber. Problems like persistent leaks, recurring clogs, or water damage around the toilet base often require expert attention. An experienced plumber has the tools and expertise to diagnose complex issues and provide long-term solutions. Seeking professional assistance can save time and prevent further damage, ensuring your toilet is restored to optimal working condition.
Step 7. Upgrade Your Toilet for Improved Efficiency
If your toilet is outdated or underperforming despite maintenance and repairs, consider upgrading to a more efficient model. Modern toilets offer dual-flush options, water-saving designs, and enhanced flushing systems that minimize water
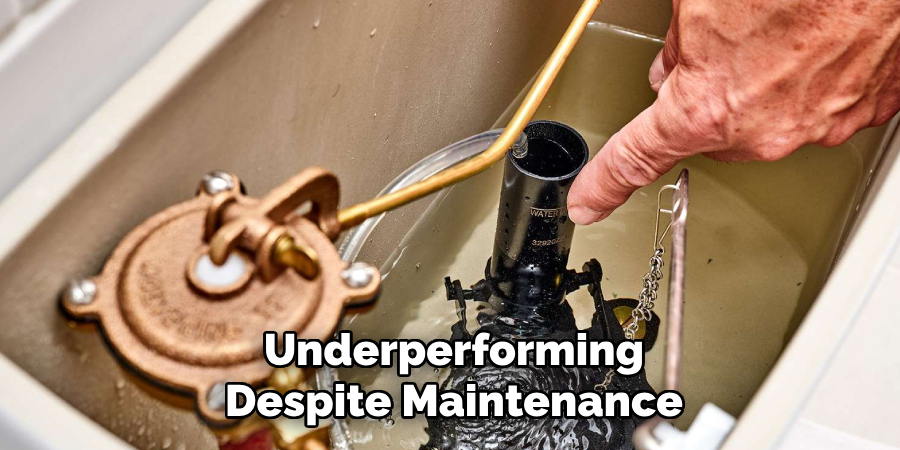
usage while improving performance. Upgrading can also help reduce your water bills and contribute to environmental conservation efforts when selecting a new toilet, research models that align with your household needs, and consult a professional plumber for proper installation.
Step 8. Regularly Inspect and Maintain Your Toilet
Make regular inspections and maintenance part of your routine to prevent costly repairs and ensure your toilet operates efficiently. Check for leaks, cracks, or signs of wear on components like the flush handle, flapper, and fill valve. Clean the toilet bowl and surfaces with safe, non-abrasive cleaners to prevent buildup and stains. Additionally, consider adding a few drops of food coloring to the tank water periodically to detect any hidden leaks in the system. Consistent upkeep can extend the lifespan of your toilet and significantly reduce the likelihood of unexpected issues.
Step 9. Address Clogs Promptly and Effectively
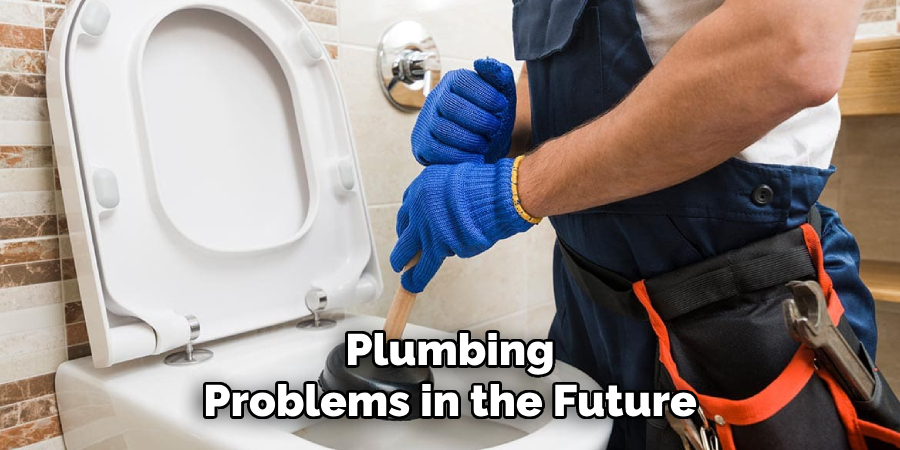
Clogs are a common issue that can disrupt the functionality of your toilet if not handled correctly. At the first sign of a blockage, use a plunger to create suction and dislodge the obstruction. For more stubborn clogs, a plumbing snake or auger can be employed to break up and remove the debris. Avoid using chemical drain cleaners, which can damage your plumbing and the environment. Taking a proactive approach to addressing clogs will help maintain your toilet’s efficiency and prevent more significant plumbing problems in the future.
Following these steps and implementing regular maintenance can keep your toilet functioning properly for years.
5 Things You Should Avoid
- Ignoring the Root Cause: Avoid simply addressing the symptoms without identifying the source of the problem. Hot water in the toilet tank is often a result of a misconnected plumbing line or faulty parts, and addressing these is key to a proper fix.
- Using the Wrong Tools: Do not attempt to fix the issue with tools not suited for plumbing. Using inappropriate equipment can damage the system further and lead to more costly repairs.
- Overtightening Connections: While securing connections is essential, overtightening can crack fittings or pipes. This can make the problem worse and even cause leaks or breakages.
- Ignoring Proper Shutoff Procedures: Always shut off the water supply before starting any repairs. Skipping this step can result in water flooding the area and creating a mess that’s harder to clean up.
- Skipping Professional Help When Needed: If the issue seems complex or you’re unsure about the repair process, avoid trying to fix it yourself. Seek assistance from a professional plumber to ensure the problem is resolved safely and effectively.
Conclusion
How to fix hot water in toilet tank flush involves careful troubleshooting and the proper application of solutions.
Start by checking the plumbing lines for any incorrect connections that may be causing hot water to feed into the toilet tank. Ensure that cold and hot water lines are appropriately designated and separated. Next, confirm that the fill valve and related components are functioning as intended and are not defective. Use the right tools and follow proper shutoff procedures to prevent accidents and further damage. If the issue persists or seems complicated, contacting a professional plumber for assistance is always best.
By addressing the root cause and following these steps, you can restore the proper functioning of your toilet tank and save on unnecessary water heating costs.
About the Author
Adrian Green is a passionate woodworking enthusiast who has dedicated his life to the craft of woodworking. From his early days working alongside his father in the family woodworking shop, Adrian has honed his skills and developed a deep love for creating beautiful, functional pieces with his hands. As the voice behind The Woodenify Blog, he shares his knowledge, tips, and inspiration with fellow woodworkers of all skill levels, helping them build confidence in their abilities while learning new techniques.
Professional Focus
- Specializes in DIY woodworking projects, from furniture making to home décor.
- Provides step-by-step guides, tips, and practical tutorials for woodworkers at any skill level.
- Focused on empowering readers with confidence and knowledge through easy-to-follow instructions and hands-on techniques.
- Passionate about building a community where makers can share, learn, and grow together in the world of woodworking.
Education History
University of Craft and Design – Bachelor of Fine Arts (BFA) in Woodworking and Furniture Design
Woodworking Apprenticeships – Gained extensive hands-on experience through various workshops and mentorships with seasoned craftsmen, refining carpentry and furniture-making skills.
Expertise
- DIY woodworking, carpentry, furniture making, and home décor projects.
- Creating clear, accessible tutorials and guides for beginner to advanced woodworkers.
- Helping readers experience the satisfaction and fulfillment of turning raw materials into stunning finished products.