
Are you tired of cloudy, hot water? You’re not alone. Many people struggle with this problem, but unfortunately, there are several easy ways to fix it.
Cloudy, hot water can be a frustrating issue and is often a sign of underlying problems with your water supply or heating system. While the cloudiness may not always indicate a health risk, it is essential to identify and address the root cause to ensure your water is clean and safe for use.
This guide on how to fix cloudy hot water will walk you through common causes of cloudy, hot water and provide step-by-step solutions to fix the problem effectively. Whether the issue stems from trapped air, mineral buildup, or plumbing concerns, understanding the cause is the first step toward restoring your water’s clarity.
What Are the Benefits of Clear Hot Water?
Before diving into the solutions, it’s essential to understand why clear hot water is important. Not only does cloudy water appear unappealing, but it can also affect the performance and lifespan of your appliances and plumbing system. Here are some benefits of having clear hot water:
- Improved Efficiency: Cloudy water can reduce the effectiveness of your hot water heater, meaning it takes longer to heat up and may result in higher energy bills.
- Cleaner Laundry: Using cloudy, hot water for laundry can cause stains or discoloration on your clothes due to mineral deposits or sediment.
- Better-tasting Food and Drinks: Cloudy water can impact the taste and appearance of your food and beverages. Clear water is essential for cooking, brewing coffee or tea, and even making ice cubes.
- Prevention of Plumbing Issues: Sediment buildup in your pipes can eventually lead to clogs and blockages, resulting in costly repairs or replacements.
Now that you know the benefits, let’s explore some common causes of cloudy, hot water and how to fix them.
What Will You Need?
Before starting any of the solutions, gathering a few items that may come in handy during the troubleshooting process is essential. These include:
- Bucket: Use a bucket to collect water for testing or draining.
- White Cloth/Filter Paper: This will help you determine if the cloudiness is due to sediment or air bubbles.
- Vinegar or Lemon Juice: These household ingredients can help remove mineral buildup and improve water clarity.
- Plumber’s Tape: This will seal any leaks in your plumbing system.
Once you have these items ready, let’s start fixing your cloudy hot water.
10 Easy Steps on How to Fix Cloudy Hot Water
Step 1: Identify the Source of the Cloudiness

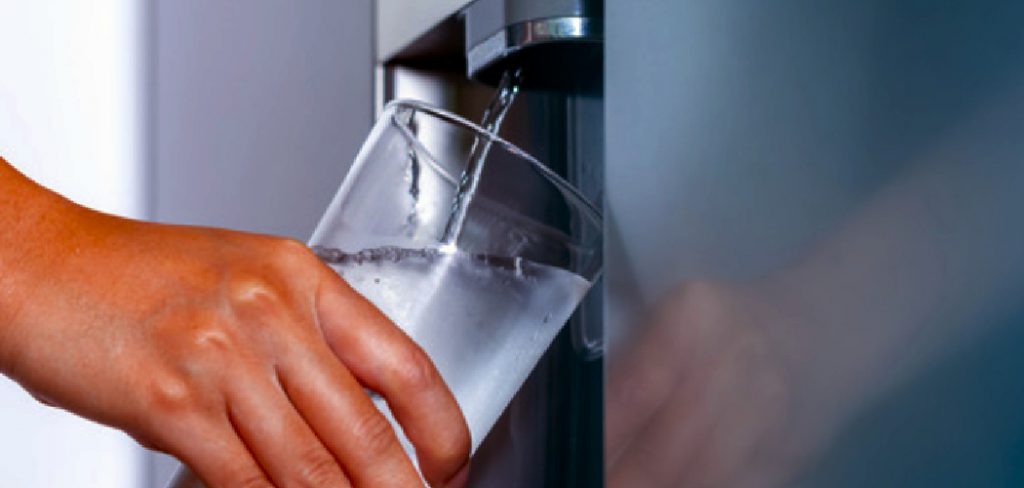
Determining its source is the first step in addressing cloudy, hot water. Start by filling a clear glass with hot water directly from the tap. Observe the water—does it appear milky or filled with tiny bubbles? If the cloudiness settles after letting the water sit for a minute or two, the culprit may be trapped air in your plumbing system, which is harmless and easy to resolve. However, if the cloudiness persists, it could indicate issues such as mineral buildup, sediment contamination, or even a malfunction in your water heater.
Knowing the root cause will guide you toward the appropriate solution, so take your time during this step. Use a white cloth or filter paper to collect any sediment residue for closer examination.
Step 2: Test Both Hot and Cold Water
To narrow down the cause of the cloudy water, test both your hot and cold water supplies. Fill two separate clear glasses—one with hot water and the other with cold water. If the cold water is clear while the hot water remains cloudy, the issue likely originates from your water heater. Conversely, if both samples are hazy, the problem could be linked to your home’s plumbing or the municipal water supply. This simple test can help you determine whether the cloudiness stems from a house-wide issue or the hot water system.
Step 3: Check for Air Bubbles
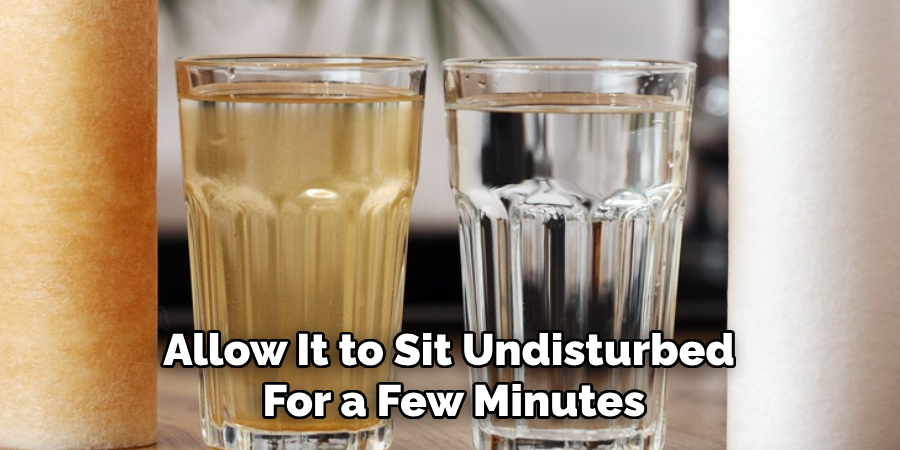
Cloudy water can sometimes be caused by harmless air bubbles trapped in your water supply. To check for this, fill a clear glass with cloudy water and allow it to sit undisturbed for a few minutes. If the cloudiness gradually rises to the top and dissipates, the issue is likely due to air in the water lines. This is a common and temporary problem that can occur after plumbing work or changes in water pressure. Typically, air bubbles do not affect water quality and will resolve on their own over time.
Step 4: Inspect for Sediment or Particles
If the cloudiness in your water does not clear up after sitting still, inspect the water for any visible sediment or particles. This could indicate the presence of minerals, dirt, or rust in your water supply. Using a clean white cloth or coffee filter, pour the cloudy water through it and check for residue left behind. If sediment is present, it might be caused by corroded pipes, a malfunctioning water heater, or issues with your water source. Depending on the findings, you may need to clean or flush your plumbing system or consult a professional for further assistance.
Step 5: Test for Contaminants
If neither air bubbles nor sediment appear to cause cloudiness, testing your water for contaminants may be necessary. You can use an at-home water testing kit to check for harmful substances such as bacteria, chemicals, or high levels of minerals. Follow the instructions provided with the testing kit to collect a sample and analyze the results. If the test indicates the presence of contaminants, contact your local water provider for further investigation or consider installing a filtration system to ensure the safety and quality of your water.
Step 6: Consult a Professional Plumber
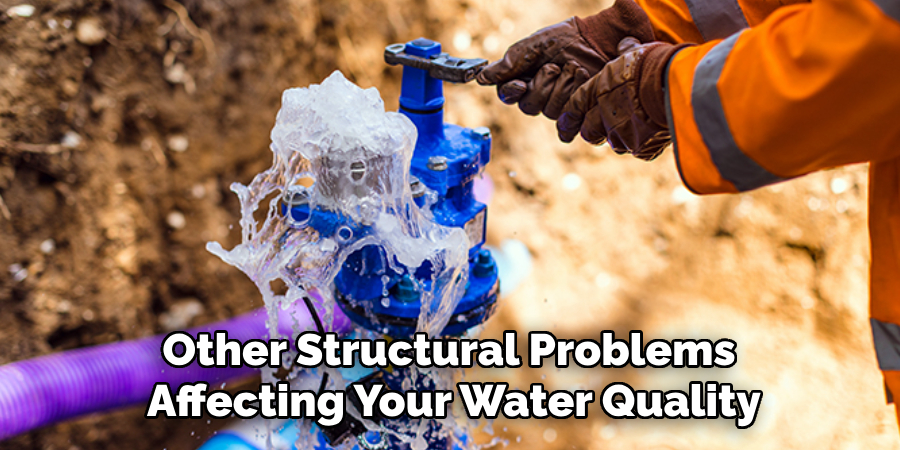
If you’ve completed all the previous steps and your water remains persistently cloudy, it may be time to consult a professional plumber. A licensed plumber can thoroughly inspect your home’s plumbing system to identify hidden issues such as pipe corrosion, leaks, or other structural problems affecting your water quality. They can also recommend and implement long-term solutions to ensure clean and clear water flows through your taps.
Step 7: Regular Maintenance and Monitoring
Implement a routine of regular maintenance and monitoring to maintain clear and safe water. Periodically check your plumbing system for any visible signs of wear and tear, such as rusting pipes or leaks. Schedule annual water quality testing to ensure no new contaminants are affecting your supply and replace filters in your water filtration system as the manufacturer recommends. Staying proactive can help prevent water issues before they arise and ensure your water supply’s long-term safety and clarity.
Step 8: Upgrade Your Plumbing System When Necessary
Over time, aging plumbing systems may become less efficient and more prone to issues that affect water quality. If you notice persistent problems despite regular maintenance, consider upgrading your system. Replacing old pipes with modern, durable materials such as PEX or copper can significantly improve water flow and reduce the risk of corrosion or contamination.
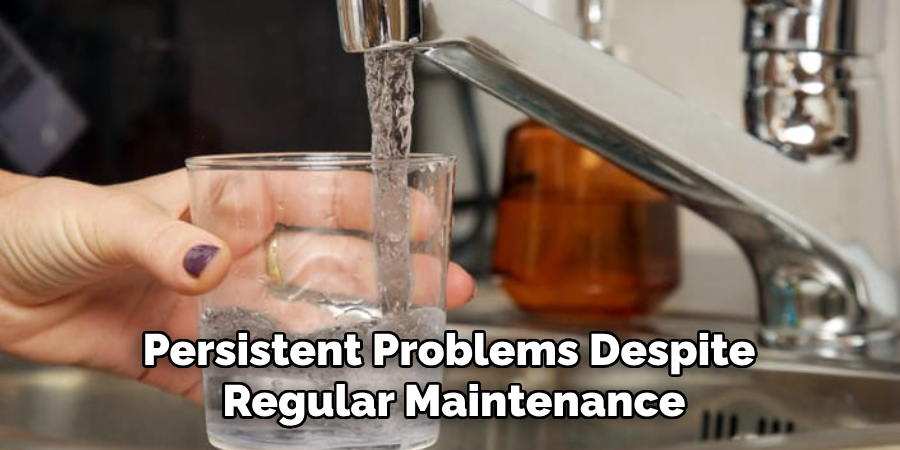
Upgrading to energy-efficient fixtures and appliances can improve water conservation and overall performance. Consult a professional plumber to evaluate your system’s condition and recommend necessary upgrades to keep your water safe, clear, and reliable.
Step 9: Regularly Test Your Water Quality
Testing your water quality is essential to ensure it meets health and safety standards. Over time, contaminants such as bacteria, heavy metals, or chemicals can infiltrate your water supply without obvious signs. By conducting regular water tests, you can identify any potential issues early and take the necessary steps to address them. Testing kits are available for at-home use, or you can hire professional services for more comprehensive analysis. Make water quality testing a routine part of your maintenance plan to safeguard your health and maintain a reliable water supply.
Step 10: Educate Yourself on Emergency Water Management
Preparing for water supply interruptions or emergencies is critical to water system maintenance. Familiarize yourself with the steps to take during pipe bursts, severe weather, or contamination scares. This includes knowing how to shut off your main water valve, access emergency water storage, and understanding proper water purification techniques. Ensuring you’re equipped with the right tools and knowledge can help mitigate risks and maintain access to safe water during unforeseen events.
By following these steps and staying proactive with your water system maintenance, you can ensure a consistent supply of clean, clear water in your home.
Conclusion
Cloudy hot water can often be resolved by identifying the root cause and taking appropriate measures.
Start by determining if the cloudiness is due to air bubbles, sediment buildup, or an issue with your water heater. Simple steps such as flushing your water heater periodically, testing your water for impurities, and ensuring proper system maintenance can effectively address common issues. Additionally, consulting with a professional plumber or water specialist can provide further insights and solutions tailored to your situation.
Hopefully, the article on how to fix cloudy hot water has helped you understand the potential causes and how to resolve them. Happy troubleshooting!
About the Author
Adrian Green is a passionate woodworking enthusiast who has dedicated his life to the craft of woodworking. From his early days working alongside his father in the family woodworking shop, Adrian has honed his skills and developed a deep love for creating beautiful, functional pieces with his hands. As the voice behind The Woodenify Blog, he shares his knowledge, tips, and inspiration with fellow woodworkers of all skill levels, helping them build confidence in their abilities while learning new techniques.
Professional Focus
- Specializes in DIY woodworking projects, from furniture making to home décor.
- Provides step-by-step guides, tips, and practical tutorials for woodworkers at any skill level.
- Focused on empowering readers with confidence and knowledge through easy-to-follow instructions and hands-on techniques.
- Passionate about building a community where makers can share, learn, and grow together in the world of woodworking.
Education History
University of Craft and Design – Bachelor of Fine Arts (BFA) in Woodworking and Furniture Design
Woodworking Apprenticeships – Gained extensive hands-on experience through various workshops and mentorships with seasoned craftsmen, refining carpentry and furniture-making skills.
Expertise
- DIY woodworking, carpentry, furniture making, and home décor projects.
- Creating clear, accessible tutorials and guides for beginner to advanced woodworkers.
- Helping readers experience the satisfaction and fulfillment of turning raw materials into stunning finished products.