
Are you tired of your instant hot water dispenser leaking? Don’t worry, you’re not alone. Many homeowners experience this issue and it can be frustrating to deal with.
A leaking instant hot water dispenser can be frustrating, but most leaks are manageable with a little effort and the right approach. Addressing the problem early prevents water waste and avoids potential damage to your countertops and appliances.
This guide will walk you through the common causes of leaks and provide step-by-step instructions on how to fix a leaking instant hot water dispenser effectively. Whether it’s a loose connection, a worn-out seal, or a clog in the system, the solutions outlined will help restore your dispenser to proper working order.
What Are the Causes of a Leaking Instant Hot Water Dispenser?
Before jumping into the solutions, it’s essential to understand why your instant hot water dispenser is leaking. Here are some common causes:
- Loose Connections: Over time, the fittings and connections in your dispenser may loosen due to regular use or changes in temperature. This can cause leaks at various points along the system.
- Worn-out Seals: The O-rings and gaskets used to create a watertight seal between components can wear out over time, leading to leaks.
- Mineral Buildup: If you have hard water, minerals like calcium and magnesium can build up inside your dispenser, causing clogs that result in leaks.
These are just a few potential causes, but they are easily fixable with some essential tools and materials.
What Will You Need?
Before attempting to fix your leaking instant hot water dispenser, make sure you have the following items on hand:
- A set of screwdrivers (flathead and Phillips)
- An adjustable wrench or pliers
- Replacement O-rings and gaskets (if necessary)
- Vinegar or a commercial descaling solution
Once you have these items, follow the steps below to troubleshoot and fix your leaking instant hot water dispenser.
9 Easy Steps on How to Fix a Leaking Instant Hot Water Dispenser
Step 1. Turn Off the Power and Water Supply:
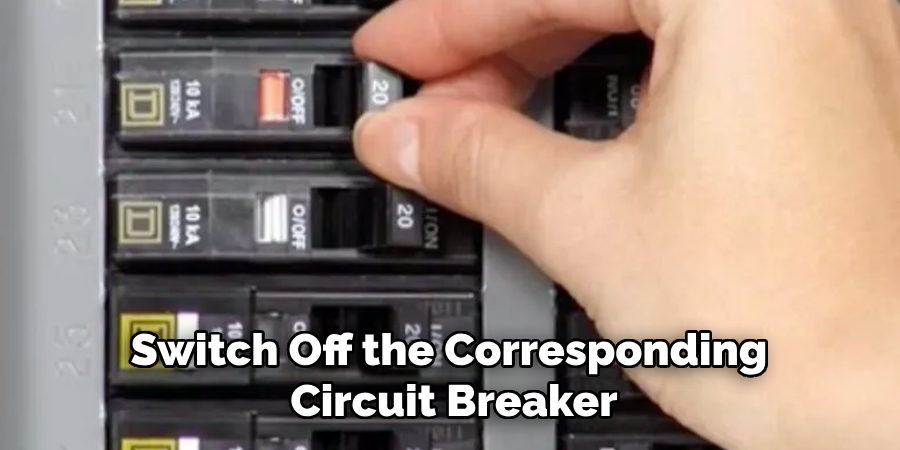
Before starting any repairs, you must ensure your safety and prevent further issues. Locate the power source for your instant hot water dispenser and unplug it or switch off the corresponding circuit breaker. This will avoid any risk of electric shock while you’re working. Next, identify the water supply valve connected to your dispenser. Turn it off by rotating the valve clockwise until it’s tightly closed. This step is crucial to avoid water spilling or potential flooding during the repair process. Double-check the power and water supply to confirm they are completely shut off before proceeding to the next steps.
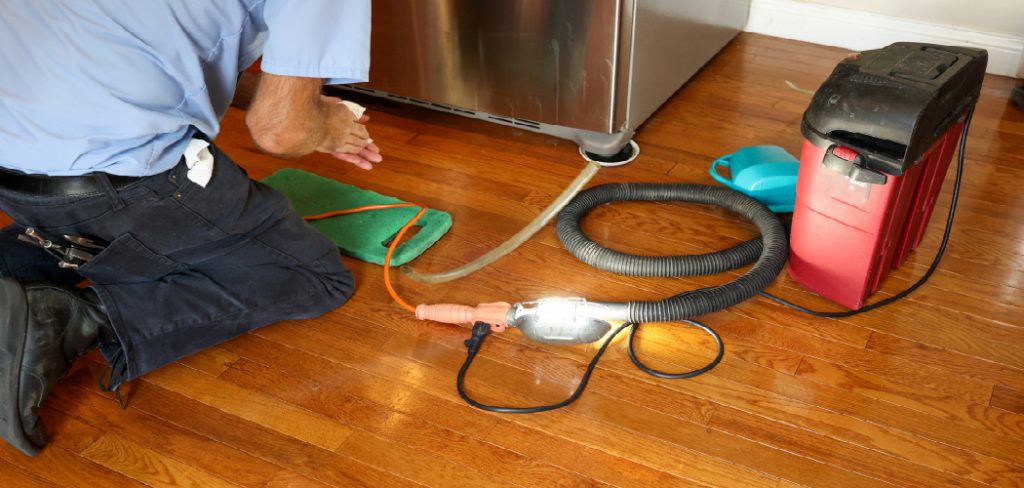
Step 2. Inspect the Dispenser for Visible Damage:
Carefully examine the instant hot water dispenser for any signs of wear, cracks, or leaks. Pay close attention to the faucet, connections, and the tank itself. Look for loose fittings, damaged seals, or corrosion that could be causing the leak. If you notice any visible damage, take note of the affected areas, as this will guide your repair process. Cleaning the surface around the dispenser can also help you identify more minor cracks or leaks that might not be apparent at first glance.
Step 3. Tighten Connections and Replace Damaged Parts:
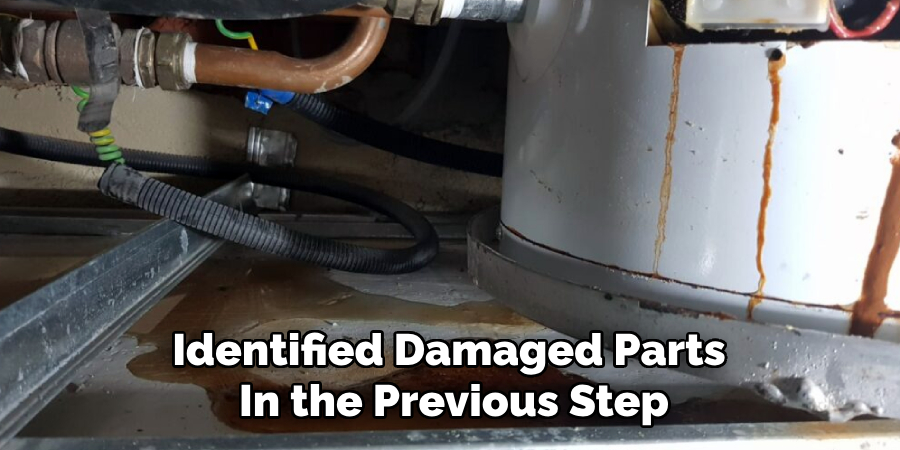
Using a wrench or appropriate tools, check all the connections on the dispenser, including the faucet and water line fittings. Gently tighten any loose connections, but be careful not to overtighten, as this could damage the components. If you identified damaged parts in the previous step, such as worn-out seals or cracked fittings, replace them with new, compatible parts. Ensure that all replacements are securely installed to prevent future leaks. This step is vital to restoring the functionality of your instant hot water dispenser.
Step 4. Test the Dispenser for Leaks:
After tightening connections and replacing damaged parts, testing the dispenser is essential to ensure the leak has been resolved. Reconnect the water supply and slowly turn it back on, observing the dispenser closely for any signs of leakage. Monitor the faucet, water line connections, and previously identified problem areas. If you notice any leaks, recheck the connections or consider whether additional parts may need replacement. Once no leaks are detected, the dispenser should be fully functional and ready for use.
Step 5. Clean and Maintain the Dispenser:
Once the leak has been repaired and the dispenser is functioning correctly, take the opportunity to clean the unit to prevent mineral buildup and ensure optimal performance. Use a mild cleaning solution or vinegar mixed with water to descale the internal components if necessary. Rinse thoroughly to remove any residue, and wipe the exterior with a damp cloth. To maintain the dispenser, consider setting a regular schedule for cleaning and inspecting for wear and tear. Proper maintenance will extend the life of your instant hot water dispenser and help prevent future issues.
Step 6. Test the Water Temperature:
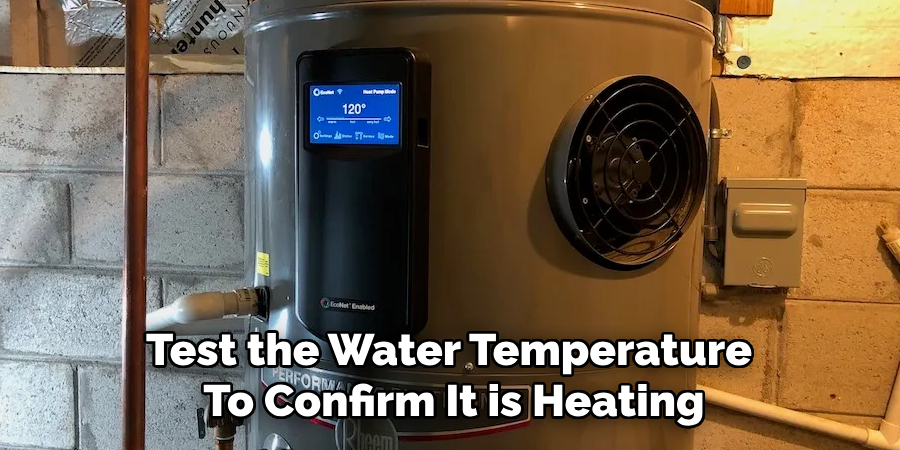
After ensuring the dispenser is clean and functional, test the water temperature to confirm it is heating to the desired level. Refer to the manufacturer’s instructions for adjusting the temperature settings if necessary. Use a thermometer to measure the water temperature, ensuring it falls within the recommended range for safe and efficient use. If the water is not heating correctly, revisit the installation steps or consult a professional. Regularly testing the temperature helps maintain your dispenser’s safety and performance.
Step 7. Final Inspection:
Before considering the installation and maintenance complete, perform a final inspection of the instant hot water dispenser. Check for leaks around the connections and ensure all components are securely in place. Verify that the dispenser operates smoothly and consistently without unusual noises or malfunctions. Address any minor issues promptly to avoid more significant problems later. Taking the time for a thorough inspection ensures the longevity and reliability of your appliance.
Step 8. Regular Maintenance:
Establish a routine maintenance schedule to keep your instant hot water dispenser functioning optimally. Clean the dispenser regularly to prevent mineral buildup and ensure the outlet remains unobstructed. Replace any filters as recommended by the manufacturer to maintain water quality. Periodically inspect the unit for signs of wear, rust, or corrosion and address issues immediately to prevent further damage. Proper maintenance will not only extend the life of your dispenser but also ensure it continues to deliver hot water efficiently and safely.
Step 9. Troubleshooting Additional Issues:
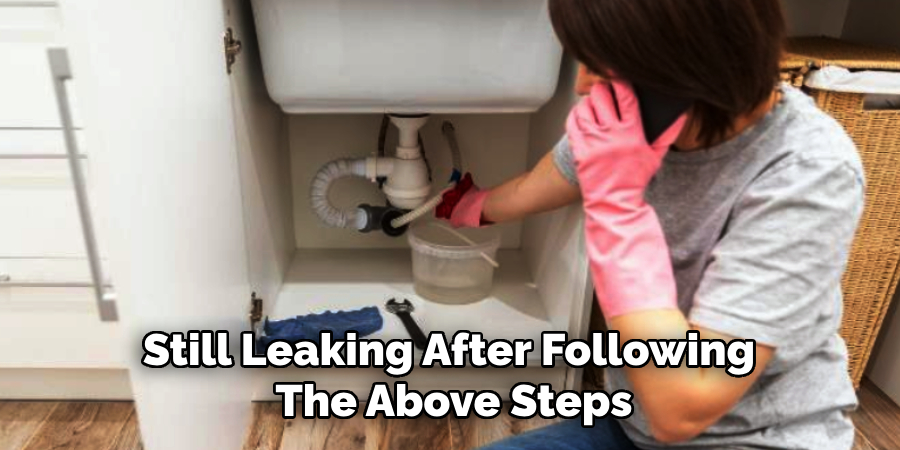
If your instant hot water dispenser is still leaking after following the above steps, or if you encounter any other problems, refer to the manufacturer’s instructions for troubleshooting tips. You can also contact their customer service department for assistance. Additionally, resources may be available online for common issues or forums where users share their experiences and solutions. Don’t hesitate to seek help if needed, as proper maintenance and repairs will save you money and prevent further headaches in the long run.
By following these nine easy steps, you can troubleshoot and fix a leaking instant hot water dispenser without needing professional assistance.
5 Things You Should Avoid
- Ignoring the Leak for Too Long: Delaying repairs can lead to more significant damage to your appliance and surrounding areas. Addressing the issue promptly helps mitigate further complications and costly repairs.
- Using the Wrong Tools or Parts: Attempting fixes with inappropriate tools or replacement parts can worsen the problem. Always use manufacturer-recommended components and the correct equipment for repairs to avoid additional damage.
- Skipping the Manual or Guidelines: Neglecting to consult the user manual or manufacturer’s instructions can result in improper fixes. Always refer to these resources to ensure you follow the recommended steps for repair and safety.
- Over-tightening Connections: While ensuring a secure fit is necessary, over-tightening parts can crack components or damage seals, leading to new leaks. Be cautious and follow torque recommendations if provided.
- Ignoring Safety Precautions: Working with electrical appliances involves risks if safety steps are overlooked. Always unplug the dispenser before repairs, and take care when dealing with hot water to prevent burns or shocks.
Do Water Dispensers Use a Lot of Electricity?
The amount of electricity a water dispenser uses depends on several factors, such as the size and type of unit, frequency of use, and features like hot water functionality. Generally, water dispensers with only cold or room temperature options will consume less energy than those that also provide hot water. Instant hot water dispensers can have higher electricity usage due to heating elements, but their compact size and efficient design help offset this cost.
Additionally, some units feature energy-saving modes or timers to reduce consumption when not in use. While a water dispenser may use some electricity, it is typically minimal and can be managed through smart usage habits and proper maintenance.
Conclusion
How to fix a leaking instant hot water dispenser requires careful inspection, proper tools, and attention to detail.
Begin by identifying the source of the leak, which could stem from loose connections, damaged seals, or cracks in the reservoir. Tighten any loose fittings and replace worn-out or broken components as needed. If mineral buildup is the cause, thoroughly clean the dispenser using a descaling solution. Ensure the unit is unplugged and cool before performing any maintenance to avoid injury.
After repairs, test the dispenser by refilling it and observing for further leaks. Regular maintenance and timely intervention can prevent leaks and extend the lifespan of the dispenser.
About the Author
Adrian Green is a passionate woodworking enthusiast who has dedicated his life to the craft of woodworking. From his early days working alongside his father in the family woodworking shop, Adrian has honed his skills and developed a deep love for creating beautiful, functional pieces with his hands. As the voice behind The Woodenify Blog, he shares his knowledge, tips, and inspiration with fellow woodworkers of all skill levels, helping them build confidence in their abilities while learning new techniques.
Professional Focus
- Specializes in DIY woodworking projects, from furniture making to home décor.
- Provides step-by-step guides, tips, and practical tutorials for woodworkers at any skill level.
- Focused on empowering readers with confidence and knowledge through easy-to-follow instructions and hands-on techniques.
- Passionate about building a community where makers can share, learn, and grow together in the world of woodworking.
Education History
University of Craft and Design – Bachelor of Fine Arts (BFA) in Woodworking and Furniture Design
Woodworking Apprenticeships – Gained extensive hands-on experience through various workshops and mentorships with seasoned craftsmen, refining carpentry and furniture-making skills.
Expertise
- DIY woodworking, carpentry, furniture making, and home décor projects.
- Creating clear, accessible tutorials and guides for beginner to advanced woodworkers.
- Helping readers experience the satisfaction and fulfillment of turning raw materials into stunning finished products.