
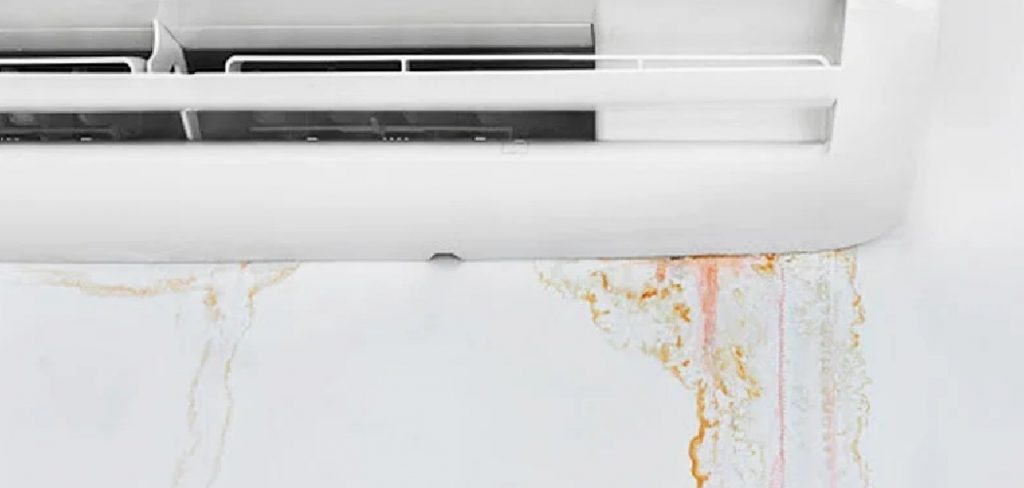
Are you tired of coming home to a hot and stuffy house? Is your air conditioning unit constantly leaking water? A leaking AC can be frustrating and inconvenient, but luckily, there are some simple steps you can take to fix the issue.
A leaking air conditioning unit can be frustrating and inconvenient, but it is a common problem that can often be resolved with a few simple steps. Leaks typically occur due to clogged drainage lines, frozen coils, or improper installation. Addressing the problem promptly is essential to prevent water damage, maintain the system’s efficiency, and avoid costly repairs.
This guide on how to fix a leaking air conditioning unit will walk you through the potential causes of the leak and provide straightforward solutions to help you restore your air conditioning unit to proper working condition.
What Are the Causes of a Leaking Air Conditioning Unit?
Understanding the potential causes of a leaking AC unit can help you troubleshoot and fix the issue more effectively. Here are some common reasons why your air conditioning unit may be leaking:
- Clogged Drainage Lines: Over time, dirt, debris, and algae can build up in your AC’s drainage lines, causing blockages that prevent water from draining correctly. This can lead to overflow and leakage.
- Frozen Evaporator Coils: If your evaporator coils become frozen due to low refrigerant levels or poor airflow, they can thaw and create excess condensation that overflows from the drip pan.
- Improper Installation: A poorly installed air conditioning unit can cause numerous issues, including leaks. Incorrect unit placement or improper connection of drainage lines can result in water leaking from the unit.
Once you have identified the potential cause of the leak, you can take the necessary steps to fix it. Keep reading to learn how to fix a leaking air conditioning unit.
What Will You Need?
Before you begin, it’s helpful to gather the following tools and materials:
- Shop-Vac or Wet/Dry Vacuum
- Essential Hand Tools (Screwdrivers, Wrenches)
- Bleach or Vinegar
- Pipe Cleaner or Stiff Wire
These items will come in handy for cleaning and unclogging drainage lines and addressing other common causes of a leaking AC unit.
10 Easy Steps on How to Fix a Leaking Air Conditioning Unit
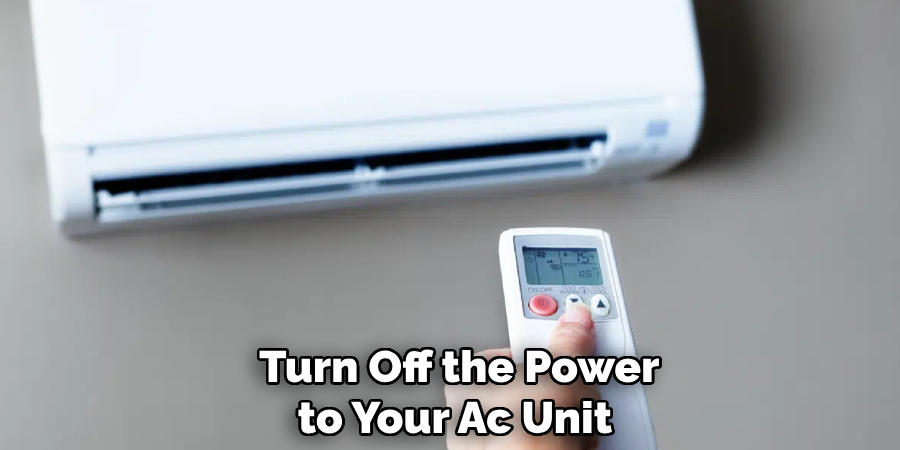
Step 1. Turn Off the Power:
Before you begin any repair work, turn off the power to your air conditioning unit to ensure safety. This can be done by switching off the unit at the thermostat and cutting power at the circuit breaker. Working on an AC unit while powered on can pose serious electrical hazards, so double-check to ensure the unit is entirely powered down before proceeding. This precaution will help prevent accidents and protect you and the equipment from potential damage.
Step 2. Locate the Source of the Leak:
Scrutinize your air conditioning unit to identify where the leak is originating. Common areas to check include the drain pan, condensate drain line, and evaporator coil. If you notice pooling water, trace it back to its source. Identifying the problem is crucial for applying the right solution, so take your time and thoroughly examine all possible areas.
Step 3. Clean the Clogged Drain Line:
If a clogged condensate drain line causes the leak, cleaning it is essential to restore proper drainage. Start by using a wet/dry vacuum to remove any visible debris or blockages from the line. Next, flush the line with a mixture of vinegar and water or a specialized AC drain cleaner to eliminate buildup and prevent future clogs. Ensure the drain line is completely clear before testing the unit to confirm the issue has been resolved. Regular maintenance can help avoid similar problems in the future.
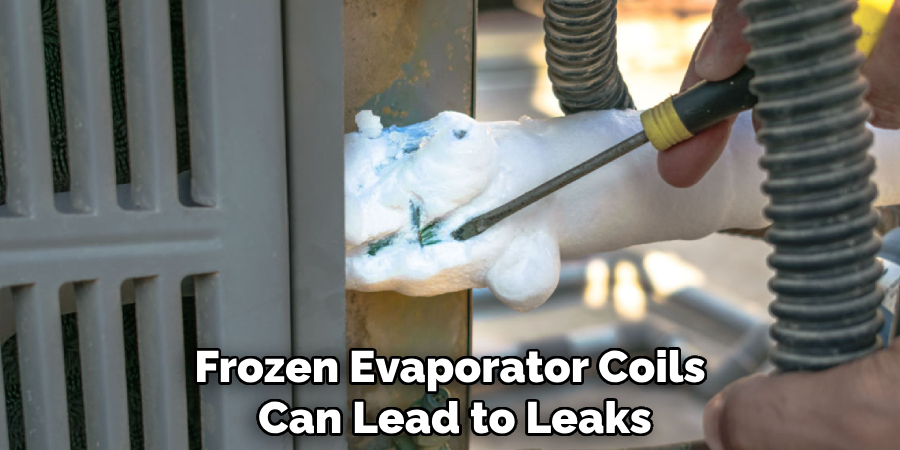
Step 4. Check for Frozen Evaporator Coils:
Frozen evaporator coils can also lead to leaks as the ice melts and overflows the drain pan. Turn off your air conditioner and allow the coils to thaw completely. Once thawed, inspect the coils for dirt or debris that could be restricting airflow and causing freezing. Clean the coils carefully using a soft brush and coil cleaner if necessary. Ensure the airflow around the unit is not obstructed by filters, vents, or other items, as proper airflow is crucial for preventing coil freezing and ensuring the system operates efficiently.
Step 5. Inspect the Refrigerant Levels:
Low refrigerant levels can cause your air conditioner to malfunction and lead to issues like frozen evaporator coils or insufficient cooling. If you suspect a refrigerant problem, check for signs such as hissing noises or reduced system performance. However, handling refrigerant requires professional expertise, as improper handling can be harmful and may void your warranty. Contact a licensed HVAC technician to inspect and recharge the refrigerant if needed. Maintaining the proper refrigerant levels is essential for your air conditioning unit’s optimal performance and longevity.
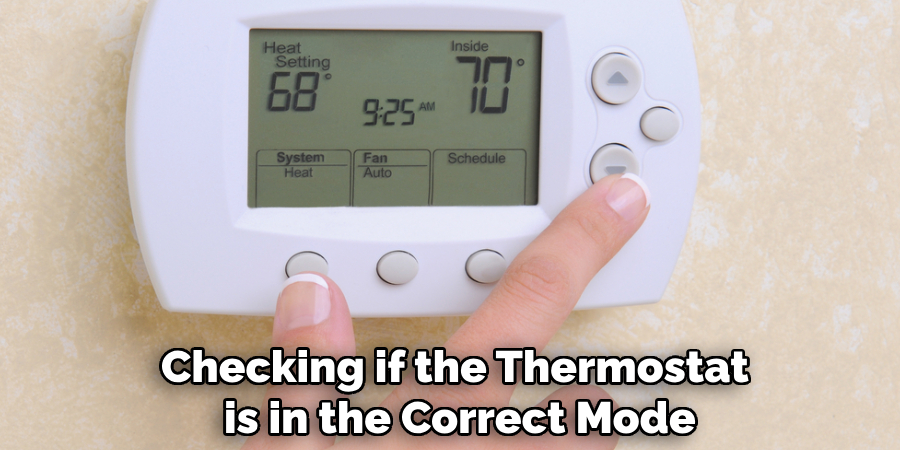
Step 6. Test the Thermostat:
A malfunctioning thermostat can disrupt the performance of your air conditioning system, leading to inconsistent cooling or failure to maintain the desired temperature. Begin by checking if the thermostat is set to the correct mode (cooling) and temperature. Replace the batteries if they are not functioning correctly, and ensure the thermostat is clean and dust-free. If the issue persists, consider upgrading to a programmable or smart thermostat for better control and efficiency. Consulting a professional may be necessary to address more complex thermostat issues.
Step 7. Inspect and Clean the Air Ducts:
Over time, dust, debris, and even mold can accumulate in your air ducts, obstructing airflow and reducing the efficiency of your air conditioning system. Begin by visually inspecting the ducts for any visible blockages or damage. If you notice significant buildup or restrictions, use a vacuum or a soft brush to clean the accessible parts of the ducts. For a thorough cleaning, consider hiring a professional duct cleaning service. Keeping your air ducts clean not only improves airflow but also enhances indoor air quality and helps extend the life of your HVAC system.
Step 8. Check the Refrigerant Levels:
Low refrigerant levels can significantly impact the performance of your air conditioning system, leading to insufficient cooling and increased energy consumption. If you suspect your system is not cooling as effectively as it should, have the refrigerant levels inspected by a licensed HVAC technician. Adding refrigerant or fixing leaks in the system requires specialized tools and knowledge, so it is not recommended as a DIY task. Proper refrigerant maintenance ensures optimal cooling efficiency and prevents potential damage to your unit.
Step 9. Keep the Outdoor Unit Clean:
The outdoor unit of your air conditioner is susceptible to dirt, debris, and vegetation buildup, which can restrict airflow and cause problems. Regularly inspect the area around the unit and clean any visible obstructions. Trim any plants or bushes too close to the unit to allow for proper airflow. Avoid pressure washing or using harsh chemicals on the unit, as they can damage its components. Keeping the outdoor unit clean helps maintain optimal airflow and improves overall performance.
Step 10. Schedule Regular Maintenance:
Professional maintenance is essential to keep your air conditioning system running efficiently and to extend its lifespan. Schedule a tune-up at least once a year with a licensed HVAC technician, preferably before the start of the cooling season. During a maintenance visit, the technician will thoroughly inspect the system, check for worn-out components, clean the coils, test the electrical connections, and ensure adequate refrigerant levels. Regular maintenance can also help identify potential issues early, preventing costly breakdowns during peak usage.
By following these steps, you can troubleshoot and address common air conditioning problems that may arise.
5 Things You Should Avoid
- Ignoring the Leak: One of the biggest mistakes you can make is ignoring a leaking air conditioning unit. Leaks may seem minor initially, but they can lead to significant water damage, reduced efficiency, and even mold growth if left unaddressed.
- Using Temporary Fixes Instead of Proper Repairs: Avoid relying on quick fixes, such as tape or sealants, to stop the leak. While these solutions may work temporarily, they do not address the root cause of the issue and could further damage your system.
- Skipping Diagnosis: Never attempt to repair leaks without adequately diagnosing the source of the problem. Common causes include clogged drain lines, dirty air filters, or low refrigerant levels. Without pinpointing the issue, any repair efforts could be ineffective.
- Using the Wrong Tools or Materials: Avoid using improper tools or materials that might damage sensitive components of the air conditioning system. For example, metal rods or sharp tools can harm the drain line or interior parts.
- Attempting Complex Repairs Without Expertise: If the issue is beyond your knowledge or expertise, don’t attempt to handle it yourself. Issues like refrigerant leaks or faulty components require specialized training and equipment, and mishandling them can be dangerous or cause more harm to the system.
Conclusion
How to fix a leaking air conditioning unit starts with properly diagnosing the issue. Identify whether the problem stems from clogged drain lines, dirty air filters, or a refrigerant issue.
Once diagnosed, address the root cause carefully, using the appropriate tools and materials to avoid causing additional damage. Regular maintenance, such as cleaning filters and ensuring drain lines are straightforward, can help prevent leaks in the future. However, for complex problems or if you’re unsure about the source of the leak, it’s always best to seek professional assistance to ensure the repair is done safely and effectively.
These steps will help restore your system’s functionality and prevent further issues.
About the Author
Adrian Green is a passionate woodworking enthusiast who has dedicated his life to the craft of woodworking. From his early days working alongside his father in the family woodworking shop, Adrian has honed his skills and developed a deep love for creating beautiful, functional pieces with his hands. As the voice behind The Woodenify Blog, he shares his knowledge, tips, and inspiration with fellow woodworkers of all skill levels, helping them build confidence in their abilities while learning new techniques.
Professional Focus
- Specializes in DIY woodworking projects, from furniture making to home décor.
- Provides step-by-step guides, tips, and practical tutorials for woodworkers at any skill level.
- Focused on empowering readers with confidence and knowledge through easy-to-follow instructions and hands-on techniques.
- Passionate about building a community where makers can share, learn, and grow together in the world of woodworking.
Education History
University of Craft and Design – Bachelor of Fine Arts (BFA) in Woodworking and Furniture Design
Woodworking Apprenticeships – Gained extensive hands-on experience through various workshops and mentorships with seasoned craftsmen, refining carpentry and furniture-making skills.
Expertise
- DIY woodworking, carpentry, furniture making, and home décor projects.
- Creating clear, accessible tutorials and guides for beginner to advanced woodworkers.
- Helping readers experience the satisfaction and fulfillment of turning raw materials into stunning finished products.