
Are you facing a sudden drop in water pressure or have you noticed soggy areas in your yard? These are signs of a broken water pipe underground.
How to fix a broken water pipe underground can seem like a daunting task, but with the right approach and tools, it is manageable for homeowners and professionals alike. Underground water pipes can become damaged due to shifting soil, tree roots, freezing temperatures, or old age, leading to leaks or water loss. Addressing the issue promptly is crucial to avoid further damage, water wastage, and high repair costs.
This guide will walk you through the essential steps to identify, access, and repair a broken underground water pipe effectively and safely. Let’s get started with the materials and tools you will need for the task.
What Are the Causes of a Broken Water Pipe Underground?
Before we dive into the steps for fixing a broken water pipe underground, it’s essential to understand some common causes. Awareness of these factors can help you prevent future problems and save you from costly repairs.
Some possible causes of a broken water pipe underground are:
- Shifting Soil: As the ground shifts or settles over time, it can pressure the water pipes and cause them to crack or break. This is more likely to happen in areas with loose or sandy soil.
- Tree Roots: Tree roots are another common culprit for damaging underground water pipes. As trees grow, their roots can spread and pressure nearby pipes, causing cracks or breaks.
- Freezing Temperatures: In regions with freezing temperatures, water can freeze in the pipes and cause them to expand and crack. This issue is more prevalent in old or poorly insulated pipes.
- Old Age: Over time, underground water pipes can deteriorate due to wear and tear, leading to leaks or breaks. This problem is more common in older homes where the piping system may be outdated or made of weaker materials.
What Will You Need?
To fix a broken water pipe underground, you will need the following materials and tools:
- Shovel
- Trenching tool or trencher
- Pipe cutter or hacksaw
- Replacement pipes and fittings (depending on the damaged section)
- PVC primer and cement for PVC pipes OR soldering equipment for copper pipes
- Sandpaper or emery cloth (for copper pipes)
- Safety gear (gloves, goggles, etc.)
Once you have gathered all the necessary supplies, let’s move on to the steps for repairing a broken water pipe underground.
8 Easy Steps on How to Fix a Broken Water Pipe Underground
Step 1: Identify the Location of the Break
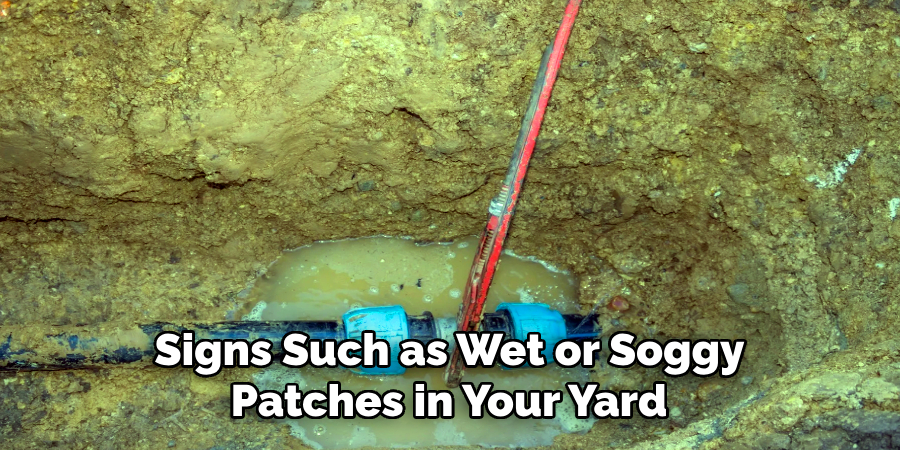
The first step in repairing a broken water pipe underground is to determine the exact location of the leak or break. Often, signs such as wet or soggy patches in your yard, unusually high water bills, or a loss of water pressure in your home can point to the issue’s general vicinity. Use these signs as clues to narrow down the area.
To locate the break more precisely, you may need to turn off the water supply and observe where the water pooling stops or slows down. If the signs are not obvious, consider using specialized leak detection equipment, such as acoustic detectors or moisture sensors, which can pinpoint the problem without excessive digging. Identifying the accurate location is crucial as it minimizes unnecessary excavation and helps repair the specific damaged section efficiently.
Step 2: Gather the Necessary Tools and Materials
Before starting the repair, ensure you have all the required tools and materials. Standard tools include a shovel for excavation, a pipe cutter, a wrench, and protective gear such as gloves and safety goggles. You will also need materials like replacement pipe sections, couplings, PVC primer, and cement (if working with PVC pipes), or epoxy putty for temporary fixes. Having everything ready before you begin will make the process smoother and prevent unnecessary delays. Proper preparation is key to a successful repair.
Step 3: Shut Off the Water Supply
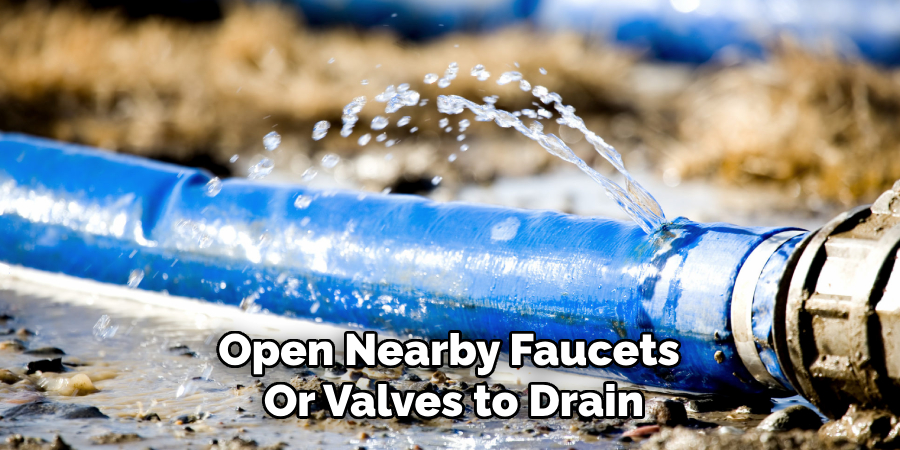
Before proceeding with any repair work, shutting off the water supply to the affected pipe is essential. Locate the main water valve and turn it off to prevent water from flowing through the damaged section. This step ensures safety by avoiding accidental water pressure and allows you to work on the repair without interference. Once the water supply is shut off, open nearby faucets or valves to drain any remaining water. This will make the repair process more manageable and help ensure a proper seal during replacement or patching.
Step 4: Assess the Damage
Carefully inspect the damaged pipe to determine the extent of the issue. Look for cracks, holes, or areas of significant wear that need attention. For PVC pipes, check if the damage is isolated to a specific section or if it affects a more substantial portion of the pipe. Use a measuring tape to determine the size of the area that needs repair or replacement. This assessment will help you decide whether a temporary fix is sufficient or if a complete replacement of the pipe section is necessary. Ensure the pipe is completely dry before proceeding to the next step to ensure proper adhesion and sealing.
Step 5: Cut Out the Damaged Section
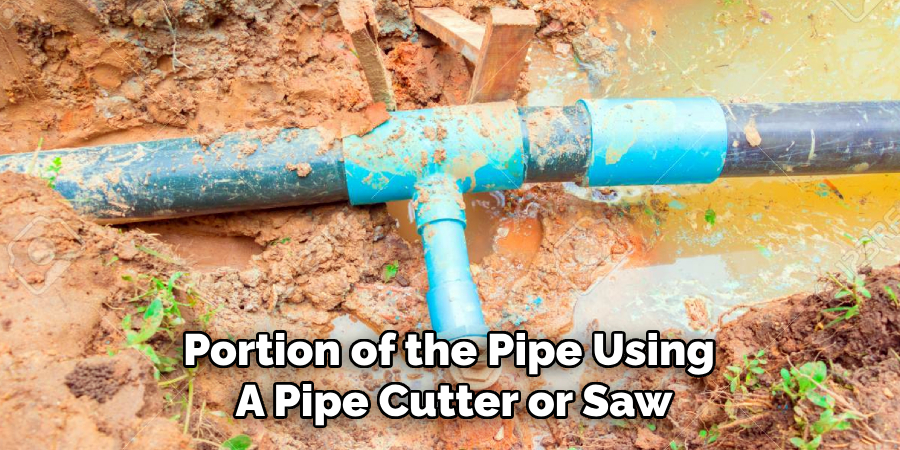
Remove the damaged portion of the pipe using a pipe cutter or saw. Make sure to cut at least an inch on each side of the break or damage to ensure a clean edge. If using a hacksaw, make sure to sand down any rough edges with sandpaper before proceeding with repairs. For larger-diameter pipes, you may need to use a trencher or similar tool to dig deep enough to access the damaged section. Be careful not to cause further damage or break surrounding pipes while excavating.
Step 6: Prepare the Pipe Ends for Repair
Begin by cleaning the exposed ends of the pipe thoroughly. Use a clean cloth to wipe away any dirt, debris, or moisture from the pipe ends’ interior and exterior. If working with PVC or CPVC pipes, use a primer to soften and prepare the pipe surface for bonding. The primer cleans the pipe and helps the cement adhere more effectively, ensuring a stronger seal. For metal pipes, sanding the edges lightly with sandpaper will remove any rust or burrs and create a smooth surface for the repair materials to bond appropriately.
If using sealing tape or epoxy putty, ensure the area is arid, as proper adhesion requires a moisture-free surface. Appropriate preparation ensures a durable and leak-free repair. Always double-check for imperfections before applying the repair materials.
Step 7: Apply the Repair Materials
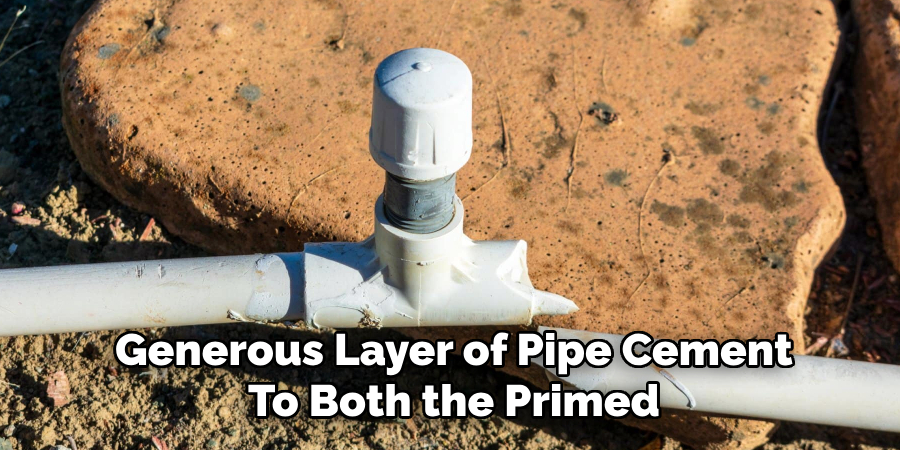
Once the pipe ends are prepared, apply the appropriate repair materials based on the type of pipe and the nature of the damage. For PVC or CPVC pipes, apply a generous layer of pipe cement to both the primed pipe ends and the replacement section, then fit them together securely. For metal pipes, wrap the sealing tape tightly around the pipe ends or apply epoxy putty over the damaged area according to the product instructions. Ensure the material covers the entire damaged section and provides a uniform seal.
Position a coupling or clamp over the repair site and tighten it firmly in place. Allow the repair materials to cure or set as per the manufacturer’s guidelines before proceeding to the next step. Proper application is critical to ensuring a reliable repair.
Step 8: Test the Repair
After the repair materials have fully cured or set, it’s time to test the integrity of the repair. Gradually turn the water supply on and check for leaks around the repaired area. Start with low water pressure and inspect closely for drips or signs of moisture. If no leaks are present, increase the water pressure to normal levels and continue observing. If a leak is detected, turn off the water supply immediately and recheck the application of the repair materials. Address any issues as needed to ensure a watertight seal. The repair process is complete once the pipe is confirmed to be leak-free.
By following these steps, you can confidently repair a damaged pipe and restore proper flow to your water system.
5 Things You Should Avoid
- Ignoring Proper Safety Precautions: Forgetting safety measures, such as wearing protective gear or understanding underground utility maps, can lead to avoidable accidents or further damage.
- Skipping a Professional Assessment: Attempting to fix the pipe without consulting a professional can result in costly mistakes. Always seek expert advice if you’re unsure of the situation.
- Using the Wrong Tools: Employing inappropriate tools for the repair can worsen the damage. Ensure you have the right equipment before beginning any work.
- Not Turning Off the Water Supply: Failing to shut off the water supply before starting repairs can cause flooding and make the repair process much more difficult.
- Rushing the Process: Hurrying through the repair without paying attention to detail can result in a poorly fixed pipe that may break again shortly afterward. Take your time to ensure the job is done correctly.
Conclusion
How to fix a broken water pipe underground requires careful planning, the right tools, and a methodical approach.
Always start by locating the break precisely, turning off the water supply, and assessing the extent of the damage. Proper safety precautions and consulting with a professional if necessary can prevent unnecessary complications. You can ensure a long-lasting repair by avoiding common mistakes, such as rushing the process or using incorrect tools.
Remember, repairing an underground water pipe can save you from further expenses and damage in the long run when handled properly.
About the Author
Adrian Green is a passionate woodworking enthusiast who has dedicated his life to the craft of woodworking. From his early days working alongside his father in the family woodworking shop, Adrian has honed his skills and developed a deep love for creating beautiful, functional pieces with his hands. As the voice behind The Woodenify Blog, he shares his knowledge, tips, and inspiration with fellow woodworkers of all skill levels, helping them build confidence in their abilities while learning new techniques.
Professional Focus
- Specializes in DIY woodworking projects, from furniture making to home décor.
- Provides step-by-step guides, tips, and practical tutorials for woodworkers at any skill level.
- Focused on empowering readers with confidence and knowledge through easy-to-follow instructions and hands-on techniques.
- Passionate about building a community where makers can share, learn, and grow together in the world of woodworking.
Education History
University of Craft and Design – Bachelor of Fine Arts (BFA) in Woodworking and Furniture Design
Woodworking Apprenticeships – Gained extensive hands-on experience through various workshops and mentorships with seasoned craftsmen, refining carpentry and furniture-making skills.
Expertise
- DIY woodworking, carpentry, furniture making, and home décor projects.
- Creating clear, accessible tutorials and guides for beginner to advanced woodworkers.
- Helping readers experience the satisfaction and fulfillment of turning raw materials into stunning finished products.