
Are you experiencing water issues in your basement or crawl space? Don’t worry; you’re not alone. Many homeowners deal with water intrusion and high moisture levels, especially during heavy rain or snow.
How to fit a sump pump is a practical and effective solution for protecting your home from water damage caused by flooding or excessive groundwater. A sump pump is designed to remove water that accumulates in a sump basin, typically found in basements or crawl spaces, preventing costly damage and potential health issues like mold growth. Whether you’re looking to safeguard your property during heavy rainfall or mitigate long-term moisture problems, installing a sump pump is a project that requires careful planning and the right tools.
This guide on sump pump drain will walk you through the process step-by-step, making it easy to understand and execute, even for beginners.
What Are the Benefits of Installing a Sump Pump?
Installing a sump pump has numerous benefits, including:
- Preventing Water Damage: The primary function of a sump pump is to remove excess water from your basement or crawl space, preventing flooding and costly repairs.
- Protecting Against Mold Growth: Excess moisture can lead to the growth of mold and mildew, which can cause health issues for you and your family. A sump pump helps keep the humidity levels in check, reducing the risk of mold growth.
- Improving Indoor Air Quality: By removing excess moisture from your home, a sump pump can also help improve the overall indoor air quality. This is especially important for those with allergies or respiratory issues.
- Increasing Property Value: Adding a sump pump to your home can increase its market value, making it a beneficial investment for future resale. Plus, a functioning sump pump can be attractive for potential buyers.
- Peace of Mind: Knowing that you have a reliable sump pump installed can give you peace of mind during heavy rain or snowstorms. You won’t have to worry about potential water damage and can rest easy knowing your basement is protected.
What Will You Need?
- Sump pump
- Sump pit
- PVC pipe
- Check valve
- Discharge line
- Backup battery system (optional)
Once you have gathered all the necessary materials, it’s important to carefully follow the instructions provided by the manufacturer for installation.
8 Easy Steps on How to Fit a Sump Pump
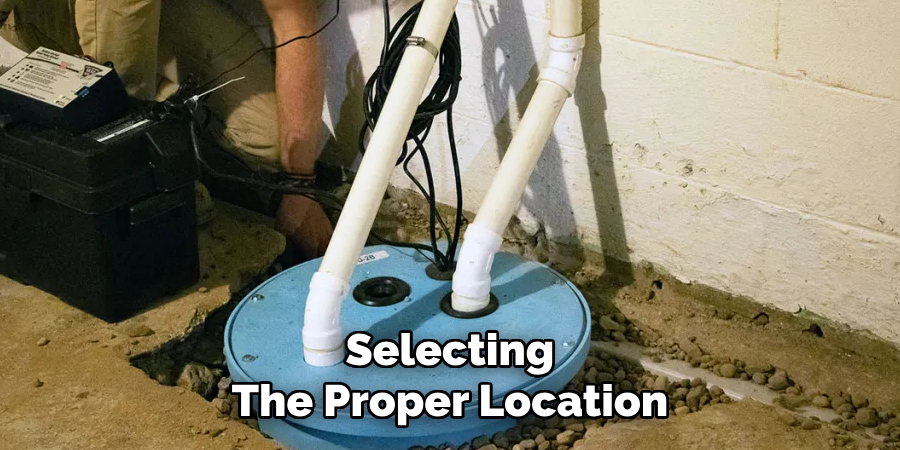
Step 1: Choose the Right Location
Selecting the proper location for your sump pump is crucial to ensure it operates effectively. Ideally, the sump pit should be situated at the lowest point in your basement or crawlspace, as this is where water will naturally collect. Ensure the location is near an external wall to make it easier to run the discharge line outside.
Additionally, verify that there are no utility lines or pipes beneath the area where you plan to dig. Taking the time to carefully evaluate your space and select the optimal location will help maximize the efficiency and longevity of your sump pump system.
Step 2: Dig the Sump Pit
Once you have identified the ideal location, mark where you will dig the sump pit. Use a shovel or a hole saw to create a large hole to accommodate your sump basin.
The pit’s depth should allow the basin to sit flush with the floor, ensuring proper functionality and a clean finish. Remove any debris or loose soil from the hole to create a stable base. If needed, add a layer of gravel at the bottom of the pit to improve drainage and provide additional support for the basin. Accurate and thorough preparation at this stage will lay the groundwork for a reliable sump pump installation.
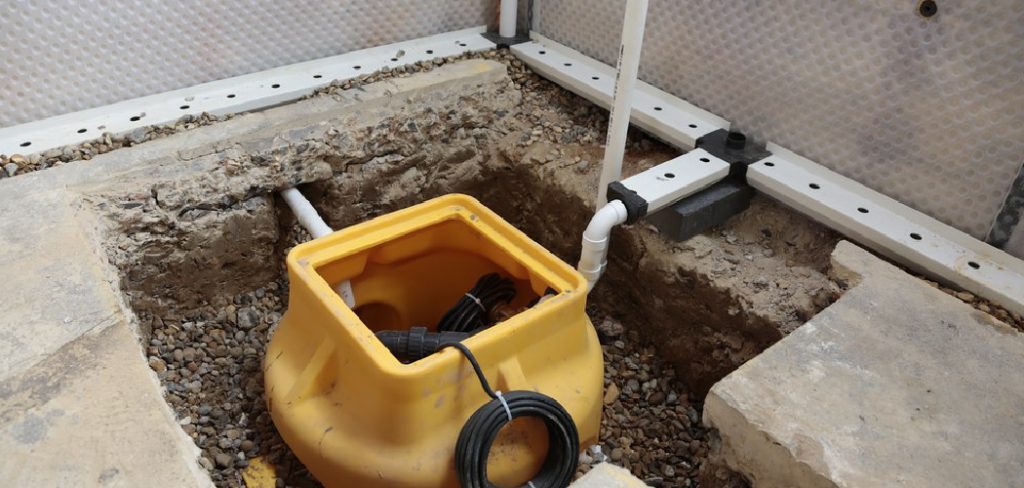
Step 3: Install the Sump Basin
Place the sump basin into the prepared hole, ensuring it sits level and flush with the floor. Check that the basin is stable and does not tilt or shift.
Adjust the gravel or add more if necessary to achieve an even base. Once the basin is appropriately positioned, fill the space around it with soil or gravel to secure it in place. Compact the material gently but firmly to avoid any basin movement while maintaining proper drainage. This step ensures a solid foundation for the sump pump to function efficiently.
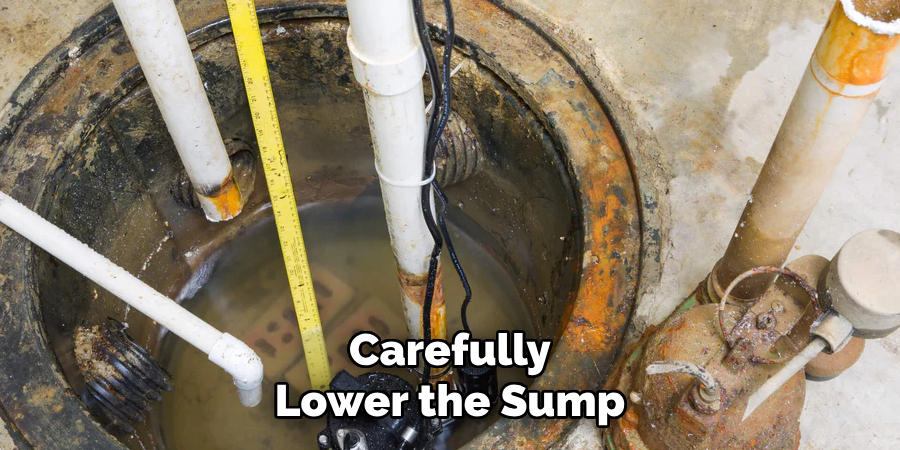
Step 4: Install the Sump Pump
Carefully lower the sump pump into the basin, ensuring it is upright and stable. Connect the pump to the discharge pipe, tightening all fittings to prevent leaks. Verify that the float switch has enough clearance to move freely without obstruction, which is critical for the pump to operate correctly. Double-check all connections and ensure the power cord is routed safely to avoid interference. This step prepares the sump pump for optimal performance.
Step 5: Test the Sump Pump
To ensure the sump pump functions correctly, pour water into the basin slowly until the float switch is activated. Observe the pump as it starts and check that water is efficiently discharged through the connected pipe. Confirm there are no leaks at any connections, and listen for any unusual noises that may indicate a problem.
If the pump does not activate or performs inconsistently, review the setup and address any issues before proceeding. Testing ensures the pump is ready to handle water effectively when needed.
Step 6: Final Inspection and Cleanup
After testing, a final inspection of the pump and the surrounding area is performed. Ensure that all connections are secure and that the pump is seated correctly in its designated position. Clear away any tools, debris, or excess water to maintain a clean and safe environment. The setup process is complete once everything is in order and the pump is ready for regular operation. Remember to periodically inspect and maintain the pump to ensure consistent performance over time.
Step 7: Troubleshooting
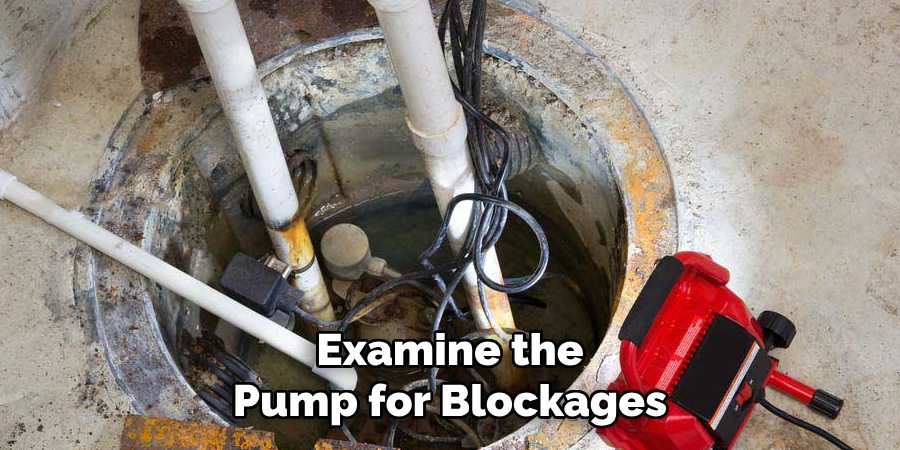
If issues arise during the pump’s operation, there are several steps you can take to identify and resolve the problem. First, check the power supply to ensure the pump is connected correctly and receiving adequate electricity. Inspect the power cord for any damage or loose connections.
Next, examine the pump for blockages, such as debris or sediment, which may obstruct the impeller or water flow. Clean the affected components carefully. If the pump makes unusual noises, it could indicate air trapped inside or wear on internal parts. Bleed the system of air or check for damaged components that might need to be replaced.
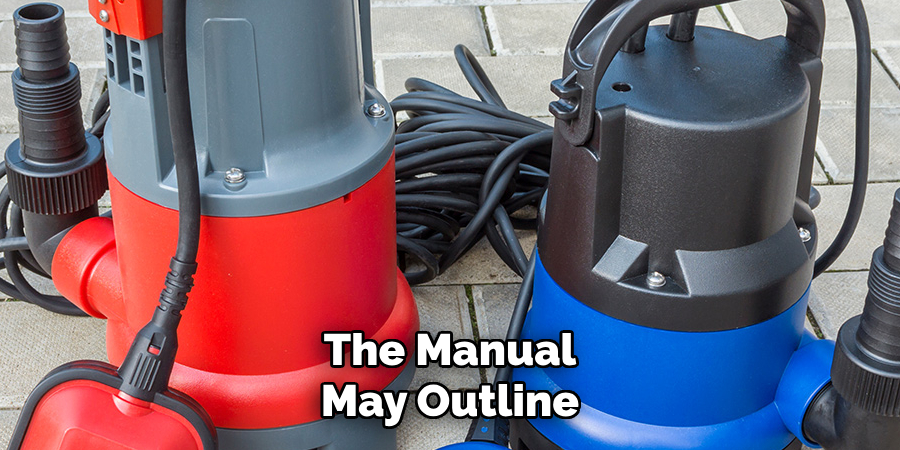
Step 8: Consult the User Manual
The user manual is an essential resource when troubleshooting pump issues, as it provides detailed instructions specific to your pump model. Start by identifying the exact model number of your pump—the manual will often include diagrams and troubleshooting guides tailored to its design. Look for sections that address common problems, such as reduced water flow, unusual noises, or leaking.
These guides often include step-by-step solutions and safety precautions for performing repairs or maintenance. Additionally, the manual may outline routine maintenance schedules, helping you prevent future problems by keeping your pump in optimal working condition. If you cannot resolve the issue, the manual typically includes customer service information for contacting technical support or authorized service providers. Always keep your user manual accessible for quick reference when needed.
By following the instructions in your pump’s user manual, you can ensure a longer lifespan for your machine and avoid costly repairs.
5 Things You Should Avoid
- Skipping the Installation of a Check Valve
Always install a check valve to prevent water from flowing back into the sump pit. Failing to include this critical component can lead to increased wear on the pump and potential flooding.
- Not Ensuring Proper Pit Size and Placement
Avoid installing the sump pump in a pit that is too small or that is incorrectly located. The pit should be deep and wide enough to accommodate the pump and allow water to flow freely.
- Using Incorrect or Substandard Pipes
Using pipes that are too small in diameter or made from low-quality materials can restrict water flow and strain the pump, potentially causing it to fail.
- Neglecting to Securely Seal Connections
Leaky connections can lead to water damage and reduced pump efficiency. Always ensure all fittings are tight and sealed correctly before completing the installation.
- Failing to Test the Pump After Installation
Avoid assuming the pump will work correctly without testing it. Fill the sump pit with water after installation to ensure the pump activates, discharges water properly, and shuts off as expected.
What Causes Pump Failures?
Pump failures can be caused by various factors, including wear and tear, improper installation, and neglecting maintenance. Here are some common causes of pump failures:
- Lack of Proper Maintenance: Neglecting regular maintenance can lead to pump failures. Over time, debris and sediment can build up in the pump and cause clogs or damage to internal components. It’s essential to clean and inspect your pump to ensure it is functioning correctly.
- Power Outages or Electrical Issues: Power outages can cause pumps to fail if they rely on electricity to function. In addition, electrical issues such as faulty wiring or power surges can damage the pump’s motor or control panel, leading to failure.
- Improper Installation: If a pump is not installed correctly, it may not work efficiently or may fail altogether. It’s important to follow the manufacturer’s instructions and hire a professional for installation to ensure proper functioning.
- Age of Pump: Like all machinery, pumps have a limited lifespan. As they age, their components can wear out and become less reliable. It’s essential to keep track of the age of your pump and replace it before it fails.
- Inadequate Flow or Pressure: Pumps are designed to provide a specific flow rate and pressure. If your pump is not providing adequate flow or pressure, it could be due to various reasons, including clogs in the system, damaged impellers, or worn-out components.
Conclusion
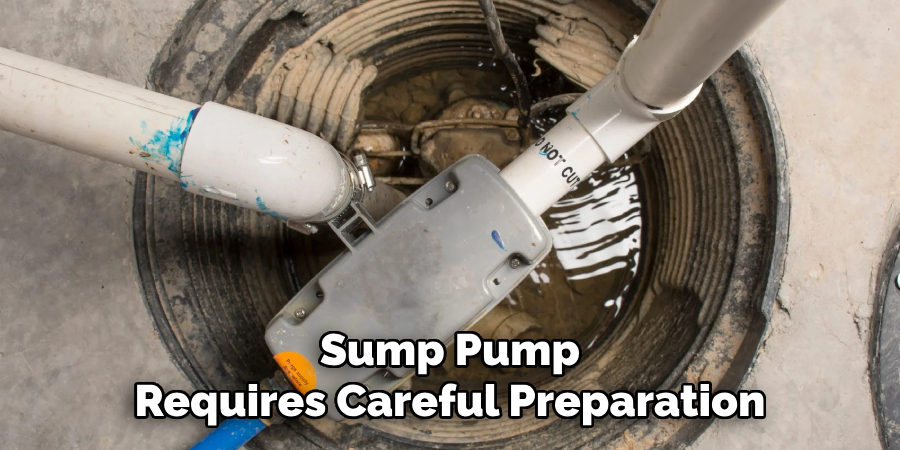
How to fit a sump pump requires careful preparation, attention to detail, and adherence to best practices.
By selecting the appropriate pump for your needs, ensuring proper placement, and following the installation steps diligently, you can safeguard your home from water damage effectively. Regular maintenance and testing are also crucial to ensure the long-term reliability of your sump pump.
With the right approach, you can confidently install a sump pump and provide your home with robust protection against flooding.
About the Author
Adrian Green is a passionate woodworking enthusiast who has dedicated his life to the craft of woodworking. From his early days working alongside his father in the family woodworking shop, Adrian has honed his skills and developed a deep love for creating beautiful, functional pieces with his hands. As the voice behind The Woodenify Blog, he shares his knowledge, tips, and inspiration with fellow woodworkers of all skill levels, helping them build confidence in their abilities while learning new techniques.
Professional Focus
- Specializes in DIY woodworking projects, from furniture making to home décor.
- Provides step-by-step guides, tips, and practical tutorials for woodworkers at any skill level.
- Focused on empowering readers with confidence and knowledge through easy-to-follow instructions and hands-on techniques.
- Passionate about building a community where makers can share, learn, and grow together in the world of woodworking.
Education History
University of Craft and Design – Bachelor of Fine Arts (BFA) in Woodworking and Furniture Design
Woodworking Apprenticeships – Gained extensive hands-on experience through various workshops and mentorships with seasoned craftsmen, refining carpentry and furniture-making skills.
Expertise
- DIY woodworking, carpentry, furniture making, and home décor projects.
- Creating clear, accessible tutorials and guides for beginner to advanced woodworkers.
- Helping readers experience the satisfaction and fulfillment of turning raw materials into stunning finished products.