
Are you planning to leave your house for a vacation or expecting temperatures to drop below freezing? One effective way to prevent your pipes from bursting and causing significant damage is by dripping faucets.
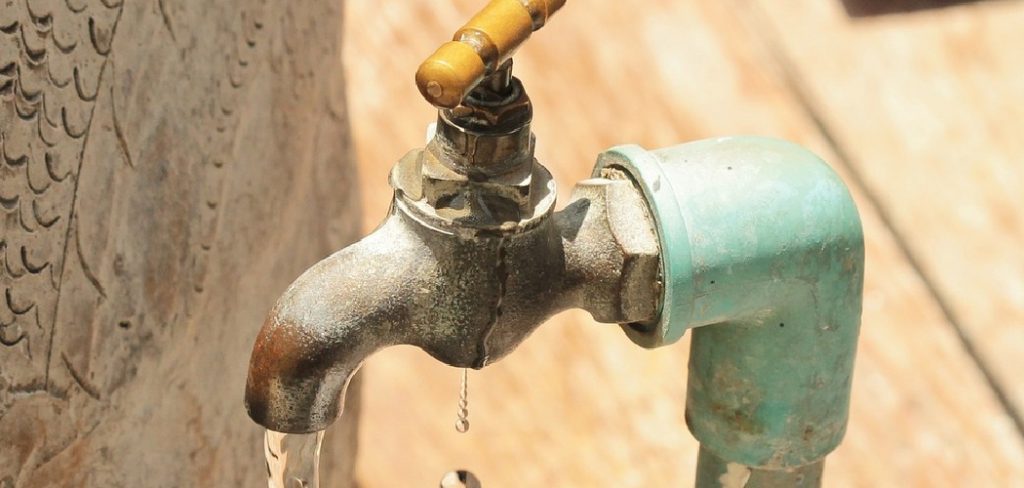
Dripping faucets during cold weather is a simple yet effective way to prevent pipes from freezing. When temperatures drop, standing water in pipes can freeze and expand, causing pipes to crack or burst, leading to costly repairs. By allowing faucets to drip, you keep the water flowing, which reduces the likelihood of freezing. This precautionary measure is critical in areas prone to extreme cold or during unexpected temperature drops.
This guide on how to drip faucets will walk you through the steps to safely and efficiently drip your faucets to protect your plumbing system.
What Are the Benefits of Dripping Faucets?
Aside from preventing frozen and burst pipes, there are other benefits to dripping faucets during cold weather. These include:
- It can help maintain water pressure in your plumbing system by preventing air pockets that may form due to freezing.
- It can prevent potential damage to your home’s foundation caused by frozen underground pipes.
- It can save you money on costly repairs and water bills by reducing the chances of pipe bursts or leaks.
So, it’s clear that dripping faucets is a simple yet effective way to protect your plumbing system and avoid potential headaches and expenses. Now, let’s dive into how to drip faucets properly.
What Will You Need?
Before you start dripping your faucets, make sure you have the following:
- A small bucket or container to collect the dripping water
- A cloth or towel to place under the faucet to catch any excess water
- Access to all faucets in your home, including those outdoors and those connected to appliances such as washing machines and dishwashers
Once you have all the necessary materials, you’re ready to begin!
10 Easy Steps on How to Drip Faucets
Step 1: Identify Which Faucets to Drip
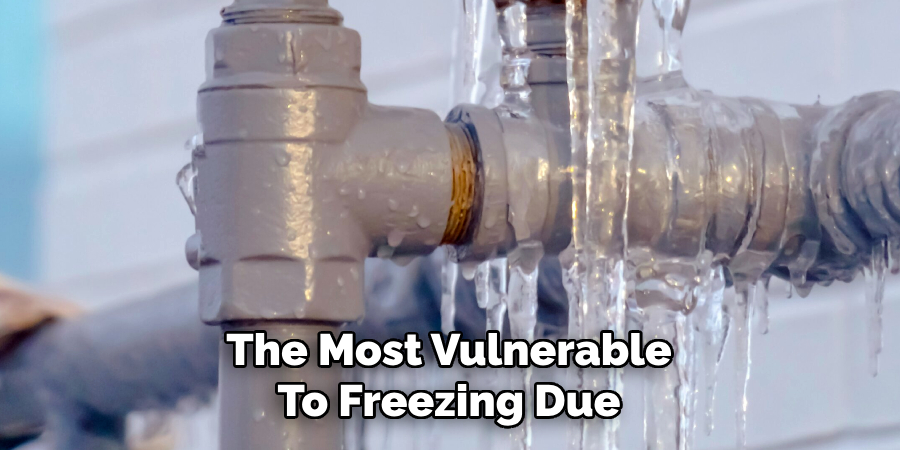
Not all faucets in your home may need to drip during cold weather. Start by identifying those located on exterior walls or in unheated areas, such as your basement, garage, or crawl spaces. These are the most vulnerable to freezing due to their exposure to low temperatures. Don’t forget outdoor faucets, hose bibs, and faucets connected to external water lines, as they are highly susceptible to freezing. Additionally, consider any faucets that supply water to rarely used appliances, like washing machines in cold rooms, as these pipes can also freeze if left unattended. Proper identification ensures you focus on high-risk areas, minimizing effort while maximizing protection.
Step 2: Open the Cabinet Doors
Opening the cabinet doors is a simple but effective way to prevent pipes from freezing, especially those near exterior walls or in unheated areas of your home. Leaving the cabinet doors open allows the warm air circulating throughout your house to reach these vulnerable pipes. This added warmth can help maintain a safe temperature within the cabinets, reducing the risk of freezing during extreme cold snaps. It is vital to do this in kitchens and bathrooms, where plumbing is often concealed behind cabinetry and, therefore, more exposed to colder conditions. If you have pets or small children, take extra precautions by removing hazardous items like cleaning supplies from accessible cabinets before leaving the doors open.
Step 3: Keep the Faucets Dripping

Allowing faucets connected to vulnerable pipes to drip slightly can help prevent freezing. Moving water is less likely to freeze, and keeping a small, steady stream flowing ensures pressure does not build up in the pipes. This step is particularly crucial during icy weather and for faucets located in unheated areas. Remember to focus on hot and cold water lines, as freezing can occur in either. Don’t worry about wasting water; the small amount used for dripping is minimal compared to potential repair costs.
Step 4: Seal Cracks and Holes
Inspect the areas around your home where water pipes are located, such as walls, floors, and ceilings. Look for cracks or holes that allow cold air to reach the pipes and seal them using caulk, spray foam, or weatherstripping. Properly sealing these gaps will help keep the cold and warm air out, reducing the risk of frozen pipes and improving your home’s overall energy efficiency.
Step 5: Disconnect Outdoor Hoses and Shut Off Outdoor Valves
Before freezing temperatures arrive, disconnect and store all outdoor garden hoses. Leaving hoses attached can trap water in the faucet and connected pipes, increasing the likelihood of freezing and bursting. Additionally, shut off and drain any outdoor valves or sprinkler systems, if possible, to ensure no water is left in the exterior plumbing. This preventive step is essential for protecting outdoor plumbing fixtures during winter. If you have an outdoor faucet that cannot be shut off or drained, consider installing a faucet cover to provide extra insulation.
Step 6: Use Pipe Insulation
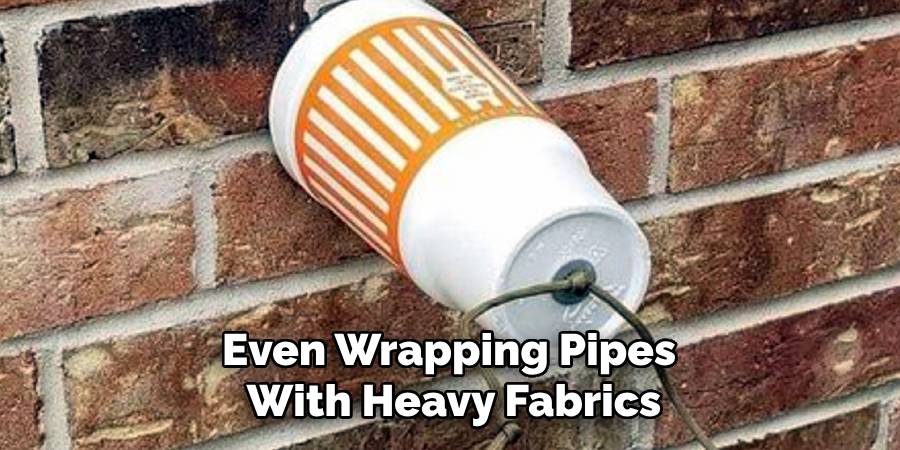
Cover any exposed pipes in unheated areas, such as basements, attics, garages, or crawl spaces, with pipe insulation. Foam pipe sleeves, heat tape, or even wrapping pipes with heavy fabrics can help retain heat and prevent freezing. Insulating your pipes is a cost-effective way to safeguard your plumbing system during the cold months and can provide peace of mind when temperatures drop.
Step 7: Seal Gaps and Cracks Around Pipes
Inspect areas where pipes enter your home or building, particularly walls, floors, and foundations. Seal gaps or cracks using caulk, foam sealant, or weatherstripping to prevent cold air from entering and reaching your pipes. By blocking drafts and maintaining consistent indoor temperatures, this step reduces the risk of your pipes freezing during freezing weather.
Step 8: Keep Cabinet Doors Open
If you have plumbing in cabinets, such as under sinks, keep the cabinet doors open during freezing weather. This allows warm air from the house to circulate the pipes, reducing the likelihood of freezing. This simple step can be particularly effective for plumbing along exterior walls, where the temperature tends to be colder.
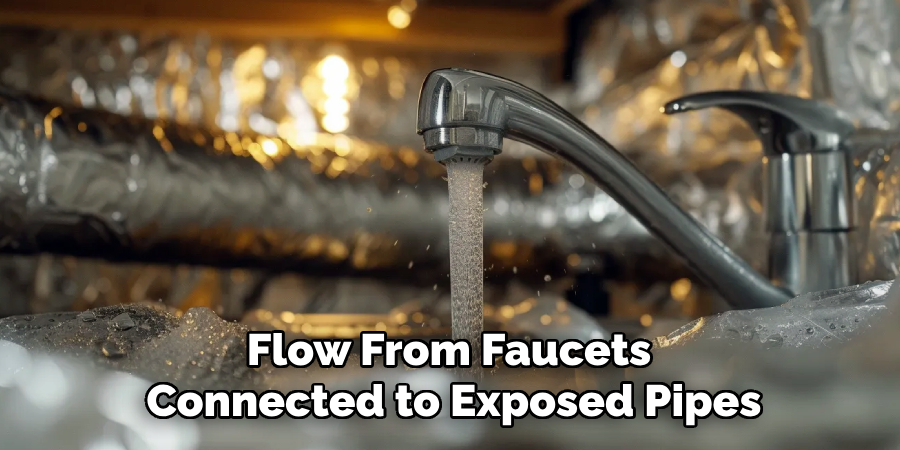
Step 9: Allow Faucets to Drip
During freezing weather, allow a small trickle of water to flow from faucets connected to exposed pipes. Running water is less likely to freeze, and even a minimal flow can help prevent pressure buildup in the pipes, which is one of the leading causes of pipe bursts. This precaution is essential for pipes located along exterior walls or in unheated areas of your home.
Step 10: Insulate Your Pipes
Wrap exposed pipes in foam insulation or similar material to protect them from freezing temperatures. Pipe insulation is readily available at hardware stores and is easy to install. For pipes in particularly cold or unheated areas, consider using heat tape or heat cables as an added layer of protection to ensure they remain above-freezing temperatures. Proper insulation reduces heat loss and lowers the risk of freezing significantly.
By following these steps, you can effectively protect your pipes from freezing and prevent costly damage to your home.
5 Things You Should Avoid
- Leaving the Faucet Fully Open: Dripping faucets only require a small, steady stream to prevent freezing. Opening the faucet too much can lead to unnecessary water waste.
- Forgetting to Monitor Water Pressure: Neglecting to check your water pressure while dripping faucets can sometimes cause issues, such as low water pressure in other areas of your home.
- Ignoring Outdoor Faucets: Outdoor faucets are equally vulnerable to freezing. Constantly drip or turn them off properly to protect your pipes.
- Overlooking Insulation: Dripping faucets are helpful, but combining them with proper insulation around your pipes provides extra protection.
- Assuming Only Cold Water Faucets Need to Drip: It’s essential to drip both hot and cold water faucets, as pipes carrying hot water can freeze just as quickly in extreme temperatures.
By avoiding these five common mistakes, you can better protect your pipes and prevent costly repairs or damage to your home.
Should a Hot Water System Drip?
Yes, it is important to drip both hot and cold water faucets in extreme temperatures to prevent freezing. Hot water pipes can also freeze and lead to costly damages if not properly maintained. It is recommended to keep a steady stream of hot and cold water running during icy weather to prevent any potential issues.
Additionally, it is essential to ensure your hot water system is properly functioning and well-insulated to avoid any problems. Regular maintenance and proper insulation can help prevent frozen pipes and ensure your hot water system works efficiently. So, don’t overlook the importance of dripping hot and cold water faucets during freezing weather!
Conclusion
How to drip faucets during freezing weather is a simple yet effective method to prevent your pipes from freezing and potentially bursting.
By allowing a steady drip from your hot and cold water faucets, you relieve pressure in the plumbing system and keep water flowing, reducing the chances of ice forming within the pipes. Remember to focus on faucets on exterior walls or in unheated spaces, as these are most susceptible to freezing. Additionally, pairing this practice with proper pipe insulation and regular system maintenance will provide extra protection during extreme temperatures.
Taking these precautions can save you from expensive repairs and ensure the safety and functionality of your plumbing system during cold weather.
About the Author
Adrian Green is a passionate woodworking enthusiast who has dedicated his life to the craft of woodworking. From his early days working alongside his father in the family woodworking shop, Adrian has honed his skills and developed a deep love for creating beautiful, functional pieces with his hands. As the voice behind The Woodenify Blog, he shares his knowledge, tips, and inspiration with fellow woodworkers of all skill levels, helping them build confidence in their abilities while learning new techniques.
Professional Focus
- Specializes in DIY woodworking projects, from furniture making to home décor.
- Provides step-by-step guides, tips, and practical tutorials for woodworkers at any skill level.
- Focused on empowering readers with confidence and knowledge through easy-to-follow instructions and hands-on techniques.
- Passionate about building a community where makers can share, learn, and grow together in the world of woodworking.
Education History
University of Craft and Design – Bachelor of Fine Arts (BFA) in Woodworking and Furniture Design
Woodworking Apprenticeships – Gained extensive hands-on experience through various workshops and mentorships with seasoned craftsmen, refining carpentry and furniture-making skills.
Expertise
- DIY woodworking, carpentry, furniture making, and home décor projects.
- Creating clear, accessible tutorials and guides for beginner to advanced woodworkers.
- Helping readers experience the satisfaction and fulfillment of turning raw materials into stunning finished products.