
A sump pump is a crucial device used to protect your basement or crawl space from flooding by redirecting water away from your home. Properly draining the sump pump outside ensures that water is disposed of effectively, preventing potential water damage and maintaining the structural integrity of your property.
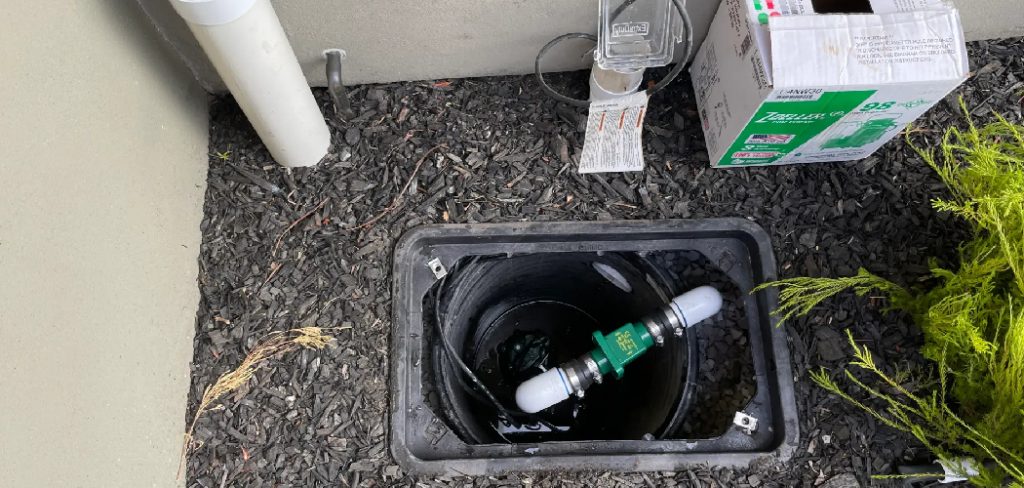
In this guide on how to drain sump pump outside, we will walk you through the steps to safely and efficiently drain your sump pump outside, helping you keep your home dry and secure. A properly installed sump pump drain is essential for directing excess water away from your home’s foundation and preventing basement flooding.
Understand Local Codes and Guidelines
Before you begin the process of draining your sump pump outside, it is essential to familiarize yourself with local codes and regulations regarding water discharge. Many municipalities have specific rules about where and how sump pump water can be drained to avoid causing issues such as flooding in neighboring properties, damage to public drainage systems, or contamination of nearby water sources.
Contact your local government office or consult with a professional to ensure compliance with these regulations. By adhering to local guidelines, you can avoid fines, maintain good relationships with neighbors, and ensure that the drainage process is environmentally responsible.
Tools and Materials Needed
- Sump Pump With Discharge Pipe
- Pvc or Corrugated Drain Pipe (1¼ to 1½ Inches in Diameter)
- Hose Clamps or Connectors
- PVC Glue (if Applicable)
- Gravel or Dry Well (Optional)
- Downspout Extensions (if Directing to Stormwater)
6 Simple Steps on How to Drain Sump Pump Outside
Step 1: Assess Your Yard
Before beginning the installation of your sump pump drainage system, take the time to thoroughly assess your yard. Identify the lowest point or a proper incline where water can naturally flow away from your home. Ensure the discharge point is at least 10 feet away from your foundation to prevent water from seeping back.
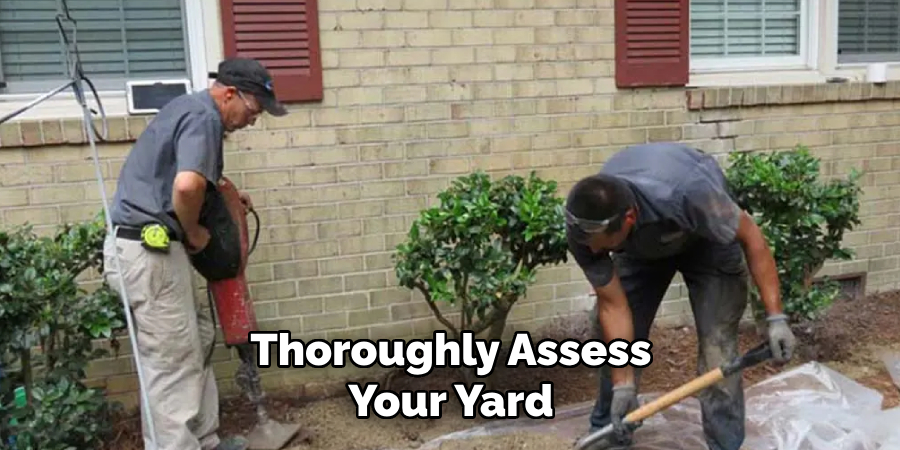
Check for any existing drainage systems, landscaping features, or obstacles that might influence the water’s path. Additionally, confirm that you are not directing water onto a neighbor’s property or into areas prohibited by local regulations. Proper planning at this stage ensures an efficient and problem-free drainage solution.
Step 2: Dig a Trench
Once you’ve determined the best location for water to flow, it’s time to dig a trench. Use a spade or trenching shovel to create a channel that is approximately 6 to 12 inches wide and deep enough to accommodate your drainage pipe or gravel layer. Ensure the trench slopes downward at a slight angle—around 1 inch of drop for every 10 feet of trench—to maintain proper water flow.
Remove any rocks, roots, or debris as you dig to create a clear and even path. Take care to follow the planned route and measurements to avoid issues later in the installation process. Proper trench preparation is crucial for ensuring the long-term effectiveness of your drainage system.
Step 3: Install Pipe and Connectors
Once your trench is properly prepared, you can begin installing the drainage pipe and necessary connectors. Start by laying a layer of gravel—about 2 to 3 inches thick—at the bottom of the trench to provide a stable and well-drained base. Next, position the perforated drainage pipe on top of the gravel with the perforations facing downward to ensure optimal water flow into the system.
Securely connect additional lengths of pipe using the appropriate connectors or couplings, ensuring a tight and seamless fit to prevent leaks. Continue assembling and placing the pipe along the entire length of the trench, verifying that it follows the correct slope for proper drainage. Double-check each connection and make adjustments as needed before moving on to the next step.
Step 4: Cover with Gravel
Once the drainage pipe is securely in place, begin covering it with clean gravel. Use a shovel to distribute the gravel evenly along the entire length of the trench, ensuring the pipe is completely surrounded. This layer of gravel helps to filter water and provides additional support to the pipe.
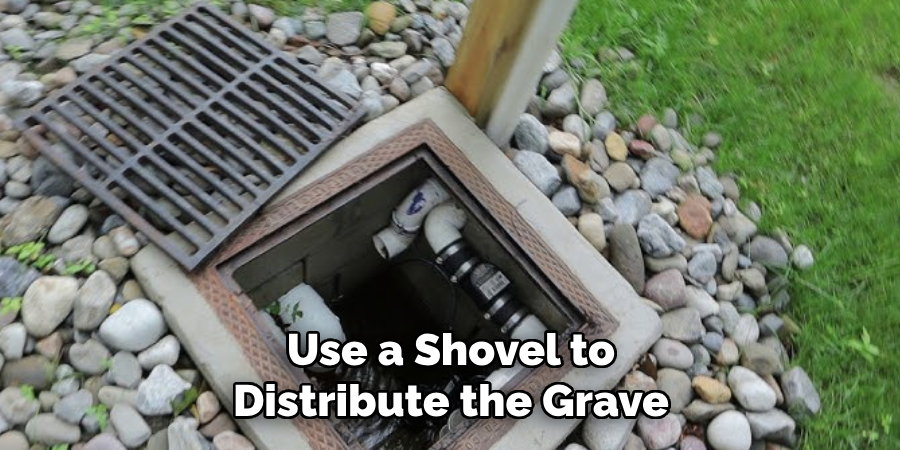
Aim to add gravel until it reaches a level just below the surface of the ground or as specified in your project plan. Be careful not to displace the pipe while adding the gravel, and check periodically to ensure it remains properly aligned and positioned.
Step 5: Add Landscaping Fabric
Once the pipe is securely positioned and surrounded by gravel, cover the gravel layer with landscaping fabric. This fabric acts as a barrier, preventing soil and debris from seeping into the gravel and pipe over time, which could cause blockages.
Carefully lay the fabric over the gravel, ensuring it overlaps the edges of the trench on both sides. Smooth out any wrinkles or folds to maintain a neat and uniform layer. After the fabric is in place, you are ready to proceed to the next step in completing your drainage system.
Step 6: Backfill Trench
Once the landscaping fabric is secured, it’s time to backfill the trench. Begin by adding a layer of clean gravel on top of the fabric, ensuring it surrounds the drainage pipe fully and provides additional support and filtration. Gradually fill the trench until the gravel reaches a level slightly below the ground’s surface. Afterward, fold the edges of the landscaping fabric over the top of the gravel to create a sealed barrier.
Finally, cover the fabric with a layer of soil, sod, or your chosen ground cover material to match the surrounding area. This will help restore the appearance of your landscape while effectively concealing the drainage system. Ensure the surface is level and compacted to prevent uneven settling over time. With the trench backfilled, your drainage system is nearly complete and ready for operation.

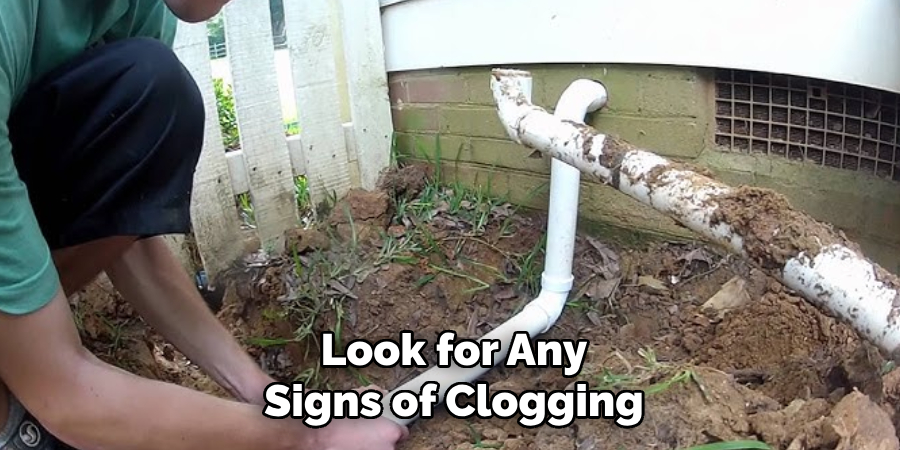
Following these steps on how to drain sump pump outside will greatly improve the efficiency and longevity of your sump pump. However, it is important to regularly maintain and clean the system to ensure it continues to function properly. This includes checking for any clogs or debris in the drain pipe, cleaning out any collected sediment in the sump pit, and testing the pump periodically.
Maintenance Tips
Once your French drain is installed, it is important to maintain it regularly to ensure its effectiveness. Here are some tips for maintaining your French drain:
- Regularly check and clean any debris or sediment from the drainage grate or opening of the pipe.
- Inspect the landscaping fabric and replace it if it becomes torn or damaged.
- Monitor the slope of the trench to make sure water is still flowing towards the designated outlet.
- If you notice standing water around your home, check for any clogs in the system and clear them out as needed.
By following these maintenance tips, you can ensure that your French drain continues to effectively protect your property from water damage.
Common Mistakes to Avoid
When installing or maintaining a French drain, there are several common mistakes that can undermine its effectiveness. One major mistake is not digging the trench deep or wide enough, which can limit the drain’s capacity to handle significant water flow. Additionally, failing to properly line the trench with landscaping fabric can lead to clogging over time as soil seeps into the drainage system.
Another frequent error is using the wrong type of gravel or skipping gravel altogether, which reduces the system’s ability to filter and redirect water. It’s also important to ensure the trench has an adequate slope to direct water towards the designated outlet—insufficient slope will result in stagnant water and ineffective draining. Finally, neglecting regular maintenance, such as clearing debris or inspecting for damage, can lead to system failures. Avoiding these pitfalls will help you maintain a reliable and long-lasting French drain system.
Frequently Asked Questions
Q1: What is a French Drain System?
A: A French drain system is a drainage solution used to divert excess water away from an area, such as a basement or yard. It typically consists of a perforated pipe surrounded by gravel or rock and placed in a trench dug into the ground.
Q2: How Does a French Drain Work?
A: A French drain works by allowing water to enter through the perforated pipe and then directing it away from the desired area. As water enters the pipe, it is filtered through the gravel or rock and carried away, preventing any buildup of excess water.
Q3: Can I Install a French Drain System Myself?
A: While some DIY enthusiasts may be able to successfully install a French drain system, it is generally recommended to hire a professional for this task. Proper installation is crucial for the effectiveness of the system, and professionals have the necessary experience and equipment to ensure it is done correctly.
Q4: How Often Should I Inspect My French Drain System?
A: It is important to regularly inspect your French drain system, especially after heavy rainfalls. Look for any signs of clogging, such as standing water or slow drainage. Additionally, it is a good idea to have a professional inspect the system every 1-2 years to ensure proper functioning and address any potential issues before they become major problems. Regular maintenance can help extend the lifespan of your French drain system.
Conclusion
Proper maintenance and regular inspections are key to ensuring the longevity and efficiency of your French drain system. By addressing issues promptly and staying proactive with upkeep, you can prevent costly repairs and maintain effective drainage around your property. Investing time and effort into caring for your French drain will help protect your home and landscape for years to come. Thanks for reading this article on how to drain sump pump outside.
About the Author
Adrian Green is a passionate woodworking enthusiast who has dedicated his life to the craft of woodworking. From his early days working alongside his father in the family woodworking shop, Adrian has honed his skills and developed a deep love for creating beautiful, functional pieces with his hands. As the voice behind The Woodenify Blog, he shares his knowledge, tips, and inspiration with fellow woodworkers of all skill levels, helping them build confidence in their abilities while learning new techniques.
Professional Focus
- Specializes in DIY woodworking projects, from furniture making to home décor.
- Provides step-by-step guides, tips, and practical tutorials for woodworkers at any skill level.
- Focused on empowering readers with confidence and knowledge through easy-to-follow instructions and hands-on techniques.
- Passionate about building a community where makers can share, learn, and grow together in the world of woodworking.
Education History
University of Craft and Design – Bachelor of Fine Arts (BFA) in Woodworking and Furniture Design
Woodworking Apprenticeships – Gained extensive hands-on experience through various workshops and mentorships with seasoned craftsmen, refining carpentry and furniture-making skills.
Expertise
- DIY woodworking, carpentry, furniture making, and home décor projects.
- Creating clear, accessible tutorials and guides for beginner to advanced woodworkers.
- Helping readers experience the satisfaction and fulfillment of turning raw materials into stunning finished products.