
Covering a shower drain is an essential task for maintaining cleanliness and preventing clogs within your bathroom. By properly securing the drain, you can stop debris, hair, and other materials from entering and causing blockages. Additionally, it helps in keeping unwanted pests and odors at bay.
This guide on how to cover shower drain will walk you through the steps to effectively cover your shower drain, ensuring it remains functional and hygienic. Choosing the right shower drain covers not only enhances the appearance of your bathroom but also helps prevent clogs and ensures proper water flow.
Why Covering a Shower Drain is Important?
Covering your shower drain has several benefits. Firstly, it helps in preventing clogs by keeping debris and hair from going down the drain. This not only saves you from unclogging the drain frequently but also prevents potential damage to your plumbing system.
Secondly, covering the drain can help in controlling unpleasant odors that may arise due to stagnant water or the build-up of bacteria and mold within the pipes.
Lastly, securely covering the shower drain can keep out unwanted pests such as insects and rodents, which are attracted to moisture and organic materials found in drains.
Tools and Materials Needed
To effectively cover your shower drain, you will need the following tools and materials:
Drain Cover or Strainer:
A drain cover or strainer is an essential tool for covering your shower drain. It helps in filtering out debris and hair, allowing only water to pass through.
Screwdriver:
Depending on the type of drain cover you have, a screwdriver may be needed to remove the existing cover before installing a new one.
Plumber’s Putty:
For added security and sealing, a plumber’s putty can be used to create a watertight seal between the shower base and the drain cover.
8 Step-by-step Guides on How to Cover Shower Drain
Step 1: Clean the Area
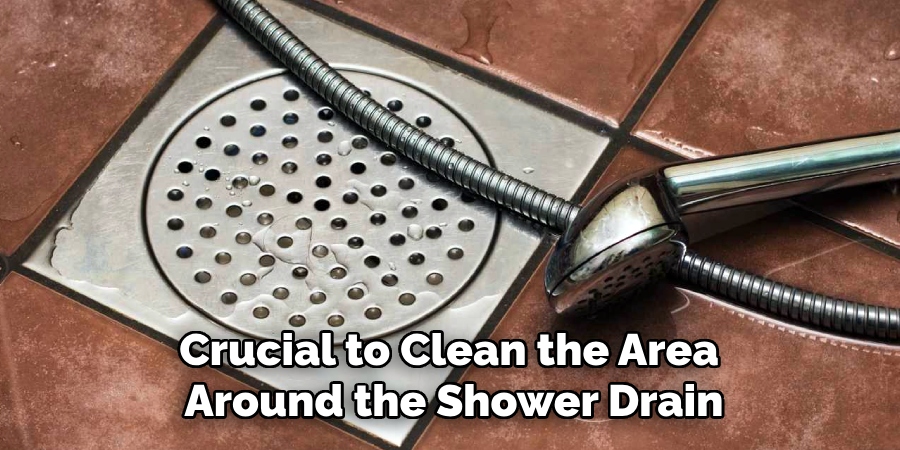
Before installing or replacing a drain cover, it is crucial to clean the area around the shower drain thoroughly. Start by removing any existing cover, if present, using a screwdriver if necessary. Clear out any visible debris, hair, or residue from the drain opening using gloves or a small cleaning brush.
Once the debris is removed, use a damp cloth and mild cleaning solution to wipe down the area around the drain, ensuring it is free from dirt and grime. Allow the area to dry completely before proceeding to the next step.
Step 2: Measure the Drain Opening
Accurate measurements of the drain opening are essential to ensure that the new drain cover fits securely and functions properly. Use a measuring tape or ruler to determine the diameter of the drain opening. Carefully measure both the width and length if the drain is not circular, noting down the exact dimensions.
It is also helpful to inspect the type of drain you have, as some drains may require specific types of covers or strainers. Once you have the measurements, you can choose a compatible cover that will effectively block debris and maintain the functionality of your shower drain.
Step 3: Choose a Drain Cover
Based on the measurements and type of drain, select a suitable drain cover or strainer. There are various options available in the market, including snap-in covers, screw-on covers, and lift-and-turn covers. Consider factors such as material, design, and ease of cleaning when choosing the right cover for your shower drain.
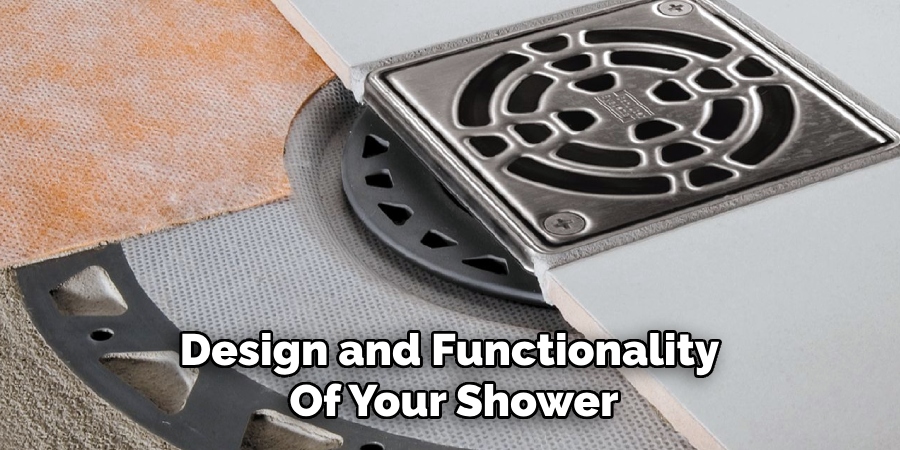
The type of drain cover you choose also depends on the design and functionality of your shower. For example, if you have a tiled or stone shower floor, a snap-in cover may be more suitable as it does not require drilling holes into the surface.
Step 4: Prepare the Drain Cover
Before installing the new drain cover, inspect it to ensure it is clean and free of any defects or damages, such as cracks or rust. If the cover includes screws or other hardware, make sure all components are accounted for and in good condition.
For covers that require additional sealing, apply a thin layer of plumber’s putty around the edges of the cover. This helps create a watertight seal and prevents water from leaking around the cover. Be careful not to use excessive putty, as it can squeeze out when the cover is installed.
Lastly, check the fit of the cover by positioning it over the drain opening without securing it fully. This ensures that the cover matches the drain size and type before moving on to the installation process.
Step 5: Position the Drain Cover
Carefully position the drain cover over the drain opening. Align the cover so that it sits evenly and securely on the surface, ensuring it covers the entire drain opening without leaving any gaps. If your drain cover requires screws, make sure the screw holes align properly with those in the drain base.
For snap-in covers, gently press down until the cover clicks into place. If you are using a plumber’s putty, apply slight pressure to ensure the putty creates a tight seal between the cover and the shower floor. Double-check that the cover is stable and doesn’t move out of place, as this could affect its functionality.
Step 6: Secure the Drain Cover
Once the drain cover is properly positioned, secure it based on the type of cover you are using. For screw-on covers, use a screwdriver to tighten the screws evenly. Avoid over-tightening, as this could damage the screws or crack the cover. Ensure the cover is firmly attached and does not wobble.

If you are installing a snap-in cover, apply gentle but firm pressure around the edges to ensure it snaps into place securely. Check that all sides are flush with the shower surface and that the cover doesn’t shift or lift.
Step 7: Test for Proper Functionality
After securing the drain cover, it is essential to test its functionality to ensure it is installed correctly. Start by running water in the shower and observing how it flows through the drain. Check if the water drains smoothly without pooling around the cover. Verify that the cover effectively prevents debris, hair, or other particles from entering the drain while still allowing water to pass through without obstruction.
Next, gently press down or apply a slight weight on the cover to confirm it remains stable and does not shift or dislodge from its position. If you used a plumber’s putty, check for any leaks around the edges of the cover and reapply or adjust as needed. Conducting these tests ensures the drain cover is functioning properly and will minimize future maintenance issues.
Step 8: Maintain and Clean Regularly
To keep your shower drain cover in good condition, it is crucial to clean and maintain it regularly. Remove any debris or hair that accumulates on the surface or around the edges of the cover. Use a mild cleaning solution and non-abrasive cloth to wipe down the cover and remove any residue or grime. This will help prevent clogging and ensure proper functionality of your shower drain for an extended period.
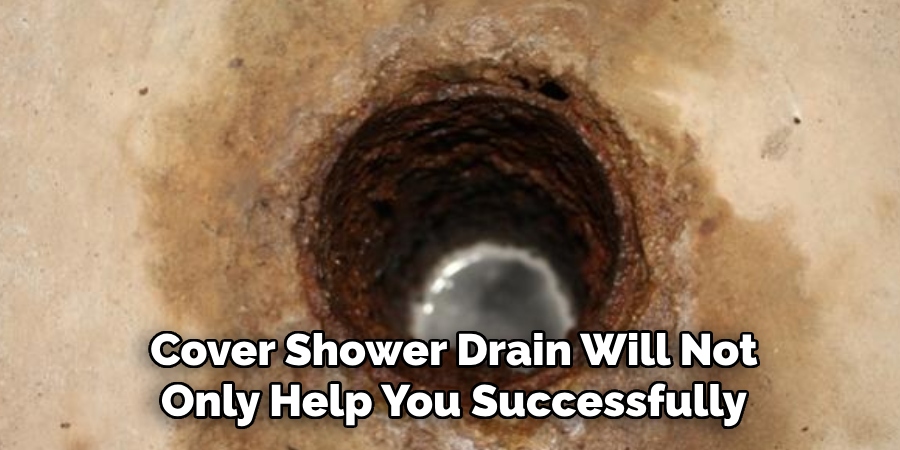
Following these steps on how to cover shower drain will not only help you successfully replace your shower drain cover but also maintain the cleanliness and functionality of your shower. Remember to conduct regular inspections and cleanings to prevent any potential issues and ensure a hassle-free experience every time you take a shower. By following these simple steps, you can easily handle this DIY task and keep your shower drain in top shape. Happy cleaning!
Frequently Asked Questions
Q1: How Often Should I Replace My Shower Drain Cover?
Answer: It is recommended to replace your shower drain cover every 1-2 years or as needed if there are signs of wear and tear or damage. Regular maintenance and cleaning can also help prolong the lifespan of your drain cover.
Q2: Can I Use Any Type of Drain Cover for My Shower?
Answer: It is essential to choose a compatible drain cover based on the type and measurements of your shower drain. Using an incompatible cover can affect its functionality and potentially cause damage to both the cover and the drain.
Q3: What Should I Do if Water Leaks Around the Edges of My Drain Cover?
Answer: If you notice water leaking around the edges of your drain cover, it may be due to a loose or improperly sealed cover. You can try reapplying the plumber’s putty or tightening screws if applicable. If the issue persists, it may be best to replace the cover with a new one to ensure proper functionality.
Q4: Can I Install a New Drain Cover Over an Existing One?
Answer: It is not recommended to install a new drain cover over an existing one as it can affect the stability and functionality of the cover. It is best to remove the old cover and properly clean and prepare the shower floor before installing a new cover. Lastly, safety precautions should always be followed when handling tools or working in wet areas to prevent accidents or injuries.
Conclusion
Properly covering your shower drain not only maintains the cleanliness of your bathroom but also prevents potential plumbing problems such as clogs or leaks. By following these step-by-step instructions on how to cover shower drain, you can easily replace or install a drain cover and keep your shower drain functioning efficiently.
Remember to choose the right cover, prepare it properly, and test for functionality before securing it in place. With regular maintenance and cleaning, you can extend the lifespan of your shower drain cover and enjoy a hassle-free shower experience every day. Happy cleaning! `
About the Author
Adrian Green is a passionate woodworking enthusiast who has dedicated his life to the craft of woodworking. From his early days working alongside his father in the family woodworking shop, Adrian has honed his skills and developed a deep love for creating beautiful, functional pieces with his hands. As the voice behind The Woodenify Blog, he shares his knowledge, tips, and inspiration with fellow woodworkers of all skill levels, helping them build confidence in their abilities while learning new techniques.
Professional Focus
- Specializes in DIY woodworking projects, from furniture making to home décor.
- Provides step-by-step guides, tips, and practical tutorials for woodworkers at any skill level.
- Focused on empowering readers with confidence and knowledge through easy-to-follow instructions and hands-on techniques.
- Passionate about building a community where makers can share, learn, and grow together in the world of woodworking.
Education History
University of Craft and Design – Bachelor of Fine Arts (BFA) in Woodworking and Furniture Design
Woodworking Apprenticeships – Gained extensive hands-on experience through various workshops and mentorships with seasoned craftsmen, refining carpentry and furniture-making skills.
Expertise
- DIY woodworking, carpentry, furniture making, and home décor projects.
- Creating clear, accessible tutorials and guides for beginner to advanced woodworkers.
- Helping readers experience the satisfaction and fulfillment of turning raw materials into stunning finished products.