
Protecting your outside faucets during colder months is essential to prevent freezing and potential damage to your plumbing system. Exposed faucets can lead to burst pipes, costly repairs, and water wastage if not properly insulated.
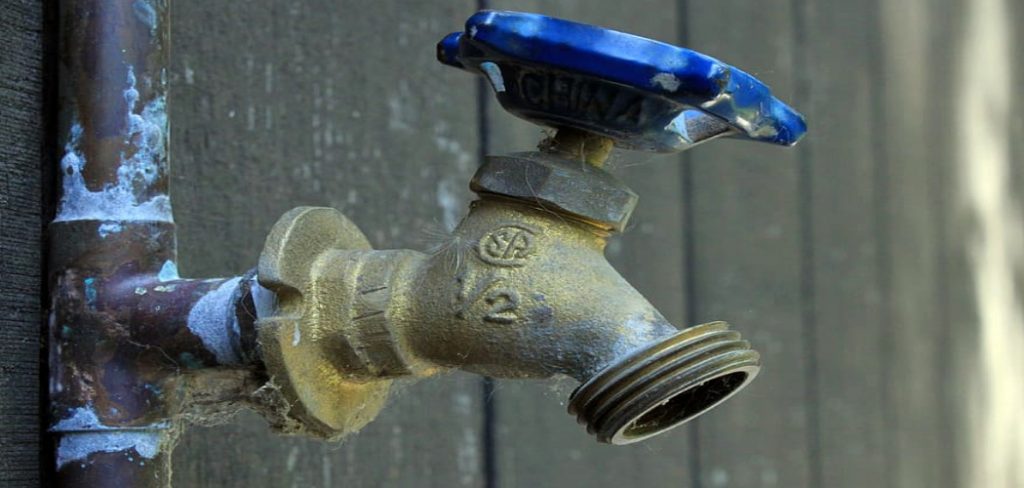
This guide on how to cover outside faucets will walk you through the steps to effectively cover your outside faucets, ensuring your home stays safe and secure throughout the winter season.
Why is It Important to Cover Outside Faucets?
Covering your outside faucets is crucial for maintaining the integrity of your plumbing system and preventing costly damage. Exposed pipes and faucets are susceptible to freezing, which can lead to burst pipes and water leaks. This not only results in expensive repairs but also wastes precious water resources.
Additionally, covering your outside faucets can also help prevent unwanted pests from entering and nesting inside the pipes. Rodents, insects and other critters are attracted to warm, dark spaces during colder months, making your exposed faucets an ideal spot for them to seek shelter.
Needed Materials
Insulating Cover or Faucet Cover:
The first thing you will need is an insulating cover or faucet cover specifically designed for outdoor faucets. These covers are typically made of durable, waterproof materials and come in various sizes to fit different types of faucets. They are also easily removable, making them convenient for use throughout the winter months.
Insulation Material:
You can use a variety of insulation materials such as foam pipe sleeves, fiberglass insulation, or even old towels or rags to wrap around your outdoor pipes before covering them with the insulating cover.
Duct Tape:
To secure the insulation material, you will also need duct tape. Make sure to use high-quality tape that can withstand colder temperatures and moisture.
Rubber Bands or Bungee Cords:
To secure the faucet cover in place, you will need rubber bands or bungee cords. These will help keep the cover from blowing off during strong winds or storms.
7 Steps on How to Cover Outside Faucets
Step 1: Drain the Water
Before covering your outside faucet, it is essential to drain any water remaining in the pipes to prevent freezing. Start by turning off the water supply to the outdoor faucet from the interior shut-off valve. Once the water supply is off, open the faucet outside to allow any leftover water to drain completely.
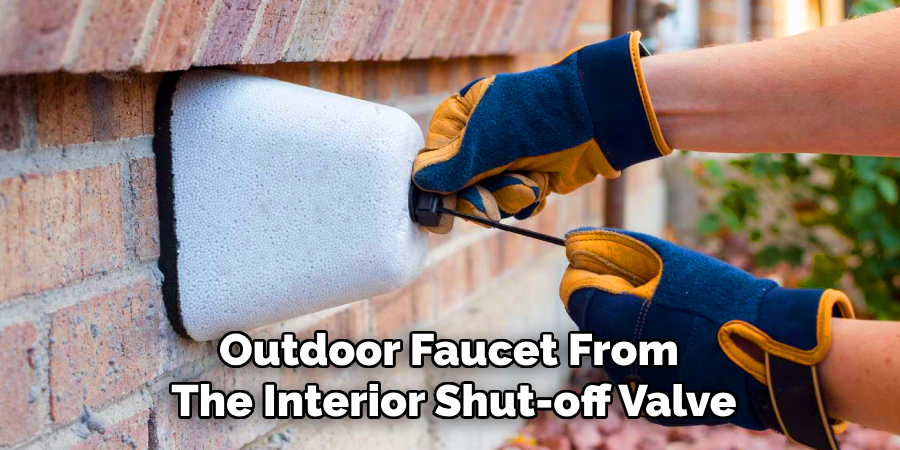
This step ensures that there is no trapped water inside the pipes, which could freeze and expand, causing damage to your plumbing system. If you previously had a garden hose attached, make sure to remove it and drain it as well to avoid freezing.
Step 2: Install Insulating Cover
Once the faucet and pipes are drained, it’s time to install an insulating cover over your outside faucet. These covers come in various sizes and materials, such as foam or plastic, and can be found at most hardware stores.
Simply slide the cover over the faucet and secure it in place with insulation tape or duct tape. This will create a barrier between the cold air and your faucet, preventing freezing temperatures from reaching your pipes.
Step 3: Wrap with Towels or Rags
For added protection, wrap old towels or rags around the insulating cover. This will provide an extra layer of insulation to keep your outside faucet and pipes warm.
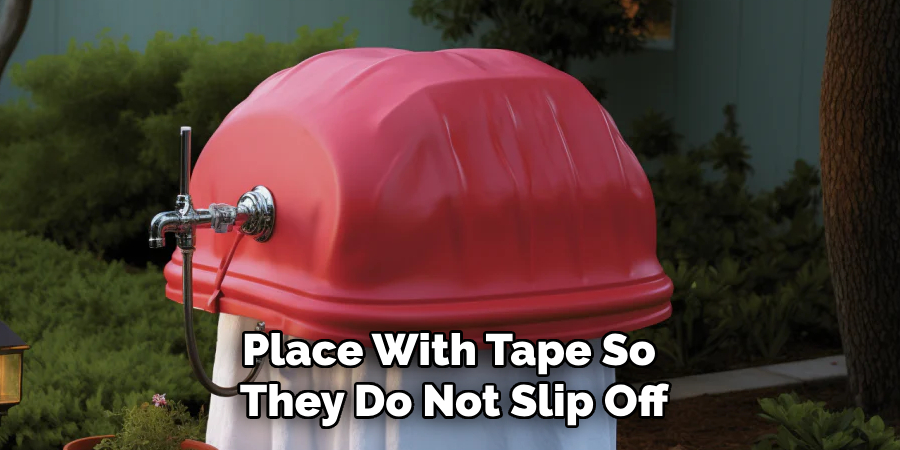
Make sure to secure the towels or rags in place with tape so they do not slip off or get blown away by strong winds.
Step 4: Use a Hose Bibb Cap (Optional)
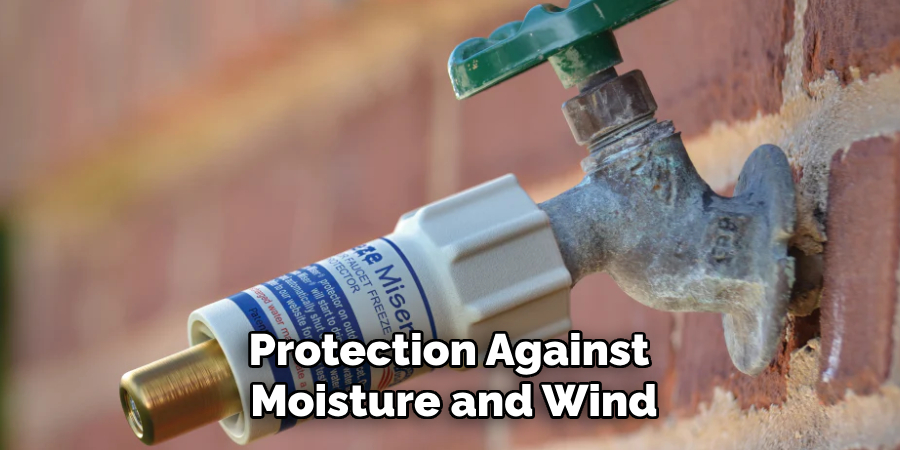
For additional protection, consider using a hose bibb cap to seal off the spout of your outside faucet. A hose bibb cap is a small, inexpensive device that can be screwed onto the end of the faucet to provide an extra barrier against moisture and cold air.
To install, simply screw the cap tightly onto the faucet spout after completing the previous steps. This ensures that no residual water can enter the faucet, reducing the risk of freezing and cracking. While this step is optional, it adds an extra layer of security, particularly in areas prone to extreme cold or frequent freezing temperatures.
Step 5: Insulate Pipes
In addition to covering the faucet, it is also important to insulate any exposed pipes connected to it. This can be done using foam pipe insulation or heat tape, which can be found at most hardware stores. Wrap the insulation around the pipes and secure it with duct tape.
This will prevent any residual water inside the pipes from freezing and potentially bursting.
Step 6: Consider Using Plastic Bags (Optional)
For an extra layer of protection against moisture and wind, you can wrap the entire faucet, including the insulation and towels, in a plastic bag. This helps to keep everything dry and secure, particularly during rainy or snowy conditions.
To do this, simply place a large plastic bag and its insulation over the faucet, ensuring it covers all sides. Use duct tape or a rubber band to tightly seal the bag around the base of the faucet, preventing it from slipping off or allowing moisture to seep in. While this step is optional, it can be especially helpful in areas that experience heavy precipitation, as it adds another barrier against the elements.
Step 7: Check and Maintain Throughout the Winter
After completing all the steps, it’s essential to periodically check on your covered outside faucets throughout the winter season. Inspect for any damage or tears in the cover or insulation and make necessary repairs.
Also, remember to remove any covers or caps and restore the water supply once temperatures begin to rise in the spring.

Following these steps on how to cover outside faucets will help protect your plumbing system and prevent costly damage during colder months. By taking the time to properly insulate and maintain your outside faucets, you can ensure a safe and worry-free winter season. Remember to check and maintain your covered faucets throughout the winter, as any damages or wear and tear may lead to potential issues when spring arrives.
Happy winterizing!
Additional Tips
- Always remember to disconnect hoses from outside faucets before covering them.
- Check for any cracks or damages in the insulating cover and replace if necessary.
- If you have a sprinkler system, be sure to shut it off and drain any water from the lines before winter sets in.
- Consider installing frost-free faucets for added protection against freezing temperatures.
- Insulate any exposed or vulnerable pipes throughout your home to prevent them from freezing as well. For more information, consult a professional plumber. Remember, prevention is always better than dealing with costly repairs! Keep your faucets and plumbing system safe and functional by properly covering them during the winter season. Stay warm and happy winterizing!
Preventative Measures and Regular Maintenance
It’s important to note that covering outside faucets is a preventative measure and not a solution for existing plumbing issues. Regular maintenance and inspections of your plumbing system can help prevent the need for emergency repairs during colder months. Additionally, it is crucial to address any plumbing issues promptly to avoid further damage or potential risks.
It is always recommended to consult a professional plumber if you have any concerns or questions about winterizing your plumbing system. Remember, taking care of your outdoor faucets now can save you time and money in the long run! Let’s keep our homes warm and safe during the coldest months of the year by properly covering our outside faucets.
Frequently Asked Questions
Q: Do I Need to Cover My Outside Faucet Even if It’s a Frost-free Faucet?
A: Yes, while these types of faucets are designed to resist freezing, they still benefit from added insulation during extreme cold temperatures. The added protection will also help to extend the life of your faucet.
Q: Can I Use Foam Pipe Insulation on My Pipes Instead of Heat Tape?
A: Yes, foam pipe insulation is an effective and easy-to-use option for insulating pipes. However, in areas with particularly harsh winters or sub-zero temperatures, heat tape may provide better protection against freezing. Consult a professional plumber for advice on the best option for your specific location and needs.
Q: How Often Should I Check and Maintain My Covered Outside Faucets During Winter?
A: It’s recommended to check on them at least once a month, especially after any significant snowfall or extreme temperature changes. If you notice any damages or wear and tear, make repairs as soon as possible to prevent any potential issues. It’s also important to remove the covers and restore the water supply once temperatures begin to rise in the spring.
Q: Can I Leave My Outside Faucet Running During Winter to Prevent Freezing?
A: This is not recommended, as it can lead to increased water usage and may not fully prevent freezing if temperatures drop low enough. Properly covering and insulating the faucet is a more effective and cost-efficient method.
Conclusion
Taking the time to properly cover and insulate your outside faucets is a simple yet effective way to protect your home from the potential damage caused by freezing temperatures. By following the outlined steps on how to cover outside faucets, utilizing recommended materials, and performing regular maintenance throughout the winter, you can avoid costly repairs and ensure the longevity of your plumbing system.
Whether you live in an area with mild winters or harsh freezing conditions, these preventative measures will give you peace of mind and help your plumbing system endure the cold season. Stay proactive, stay prepared, and enjoy a worry-free winter!
About the Author
Adrian Green is a passionate woodworking enthusiast who has dedicated his life to the craft of woodworking. From his early days working alongside his father in the family woodworking shop, Adrian has honed his skills and developed a deep love for creating beautiful, functional pieces with his hands. As the voice behind The Woodenify Blog, he shares his knowledge, tips, and inspiration with fellow woodworkers of all skill levels, helping them build confidence in their abilities while learning new techniques.
Professional Focus
- Specializes in DIY woodworking projects, from furniture making to home décor.
- Provides step-by-step guides, tips, and practical tutorials for woodworkers at any skill level.
- Focused on empowering readers with confidence and knowledge through easy-to-follow instructions and hands-on techniques.
- Passionate about building a community where makers can share, learn, and grow together in the world of woodworking.
Education History
University of Craft and Design – Bachelor of Fine Arts (BFA) in Woodworking and Furniture Design
Woodworking Apprenticeships – Gained extensive hands-on experience through various workshops and mentorships with seasoned craftsmen, refining carpentry and furniture-making skills.
Expertise
- DIY woodworking, carpentry, furniture making, and home décor projects.
- Creating clear, accessible tutorials and guides for beginner to advanced woodworkers.
- Helping readers experience the satisfaction and fulfillment of turning raw materials into stunning finished products.