
Are you tired of operating your generator with gasoline and want to switch to natural gas? Don’t worry, connecting a natural gas line to your generator is not as complicated as you might think.
How to connect natural gas line to generator is an essential step for ensuring a reliable power supply during outages. This process allows the generator to run continuously without the need to manually refuel, making it a convenient and efficient solution for homes and businesses. Properly connecting a natural gas line involves careful planning, adherence to safety standards, and, in most cases, professional assistance.
By understanding the basics of the process and the precautions involved, you can prepare to set up your system effectively and safely. Let’s follow the steps to connect a natural gas line to your generator.
What Are the Benefits of Connecting a Natural Gas Line to Your Generator?
Before discussing the steps to connect a natural gas line, let’s understand why it is beneficial in the first place.
- Cost Savings: Natural gas is generally cheaper than gasoline, which could save you money in the long run.
- Environmentally Friendly: As an alternative fuel source, natural gas emits less pollution and has lower carbon emissions than gasoline or diesel.
- Convenience: Once connected, your generator will have a continuous fuel supply without manual refueling.
Now that we know the benefits, let’s dive into the steps involved in connecting a natural gas line to your generator.
What Will You Need?
To connect a natural gas line to your generator, you will need the following tools and supplies:
- A portable or standby generator
- A natural gas conversion kit (if not included with your generator)
- A flexible connector hose
- Pipe wrench
- Teflon tape
- Gas shut-off valve
- NPT fittings
It is essential to ensure that all these materials are of high quality and meet the necessary safety standards.
10 Easy Steps on How to Connect Natural Gas Line to Generator
Step 1: Turn Off the Gas Supply
Before starting any work, ensure that the gas supply to your home or facility is completely turned off. This step is crucial for
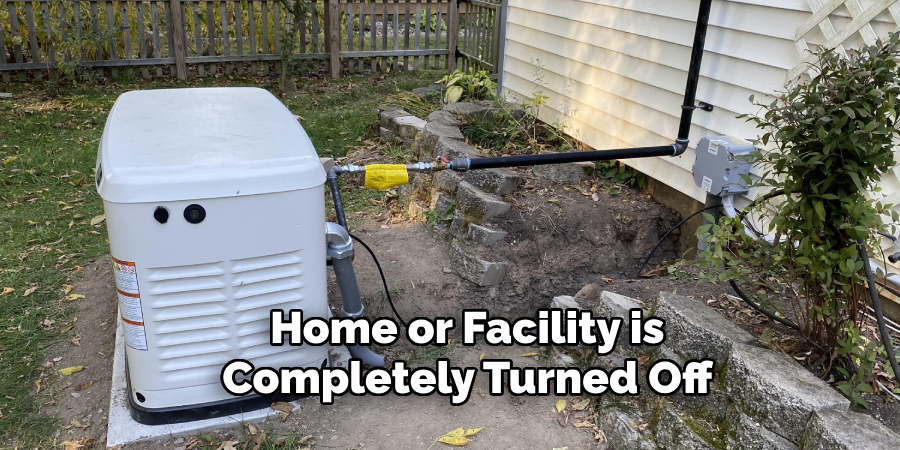
your safety and will help prevent accidental gas leaks during installation. Use the gas shut-off valve to stop the flow of natural gas, and double-check that it is securely closed.
Step 2: Prepare Your Generator
Place your generator in a well-ventilated area, preferably outdoors, to ensure safety and compliance with ventilation guidelines. Ensure the generator is on a level, stable surface to prevent tipping or movement during operation. If your generator requires a natural gas conversion kit, install it according to the manufacturer’s instructions before proceeding. Double-check that all components are securely attached and ready for the connection process.
Step 3: Measure and Cut the Gas Line
Measure the distance from your natural gas supply line to the intake valve of your generator, ensuring that the gas hose or pipe is long enough to make a secure connection. Once measured, cut the gas line to the appropriate length using a pipe cutter or suitable tool, ensuring a clean and even cut. Be careful not to damage the line during this step, as any imperfections could lead to leaks or improper connections.
Step 4: Attach the Gas Line to the Generator
Carefully connect one end of the gas line to the intake valve on your generator. Use the appropriate fittings, such as a hose clamp or threaded connector, to secure the connection firmly. Ensure there are no gaps or loose fittings to prevent gas leaks. Once the gas line is attached to the generator, gently pull on it to confirm it is tightly secured. Avoid overtightening, as this could damage the fittings or the gas line.
Step 5: Connect the Gas Line to the Supply Line
Attach the other end of the gas line to your natural gas supply line. Depending on your setup, you may need to use additional fittings, such as a coupling or adapter, to ensure a proper connection. Tighten the connection securely utilizing

a wrench, but do not overtight and damage the fittings. Once connected, double-check the connection for any visible gaps or looseness. It’s important to ensure this connection is leak-proof to guarantee safety and efficient operation.
Step 6: Test for Gas Leaks
Before starting the generator, testing the connections for gas leaks is crucial. Begin by turning on the natural gas supply valve slowly. Use a soapy water solution and apply it to all connection points along the gas line, including the generator and supply line fittings. Observe closely for any bubbles, as these indicate a gas leak. If a leak is detected, immediately turn off the gas supply and tighten the fittings before re-testing. Do not proceed until all connections are confirmed to be leak-proof. This step ensures the safety of the system and prevents potential hazards.
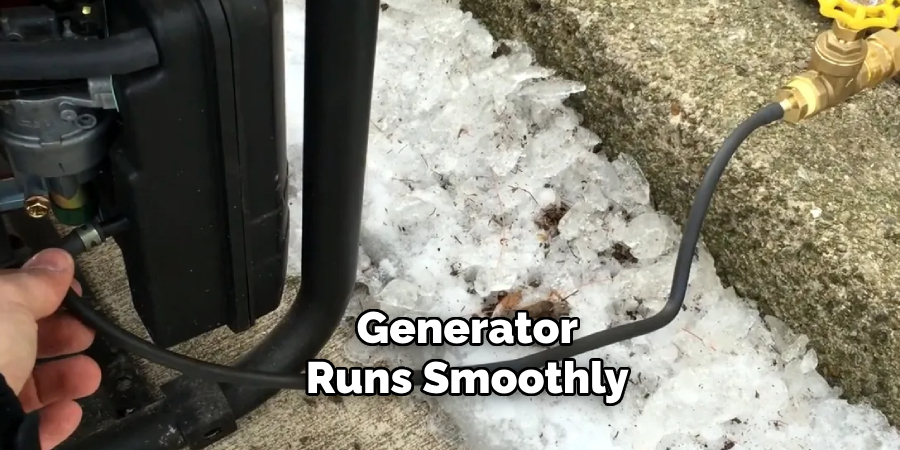
Step 7: Start the Generator
After confirming that there are no gas leaks, you can start the generator. Follow the manufacturer’s instructions for starting the unit, typically turning the generator’s power switch to the “On” position and pressing the start button or pulling the start cord. Allow the generator to run for a few minutes to ensure it operates smoothly. During this time, check for any unusual noises or vibrations, as these could indicate a problem. Once the generator runs properly, it is ready to supply power to your connected appliances or systems.
Step 8: Connect Your Appliances
Once the generator runs smoothly, connect your appliances or systems to the generator according to its power capacity. Use heavy-duty extension cords or a transfer switch, if applicable, to ensure safe and reliable connections. Ensure that the
connected equipment’s total wattage does not exceed the generator’s rated capacity to avoid overloading. Always plug in appliances one at a time to distribute the power load evenly. Monitor the generator’s performance and the connected devices to ensure everything functions correctly.
Step 9: Monitor and Refuel as Needed
While the generator is running, monitoring its performance and fuel level is essential. Keep an eye on the fuel gauge and refill it with the appropriate fuel type when necessary, following the manufacturer’s guidelines. Always turn off the generator and allow it to cool down before refueling to prevent accidents or fire hazards. Additionally, check the oil level periodically and top it off if required to maintain proper engine operation. Staying attentive ensures the generator continues to perform efficiently and safely during its usage.
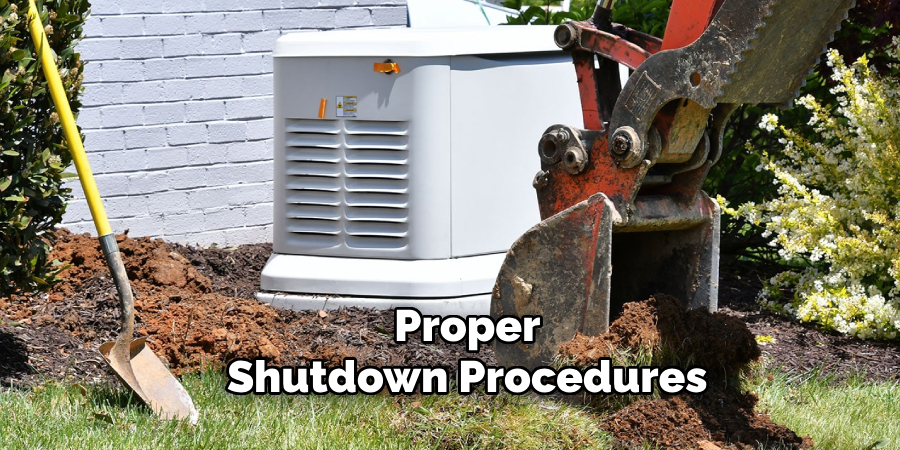
Step 10: Shut Down the Generator Properly
When you no longer need the generator, follow the proper shutdown procedures to ensure safety and maintain the equipment’s longevity. Start by turning off and unplugging all connected appliances to reduce the load. Then, switch the generator to the “Off” position as per the manufacturer’s instructions. If the generator has a fuel valve, turn it off to avoid fuel leakage. Allow the generator to cool down completely before storing it in a dry and well-ventilated area. Proper shutdown and storage help extend the life of the generator and ensure it is ready for future use.
By following these steps, you can safely and efficiently connect your natural gas generator to a gas line.
5 Things You Should Avoid
- Skipping a Professional Inspection: Never attempt to connect a natural gas line to your generator without consulting or hiring a licensed professional. Improper installation can lead to gas leaks, environmental hazards, or even potential explosions, making it a critical safety risk.
- Using Incorrect or Improperly Fitted Components: Avoid using gas hoses, connectors, or fittings that are not designed for natural gas systems or are incompatible with your generator. Mismatched or faulty components may result in leaks and inefficient operation.
- Ignoring Local Codes and Regulations: Always adhere to local building codes and regulations when connecting a natural gas line. Failure to comply could lead to fines, legal repercussions, or issues with your property insurance in cases of accidents or damage.
- Neglecting Regular Leak Testing: Failing to test for gas leaks before and after the connection is complete can lead to dangerous situations. Always use a soapy water solution or appropriate leak-detection equipment to ensure connections are secure and leak-free.
- Operating Without Adequate Ventilation: Never position the generator in an enclosed or poorly ventilated area while it’s running. Proper ventilation is essential to prevent the buildup of harmful gases like carbon monoxide, which can pose serious health risks.
By avoiding these common mistakes, you can ensure a safe and reliable natural gas generator connection.
Conclusion
How to connect natural gas line to generator is a task that requires careful planning, adherence to safety protocols, and attention to detail.
By following proper guidelines, such as consulting a licensed professional, ensuring compliance with local regulations, and performing thorough leak testing, you can secure a safe and efficient connection. Always prioritize safety by using the right tools and maintaining adequate ventilation during operation.
Taking these precautions not only protects your property but also ensures reliable generator performance when you need it most.
About the Author
Adrian Green is a passionate woodworking enthusiast who has dedicated his life to the craft of woodworking. From his early days working alongside his father in the family woodworking shop, Adrian has honed his skills and developed a deep love for creating beautiful, functional pieces with his hands. As the voice behind The Woodenify Blog, he shares his knowledge, tips, and inspiration with fellow woodworkers of all skill levels, helping them build confidence in their abilities while learning new techniques.
Professional Focus
- Specializes in DIY woodworking projects, from furniture making to home décor.
- Provides step-by-step guides, tips, and practical tutorials for woodworkers at any skill level.
- Focused on empowering readers with confidence and knowledge through easy-to-follow instructions and hands-on techniques.
- Passionate about building a community where makers can share, learn, and grow together in the world of woodworking.
Education History
University of Craft and Design – Bachelor of Fine Arts (BFA) in Woodworking and Furniture Design
Woodworking Apprenticeships – Gained extensive hands-on experience through various workshops and mentorships with seasoned craftsmen, refining carpentry and furniture-making skills.
Expertise
- DIY woodworking, carpentry, furniture making, and home décor projects.
- Creating clear, accessible tutorials and guides for beginner to advanced woodworkers.
- Helping readers experience the satisfaction and fulfillment of turning raw materials into stunning finished products.