
Underground drain pipes play a crucial role in preventing water accumulation and maintaining proper drainage around your property. Over time, however, these pipes can become clogged with debris, dirt, and other obstructions, leading to water backup and potential damage. Cleaning underground drain pipes might seem like a daunting task, but with the right tools and methodical steps, it can be done effectively.
This guide on how to clean underground drain pipe will walk you through the basics of safely and efficiently cleaning your underground drain pipes to ensure they remain in top working condition. Whether you’re tackling a backyard drainage problem or looking to enhance curb appeal, there are plenty of creative drain pipe ideas to suit both function and style.
Signs Your Underground Drain Pipe Is Clogged
Identifying the signs of a clogged underground drain pipe early can help prevent severe damage and costly repairs. Here are some common indications that your drain pipe might be clogged:
Standing Water:
Puddles or pools of water around your yard, especially after rainfall, may suggest poor drainage due to a blockage.
Slow Draining:
If water takes longer than usual to drain from gutters, outdoor drains, or sinks, it could be a sign of a developing clog.
Unpleasant Odors:
Foul smells coming from your drains or outside near the pipe openings often indicate debris or buildup that needs to be addressed.
Unusual Sounds:
Gurgling or bubbling noises from your drains could mean there’s trapped air caused by a clog in the pipe.
Water Backup:
Overflowing water from gutters or drain pipes is a clear sign that something is obstructing the flow.
Recognizing these warning signs can help you take action promptly, minimizing the risk of further issues or damage to your property.
Safety Precautions Before You Start
Before addressing any plumbing or drainage issues, it’s crucial to prioritize safety to prevent accidents or injuries. Here are some important precautions to follow:
Turn Off Water Supply:
If you’re working on a plumbing system, ensure the main water supply is turned off to avoid water damage or flooding.
Wear Protective Gear:
Use gloves, goggles, and appropriate clothing to shield yourself from chemicals, sharp objects, or dirty water.
Ensure Proper Ventilation:
If using cleaning solutions or drain cleaners, make sure the area is well-ventilated to prevent inhaling harmful fumes.
Use Proper Tools:
Avoid makeshift tools; use the correct equipment to safely and effectively handle the task.
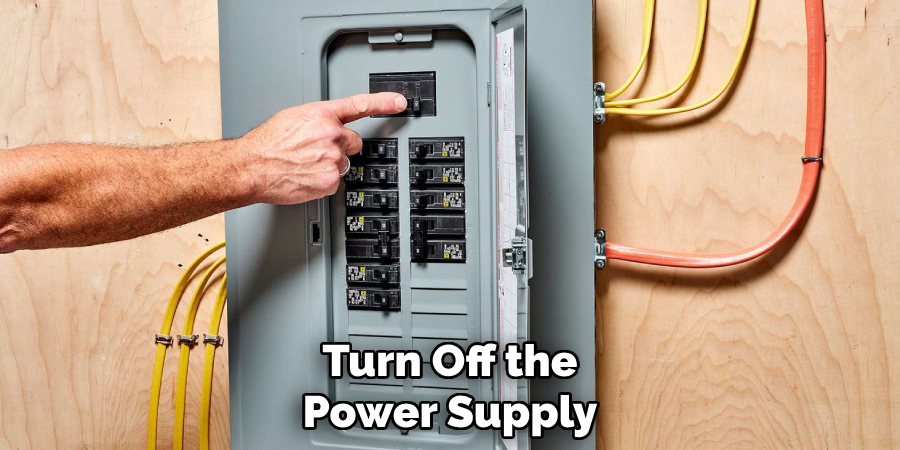
Be Cautious Around Electricity:
If water is pooling near electrical outlets or appliances, turn off the power supply to reduce the risk of electric shock.
Taking these precautions will help create a safe environment as you troubleshoot and resolve any drainage or plumbing issues.
Tools and Materials Needed
- Drain Snake or Auger
- Garden Hose or Pressure Washer
- Drain Cleaning Bladder or Hydro Jet
- Pipe Inspection Camera (Optional)
- Shovel (if Access or Excavation is Needed)
- Baking Soda & Vinegar (for Eco-friendly Options)
6 Step-by-Step Guidelines on How to Clean Underground Drain Pipe
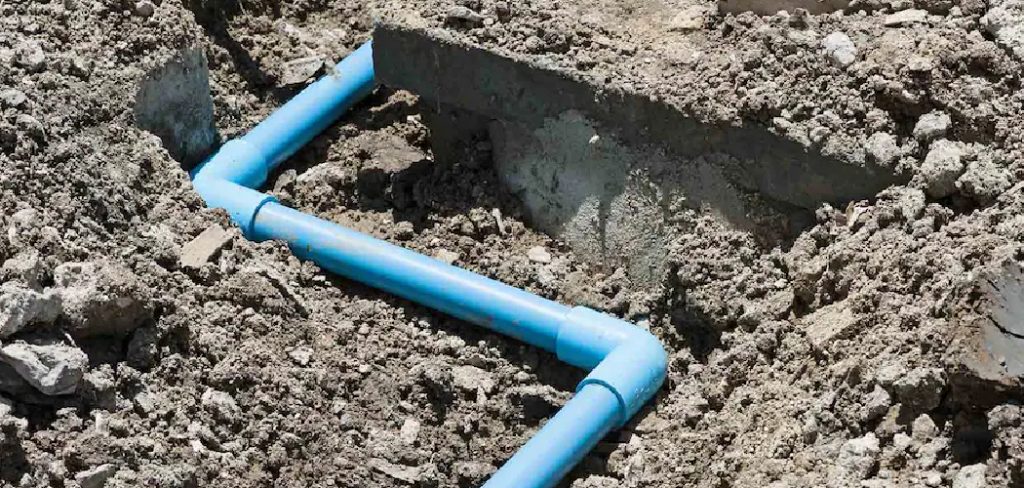
Step 1: Locate the Access Point
The first step in cleaning an underground drain pipe is to identify the access point. This is typically a cleanout, an opening in the pipe designed specifically for maintenance and cleaning purposes. Cleanouts are often located near the building’s foundation, in the yard, or along the drain line.
Remove the cap or cover from the cleanout carefully using appropriate tools, such as a wrench or pliers, to avoid damaging it. If no cleanout is found, you may need to access the drain pipe through a downspout or other entry point connected to the drainage system. Ensure the area around the access point is clear of debris to allow for ease of cleaning.
Step 2: Inspect the Drainage System
After accessing the cleanout or other entry point, visually inspect the drainage system. Look for any obvious signs of clogs, such as standing water or slow draining. You may also notice foul odors coming from the drain, which can indicate a clog or buildup of debris.
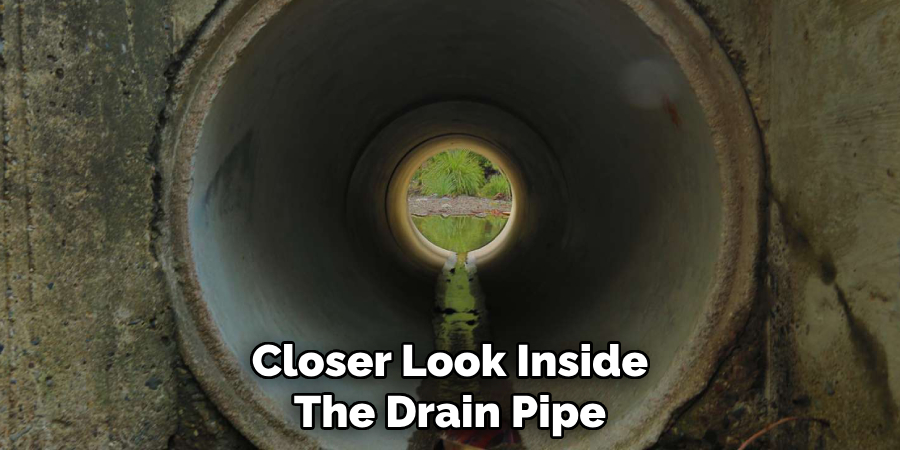
Using a flashlight, take a closer look inside the drain pipe to see if you can spot any blockages. If you are unable to see anything with the naked eye, you may need to use a plumbing snake or auger to break up and remove any clogs.
Step 3: Remove Debris and Buildup
If you do find debris or buildup in the drain pipe, it’s important to remove it as soon as possible. This can be done using a plumbing snake or auger, which works by breaking up and removing the blockage.
Insert the snake or auger into the drain pipe and turn it in a clockwise motion to break up any clogs. If you encounter resistance, continue turning until the blockage is broken apart and can be easily removed.
Once the debris has been removed, run hot water down the drain for several minutes to flush out any remaining buildup. You may also want to consider using a natural enzyme cleaner to help prevent future clogs by breaking down organic matter in your pipes.
Step 4: Check Water Flow
After clearing the clog, turn on the faucet to check the water flow. Ensure that the water drains quickly and smoothly without pooling. If the flow is still slow, repeat the previous steps to ensure the blockage is completely removed.
If the issue persists, it may be a sign of a more significant problem requiring professional plumbing assistance. Regularly monitoring water flow can help identify potential drain issues early and prevent future clogs.
Step 5: Use a Plunger
If the water flow is still slow or completely blocked, you can try using a plunger to help dislodge any remaining debris. Place the rubber cup of the plunger over the drain opening and create a seal by pressing down firmly. Then, push and pull on the handle of the plunger in an up and down motion for several seconds. This will create suction that can help loosen and remove any remaining clogs.

If the plunger method is successful, you should see an improvement in water flow. However, if the drain is still slow or completely blocked, it may be time to call a professional plumber for further assistance.
Step 6: Try a Natural Drain Cleaner
If you prefer to use more natural methods for unclogging your drain, there are several options available. One popular method is using a mixture of baking soda and vinegar to break up and dissolve clogs. To do this, pour half a cup of baking soda down the drain, followed by half a cup of vinegar. The mixture will create a chemical reaction that can help loosen debris and clear the pipes.
Following these steps on how to clean underground drain pipe, you can also try using a drain snake or plumbing auger. These tools can be inserted into the drain to manually break up and remove clogs.
Frequently Asked Questions
Q: How Often Should I Clean My Underground Drain Pipes?
A: It is recommended to clean your underground drain pipes at least once every year to prevent buildup and clogs. It is especially important to clean them after heavy rainfalls or if you notice any signs of a clog.
Q: Can I Use Chemical Drain Cleaners for Underground Pipes?
A: It is not recommended to use chemical drain cleaners for underground pipes as they can cause damage and corrosion to the pipes over time. It is best to use natural methods or seek professional help for cleaning underground drain pipes.
Q: How Can I Prevent Clogs in My Underground Drain Pipes?
A: Regularly maintaining your pipes by cleaning them at least once a year can prevent clogs from occurring. Additionally, avoid flushing large items or materials down the drains and consider installing a debris catcher or grate over any exterior drain openings.
If you have trees or plants near your underground pipes, make sure to regularly trim their roots to prevent them from growing into the pipes and causing blockages. It is also important to use caution when landscaping near underground drain pipes to avoid accidentally damaging them with heavy machinery or tools.
Q: Why is It Important to Take Preventive Measures for Household Drains?
A: It is important to take preventive measures for household drains because clogs and blockages can cause inconvenience, unpleasant odors, and potential damage to your plumbing system. By taking simple steps such as regular maintenance and being mindful of what you put down your drains, you can save yourself from costly repairs and maintain the proper functioning of your home’s drainage system.
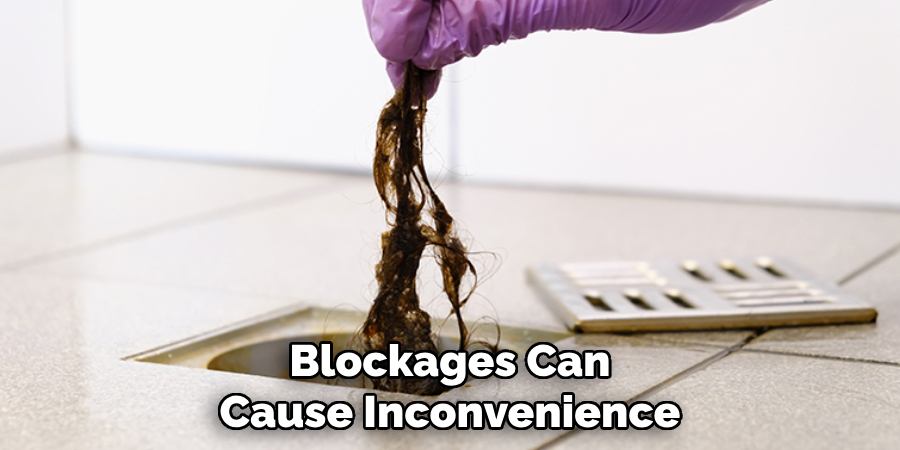
Taking care of your drains also helps protect the environment by reducing the risk of sewage spills or backups into waterways.
Conclusion
In conclusion, maintaining your household drains is an essential part of keeping your home functional and hygienic. Regular upkeep not only prevents inconvenient clogs and expensive repairs but also contributes to a healthier environment.
By adopting simple preventive measures, you can ensure your drainage system operates efficiently and avoid unnecessary stress in the future. A little effort now can save you significant time, money, and trouble down the line. Thanks for reading this article on how to clean underground drain pipe.
About the Author
Adrian Green is a passionate woodworking enthusiast who has dedicated his life to the craft of woodworking. From his early days working alongside his father in the family woodworking shop, Adrian has honed his skills and developed a deep love for creating beautiful, functional pieces with his hands. As the voice behind The Woodenify Blog, he shares his knowledge, tips, and inspiration with fellow woodworkers of all skill levels, helping them build confidence in their abilities while learning new techniques.
Professional Focus
- Specializes in DIY woodworking projects, from furniture making to home décor.
- Provides step-by-step guides, tips, and practical tutorials for woodworkers at any skill level.
- Focused on empowering readers with confidence and knowledge through easy-to-follow instructions and hands-on techniques.
- Passionate about building a community where makers can share, learn, and grow together in the world of woodworking.
Education History
University of Craft and Design – Bachelor of Fine Arts (BFA) in Woodworking and Furniture Design
Woodworking Apprenticeships – Gained extensive hands-on experience through various workshops and mentorships with seasoned craftsmen, refining carpentry and furniture-making skills.
Expertise
- DIY woodworking, carpentry, furniture making, and home décor projects.
- Creating clear, accessible tutorials and guides for beginner to advanced woodworkers.
- Helping readers experience the satisfaction and fulfillment of turning raw materials into stunning finished products.