
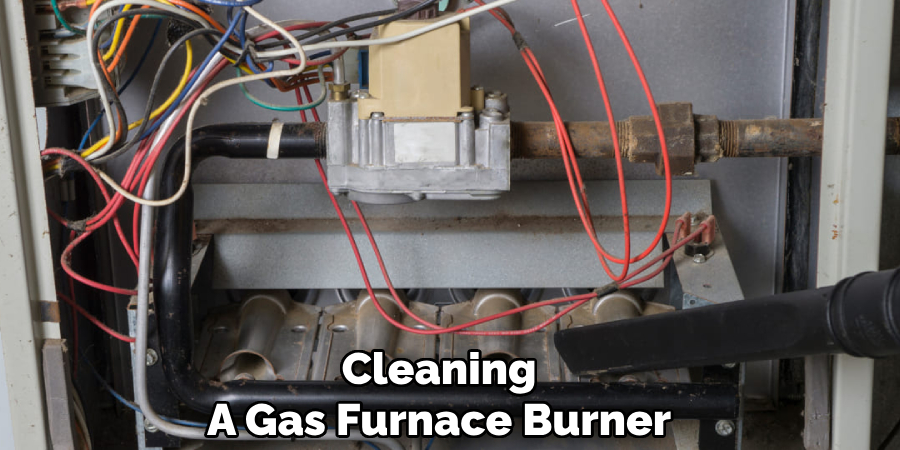
A well-maintained gas furnace burner is crucial for efficient and safe operation. Over time, dirt, soot, and debris can accumulate, causing issues like yellow flames, uneven heating, and incomplete combustion. Knowing how to clean a gas furnace burner ensures better performance and extends the lifespan of your furnace. Cleaning the burner improves energy efficiency, reduces heating costs, and prevents potential hazards like excessive soot buildup and strange odors.

Several signs indicate your gas furnace burner needs cleaning. These include delayed ignition, the burner failing to light, or experiencing an increase in gas consumption. Unusual smells or visible soot are also key indicators.
Before beginning the process, safety is paramount. Always turn off the gas and power supply to the furnace to prevent accidents. Additionally, ensure the furnace has completely cooled down before starting any cleaning or maintenance work.
Tools and Materials Needed
The right tools and materials are essential for cleaning a gas furnace burner effectively and safely. Below is a breakdown of the basic tools, cleaning supplies, and safety gear you’ll need.
Basic Tools
A few common tools will help you disassemble and access the furnace burner components. These include a screwdriver for loosening screws, an adjustable wrench for handling bolts, and a vacuum with a brush attachment for removing dust and debris from the unit.
Cleaning Supplies
For thorough cleaning, gather a soft-bristle brush to scrub away dirt, compressed air to remove stubborn particles from hard-to-reach areas, and a microfiber cloth for detailed wiping. These supplies will ensure the burner is grime-free and ready for optimal performance.
Safety Gear
Prioritize safety by wearing gloves to protect your hands, safety goggles to shield your eyes from dust or debris, and a dust mask to avoid inhaling particulate matter during cleaning. Proper safety gear minimizes risk and ensures a clean and worry-free maintenance experience.
With these tools and materials ready, you’re well-prepared to tackle the next step in maintaining your gas furnace burner.
Accessing the Furnace Burner
Proper access to the furnace burner is essential for effective cleaning and maintenance. Follow these steps to safely and efficiently reach the burner components.
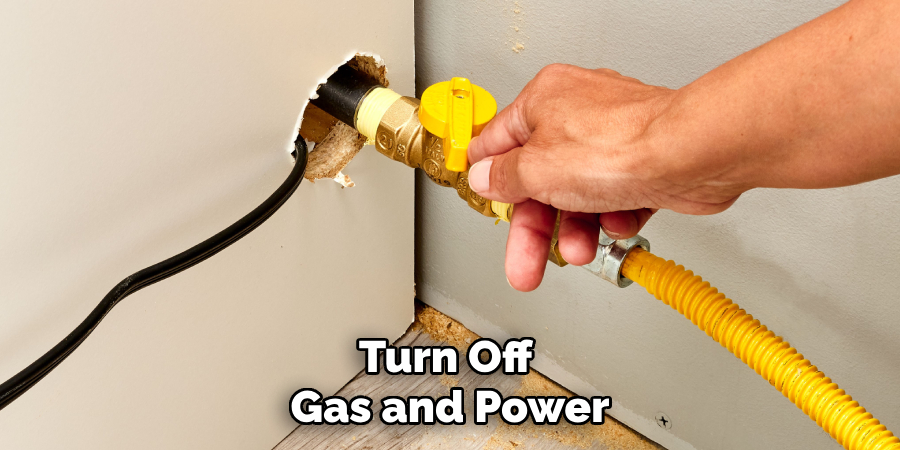
Step 1: Turn Off Gas and Power
Begin by ensuring the furnace is completely turned off. Locate the gas shutoff valve and turn it to the “off” position to stop the gas flow. Then, switch off the electrical power to the furnace by using the designated circuit breaker. This step is crucial for preventing accidents or injury during the process.
Step 2: Remove the Furnace Panels
Once the power and gas are off, remove the front access panel from the furnace. Use a screwdriver to loosen the screws holding the panel in place and gently set it aside. Some furnaces may have an additional inner cover that also requires removal. Exposing the furnace’s inner workings will give you clear visibility of the burner area.
Step 3: Identify the Burner Location
Locate the gas burner tubes and the associated ignition system inside the furnace. These components are typically aligned near the furnace heat exchanger. Identifying the exact location of the burner is important for proceeding with your maintenance or inspection tasks effectively.
How to Clean a Gas Furnace Burner: Cleaning the Gas Furnace Burner
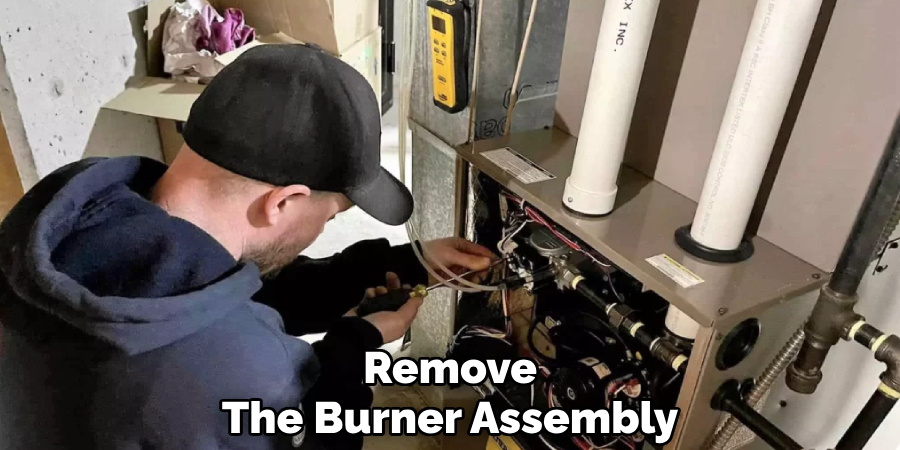
Step 1: Remove the Burner Assembly
To begin cleaning the gas furnace burner, carefully remove the burner assembly. Use a screwdriver to loosen any screws or fasteners securing the burner in place. Once the screws are removed, gently slide the burner assembly out. Handle it cautiously, avoiding damage to delicate components, such as ignition wires or sensors attached to the assembly.
Step 2: Brush Off Dust and Debris
Using a soft-bristle brush, thoroughly clean the surface of the burner. Gently brush away any accumulated dust, soot, or debris that may be present. This step helps ensure the burner ports remain unobstructed, promoting optimal gas flow and combustion efficiency.
Step 3: Use Compressed Air for Hard-to-Reach Areas
For areas where debris is difficult to remove with a brush, use compressed air to clean the burner thoroughly. Direct the air through the burner ports to clear out any blockages or buildup inside the tubes. This step is crucial for maintaining even fuel distribution and preventing performance issues.
Step 4: Vacuum Residual Dust
Once the burner is free of debris, use a vacuum with a narrow nozzle to clean up any loose dust or particles around the burner and the surrounding area within the furnace. Removing all residual dust ensures a cleaner and safer environment in the burner compartment, reducing the risk of ignition issues when the furnace is in operation.
By following these cleaning steps carefully, you can maintain the efficiency and safety of your gas furnace burner, ensuring reliable performance throughout the heating season.
Inspecting the Burner and Other Components
Regular inspection of the burner and related components is critical for ensuring your gas furnace’s continued functionality and safety. Begin by checking for rust or corrosion on the burner or surrounding areas. Rust or signs of wear can compromise the efficiency and safety of the unit. If you notice any severely corroded parts, consider replacing them to prevent further damage or operational issues.
Next, carefully inspect the burner ports for clogs or blockages. Even small obstructions can disrupt fuel distribution and lead to inefficiencies in performance. Use a small wire or a similar tool to gently clear any clogged holes, ensuring that the ports allow unrestricted gas flow.
Additionally, take a moment to examine the flame sensor and ignition system. Over time, the flame sensor can accumulate carbon buildup, which may affect its ability to detect the flame accurately. Use a clean, soft cloth to wipe down the sensor, removing any dirt or residue. This simple maintenance step can help prevent ignition problems, ensuring smooth furnace operation.
Regular inspections of these components help to identify potential issues early and maintain your furnace’s efficiency and reliability. Integrate these inspection steps into your routine maintenance to ensure long-lasting performance and safe operation of your heating system throughout winter.
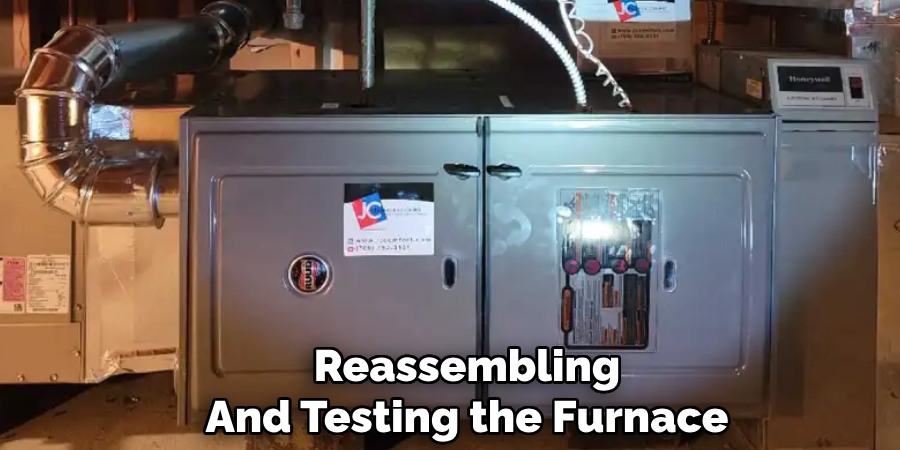
Reassembling and Testing the Furnace
Once you have completed cleaning and inspecting the various components of your furnace, it’s time to reassemble it and ensure everything is functioning correctly. Begin by carefully reinstalling all the parts you removed for maintenance, such as the burner, flame sensor, and ignition system. Ensure each component is securely and properly placed according to the manufacturer’s guidelines. Double-check all connections, including wiring, hoses, and panels, to ensure nothing is loose or out of place.
After reassembling, turn the furnace back on and observe its operation. Pay close attention to the ignition process and ensure the burner ignites smoothly and produces a steady, blue flame. A yellow or flickering flame could indicate further issues that require professional attention. Next, monitor the airflow to confirm that the heating system distributes warm air evenly throughout your home.
Finally, listen for any unusual noises, such as rattling or clicking, which could signify loose components or other underlying problems. If everything is operating as expected and no issues are detected, you can take comfort in knowing your furnace is ready to handle the demands of the winter season. Regular testing after maintenance is crucial for ensuring safety, efficiency, and optimal performance.
Preventative Maintenance for a Cleaner Burner
Schedule Regular Cleaning
To keep your furnace operating efficiently, it’s essential to schedule regular cleaning of the burners at least once a year, ideally before the onset of the winter season. Over time, debris, soot, and dust can accumulate on the burners, hindering their performance and potentially creating safety hazards. Regular cleaning ensures that your furnace burns fuel efficiently and reduces the risk of malfunctions during colder months.
Use Clean Filters
Another critical step in preventative maintenance is changing air filters consistently. Dirty or clogged filters can prevent proper airflow, causing dust and debris to settle within the furnace and accumulate on the burners. Replace your filters every few months or more frequently during high-usage periods to ensure your system functions without obstruction. Clean filters keep burners free of buildup and improve air quality in your home.
Check Ventilation and Airflow
Proper ventilation is key for optimal combustion within your furnace. Make it a priority to inspect air vents and ducts for blockages or obstructions that could disrupt airflow. Clear vents ensure consistent burner performance and help avoid potentially dangerous issues such as incomplete combustion. Taking these preventative steps will help extend the lifespan of your furnace and maintain its efficiency throughout the heating season.
Conclusion
Routine burner cleaning is essential for maintaining your furnace’s efficiency and safety. By keeping burners free of dirt, debris, and buildup, you can ensure proper combustion and consistent performance during the colder months. Additionally, regular cleaning plays a key role in improving air quality and extending the unit’s lifespan. Consider scheduling annual maintenance and inspections to address any potential issues early and keep your system running smoothly.
If you notice significant damage or find yourself unsure of how to clean a gas furnace burner, always consult a professional to ensure safe and effective handling.
About the Author
Adrian Green is a passionate woodworking enthusiast who has dedicated his life to the craft of woodworking. From his early days working alongside his father in the family woodworking shop, Adrian has honed his skills and developed a deep love for creating beautiful, functional pieces with his hands. As the voice behind The Woodenify Blog, he shares his knowledge, tips, and inspiration with fellow woodworkers of all skill levels, helping them build confidence in their abilities while learning new techniques.
Professional Focus
- Specializes in DIY woodworking projects, from furniture making to home décor.
- Provides step-by-step guides, tips, and practical tutorials for woodworkers at any skill level.
- Focused on empowering readers with confidence and knowledge through easy-to-follow instructions and hands-on techniques.
- Passionate about building a community where makers can share, learn, and grow together in the world of woodworking.
Education History
University of Craft and Design – Bachelor of Fine Arts (BFA) in Woodworking and Furniture Design
Woodworking Apprenticeships – Gained extensive hands-on experience through various workshops and mentorships with seasoned craftsmen, refining carpentry and furniture-making skills.
Expertise
- DIY woodworking, carpentry, furniture making, and home décor projects.
- Creating clear, accessible tutorials and guides for beginner to advanced woodworkers.
- Helping readers experience the satisfaction and fulfillment of turning raw materials into stunning finished products.