
A condensate pump is essential in HVAC systems, furnaces, and dehumidifiers to remove excess moisture generated during operation. Efficient water transport to a drain or suitable disposal area ensures the proper system functions and prevents water damage. Over time, however, these pumps can accumulate debris, algae, and mineral deposits, leading to clogs, reduced efficiency, or even pump failure. Regular cleaning is crucial to avoid these issues, as well as to prevent the growth of mold and bacteria, which can negatively impact indoor air quality.
This guide is designed to walk you through the steps on how to clean a condensate pump effectively. Following these instructions, you can maintain the pump’s performance, extend its lifespan, and avoid costly repairs or replacements. Proper pump care will keep your system running efficiently and your home free from unnecessary moisture problems.
Understanding How a Condensate Pump Works
What is a Condensate Pump?
A condensate pump is a small yet vital device designed to remove the water (condensate) generated by HVAC systems, dehumidifiers, and furnaces. This water forms as a byproduct of the cooling or heating process, and the pump ensures it is safely transported to a nearby drain or disposal area. Without a condensate pump, moisture could accumulate, leading to potential overflow and damage.
Common Issues Caused by a Dirty Pump
Over time, condensate pumps can become dirty, leading to several issues. Clogs caused by dirt, algae, or mold buildup are among the most common problems. These obstructions can hinder the pump’s ability to function efficiently, causing water to back up into the system or overflow. If left unaddressed, dirty pumps may even fail, resulting in leaks and possible water damage to your property.
How Often Should You Clean It?
To maintain peak performance and prevent these issues, cleaning your condensate pump regularly is essential. Experts recommend cleaning it every 3 to 6 months. Performing routine maintenance helps avoid costly repairs and ensures the pump operates efficiently while protecting your HVAC system from unnecessary strain.
Tools and Materials Needed
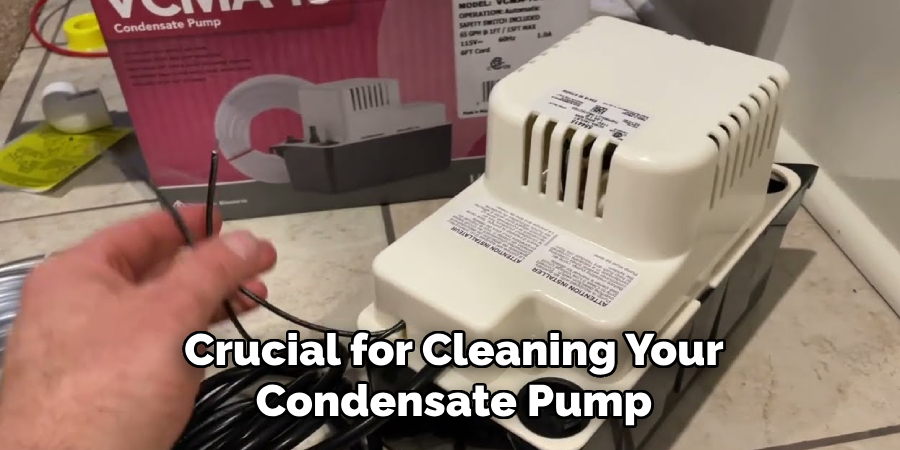
Proper tools and materials are crucial for cleaning your condensate pump effectively and safely. Here’s what you’ll need for the job:
Basic Tools
- Screwdriver – This removes the pump cover and accesses internal components.
- Bucket or towels – To catch any excess water and prevent messes during cleaning.
Cleaning Materials
- Vinegar or mild bleach solution – Ideal for disinfecting and removing mold, algae, or bacterial buildup.
- Soft brush or sponge – Useful for scrubbing the interior and exterior of the pump without causing damage.
- Pipe cleaner or small brush – Essential for clearing out the drain lines and ensuring water can flow freely.
Safety Gear
- Gloves and safety goggles – To protect your hands and eyes from bacteria, chemical splashes, and debris during cleaning.
Using these tools and materials will help you thoroughly clean while safeguarding your equipment and yourself.
How to Clean a Condensate Pump: Step-by-Step Guide
Step 1: Turn Off the Power
Before beginning, ensure safety by unplugging the condensate pump or turning off the power at the breaker. This crucial step prevents electrical hazards during the cleaning process.
Step 2: Remove the Pump from the System
Carefully disconnect the tubing from the pump and lift it out of its position. Place the pump in a bucket or sink to catch any spills or drips while you work.
Step 3: Drain Excess Water
Manually pour any remaining reservoir water into a bucket or sink. Use towels to wipe away any visible debris or buildup that may have accumulated within the reservoir.
Step 4: Clean the Reservoir and Internal Components
Prepare a cleaning solution using vinegar or a mild bleach mix and fill the pump’s reservoir halfway. Allow the solution to sit for a few minutes to loosen dirt, algae, and any bacterial buildup. Use a soft brush or sponge to scrub the inside and ensure it is thoroughly cleaned gently. Rinse with clean water to remove any residue.
Step 5: Clean the Drain Lines and Tubing
Take a pipe cleaner or long, flexible brush and thoroughly clean the drain lines and tubing. Carefully remove any blockages to ensure water can flow freely. Once cleared, flush the lines with clean water to verify they are clear and functioning properly.
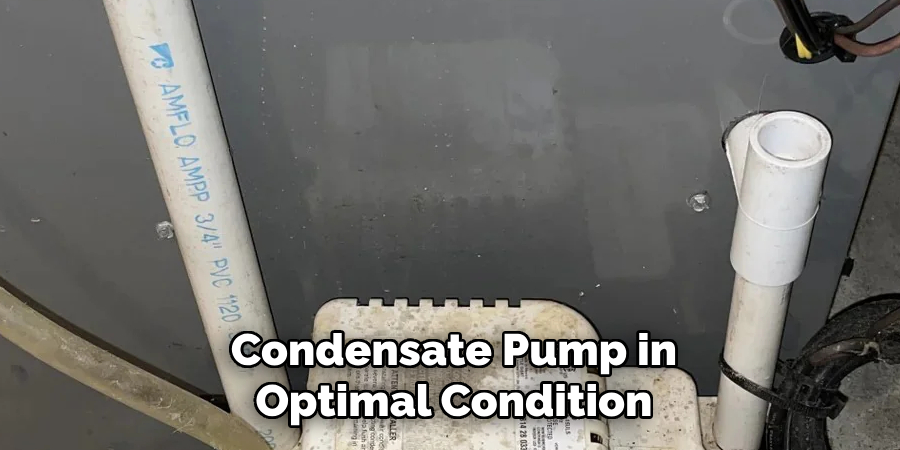
Following these steps will help keep your condensate pump in optimal condition while preventing clogs or malfunctions over time.
Reassembling and Testing the Pump
Reconnect Tubing and Power
After thoroughly cleaning all components, begin reassembling the condensate pump. Reattach the drain lines and tubing securely to their respective connectors, ensuring a snug fit to prevent leaks. Once all tubing is connected, plug the pump back into its power source. Double-check that each connection is secure and properly aligned.
Test the Pump
To confirm the pump is functioning as expected, pour clean water into the reservoir until it reaches the activation level. Observe the pump closely to ensure it kicks on and begins removing the water efficiently. Pay attention to the flow rate and ensure the water exits smoothly through the drain lines.
Check for Leaks and Proper Functioning
While the pump is running, inspect all connections for any potential leaks or signs of improper fitting. Additionally, monitor the pump to ensure it cycles on and off correctly without any unusual noises or delays. If any issues are detected, turn off the pump and revisit the previously completed steps to identify and resolve the problem. Proper testing will ensure your condensate pump is operating effectively, preventing future malfunctions or water damage.
Troubleshooting Common Condensate Pump Issues
Even with proper installation and maintenance, condensate pumps can occasionally encounter problems. Below are some common issues and tips for addressing them:
Pump Not Turning On
If the pump does not turn on, check the power supply. Ensure the pump is properly plugged into a functioning outlet and that any circuit breakers or fuses connected to the unit are operational. Next, inspect the float switch, as it may be stuck or malfunctioning. Clean the float and test its movement to ensure it rises and activates the pump as water levels increase.
Water Not Draining Properly
Improper drainage is often caused by clogged or obstructed drain lines. Disconnect and inspect the lines for blockages, such as dirt, debris, or mold buildup. Use a pipe cleaner or flush the lines with water to clean them thoroughly. Once cleaned, reattach the lines securely before testing the pump again.

Unusual Noises or Leaks
Unusual sounds like grinding or rattling may indicate debris inside the pump or worn-out components. Turn off the pump, open the housing, and inspect for any obstructions or damage to the impeller and motor. Check all connections and seals for signs of wear or leakage. Replace parts as necessary to restore proper function and prevent further damage.
Conclusion
Maintaining a clean and functional condensate pump is vital for ensuring the efficiency and longevity of your HVAC system. Regular upkeep helps prevent costly breakdowns and avoids issues like water leaks or improper drainage. Homeowners should take the time to learn how to clean a condensate pump and incorporate this task into their routine maintenance schedule. Inspecting and cleaning the pump periodically can address potential problems early and keep your system running smoothly. Remember, proactive care saves time and money while enhancing your equipment’s overall performance.
About the Author
Adrian Green is a passionate woodworking enthusiast who has dedicated his life to the craft of woodworking. From his early days working alongside his father in the family woodworking shop, Adrian has honed his skills and developed a deep love for creating beautiful, functional pieces with his hands. As the voice behind The Woodenify Blog, he shares his knowledge, tips, and inspiration with fellow woodworkers of all skill levels, helping them build confidence in their abilities while learning new techniques.
Professional Focus
- Specializes in DIY woodworking projects, from furniture making to home décor.
- Provides step-by-step guides, tips, and practical tutorials for woodworkers at any skill level.
- Focused on empowering readers with confidence and knowledge through easy-to-follow instructions and hands-on techniques.
- Passionate about building a community where makers can share, learn, and grow together in the world of woodworking.
Education History
University of Craft and Design – Bachelor of Fine Arts (BFA) in Woodworking and Furniture Design
Woodworking Apprenticeships – Gained extensive hands-on experience through various workshops and mentorships with seasoned craftsmen, refining carpentry and furniture-making skills.
Expertise
- DIY woodworking, carpentry, furniture making, and home décor projects.
- Creating clear, accessible tutorials and guides for beginner to advanced woodworkers.
- Helping readers experience the satisfaction and fulfillment of turning raw materials into stunning finished products.