
Building a shower seat can be a practical and rewarding DIY project that enhances both comfort and accessibility in your bathroom. Whether you’re looking to add convenience for daily routines, increase safety for individuals with limited mobility, or simply incorporate a stylish touch, a custom-built in shower seat is a versatile addition.
This guide on how to build shower seat will walk you through the essential steps and materials needed to create a sturdy and functional shower seat that suits your personal needs and design preferences. The bathroom renovation featured a built-in shower seat, providing both comfort and functionality for a relaxing shower experience.
Why Build a Shower Seat?
There are several benefits to building a shower seat, including:
Enhanced Comfort:
Having a place to sit and rest while showering can make the experience more enjoyable and less tiring. This is especially beneficial for those with limited mobility, pregnant women, or individuals recovering from an injury.
Added Safety:
A shower seat can provide stability and support, reducing the risk of slips and falls in the bathroom. It can also serve as a handhold for balance while standing up or sitting down.
Personalization:
By building your own shower seat, you have complete control over its design, size, and placement. This allows you to create a custom seat that fits your unique needs and preferences.
Materials Needed
Pressure-treated Wood:
This type of wood is resistant to moisture and decay, making it ideal for use in humid environments like bathrooms.
Screws:
Choose stainless steel or coated screws that are rust-resistant and can withstand exposure to water.
Waterproof Finish:
To protect the wood from water damage, apply a waterproof finish such as polyurethane or marine varnish.
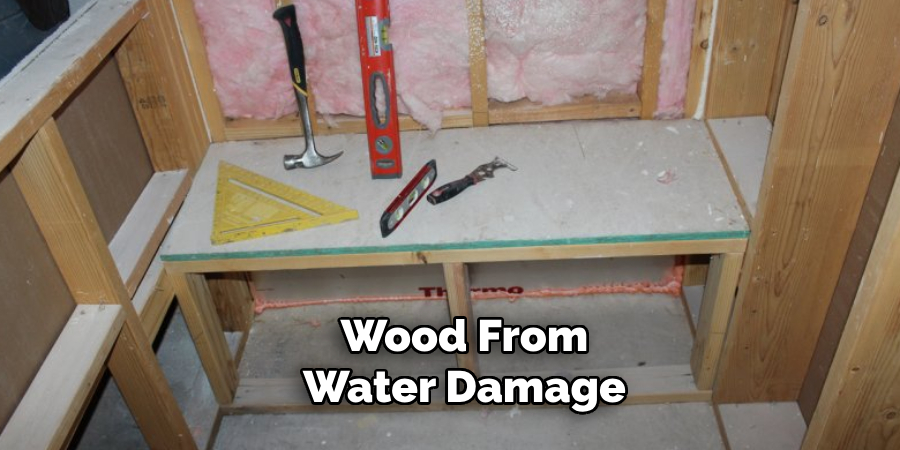
Tools:
You will need a hammer, drill, saw, level, measuring tape, and sandpaper for this project.
8 Step-by-step Guidelines on How to Build Shower Seat
Step 1: Measure and Plan
Before you start building, it’s essential to measure the shower space and plan the dimensions of your shower seat. Decide on the placement of the seat, ensuring it fits comfortably within the shower area without obstructing movement. Standard shower seat dimensions are typically 17 to 19 inches in height and 15 to 18 inches in depth, but you can adjust these measurements to suit your specific needs.
Use a measuring tape and a pencil to mark the dimensions on the wall or floor of the shower space. Additionally, the weight capacity and proper support for the seat should be considered to ensure safety and durability. Planning thoroughly at this stage will save time and help avoid mistakes later in the process.
Step 2: Cut the Wood
Using the measurements you planned in the previous step, carefully cut the pressure-treated wood into the required pieces to form the seat. You will typically need a top panel for sitting and supporting pieces for the frame or legs. Use a saw to make precise cuts and ensure the pieces fit together securely later.
After cutting, sand down all edges and surfaces to remove splinters and create a smooth finish. This step is crucial for both safety and comfort when using the shower seat. Double-check your measurements before cutting to avoid wasting materials.
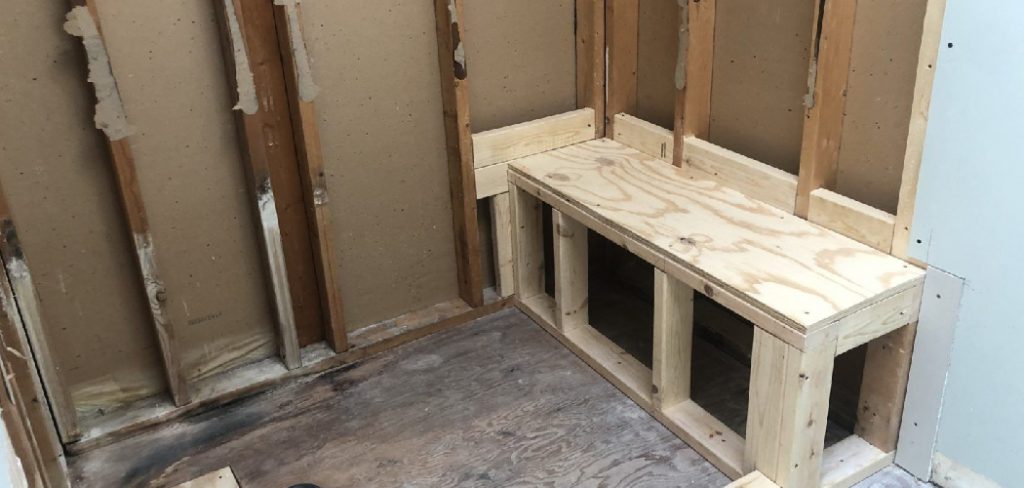
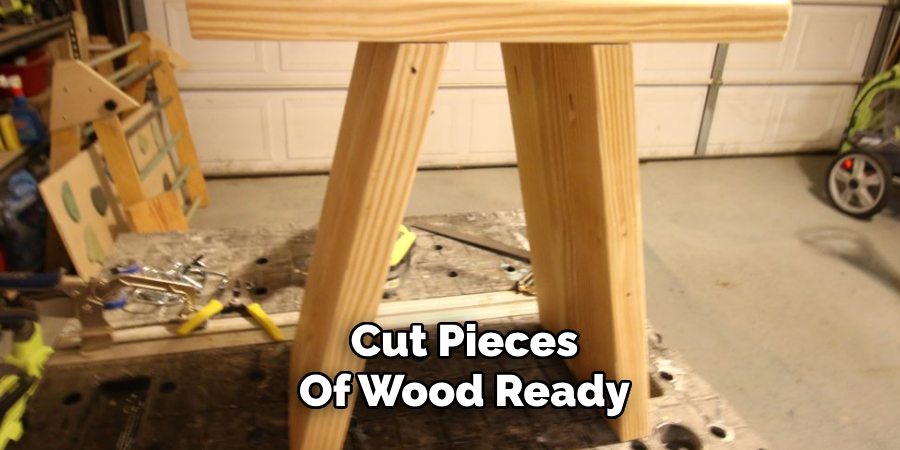
Step 4: Assemble the Frame
With the cut pieces of wood ready, it’s time to assemble the frame of your shower seat. Begin by attaching the supporting pieces to form a sturdy base. Use stainless steel or coated screws to secure the joints tightly, ensuring the structure is solid and stable. A drill will make this process quicker and more efficient.
Make sure to check the frame with a level as you work to ensure all pieces are even and the seat will not wobble when completed. Reinforce the corners and connections by adding additional screws or brackets if necessary. The goal is to create a strong frame that can support the weight without shifting or collapsing. Take your time during this step to ensure the foundation of your shower seat is reliable and well-constructed.
Step 5: Attach the Seat Panel
Once the frame is assembled and stable, it’s time to attach the seat panel. Place it on top of the frame, ensuring it fits snugly and aligns with your measurements. Use a drill to screw the seat panel into place, securing it to the frame from underneath. This method will hide the screws and create a more polished look.
Butt the back edge of the seat panel up against the wall for additional support. For added stability, you can also attach a support bracket to the wall and connect it to the underside of the seat panel. This will prevent any movement or shifting when using the shower seat.
Step 6: Apply Waterproof Finish
To protect your shower seat from water damage, apply a waterproof finish such as polyurethane or marine varnish. Follow the manufacturer’s instructions for application and drying time. Applying multiple coats will provide better protection.
It’s essential to let the finish dry completely before using the shower seat to ensure it has fully cured and is safe for use.
Step 7: Test for Stability
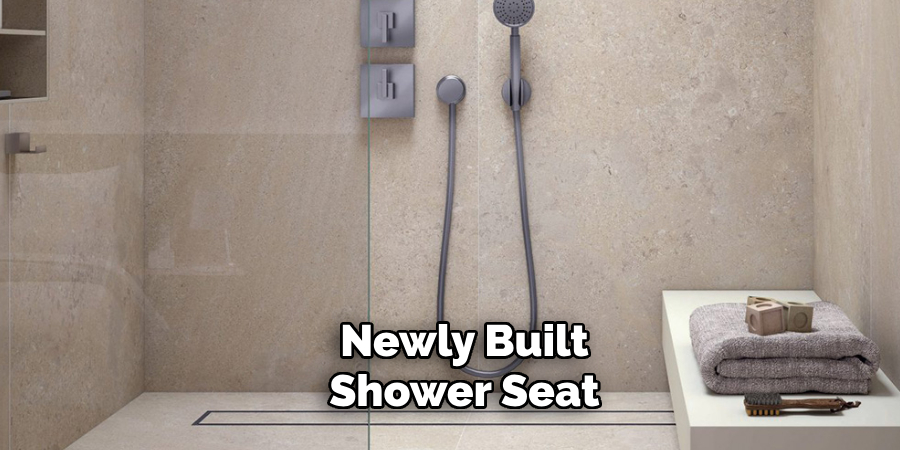
Before using your newly built shower seat, give it a good test to make sure it is sturdy and stable. Sit on the seat and shift your weight to ensure there is no wobbling or weakness in the frame. If everything feels secure, you are ready to use your new shower seat!
It’s also a good idea to periodically check for any signs of wear or damage and make necessary repairs to maintain the seat’s integrity.
Step 8: Maintain Your Shower Seat
To keep your shower seat in good condition, regularly check for any signs of wear or damage. Repair or replace parts as needed, and reapply a waterproof finish every one to two years to maintain its durability.
Following these steps on how to build shower seat carefully will result in a custom-built shower seat that is both functional and aesthetically pleasing. Enjoy the added safety and comfort of your new shower seat, knowing you built it yourself to fit your specific needs. Happy building!
Do You Need to Use Professionals?
While building a shower seat can be a satisfying DIY project, there are situations where hiring professionals may be the better option. If your shower requires significant structural modifications, such as reinforcing walls or adding additional support, a professional contractor or carpenter can ensure the work meets safety standards. Additionally, if you lack the necessary tools, experience, or confidence in your skills, a professional can save you time and effort while guaranteeing a high-quality result.
Professionals can also assist with more complex customizations, such as integrating the seat seamlessly with tiled walls or designing it to complement the overall aesthetics of your bathroom. Though this option may come at a higher cost, it provides peace of mind knowing the job has been done correctly and safely. Carefully assess the requirements of your project and your own capabilities to decide whether professional assistance is necessary.
How Much Will It Cost?
The cost of building a shower seat can vary widely depending on the materials, tools, and expertise required for the project. For a DIY project, expect to spend around $50 to $150 for basic materials such as pressure-treated wood, screws, waterproof finish, and brackets. If you already own the necessary tools, such as a saw, drill, and sander, the overall cost will be lower. However, if you need to purchase or rent tools, this could add an additional $50 to $100 to your expenses.
For more elaborate designs or customizations, like using higher-end materials such as teak or incorporating tiles, the cost can increase significantly, ranging from $200 to $500 or more. If you decide to hire a professional to construct or install the shower seat, labor costs will need to be factored in. Professionals may charge anywhere from $100 to $500 for the installation, depending on the complexity of the work and the region you’re in.

By carefully planning your project, sourcing affordable materials, and sticking to a straightforward design, you can create a functional and stylish shower seat that fits your budget.
Frequently Asked Questions
Q: How Long Does It Take to Build a Shower Seat?
A: The time required to build a shower seat will vary depending on your skills, tools, and the complexity of the project. On average, it can take anywhere from one to three days to complete.
Q: Can I Use Any Type of Wood for My Shower Seat?
A: Pressure-treated wood is recommended for its durability and resistance to water damage. However, other types of wood may be suitable as long as they are treated with a waterproof finish or sealant.
Q: Is Building a Shower Seat Difficult?
A: While building a shower seat does require some carpentry skills and knowledge, it is not an overly complex project. With proper planning and attention to detail, most individuals with basic handyman skills can successfully complete the task.
Q: How Much Weight Can a Shower Seat Support?
A: The weight capacity of a shower seat will depend on its design, materials used, and construction. However, a well-built shower seat should be able to support at least 250 pounds or more. If you anticipate heavier usage, consider reinforcing the frame or using thicker and sturdier wood for added strength. Consult a professional if in doubt.
Conclusion
Building a shower seat can provide added comfort, safety, and personalization to your bathroom routine. With the right materials and tools, anyone can create a functional and stylish shower seat that fits their needs and preferences.
Follow these step-by-step guidelines on how to build shower seat and enjoy the satisfaction of completing a DIY project that will enhance your daily shower experience. Start planning and building your custom shower seat today! Happy building!
About the Author
Adrian Green is a passionate woodworking enthusiast who has dedicated his life to the craft of woodworking. From his early days working alongside his father in the family woodworking shop, Adrian has honed his skills and developed a deep love for creating beautiful, functional pieces with his hands. As the voice behind The Woodenify Blog, he shares his knowledge, tips, and inspiration with fellow woodworkers of all skill levels, helping them build confidence in their abilities while learning new techniques.
Professional Focus
- Specializes in DIY woodworking projects, from furniture making to home décor.
- Provides step-by-step guides, tips, and practical tutorials for woodworkers at any skill level.
- Focused on empowering readers with confidence and knowledge through easy-to-follow instructions and hands-on techniques.
- Passionate about building a community where makers can share, learn, and grow together in the world of woodworking.
Education History
University of Craft and Design – Bachelor of Fine Arts (BFA) in Woodworking and Furniture Design
Woodworking Apprenticeships – Gained extensive hands-on experience through various workshops and mentorships with seasoned craftsmen, refining carpentry and furniture-making skills.
Expertise
- DIY woodworking, carpentry, furniture making, and home décor projects.
- Creating clear, accessible tutorials and guides for beginner to advanced woodworkers.
- Helping readers experience the satisfaction and fulfillment of turning raw materials into stunning finished products.