
Building a water storage tank is an essential project for individuals or communities that want to ensure a reliable supply of water. Whether used for agriculture, household needs, or emergency preparedness, water tanks provide a practical solution for conserving and managing water resources.
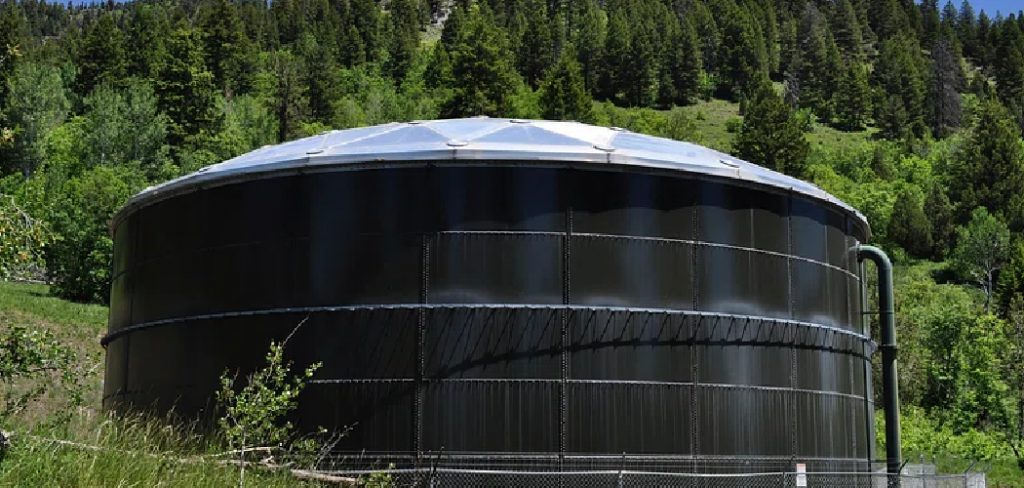
This guide on how to build a water storage tank will walk you through the steps required to construct a durable and efficient water storage tank, covering everything from selecting suitable materials to proper maintenance techniques. By following these instructions, you can create a system tailored to your specific water storage needs.
Why Build a Water Storage Tank?
There are several reasons why building a water storage tank may be necessary. Some of the common reasons include:
- Limited Access to Clean and Reliable Water Sources
- Need for on-site Water Storage for Irrigation or Livestock Use
- Requirement for Emergency Water Supply in Areas Prone to Natural Disasters
- Desire to Reduce Reliance on Municipal Water Supply and Associated Costs
Materials Needed
The materials required for building a water storage tank will depend on the type, size, and design you choose. Some essential materials include:
- Reinforced Concrete or Bricks
- Waterproofing Materials Such as Sealants, Paints, or Membranes
- Roofing Material (if Building a Roofed Tank)
- Pipes and Fittings for Inlet and Outlet
- Tools Such as Shovels, Hammers, Saws, Etc.
It is essential to select high-quality materials that can withstand the elements and provide long-lasting durability. Consulting with a professional or doing thorough research on suitable materials for your specific project is highly recommended.
8 Steps on How to Build a Water Storage Tank
Step 1: Determine the Size and Location of Your Tank
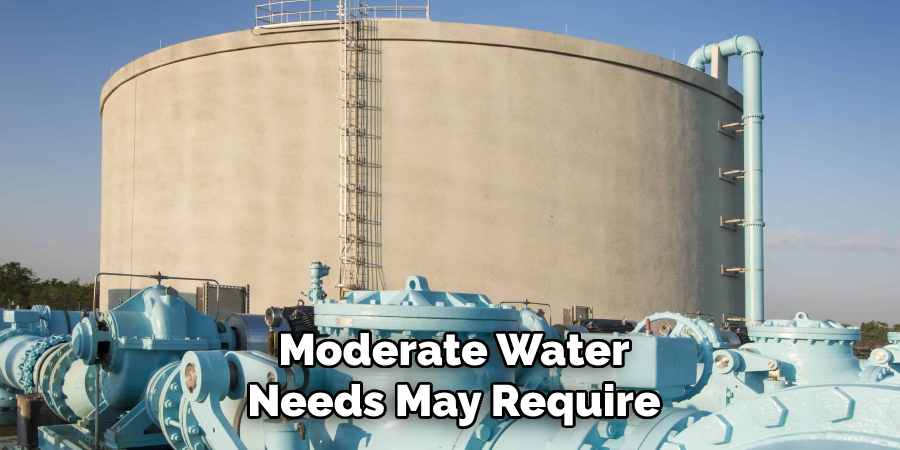
The first step in building a water storage tank is to determine its size and the most suitable location for installation. The size of the tank will depend on your specific water requirements, the purpose of the tank, and the availability of space. For instance, households with moderate water needs may require a smaller tank compared to farms that depend on water for irrigation or livestock.
Next, choose a location that is level, stable, and has sufficient sunlight if you use solar-powered equipment, such as pumps. The site should also be accessible for maintenance while being protected from potential external damage or contamination. Keep local building codes and zoning regulations in mind when selecting the location; some areas may have restrictions on water tank installation. Taking the time to plan properly will ensure your tank serves its purpose effectively and safely.
Step 2: Prepare the Foundation
The foundation of your water tank is crucial for its stability and longevity. After selecting the location, clear the area of any debris or vegetation that may interfere with construction. Dig a level surface for your tank’s base and ensure it is compacted properly to prevent settlement.
Use appropriate materials, such as gravel or concrete pads, to provide a strong and stable foundation for your tank.
Step 3: Construct the Base
Once the foundation is prepared, the next step is to construct the base of your water storage tank. The base must be strong enough to support the weight of the tank and the water it will hold, as well as resist potential ground movements.
Start by laying a reinforced concrete slab or a brick base, depending on your design. For concrete bases, pour the concrete mixture evenly over the prepared foundation and use reinforcements such as steel bars to enhance durability and prevent cracking. Smooth the surface and ensure it is level to avoid uneven pressure on the tank walls. If using bricks, arrange them tightly in a circular or rectangular pattern (based on the tank’s design) and bond them together with mortar for strength.
Allow the base to cure properly before starting on the tank walls.
Step 4: Construct the Walls
The construction of your tank’s walls is a critical step that requires precision and attention to detail. The choice of materials for this stage will depend on factors such as budget, design, and availability. Masonry walls made from bricks or blocks are commonly used for their strength, durability, and ease of construction.
Alternatively, reinforced concrete walls provide excellent structural integrity and can be cast in various shapes and sizes. Make sure to waterproof the walls using sealants or paint to prevent water leakage.
Step 5: Add Inlet and Outlet Pipes
To ensure your water storage tank functions correctly, you need to install inlet and outlet pipes. The size and number of pipes will depend on the tank’s capacity, water usage needs, and desired pressure.
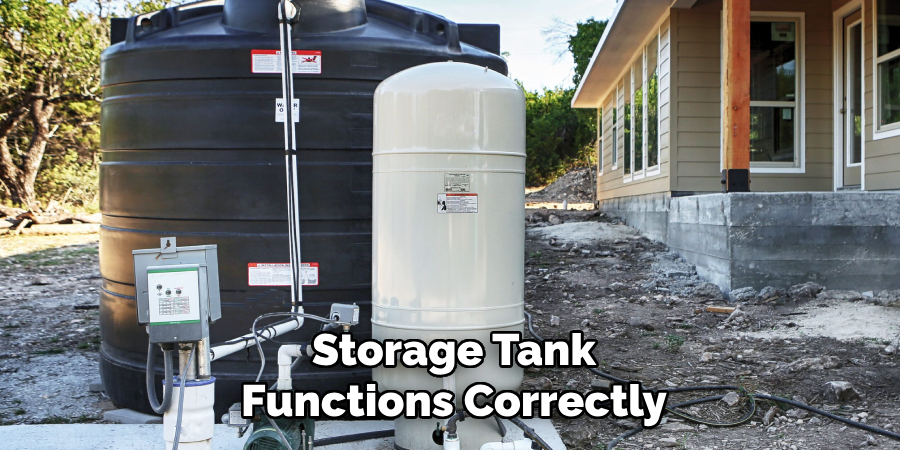
For a simple design, a single pipe can be used to fill the tank and draw out water. However, larger tanks may require multiple pipes to maintain adequate water flow.
Step 6: Install a Roof (Optional)
Installing a roof on your water storage tank is not mandatory, but it can provide several benefits, such as minimizing water contamination, reducing evaporation, and protecting the tank from external damage. If you decide to add a roof, carefully choose materials that are durable and resistant to weather conditions, such as corrugated metal sheets, reinforced concrete slabs, or fiberglass.
Start by designing and constructing a sturdy frame to support the roof structure. This frame can be made of metal, wood, or other suitable materials, depending on the design of the tank. Once the frame is in place, securely attach the roofing material and ensure it is properly sealed to prevent debris or insects from entering the tank. Additionally, consider incorporating an access hatch or small inspection opening to allow for cleaning and maintenance. By adding a roof, you can significantly enhance the efficiency and lifespan of your water storage tank.
Step 7: Test Your Tank
Before putting your tank into use, it is crucial to perform a thorough test to ensure there are no leaks or structural weaknesses. Fill the tank with water and monitor for any signs of leakage or bulging walls. If all appears well, let the water sit for some time and check again to ensure stability and proper functioning.
If any issues are detected during the testing phase, address them immediately to avoid potential hazards in the future.
Step 8: Maintain Your Tank
Regular maintenance is essential to ensure the longevity and optimal performance of your water storage tank. Start by scheduling routine inspections to check for cracks, leaks, or signs of wear and tear on the tank walls, foundation, and roof (if installed). Clean the interior periodically to remove sediment, algae, or debris that may accumulate over time, as these can affect water quality and clog pipes.

Inspect and clean the inlet and outlet pipes to ensure proper water flow and prevent blockages. If your tank has a filtration system, check and replace filters as needed. Additionally, verify that all seals and waterproof coatings are intact to avoid water leakage. Pay close attention to any nearby vegetation or roots that might compromise the tank’s foundation or structure, and trim or remove them if necessary.
Following these maintenance practices on how to build a water storage tank will help extend the life of your water storage tank and ensure that it continues to provide a reliable source of water for your household or business.
Do You Need to Use Professionals?
When constructing a water storage tank, deciding whether to hire professionals or undertake the project yourself depends on several factors, including your technical expertise, available resources, and the complexity of the design. For simpler tanks with basic structures, experienced DIY enthusiasts may be able to complete the project independently by following detailed guides and safety recommendations. However, for larger or more complex tanks that require reinforced concrete, precise plumbing systems, or advanced waterproofing techniques, the expertise of professionals is highly recommended.
Professionals bring the advantage of specialized knowledge, access to high-quality materials, and efficient construction methods, ensuring that the tank meets all safety and regulatory standards. Additionally, engaging professionals can save time and reduce the risk of costly mistakes or structural issues that could compromise the tank’s performance. Consider consulting with engineers or contractors to assess your specific requirements. While hiring professionals may entail higher upfront costs, it often results in a durable and reliable water storage solution that will serve you well in the long term.
Frequently Asked Questions
Q1: How Long Does It Take to Build a Water Storage Tank?
A1: The time required for constructing a water storage tank can vary significantly depending on factors such as the size, design complexity, and available resources. Generally, simpler tank designs can be completed within a few days, while larger or more intricate tanks may take weeks or even months to build. Proper planning and preparation are crucial for ensuring timely completion of the project.
Q2: Can I Use an Existing Structure as a Water Storage Tank?
A2: While it is possible to repurpose certain structures for storing water, it is not recommended unless they have been designed and constructed specifically for this purpose. Existing structures may lack proper waterproofing, structural integrity, and other essential features necessary for a reliable water storage tank. It is best to consult with professionals or follow established guidelines when building a water storage tank.
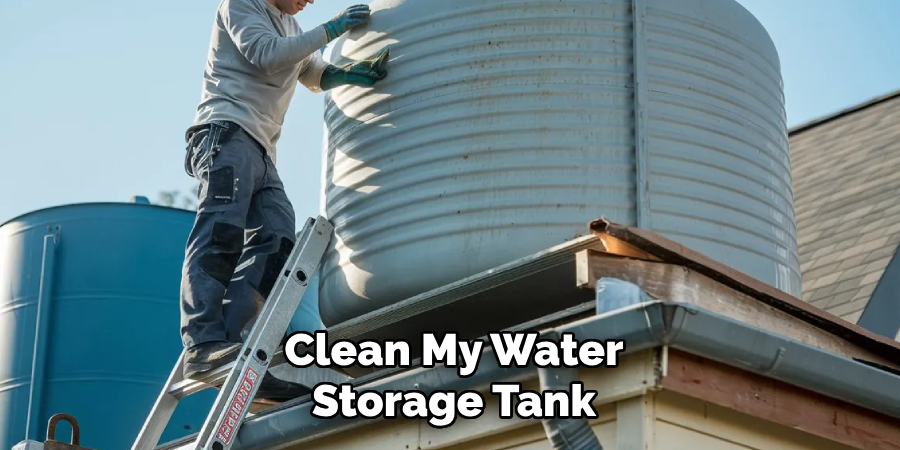
Q3: How Often Should I Clean My Water Storage Tank?
A3: Regular cleaning and maintenance are essential for ensuring the quality of water stored in your tank. The frequency of cleaning depends on several factors, including the amount of sediment and debris that accumulate over time, the type of filtration system used, and the overall condition of the tank. Generally, it is recommended to clean your tank at least once a year or more frequently if necessary.
Conclusion
Constructing a water storage tank may seem like a daunting task, but with proper planning and attention to detail, it can be a relatively straightforward process.
By selecting an appropriate location, preparing a solid foundation, and following the necessary construction steps on how to build a water storage tank, you can have a durable and functional water storage tank for your specific needs. Remember to regularly maintain your tank to maximize its lifespan and ensure a safe and reliable water source for years to come. Building a DIY water storage tank is a practical solution for conserving rainwater and ensuring a sustainable water supply for your home or garden.
About the Author
Adrian Green is a passionate woodworking enthusiast who has dedicated his life to the craft of woodworking. From his early days working alongside his father in the family woodworking shop, Adrian has honed his skills and developed a deep love for creating beautiful, functional pieces with his hands. As the voice behind The Woodenify Blog, he shares his knowledge, tips, and inspiration with fellow woodworkers of all skill levels, helping them build confidence in their abilities while learning new techniques.
Professional Focus
- Specializes in DIY woodworking projects, from furniture making to home décor.
- Provides step-by-step guides, tips, and practical tutorials for woodworkers at any skill level.
- Focused on empowering readers with confidence and knowledge through easy-to-follow instructions and hands-on techniques.
- Passionate about building a community where makers can share, learn, and grow together in the world of woodworking.
Education History
University of Craft and Design – Bachelor of Fine Arts (BFA) in Woodworking and Furniture Design
Woodworking Apprenticeships – Gained extensive hands-on experience through various workshops and mentorships with seasoned craftsmen, refining carpentry and furniture-making skills.
Expertise
- DIY woodworking, carpentry, furniture making, and home décor projects.
- Creating clear, accessible tutorials and guides for beginner to advanced woodworkers.
- Helping readers experience the satisfaction and fulfillment of turning raw materials into stunning finished products.