
A french drain diy is a simple and effective solution for redirecting water away from low-lying areas or preventing water buildup around your home. This drainage system uses a perforated pipe buried in a gravel-filled trench to carry water away from problem areas, helping to prevent flooding, erosion, and structural damage. Understanding how to build a french drain can help in maintaining it properly and troubleshooting common issues that may arise over time. Whether you’re dealing with soggy lawns, basement leaks, or general drainage issues, a French drain can provide a long-lasting fix with proper planning and installation.
Why Proper Drainage is Crucial
Proper drainage is essential for maintaining the integrity of your property and preventing a variety of issues caused by excess water. Standing water can lead to soil erosion, weaken your home’s foundation, and increase the likelihood of basement leaks or flooding. Additionally, poorly drained areas can become breeding grounds for mosquitoes and other pests, creating health concerns for your household. Landscaping can also suffer from improper drainage, as waterlogged soil can damage plant roots and stunt growth.
By implementing an effective drainage system, such as a French drain, you can protect your home and yard from water damage while increasing the longevity and functionality of your property.
What Is a French Drain?
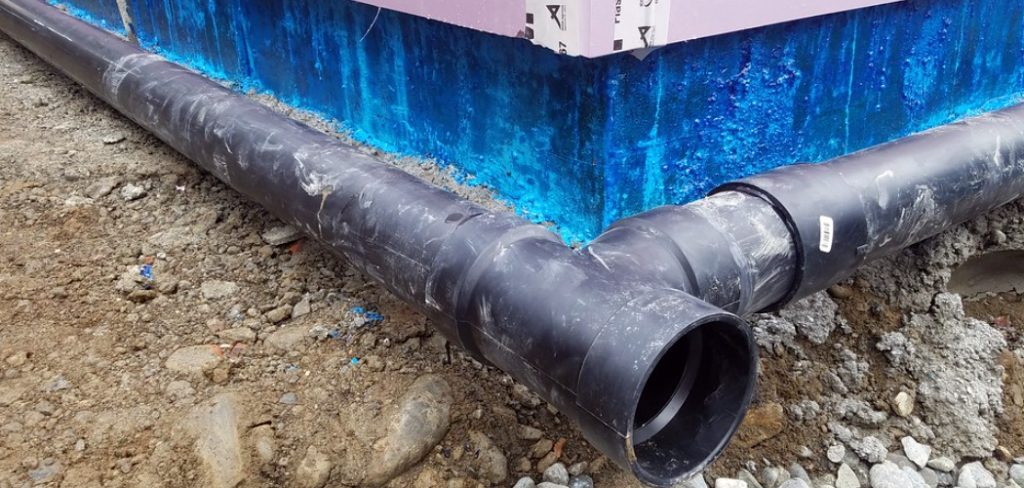
A French drain is a trench filled with gravel or rock and often includes a perforated pipe that redirects surface water and groundwater away from an area. The system works by allowing water to flow into the trench through its permeable material and then directing it toward a designated drainage point. French drains are commonly used to address areas prone to flooding, standing water, or poor soil drainage.
They can be installed in residential yards, along the foundation of a home, or around structures like retaining walls to prevent water damage. The key advantage of a French drain is its simplicity and versatility, making it an effective solution for a wide range of drainage problems.
10 Methods How to Build a French Drain
1. Assess the Site and Plan the Drain’s Path
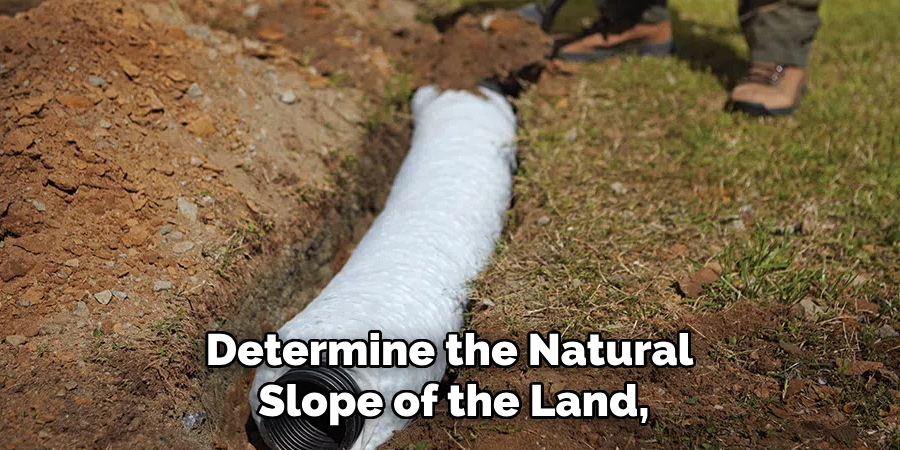
Before you begin digging, it’s crucial to assess the site and plan the path of the French drain. Start by identifying the areas that experience water pooling or drainage issues. Use a level to determine the natural slope of the land, as the drain should follow this slope to allow water to flow freely. The drain must have a slight gradient (usually 1-2% slope) so that the water moves naturally toward the exit point.
The exit point should be located in an area where water can be safely discharged, such as a dry well, a storm drain, or a lower part of your yard. Plan the path of the drain accordingly, keeping in mind any obstacles like trees, utility lines, or structures that may obstruct the trench.
2. Gather the Necessary Materials and Tools
Building a French drain requires several materials and tools. You will need perforated PVC pipe (usually 4 inches in diameter), landscape fabric, gravel or crushed stone, and potentially a trenching shovel or a digging machine, depending on the scale of your project. You’ll also need a shovel, a level, a measuring tape, a wheelbarrow, a saw (for cutting pipe), and potentially a tamper to compact the gravel. Having all your materials and tools ready will help ensure the process is efficient and streamlined.
3. Mark the Trench Path
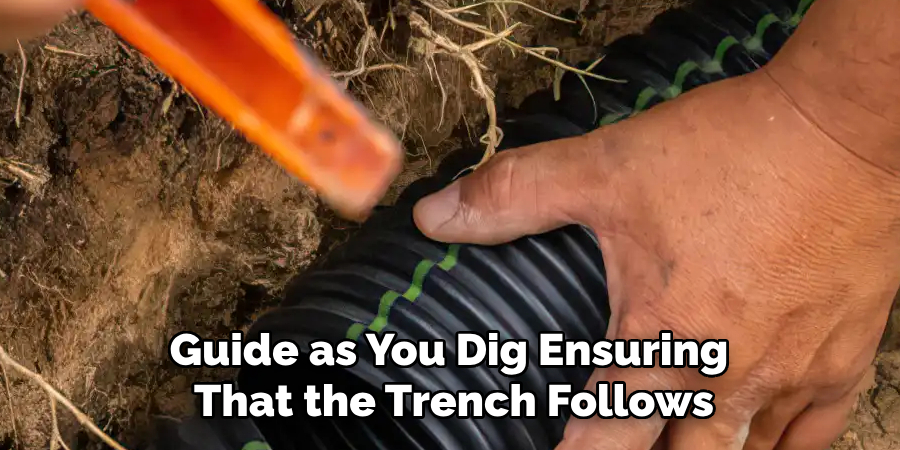
Once you’ve planned the route, it’s time to mark the trench path on the ground. Use stakes and string or spray paint to outline the path of the trench. This will serve as a guide as you dig, ensuring that the trench follows the desired slope and avoids obstacles. The trench should be at least 6 inches wide and 18-24 inches deep, depending on the size of the drain and the amount of water you need to manage. Marking the path also helps to prevent accidental damage to any existing landscaping or structures.
4. Dig the Trench
With the path clearly marked, begin digging the trench. For a standard French drain, the trench should be about 18 to 24 inches deep and around 6 to 8 inches wide. The trench needs to follow the slope of the land, which ensures that the water will flow toward the exit point. Use a shovel to dig out the soil, but if you have a larger area to cover, you may want to consider using a trencher or mini excavator.
Ensure that the bottom of the trench is as level as possible to avoid areas where water could pool or become trapped. Keep the dirt from the trench in a pile nearby for later use in backfilling the trench once the drain is installed.
5. Add a Layer of Landscape Fabric
After digging the trench, the next step is to line it with landscape fabric. This fabric serves as a barrier that will prevent soil and debris from clogging the gravel and pipe over time. Lay the fabric in the trench so that it covers the entire bottom and sides. Leave extra fabric at the top to fold over the gravel layer later. It’s important that the fabric is not torn or punctured during this process. The fabric should be slightly overlapped along seams to create a continuous barrier, ensuring that soil cannot infiltrate the system.
6. Place the Gravel or Crushed Stone
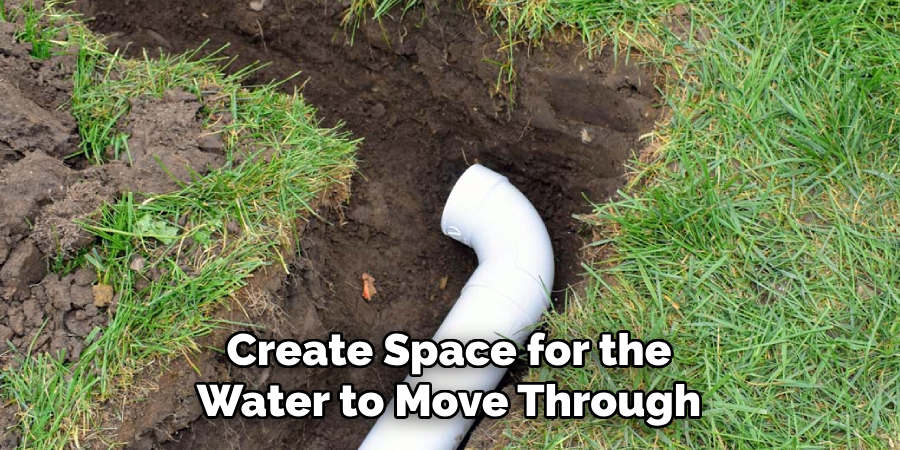
Next, add a layer of gravel or crushed stone to the bottom of the trench. This layer should be about 3 to 4 inches deep. The gravel helps to create space for the water to move through the system and provides a stable base for the perforated pipe. Use a rake or shovel to spread the gravel evenly along the trench, ensuring that the base of the trench is well-compacted. The gravel layer also facilitates water infiltration and helps prevent the pipe from becoming clogged over time.
7. Install the Perforated Pipe
Once the gravel layer is in place, it’s time to install the perforated pipe. Perforated pipe is designed with small holes along the length of the pipe to allow water to enter and flow through the system. Lay the pipe on top of the gravel, ensuring that the perforated holes are facing downward. This allows the water to flow into the pipe from the bottom of the trench rather than directly entering from the sides. If necessary, use a saw to cut the pipe to the appropriate length. For a more efficient drain, make sure that the pipe follows the slope of the trench to direct the water to the exit point.
8. Cover the Pipe with More Gravel
Once the perforated pipe is in place, cover it with an additional 3 to 4 inches of gravel or crushed stone. This layer helps to protect the pipe and further aids in the water filtration process. The gravel also provides additional drainage space around the pipe, ensuring that water can flow smoothly through the system. After placing the gravel, use a rake to evenly distribute it, making sure that the gravel is well-compacted around the pipe.
9. Fold Over the Landscape Fabric
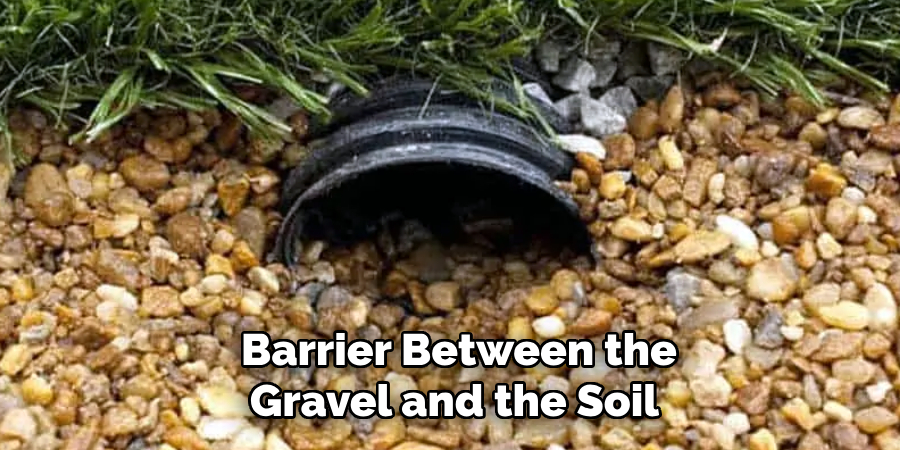
With the gravel layer in place, fold the landscape fabric over the top of the gravel. The fabric should cover the gravel completely, creating a protective barrier between the gravel and the soil that will be backfilled into the trench. This step is essential because it prevents soil from entering the gravel and blocking the pipe, which could eventually lead to clogging and system failure. Be sure to overlap the fabric’s edges to ensure a continuous barrier.
10. Backfill the Trench
The final step in building your French drain is to backfill the trench with the soil you removed earlier. Start by adding the soil gradually, being careful not to disturb the landscape fabric or gravel layers. Use a shovel or wheelbarrow to move the soil back into the trench, and compact it gently as you go. Leave a slight mound of soil above the trench to account for settling. After backfilling, you can add grass seed or sod over the area to restore the appearance of your yard. If you installed the drain in a more visible area, you may want to add decorative gravel or mulch on top for aesthetic purposes.
Conclusion
Building a French drain is a relatively simple yet highly effective way to solve drainage problems on your property. By following the steps outlined above, you can construct a drain that will redirect water away from areas prone to flooding or standing water. The key to a successful French drain is proper planning, accurate grading, and high-quality materials. Whether you’re dealing with water pooling around your foundation or seeking to improve drainage in your yard, a French drain can provide a long-lasting solution to keep your property safe and dry. Thanks for reading, and we hope this has given you some inspiration on how to build a french drain!
About the Author
Adrian Green is a passionate woodworking enthusiast who has dedicated his life to the craft of woodworking. From his early days working alongside his father in the family woodworking shop, Adrian has honed his skills and developed a deep love for creating beautiful, functional pieces with his hands. As the voice behind The Woodenify Blog, he shares his knowledge, tips, and inspiration with fellow woodworkers of all skill levels, helping them build confidence in their abilities while learning new techniques.
Professional Focus
- Specializes in DIY woodworking projects, from furniture making to home décor.
- Provides step-by-step guides, tips, and practical tutorials for woodworkers at any skill level.
- Focused on empowering readers with confidence and knowledge through easy-to-follow instructions and hands-on techniques.
- Passionate about building a community where makers can share, learn, and grow together in the world of woodworking.
Education History
University of Craft and Design – Bachelor of Fine Arts (BFA) in Woodworking and Furniture Design
Woodworking Apprenticeships – Gained extensive hands-on experience through various workshops and mentorships with seasoned craftsmen, refining carpentry and furniture-making skills.
Expertise
- DIY woodworking, carpentry, furniture making, and home décor projects.
- Creating clear, accessible tutorials and guides for beginner to advanced woodworkers.
- Helping readers experience the satisfaction and fulfillment of turning raw materials into stunning finished products.