
Properly adjusting a gas regulator is essential for ensuring the safe and efficient operation of gas-powered equipment. Whether you are working with a gas grill, heater, or any other appliance, maintaining the correct gas pressure is crucial to avoid risks such as leaks or malfunctioning equipment.
This guide on how to adjust gas regulator will walk you through the steps needed to adjust a gas regulator safely and effectively, providing you with the knowledge to handle this task with confidence. Always prioritize safety and follow manufacturer recommendations for best results.
Safety First
Before attempting to adjust a gas regulator, it is essential to take proper safety precautions. Begin by ensuring that the gas supply is turned off completely to prevent accidental leaks. Inspect all connections and hoses for any signs of damage or wear, such as cracks or corrosion. Always work in a well-ventilated area to avoid the accumulation of gas fumes, which can pose a significant hazard.
If you smell gas or suspect a leak, do not proceed with adjustments; instead, evacuate the area and contact a professional immediately. Wearing protective gloves and safety glasses is also recommended to shield against potential risks. Remember, prioritizing safety helps prevent accidents and ensures a smooth adjustment process.
Tools and Materials Needed
To safely and effectively make adjustments, you will need the following tools and materials:
Adjustable Wrench:
An adjustable wrench is a versatile tool that allows you to easily tighten or loosen nuts and bolts of different sizes. It is essential for making adjustments on gas appliances as it provides a secure grip without causing damage.
Screwdriver Set:
A set of screwdrivers with various sizes and types (flathead, Phillips, etc.) is necessary for adjusting screws or fasteners on appliances. Make sure to use the appropriate size and type of screwdriver to avoid damaging the screws.
Pipe Wrench:
For adjusting pipes or fittings, a pipe wrench provides a strong grip and leverage to turn them without causing damage. It is important to choose the right size of pipe wrench for the job to avoid slipping or damaging the pipes.
Pliers:
Having a set of pliers is essential for a wide range of tasks. They can be used to grip, twist, or cut wires and other small objects. It is important to choose the right type of pliers for the job, such as needle-nose pliers for fine work or lineman’s pliers for heavier-duty tasks.
8 Step-by-Step Guidelines on How to Adjust Gas Regulator
Step 1: Understand the Purpose of a Gas Regulator
A gas regulator is a critical component in managing the flow and pressure of gas from a cylinder or supply line to an appliance or system. Its primary purpose is to ensure a consistent and safe delivery of gas, preventing fluctuations that could lead to equipment malfunction or safety hazards.
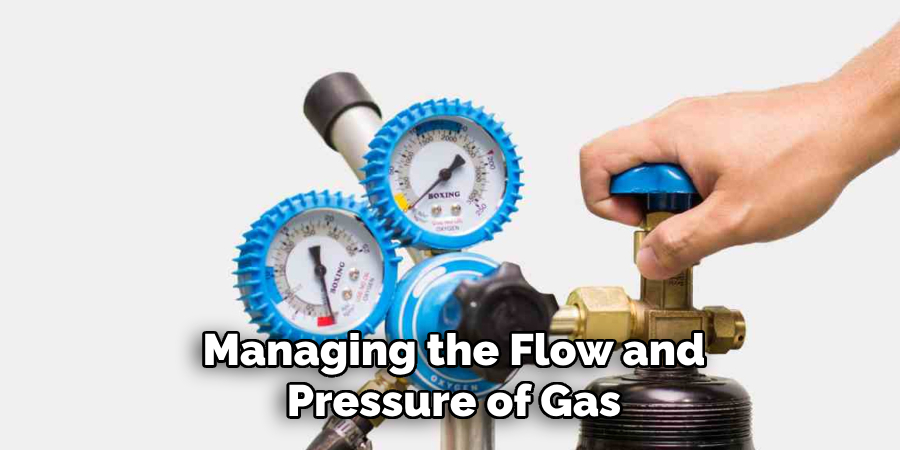
Before adjusting the gas regulator, it is essential to understand the specific requirements of your system or appliance and confirm the intended pressure settings. Familiarity with the gas regulator’s function will help you make precise and safe adjustments.
Step 2: Turn Off the Gas Supply
Before making any adjustments to the gas regulator, ensure that the gas supply is completely turned off. Locate the main gas valve or shutoff valve connected to the cylinder or supply line and turn it to the “off” position.
This step is crucial to prevent accidental gas leaks, ensuring safety while working on the regulator. Additionally, double-check that all connected appliances are turned off to avoid any residual gas flow during the adjustment process.
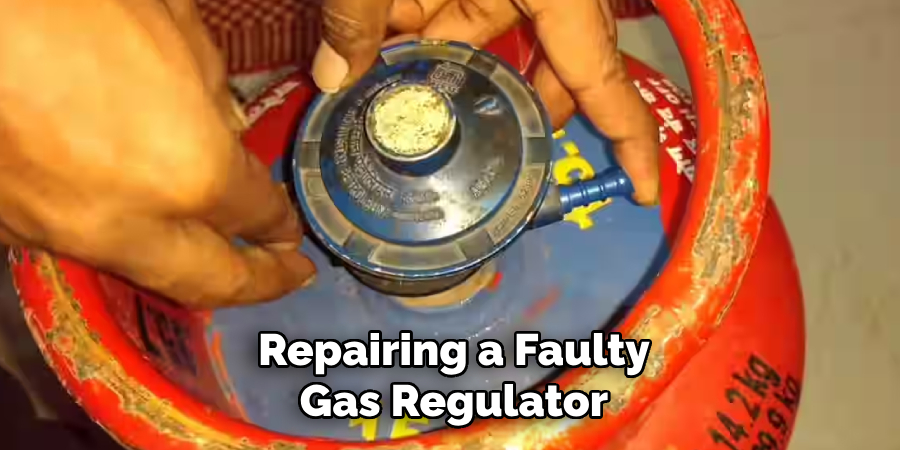
Step 3: Locate Your Gas Regulator
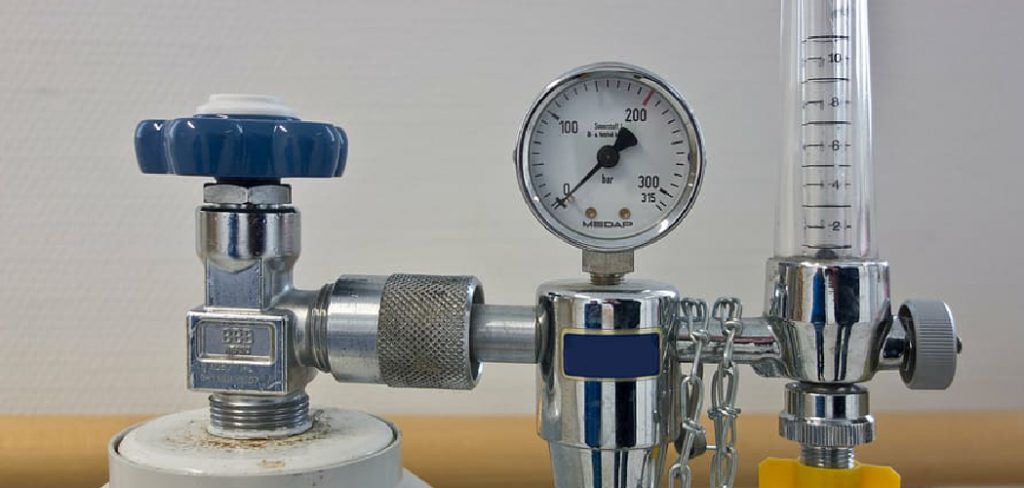
Identify the gas regulator on your system by following the gas line from the supply. The regulator is typically a small, round or rectangular device attached directly to the gas cylinder or the supply line. It often features a control knob or screw for adjustments and may have a pressure gauge to display the current gas pressure.
Ensure the area around the regulator is clear and free of debris to allow for easy access during the adjustment process. Familiarizing yourself with the regulator’s components will make the upcoming steps easier to follow.
Step 4: Adjusting the Pressure
To adjust the pressure, locate the control knob or screw on the regulator. Turn the knob clockwise to increase the pressure and counterclockwise to decrease it. Make incremental adjustments while monitoring the pressure gauge to ensure accuracy.
If your regulator does not have a pressure gauge, make adjustments gradually and observe the performance of the connected equipment to determine if the desired pressure has been achieved. Once the correct pressure is set, secure the knob or screw to prevent unintentional movement. Always double-check the adjustments to ensure the system is operating safely and efficiently.
Step 5: Check for Leaks
After setting the desired pressure, it is crucial to inspect the system for any potential leaks. Begin by applying a soapy water solution to all connections, joints, and fittings. Observe closely for any bubbles forming, as this is a clear indication of a leak. If a leak is detected, tighten the connections or replace faulty components as needed.
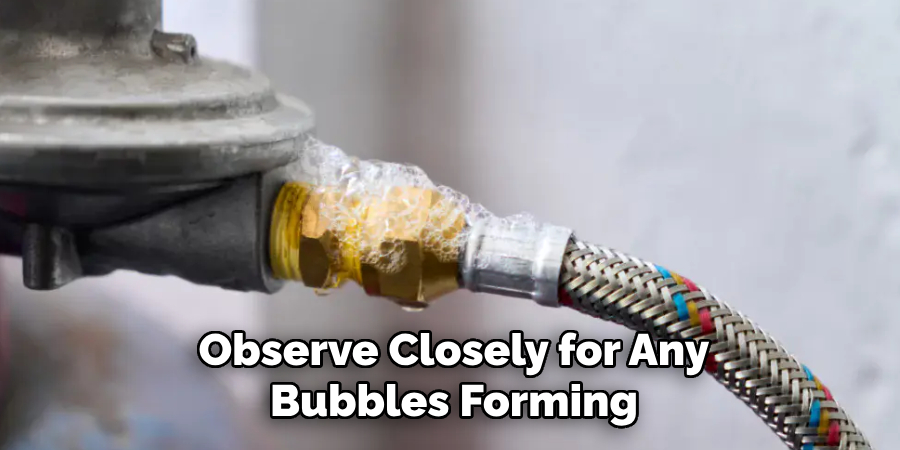
Repeat the process to confirm that the issue has been resolved. Ensuring the system is leak-free not only maintains efficiency but also enhances safety during operation.
Step 6: Turn on the Gas Supply
Once the system has been confirmed to be leak-free, proceed to slowly turn on the gas supply. Always ensure that all valves are opened gradually to prevent a sudden surge of gas, which could lead to unnecessary pressure or potential safety risks.
Pay close attention to the system’s gauges and indicators to verify that everything is functioning within recommended parameters. If any irregularities are noticed, immediately shut off the gas supply and re-inspect the system. Proper care during this step ensures smooth and safe operation of the gas system.
Step 7: Test the Appliance
Now that everything is properly set up and connected, it’s time to test your appliance. Turn on the burner or ignite your pilot light following the manufacturer’s instructions. You should see a steady flame with a blue color, indicating that the gas is burning cleanly.
If the flames are yellow or flickering, this could be a sign of incomplete combustion and may require further adjustments.
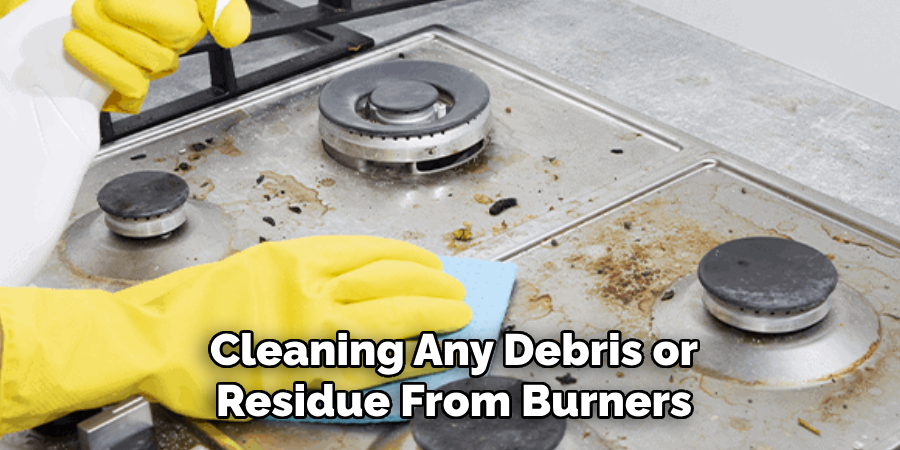
Step 8: Regular Maintenance
To ensure the safe and efficient operation of your gas appliance, it’s important to perform regular maintenance. This includes cleaning any debris or residue from burners and inspecting for any signs of wear or damage. It’s also recommended to have a professional inspection at least once a year.
Following these steps on how to adjust gas regulator pressure can help keep your gas appliances running smoothly and safely. Remember to always prioritize safety when working with gas and consult a professional if you have any concerns or if adjustments need to be made. By keeping up with regular maintenance, you can ensure the longevity of your gas appliances and avoid potential hazards.
Safety Precautions
When working with gas appliances and regulators, safety should always be your top priority. Here are some essential precautions to follow:
Ensure Proper Ventilation:
Always work in a well-ventilated area to prevent the buildup of gas fumes. Never perform adjustments in a confined space.
Shut Off the Gas Supply:
Before making any adjustments or performing maintenance, ensure the gas supply is completely shut off to prevent leaks or accidents.
Use the Right Tools:
Always use tools specifically designed for gas regulators to avoid damaging components or causing improper adjustments.
Wear Protective Gear:
Use gloves and safety goggles to protect yourself from potential exposure to gas or accidental debris.
Inspect for Leaks:
After making adjustments, test for gas leaks using a soapy water solution at the connections. Never use an open flame for testing.
Avoid Open Flames:
Keep all open flames, sparks, and smoking materials away from the work area to reduce the risk of fire or explosion.
Consult a Professional:
If you’re unsure about any steps or encounter issues beyond basic adjustments, always consult a licensed professional to ensure safety and compliance with local regulations.
By following these precautions, you can minimize risks and maintain a safer environment while working with gas regulators and appliances.
Frequently Asked Questions
Q1: What Are Some Common Signs of a Faulty Gas Regulator?
A: Some common signs of a faulty gas regulator include inconsistent or weak flames, unusual odors, and difficulty in maintaining temperature. If you notice any of these signs, it’s important to address the issue immediately and replace the regulator if necessary.
Q2: How Often Should Gas Regulators Be Checked for Safety?
A: It is recommended to have gas regulators checked at least once a year by a qualified professional. However, if you notice any signs of malfunction or irregularities in performance, it’s important to get it checked right away.
Q3: Can I Repair a Faulty Gas Regulator on My Own?
A: No, it is not recommended to attempt repairing a faulty gas regulator on your own. This should only be done by a trained professional who has the knowledge and experience in handling gas regulators safely.
Conclusion
Gas regulators play a vital role in ensuring the safe and efficient operation of gas appliances. Proper maintenance and regular inspections by qualified professionals are essential to prevent potential safety hazards.
Always prioritize safety by addressing any issues promptly and relying on trained experts for repairs. By taking these precautions, you can ensure the longevity and reliability of your gas system while maintaining a safe environment. Thanks for reading this article on how to adjust gas regulator.
About the Author
Adrian Green is a passionate woodworking enthusiast who has dedicated his life to the craft of woodworking. From his early days working alongside his father in the family woodworking shop, Adrian has honed his skills and developed a deep love for creating beautiful, functional pieces with his hands. As the voice behind The Woodenify Blog, he shares his knowledge, tips, and inspiration with fellow woodworkers of all skill levels, helping them build confidence in their abilities while learning new techniques.
Professional Focus
- Specializes in DIY woodworking projects, from furniture making to home décor.
- Provides step-by-step guides, tips, and practical tutorials for woodworkers at any skill level.
- Focused on empowering readers with confidence and knowledge through easy-to-follow instructions and hands-on techniques.
- Passionate about building a community where makers can share, learn, and grow together in the world of woodworking.
Education History
University of Craft and Design – Bachelor of Fine Arts (BFA) in Woodworking and Furniture Design
Woodworking Apprenticeships – Gained extensive hands-on experience through various workshops and mentorships with seasoned craftsmen, refining carpentry and furniture-making skills.
Expertise
- DIY woodworking, carpentry, furniture making, and home décor projects.
- Creating clear, accessible tutorials and guides for beginner to advanced woodworkers.
- Helping readers experience the satisfaction and fulfillment of turning raw materials into stunning finished products.