Are you worried about your electric hot water heater being on all the time? This can lead to higher energy bills and unnecessary wear and tear on your appliance.
How to tell if electric hot water heater is on is an essential step in ensuring your home’s hot water system is functioning properly. An electric water heater that isn’t operating can lead to unpleasant surprises, like a lack of hot water when you need it most. Fortunately, several simple methods exist to check if your electric water heater is on, ranging from inspecting the unit for activity to verifying its power connection and functionality.
Understanding these steps can help you troubleshoot issues quickly and ensure uninterrupted access to hot water.
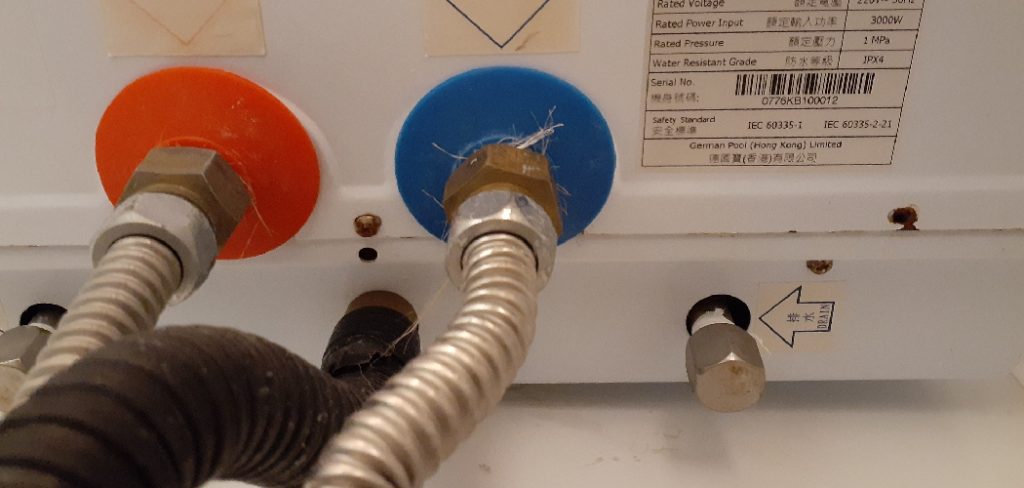
What Are the Benefits of Knowing if Your Electric Hot Water Heater is On?
Before diving into how to check if your electric hot water heater is on, let’s first examine why it’s important to know. Here are a few benefits you can enjoy by being aware of your water heater’s status:
- Lower Energy Bills: If your electric water heater is left on for extended periods when not in use, it can significantly increase your energy consumption and lead to higher utility bills.
- Extend Appliance Lifespan: Consistent operation can put unnecessary strain on the components of an electric water heater, leading to premature wear and tear that could shorten its lifespan.
- Avoid Unexpected Cold Showers: One of the most frustrating experiences is turning on the shower only to discover no hot water. By knowing if your electric water heater is on, you can avoid this unpleasant surprise.
- Prevent Water Damage: A faulty or malfunctioning electric hot water heater can cause significant water damage to your home. By being aware of its status, you can detect and address any potential issues before they escalate.
What Will You Need?
Before you begin to check if your electric hot water heater is on, it’s essential to gather a few items that will make the process easier and safer:
- A Flashlight: This will be useful if your water heater is in a dark or poorly lit area.
- Protective Gear: Wear gloves and goggles while inspecting the appliance to ensure your safety.
- Screwdriver: You may need this tool to open the access panel of your electric hot water heater.
Once you have these items ready, you can check if your electric hot water heater is on.
9 Easy Steps on How to Tell if Electric Hot Water Heater is on
Step 1. Check the Power Supply:
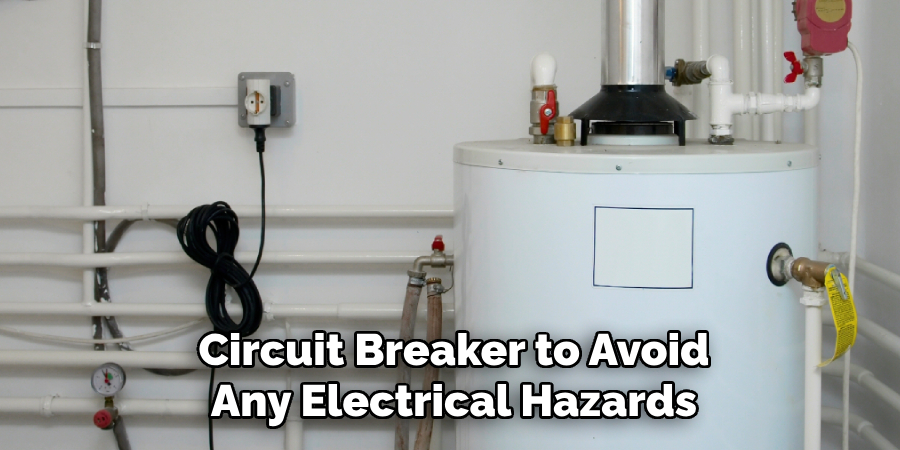
The first step in determining whether your electric hot water heater is on is to ensure that it is receiving power. Locate the circuit breaker panel in your home and find the switch labeled for the water heater. Make sure the breaker is in the “on” position. If the breaker has tripped or is in the “off” position, reset it by switching it back on.
Take special care when handling the circuit breaker to avoid any electrical hazards. If the breaker trips again after resetting, this could indicate a deeper electrical issue that requires the attention of a licensed electrician. Furthermore, inspect any power cords or connections for visible damage or wear, as these could also disrupt the power supply to your water heater.
Step 2. Verify the Thermostat Settings:
Locate the thermostat on your electric water heater, typically found behind a small access panel on the unit. Use a screwdriver to remove the panel, if necessary. Ensure the thermostat is set to an appropriate temperature between 120°F and 140°F. A lower setting might result in insufficient hot water, while a higher setting can be unsafe and lead to energy wastage. Adjust the dial as needed, and ensure the thermostat is securely placed before replacing the panel. The thermostat may need repair or replacement if it seems unresponsive or malfunctioning.
Step 3. Flush the Tank to Remove Sediment:
Over time, sediment and mineral deposits can accumulate at the bottom of your water heater’s tank, reducing its efficiency and affecting water temperature. To flush the tank, start by turning off the power to the unit at the circuit breaker and shutting off the cold water supply valve. Connect a garden hose to the drain valve at the tank’s bottom, ensuring the other end is positioned in a safe drainage area.
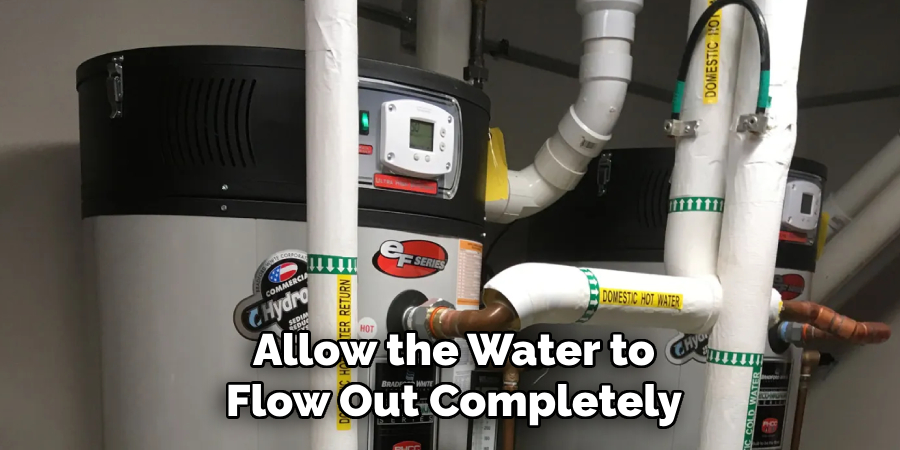
Open the drain valve and allow the water to flow out completely, flushing out any sediment. Once drained, close the valve, disconnect the hose, and open the cold water supply to refill the tank. Turn the power back on and check if the water heater performs better. Performing this maintenance step annually can help extend the life of your water heater.
Step 4. Inspect the Anode Rod:
The anode rod is a crucial component of your water heater that helps prevent tank corrosion by attracting corrosive elements into the water. To inspect the anode rod, turn off the power to the water heater and shut off the cold water supply.
Use a socket wrench to carefully remove the anode rod from the top of the tank. Inspect it for signs of wear, such as significant thinning, corrosion, or a high level of mineral build-up. If the anode rod is severely degraded, replace it with a new one of the same size and type. Reinstall the anode rod securely, turn the water, and power it back on. Checking the anode rod every 1-2 years can significantly improve the longevity of your water heater.
Step 5. Test the Temperature and Pressure Relief Valve:
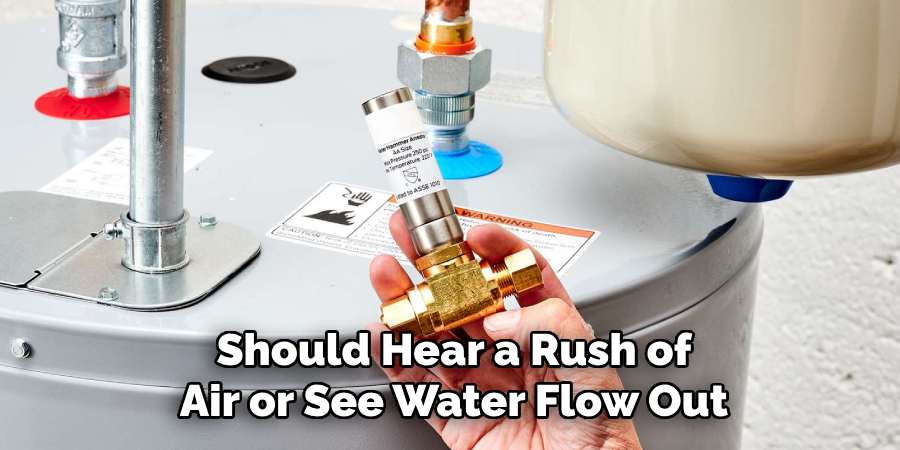
The temperature and pressure (T&P) relief valve is an essential safety feature of your water heater. It prevents excessive pressure from building up in the tank. To test the T&P valve, first, turn off the power to the water heater and shut off the cold water supply. Place a bucket beneath the discharge pipe connected to the valve to catch any water.
Carefully lift the valve’s lever; you should hear a rush of air or see water flow out. If no water comes out or the valve leaks after testing, it may be faulty and should be replaced. Once tested, lower the lever, close the valve, and restore the water and power supply. Regularly testing the T&P valve at least once a year ensures your water heater operates safely.
Step 6. Use Your Senses
Sometimes, you can tell if your electric water heater is on by using your senses. If the unit is running, you may hear a low humming noise or feel warmth when placing your hand near the access panel. However, these methods are unreliable and should not be relied upon solely.
Step 7. Keep an Eye on Your Water Bill:
An unexpected increase in your water bill could indicate that your electric water heater is not functioning efficiently. For instance, if the water heater is constantly running due to a malfunctioning thermostat or excessive sediment buildup inside the tank, it may use more energy, indirectly contributing to higher utility costs. Regularly monitoring and comparing your water bill to previous months can help spot inconsistencies early. If you notice a sudden spike, it’s wise to inspect your water heater for possible issues or consult a professional for a thorough check-up. Addressing these problems promptly can save both money and prevent further complications.
Step 8. Conduct Regular Maintenance:
Regular maintenance on your electric water heater is crucial for ensuring its efficiency, prolonging its lifespan, and avoiding costly repairs. Start by flushing the tank at least once a year to remove sediment buildup that can hinder heat transfer and reduce efficiency. This simple process involves attaching a hose to the drain valve, safely discharging the water, and rinsing until clear. Inspect the anode rod annually, as it prevents rust and corrosion inside the tank. Replace it if it shows significant wear or is less than half an inch thick.
Additionally, check the thermostat settings and heating elements to ensure proper functionality. Tighten any loose connections and inspect for potential leaks around valves and pipes. Scheduling routine professional inspections every year provides an added layer of assurance, as technicians can identify hidden issues and perform more complex maintenance tasks.
Step 9. Know When to Call a Professional:
Suppose you encounter persistent issues with your electric water heater, such as unusually high energy bills, inconsistent water temperatures, or visible corrosion and leaks that cannot be resolved with routine maintenance. In that case, it may be time to call a professional. Some problems can be challenging to diagnose without the proper knowledge and tools, such as faulty wiring, malfunctioning thermostats, or a damaged heating element. Attempting to repair these on your own might not only be unsafe but could also worsen the situation. A licensed technician has the expertise to troubleshoot and address these issues effectively while ensuring your system operates safely.
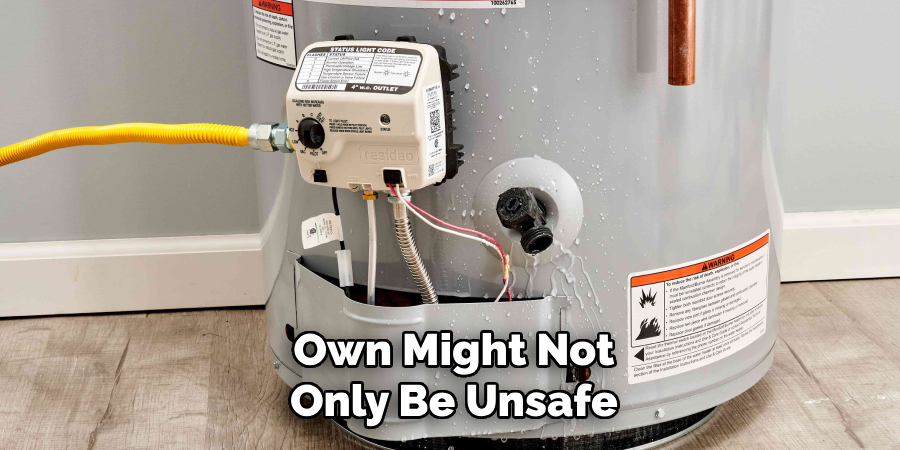
By following these steps and regularly maintaining your electric water heater, you can enjoy reliable hot water and avoid unexpected expenses for years.
Conclusion
Check for basic signs like warm or hot water from your faucet to determine if your electric water heater is on. If no hot water is coming through, inspect the control panel or indicator lights, if applicable, to verify the heater’s status.
Listen for subtle sounds like humming or water heating, which could indicate the system is functioning. For further confirmation, you can touch the tank’s exterior (carefully) to feel for warmth. If these measures still leave doubts, check the circuit breaker to ensure the heater is receiving power.
Hopefully, the article on how to tell if electric hot water heater is on has shed some light on the subject and helped you understand your unit better.
About the Author
Adrian Green is a passionate woodworking enthusiast who has dedicated his life to the craft of woodworking. From his early days working alongside his father in the family woodworking shop, Adrian has honed his skills and developed a deep love for creating beautiful, functional pieces with his hands. As the voice behind The Woodenify Blog, he shares his knowledge, tips, and inspiration with fellow woodworkers of all skill levels, helping them build confidence in their abilities while learning new techniques.
Professional Focus
- Specializes in DIY woodworking projects, from furniture making to home décor.
- Provides step-by-step guides, tips, and practical tutorials for woodworkers at any skill level.
- Focused on empowering readers with confidence and knowledge through easy-to-follow instructions and hands-on techniques.
- Passionate about building a community where makers can share, learn, and grow together in the world of woodworking.
Education History
University of Craft and Design – Bachelor of Fine Arts (BFA) in Woodworking and Furniture Design
Woodworking Apprenticeships – Gained extensive hands-on experience through various workshops and mentorships with seasoned craftsmen, refining carpentry and furniture-making skills.
Expertise
- DIY woodworking, carpentry, furniture making, and home décor projects.
- Creating clear, accessible tutorials and guides for beginner to advanced woodworkers.
- Helping readers experience the satisfaction and fulfillment of turning raw materials into stunning finished products.
