
Are you tired of taking cold showers? Is your water heater not producing enough hot water for you and your family? It may be time to overhaul your gas water heater.
Overhauling a gas hot water heater may seem daunting, but with the proper guidance and tools, it can be done efficiently and safely. Regular maintenance and occasional overhauls are essential to ensure your water heater operates at peak performance, extends its lifespan, and continues to provide reliable hot water for your home.
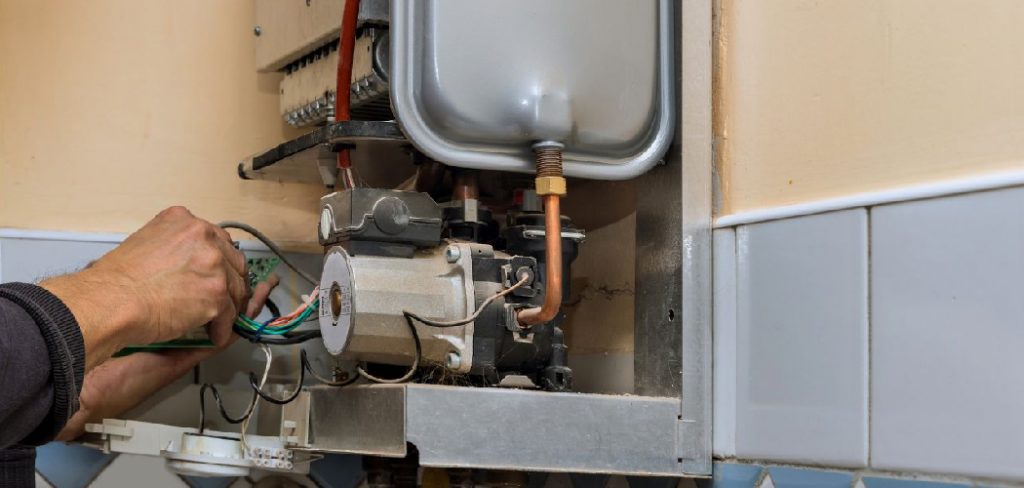
This guide on how to overhaul my gas hot water heater will walk you through the necessary preparations, tools, and step-by-step instructions to overhaul your gas hot water heater, helping you tackle the task with confidence while prioritizing safety and efficiency.
What Are the Benefits of Overhauling My Gas Hot Water Heater?
Before diving into the steps to overhaul your gas water heater, let’s first understand why it’s essential to do so. Here are some benefits of overhauling your gas water heater:
- Improved Efficiency: Over time, sediment and mineral buildup can accumulate in your water heater, reducing efficiency and increasing energy consumption. By overhauling your gas hot water heater, you can remove this buildup and improve efficiency.
- Increased Lifespan: Regular overhauls can help prolong the lifespan of your water heater by preventing corrosion and other issues that may cause premature failure.
- Cost Savings: A well-maintained and efficient gas water heater can save you money on your energy bills. You can improve your efficiency and reduce your energy costs by overhauling your water heater.
- Reliable Hot Water: Overhauling your gas water heater ensures that it continues to provide reliable hot water for you and your family. Neglecting maintenance can result in unexpected breakdowns and cold showers.
Once you understand the benefits of overhauling your gas water heater, it’s time to start. Let’s dive into the step-by-step process.
What Will You Need?
Before starting the overhaul, you must gather the necessary tools and materials. Here are some items you may need:
- A new gas control valve
- A water heater flushing kit
- Pipe wrenches
- Screwdrivers
- Adjustable pliers
- Safety gloves
- Goggles or safety glasses
It’s also essential to read through your water heater’s manual before beginning the process, as it may contain specific instructions or warnings unique to your model.
10 Easy Steps on How to Overhaul My Gas Hot Water Heater
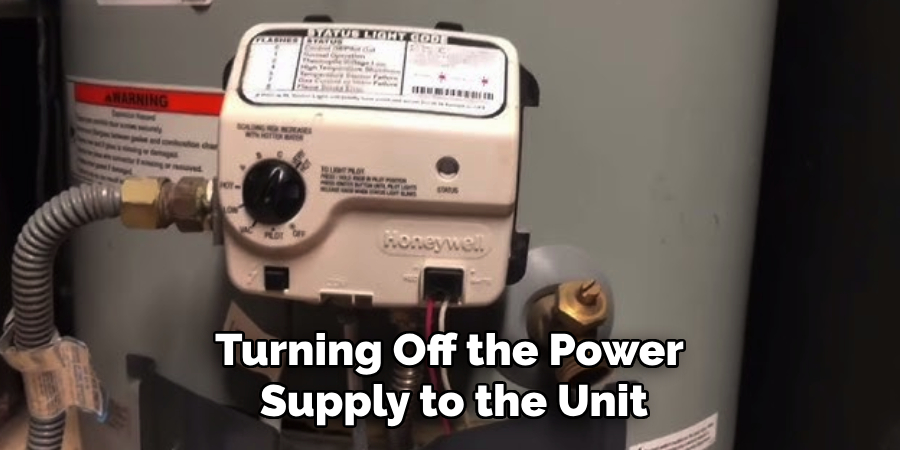
Step 1: Turn off the Power and Gas Supply
Safety should always come first when working with gas-powered appliances. Begin by locating your water heater’s power switch and turning it off. If your unit is electric, switch off the circuit breaker that powers the water heater. For gas-powered units, locate the gas supply valve and turn it clockwise to close it completely, cutting off the gas flow.
This step is crucial to avoid accidents or gas leaks during overhaul. Additionally, ensure that the area around the water heater is well-ventilated, mainly when working with gas appliances. These precautions will help you create a safe working environment and set the stage for a smooth overhaul.
Step 2: Turn Off the Water Supply
Before proceeding, you need to halt the water flow to the heater. Locate the cold water supply valve, typically found at the top of the water heater, and turn it clockwise until it is completely closed. This will stop water from entering the tank during the overhaul. Additionally, open a hot water faucet in your home to relieve any built-up pressure in the system and allow the tank to drain more efficiently in the following steps. This precaution ensures a mess-free process and prevents unnecessary water spillage.
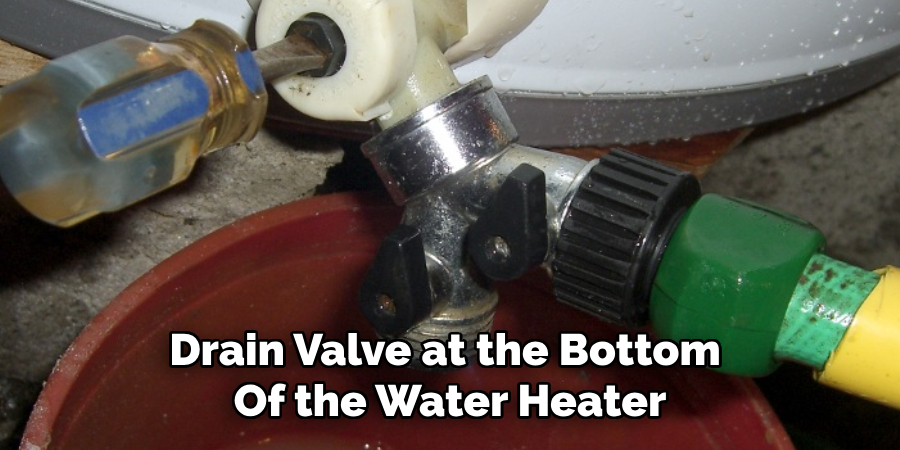
Step 3: Drain the Water Heater
To proceed with the overhaul, draining the water heater is essential. Attach a garden hose to the drain valve, usually at the bottom of the tank. Ensure that the other end of the hose is directed to a suitable drainage area, such as a floor drain or an outdoor location.
Open the drain valve to allow the water to flow out of the tank ultimately. Be cautious, as the water may still be hot. If the tank does not drain quickly, you can open the pressure relief valve or a nearby hot water faucet to allow air to flow in and help the water exit smoothly. This step is vital to ensure the tank is empty for the upcoming maintenance work.
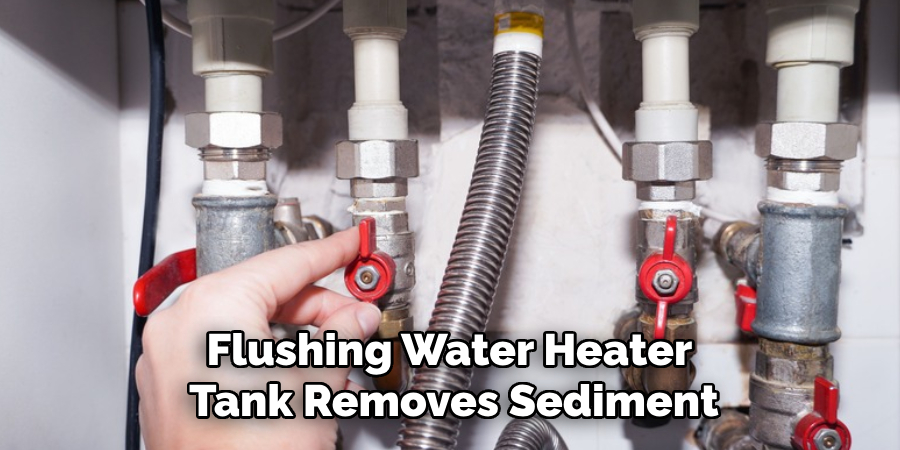
Step 4: Flush Out Sediment
After the tank has been drained, it is essential to flush out any sediment that may have accumulated inside the water heater. Turn on the cold water supply to the tank while keeping the drain valve open. This will help to dislodge and expel sediment from the bottom of the tank. Allow the water to run through the tank until it flows out clear from the hose, indicating that the sediment has been effectively removed. Flushing the tank ensures better efficiency and prolongs the life of your water heater. Once done, close the drain valve securely.
Step 5: Refill the Tank
With the sediment flushed out and the drain valve securely closed, refilling the water heater tank is time. Begin by turning off the cold water supply momentarily to prevent overfilling. Close the pressure relief valve and ensure all hot water faucets opened earlier are turned off. Now, open the cold water supply to allow the tank to fill. Monitor the process and listen for any signs of air escaping from the tank as it fills. Once the tank is full, run a nearby hot water faucet to remove any remaining air. This helps ensure the water heater is ready for use.
Step 6: Restore Power or Gas Supply
With the water heater tank properly refilled and air removed from the system, the next step is to restore the power or gas supply. If you have an electric water heater, turn the power back on at the circuit breaker. For gas water heaters, relight the pilot light if necessary or follow the manufacturer’s instructions to restart the burner. Once the power or gas supply is restored, allow the water heater to reach its operating temperature, typically 30-60 minutes.
During this time, check for leaks around the drain valve and other connections to ensure everything is secure. After verifying that the system is functioning correctly, your water heater maintenance is complete and ready to provide hot water efficiently
Step 7: Schedule Regular Maintenance
To ensure your water heater continues to operate efficiently and has a long lifespan, it’s important to schedule regular maintenance. This includes tasks such as flushing the tank annually to remove sediment buildup, checking the anode rod for corrosion, and inspecting the pressure relief valve for proper function. Regular maintenance can prevent potential issues, enhance performance, and reduce the risk of sudden breakdowns. Refer to your water heater’s user manual for specific maintenance guidelines and recommendations.
Step 8: Replace the Anode Rod When Necessary
The anode rod is a crucial component of your water heater, designed to attract corrosive elements in the water and prevent the tank from rusting. Over time, the anode rod deteriorates and loses its effectiveness. Inspect the anode rod every two to three years or as your water heater’s manufacturer recommends. If it appears heavily corroded or less than half an inch in diameter, it’s time to replace it. Regularly replacing the anode rod can significantly extend the lifespan of your water heater and maintain its efficiency.
Step 9: Flush the Tank Annually
Flushing your water heater tank annually is an important step to remove sediment buildup that can accumulate over time. Sediment can decrease the efficiency of your water heater, cause rumbling noises, and even lead to damage if left unchecked. To flush the tank, turn off the power supply or gas to the heater and attach a garden hose to the drain valve. Direct the other end of the hose to a safe drainage area and carefully open the valve to allow the water and sediment to flow out. Once the tank is empty, close the valve, remove the hose, and refill the tank before restoring power.
Step 10: Inspect the Pressure Relief Valve
The pressure relief valve is a crucial component of your water heater that prevents excessive pressure from building up inside the tank. To inspect it, first, turn off the power or gas supply to the heater and ensure the water inside has cooled. Place a bucket below the discharge pipe connected to the valve, and then carefully lift the valve’s lever to release a small amount of water. The valve functions properly if water flows freely and stops when you release the lever. If no water comes out or the valve leaks continuously, it may need to be replaced to ensure safe operation. Always follow your manufacturer’s instructions when performing this step.
Following these steps and scheduling regular maintenance ensures your water heater operates efficiently and provides hot water reliably.
Conclusion
How to overhaul my gas hot water heater might seem like a daunting task, but with careful steps and attention to detail, it is manageable for homeowners.
Regular maintenance and timely inspections can help extend the lifespan of your unit, improve its efficiency, and prevent unexpected breakdowns. Always prioritize safety by turning off the power or gas supply before working on your heater. Refer to the manufacturer’s manual to ensure you are following the correct procedures, and do not hesitate to consult a professional if you encounter any issues beyond your expertise.
A well-maintained water heater ensures a steady hot water supply and peace of mind for years to come.
About the Author
Adrian Green is a passionate woodworking enthusiast who has dedicated his life to the craft of woodworking. From his early days working alongside his father in the family woodworking shop, Adrian has honed his skills and developed a deep love for creating beautiful, functional pieces with his hands. As the voice behind The Woodenify Blog, he shares his knowledge, tips, and inspiration with fellow woodworkers of all skill levels, helping them build confidence in their abilities while learning new techniques.
Professional Focus
- Specializes in DIY woodworking projects, from furniture making to home décor.
- Provides step-by-step guides, tips, and practical tutorials for woodworkers at any skill level.
- Focused on empowering readers with confidence and knowledge through easy-to-follow instructions and hands-on techniques.
- Passionate about building a community where makers can share, learn, and grow together in the world of woodworking.
Education History
University of Craft and Design – Bachelor of Fine Arts (BFA) in Woodworking and Furniture Design
Woodworking Apprenticeships – Gained extensive hands-on experience through various workshops and mentorships with seasoned craftsmen, refining carpentry and furniture-making skills.
Expertise
- DIY woodworking, carpentry, furniture making, and home décor projects.
- Creating clear, accessible tutorials and guides for beginner to advanced woodworkers.
- Helping readers experience the satisfaction and fulfillment of turning raw materials into stunning finished products.