
Are you having trouble with your water heater pilot light? If you’re not getting any hot water, chances are the pilot light has gone out. Don’t worry, how to fix a water heater pilot light is a simple and straightforward process that you can do on your own without having to call in a professional.
A water heater pilot light is essential to ignite the burner, allowing your water heater to function properly. If the pilot light goes out, it can leave you without hot water, which can be both inconvenient and frustrating.
In this guide, we’ll walk you through the steps to safely and efficiently relight your water heater pilot light and some tips to troubleshoot common issues that may be causing the problem. Always follow safety precautions and consult the manufacturer’s instructions for your specific model.
What Will You Need?
You’ll need a few tools and materials to fix a water heater pilot light. Make sure to gather all of the necessary items before starting the process to avoid any delays or difficulties.
- Flashlight: Since most water heaters are in dark and cramped spaces, having a flashlight will make it easier to see what you’re doing.
- Matches or Lighter: You’ll need a flame source to relight the pilot light.
- Screwdriver (Optional): Depending on your water heater model, you may need a screwdriver to access the pilot light area.
Once you have all of these items, you’re ready to begin fixing your water heater pilot light.
9 Easy Steps on How to Fix a Water Heater Pilot Light
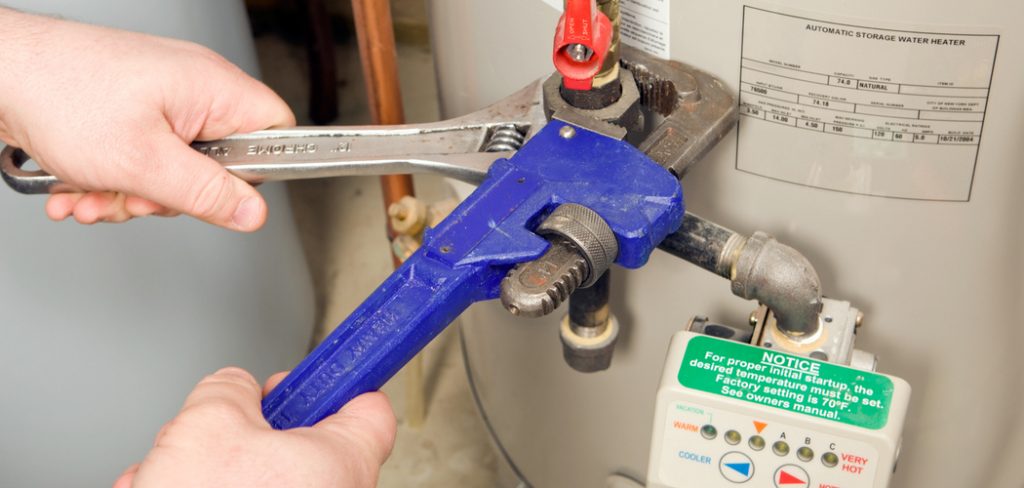
Step 1: Turn Off the Gas Supply
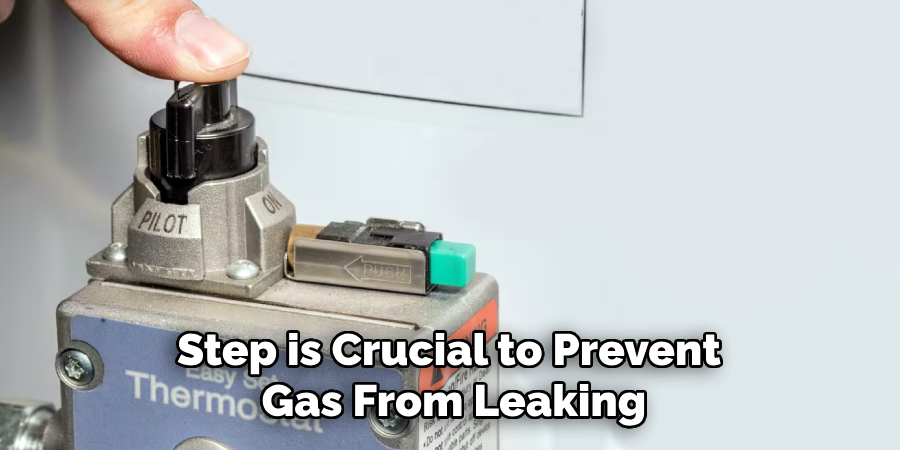
To begin safely, locate the gas control valve on your water heater, typically found near the bottom of the unit. Turn the knob to the “Off” position to shut off the gas supply completely. This step is crucial to prevent gas from leaking while you work on the pilot light. After turning off the gas, wait for at least 5 minutes to allow any residual gas in the area to dissipate. This waiting period ensures safety when handling open flames later in the process.
If you smell gas during this time, do not proceed. Instead, evacuate the area immediately and contact your gas company or a professional technician to inspect the situation. Safety should always be your top priority before moving forward.
Step 2: Locate the Pilot Light Assembly
Within an access panel, the pilot light assembly is typically located near the bottom of the water heater. This assembly usually consists of three key components: the pilot light, the thermocouple, and the gas control valve. Remove the access panel carefully, which may require a screwdriver depending on your water heater model. Inspect the area under good lighting to ensure you can see these components.
Look for signs of dirt, debris, or soot buildup around the pilot light assembly, as these can interfere with proper operation. Understanding the layout of the pilot light assembly will help you confidently move to the following steps, ensuring that you address any issues methodically. Always handle these components gently to avoid accidental damage.
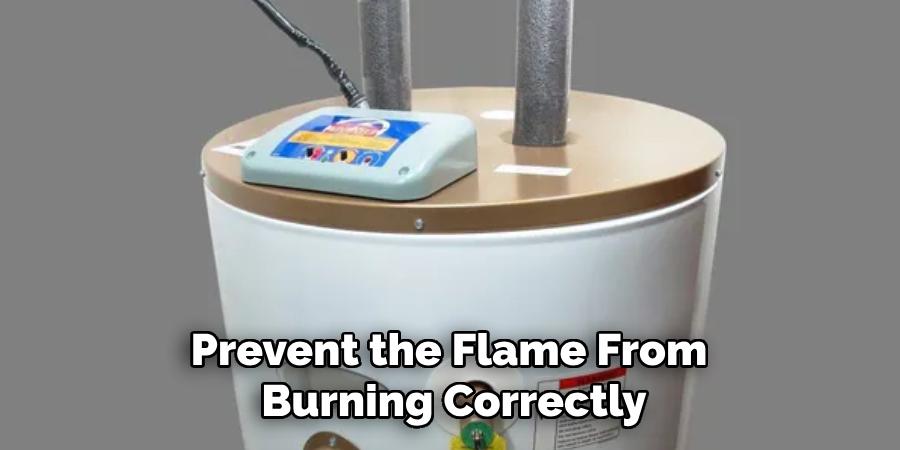
Step 3: Inspect the Pilot Light Area
Once you have located the pilot light assembly, inspect the area for any dirt, debris, or damage. A clogged or dirty pilot light nozzle can prevent the flame from burning correctly. Use a soft brush or compressed air to clean the nozzle and surrounding components carefully. Additionally, check for any visible signs of wear or damage to the gas valve, thermocouple, or connections. If you notice any significant issues, calling a professional for repairs may be necessary before proceeding. Ensuring the pilot light area is clean and in good condition is essential for your water heater’s safe and effective operation.
Step 4: Turn Off the Gas
Before relighting the pilot light, ensure the gas supply to the water heater is turned off. Locate the gas control knob or valve and turn it to the “Off” position. Wait at least five minutes to allow any residual gas to disperse. This step is crucial to ensure safety and prevent any buildup of gas that could lead to a hazardous situation. Always prioritize safety when working with gas-powered appliances.
Step 5: Relight the Pilot Light
Once the area is safe and the gas has cleared, you can relight the pilot light. Locate the pilot light assembly, which typically includes a gas control knob and an ignition button. Turn the gas control knob to the “Pilot” setting and hold it down to release gas to the pilot light. While holding the knob, use a long lighter or the water heater’s built-in igniter to ignite the pilot light. Continue holding the knob for about one minute, allowing the flame to burn and warm up the thermocouple. This step is necessary to ensure the pilot light stays lit after releasing the knob.
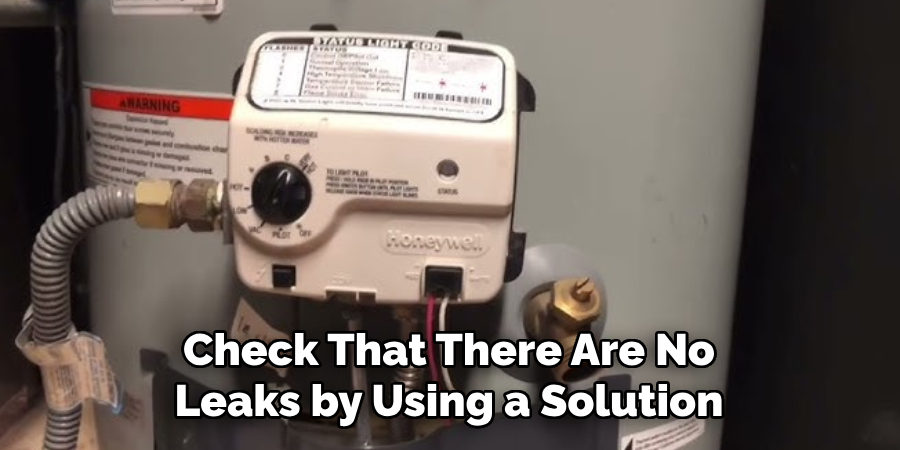
Step 6: Turn On the Gas
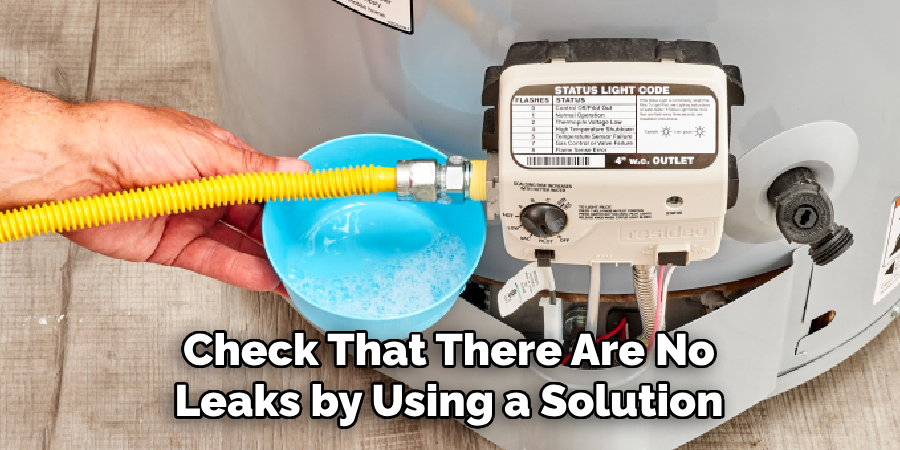
After successfully lighting the pilot light, turn the gas control knob back to the “On” position. This will allow gas to flow to the burner and ignite when needed. Check that there are no leaks by using a solution of soap and water on any connections or joints. If you see bubbles forming, this indicates a leak and means you must reopen the gas supply and call a professional for repairs.
Step 7: Adjust Temperature Settings
Once the gas is flowing correctly and you have confirmed there are no leaks, it’s time to set the desired temperature for your water heater. Locate the temperature control dial, which is usually found near or on the gas control knob. Most water heaters have a marking for a “recommended” setting, often labeled somewhere between 120°F and 140°F, which is considered safe and energy-efficient for most households.
If you prefer hotter water, turn the dial slightly toward the higher end, but keep in mind that setting the temperature too high increases the risk of scalding and energy consumption. On the other hand, lowering the temperature slightly can save energy and reduce costs, but ensure it’s still set high enough to effectively kill bacteria like Legionella that can grow in cooler water.
Step 8: Put Everything Back in Place
Once you have set the desired temperature for your water heater, it’s vital to reassemble everything correctly to ensure safe and efficient operation. Start by replacing any access panels or covers you may have removed to adjust the temperature. Ensure that the covers are secured tightly, as they protect the unit’s internal components and prevent accidental contact with hot surfaces or exposed wires.
If your water heater has a thermostat knob or control panel that sits outside the unit, double-check that everything is aligned correctly and functioning smoothly. Some models may also have insulation or a cover over the thermostat. If you remove any insulation, carefully position it back in place to maintain the heater’s energy efficiency.
Step 9: Turn On Hot Water Faucets
After reassembling your water heater and ensuring everything is securely in place, the next step is to turn on one or more hot water faucets in your home. This step serves several purposes. First, it lets you confirm that the plumbing system has distributed the adjusted water temperature. Second, it allows you to check for unusual noises or irregularities that may indicate an issue with your water heater’s operation.
Begin by turning the faucet to the hot position and letting the water run for a few minutes. Carefully observe the water’s temperature to ensure it heats up gradually and consistently. If you’ve recently made significant adjustments, the new temperature may take some time to stabilize. During this process, listen for any sounds, such as hissing or banging, that may point to potential problems within the system. If you notice anything unusual, turn off the faucet and inspect the water heater to verify everything has been correctly reassembled.
By following these simple steps, you can safely and effectively relight your water heater’s pilot light.
5 Things You Should Avoid
- Skipping the User Manual: Always consult the user manual specific to your water heater model before attempting any repairs. Ignoring this step can result in incorrect procedures or missed safety warnings.
- Working Without Turning Off the Gas Supply: Never attempt to work on your water heater without shutting off the gas supply. Failing to do so can lead to dangerous gas leaks or potential fires.
- Using Open Flames Near the Unit: Avoid using lighters, matches, or any open flames near the water heater while working on it. This poses a serious risk of igniting gas fumes if there is a leak.
- Ignoring Safety Gear: Always wear protective gloves and glasses when handling water heater components. Skipping safety gear can lead to burns, cuts, or other injuries.
- Forcing Parts or Skipping a Professional Inspection: If a part feels stuck or doesn’t align properly, forcing it can cause damage. Additionally, if the pilot light continues to go out or an issue persists, avoid repeated attempts to fix it yourself—contact a professional instead.
Conclusion
How to fix a water heater pilot light requires caution, preparation, and attention to detail. Always start by turning off the gas supply and closely following the manufacturer’s instructions for relighting the pilot.
Prioritize safety by using protective gear and keeping open flames away from the unit. If the pilot light won’t stay lit after multiple attempts or you notice a recurring issue, contacting a professional technician is essential to prevent further damage or hazards.
Proper care and adherence to safety guidelines can ensure your water heater operates efficiently and safely.
About the Author
Adrian Green is a passionate woodworking enthusiast who has dedicated his life to the craft of woodworking. From his early days working alongside his father in the family woodworking shop, Adrian has honed his skills and developed a deep love for creating beautiful, functional pieces with his hands. As the voice behind The Woodenify Blog, he shares his knowledge, tips, and inspiration with fellow woodworkers of all skill levels, helping them build confidence in their abilities while learning new techniques.
Professional Focus
- Specializes in DIY woodworking projects, from furniture making to home décor.
- Provides step-by-step guides, tips, and practical tutorials for woodworkers at any skill level.
- Focused on empowering readers with confidence and knowledge through easy-to-follow instructions and hands-on techniques.
- Passionate about building a community where makers can share, learn, and grow together in the world of woodworking.
Education History
University of Craft and Design – Bachelor of Fine Arts (BFA) in Woodworking and Furniture Design
Woodworking Apprenticeships – Gained extensive hands-on experience through various workshops and mentorships with seasoned craftsmen, refining carpentry and furniture-making skills.
Expertise
- DIY woodworking, carpentry, furniture making, and home décor projects.
- Creating clear, accessible tutorials and guides for beginner to advanced woodworkers.
- Helping readers experience the satisfaction and fulfillment of turning raw materials into stunning finished products.