
Are you tired of your utility bills skyrocketing every month due to the constant use of hot water? It may be time to consider converting to a tankless water heater.
How to convert to tankless water heater can be a smart upgrade for homeowners seeking energy efficiency, space-saving solutions, and an endless hot water supply. Unlike traditional water heaters with large storage tanks, tankless models heat water on demand, reducing energy waste and lowering utility bills over time. However, the installation process involves careful planning, adjustments to your home’s plumbing and electrical systems, and selecting the right unit for your household’s needs.
This guide will walk you through the essential steps to ensure a smooth and successful transition to a tankless water heater.
What Are the Benefits of Converting to a Tankless Water Heater?
Before diving into the conversion process, it’s essential to understand the benefits of switching to a tankless water heater.
- Energy Efficiency: Tankless water heaters only heat water when needed, eliminating standby energy loss from constantly heating a large storage tank. This feature can result in significant energy savings over time.
- Space-saving: Unlike traditional bulky water heaters, tankless models are compact and wall-mounted, freeing up valuable floor space in your home.
- Endless Hot Water: With tankless units, you’ll never have to worry about running out of hot water during peak usage or long showers.
- Longer Lifespan: Tankless water heaters can last up to 20 years, compared to the average 10-15-year lifespan of traditional models.
- Lower Operating Costs: With lower energy consumption and longer lifespans, tankless water heaters have lower overall operating costs than traditional models.
What Will You Need?
To convert to a tankless water heater, you’ll need the following tools and materials:
- Tankless water heater unit
- Appropriate fittings and connectors for plumbing and gas lines
- Hot and cold water shut-off valves
- Electric or gas line hookups (depending on your unit)
- Venting kit (if converting from an electric to a gas model)
10 Easy Steps on How to Convert to Tankless Water Heater
Step 1. Turn Off the Power and Water Supply:
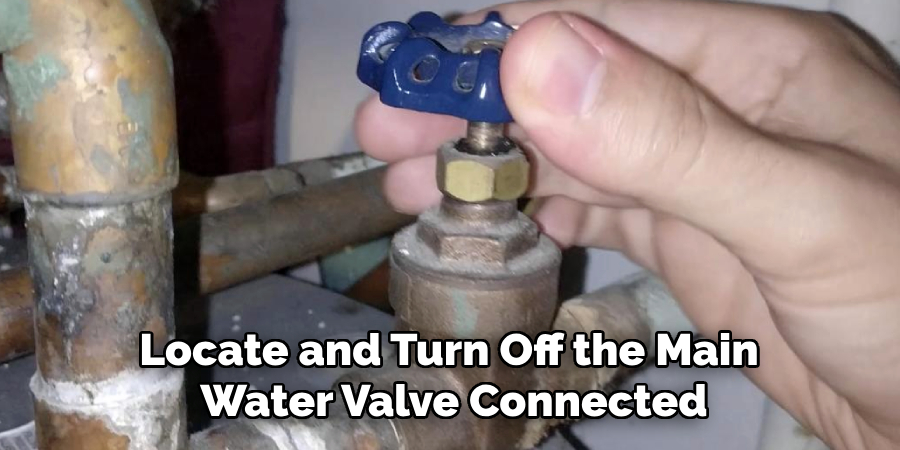
Before beginning the installation process, ensure that the power supply and water supply to your current water heater are entirely shut off. For electric models, turn off the circuit breaker associated with the water heater. For gas models, close the gas supply valve. Then, locate and turn off the main water valve connected to the system. This step is essential to prevent accidents, such as electrical shocks, gas leaks, or water damage, while you work on replacing the unit. Double-check that all respective supplies are entirely off before proceeding to the next steps.
Step 2. Drain the Existing Water Heater:
Before removing your existing water heater, ensure that all water is drained from the unit. Locate the drain valve at the bottom of the heater and attach a garden hose to it. Direct the hose to a safe drainage area, such as a floor drain or outdoors. Open the valve and allow the water to flow out ultimately. To speed up the process, open a hot water faucet in your home while the water drains to release any built-up pressure inside the tank. Ensure the tank is fully emptied before proceeding to the next step, as residual water can make the unit heavier and harder to move.
Step 3. Disconnect the Water and Power Connections:
Once the tank is fully drained, you can disconnect the water and power connections. Start by detaching the water supply lines connected to the heater. Use a wrench to loosen the fittings carefully, and ensure you have a bucket or towel ready to catch any remaining water drips. If your water heater is electric, turn off the power at the circuit breaker and disconnect the wiring. For gas water heaters, detach the gas supply line using a wrench and ensure the valve remains turned off throughout the process. Be cautious when handling these connections to avoid damage or leaks.
Step 4. Remove the Old Water Heater:
You can now remove the old water heater with all connections safely detached. Carefully lift the unit with the help of another person, as it may still be heavy even after draining. Use caution to avoid scratching floors or damaging surrounding surfaces. If the water heater is in a tight space, maneuver it out slowly to prevent accidents. Once removed, dispose of the old water heater by local regulations or arrange for proper recycling if available. Clearing the area will prepare the space for installing the new unit.

Step 5. Prepare the Area for the New Water Heater:
Before installing the new water heater, take some time to clean and inspect the installation area. Ensure the surface is level and free of any debris affecting the unit’s stability. Check the condition of connections, including the water lines, gas supply, or electrical wiring, to ensure they are in good shape and ready for reconnection. If necessary, replace any worn or damaged components to avoid issues with the new installation. Proper preparation will help ensure a smooth and secure setup for your new water heater.
Step 6. Position and Secure the New Water Heater:
Carefully move the new water heater into the prepared installation area. Align it properly, ensuring it is level and positioned according to the manufacturer’s instructions. If the unit is heavy, enlist help to maneuver it into place safely. Once positioned, secure the water heater using brackets or straps if required, particularly in areas prone to earthquakes or movement. Ensuring the unit is stable will help prevent accidents and prolong its life span.
Step 7. Connect the Water Supply Lines:
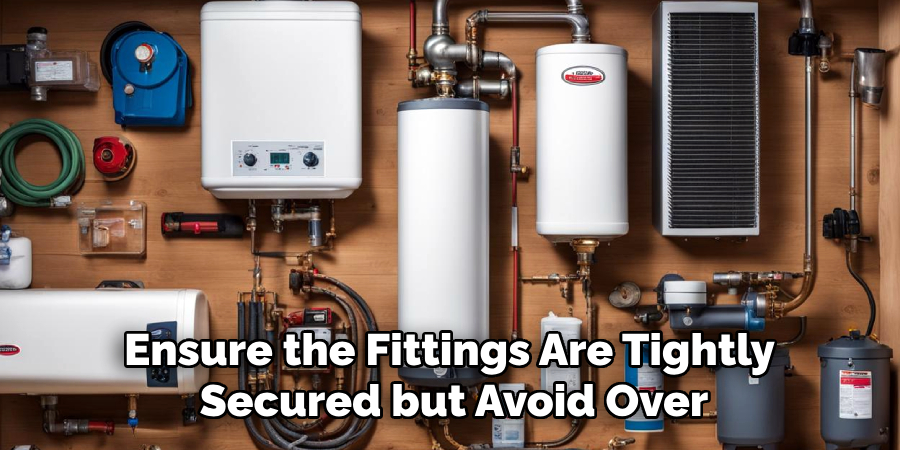
Attach the cold water inlet and hot water outlet to the designated connections on the new water heater. Use flexible pipes or tubing if available, as these can simplify the installation process. Ensure the fittings are tightly secured but avoid over-tightening, which could damage the components. If required, apply plumbing tape around the threads to create a watertight seal. After connecting the lines, slowly turn on the water supply and check for any leaks. Address and fix any leaks promptly to ensure a proper and efficient setup.
Step 8. Connect the Gas or Electricity Supply:
For gas water heaters, connect the gas supply line to the water heater’s gas control valve. If possible, use a flexible gas line and apply joint compound to the threaded connections to ensure a tight seal. Remember to check for gas leaks after the connection is complete by using a soapy water solution; bubbles will indicate a leak that must be fixed immediately.
Connect the electrical wiring according to the manufacturer’s instructions for electric water heaters. Ensure the power is turned off at the circuit breaker before performing wiring work. Use wire connectors to secure the connections and double-check that the wiring aligns with local electrical codes. Once connected, restore power to the unit and verify proper operation.
Step 9. Fill the Tank and Test the Water Heater:
Once all connections are secure, fill the water heater tank with water. Open a hot water faucet in your home to allow air to escape as the tank fills. This helps prevent airlocks and ensures a smooth flow of water. Once the tank is full and water flows steadily from the faucet, close it.
For gas water heaters, ignite the pilot light and adjust the thermostat to your desired temperature. Confirm the power is on for electric water heaters and check the thermostat settings. Allow the water heater to run for a while, then test the water temperature to ensure the unit is functioning correctly. Monitor for leaks or unusual noises and resolve any issues before regular use.
Step 10. Perform Final Inspections:
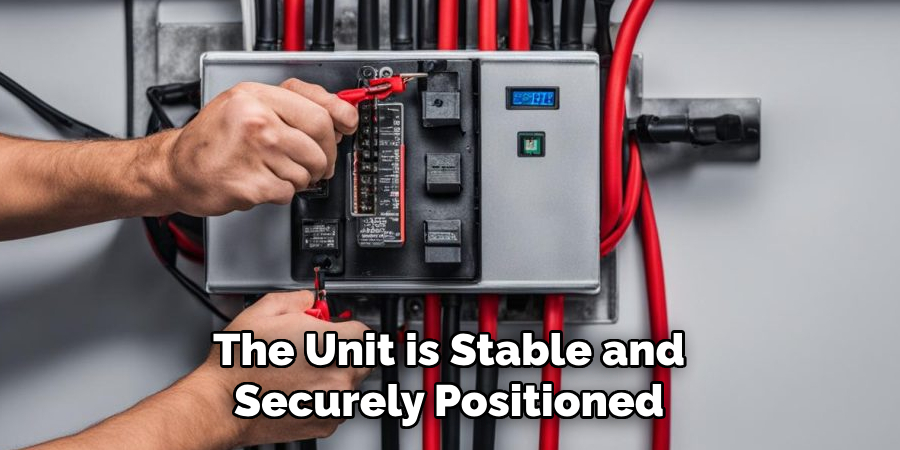
Before considering the installation complete, thoroughly inspect the water heater and its surrounding area. Check all connections, including the inlet and outlet pipes, pressure relief valve, and drain valve, for any signs of leaks or loose fittings. Verify that the unit is stable and securely positioned to prevent movement. Inspect the venting system, if applicable, to ensure it is properly installed and free of obstructions. Lastly, review the manufacturer’s instructions to confirm all installation requirements have been met. Address any issues promptly to ensure the safe and efficient operation of the water heater.
Following these steps, you can install a new water heater in your home. Remember to consult professional help if you encounter any difficulties or are unsure of the installation process.
Conclusion
How to convert to tankless water heater can be a significant upgrade for your home, offering benefits such as energy efficiency, endless hot water, and space savings.
However, the process requires careful planning and execution. Start by evaluating your household’s hot water needs and choosing a system with the appropriate capacity. It’s also essential to assess your home’s existing plumbing and electrical or gas infrastructure, as upgrades may be necessary to support a tankless system. Proper installation by a qualified professional ensures optimal performance and safety.
While the initial investment may be higher than a traditional water heater, a tankless system’s long-term savings and convenience make it a worthwhile choice for many homeowners.
About the Author
Adrian Green is a passionate woodworking enthusiast who has dedicated his life to the craft of woodworking. From his early days working alongside his father in the family woodworking shop, Adrian has honed his skills and developed a deep love for creating beautiful, functional pieces with his hands. As the voice behind The Woodenify Blog, he shares his knowledge, tips, and inspiration with fellow woodworkers of all skill levels, helping them build confidence in their abilities while learning new techniques.
Professional Focus
- Specializes in DIY woodworking projects, from furniture making to home décor.
- Provides step-by-step guides, tips, and practical tutorials for woodworkers at any skill level.
- Focused on empowering readers with confidence and knowledge through easy-to-follow instructions and hands-on techniques.
- Passionate about building a community where makers can share, learn, and grow together in the world of woodworking.
Education History
University of Craft and Design – Bachelor of Fine Arts (BFA) in Woodworking and Furniture Design
Woodworking Apprenticeships – Gained extensive hands-on experience through various workshops and mentorships with seasoned craftsmen, refining carpentry and furniture-making skills.
Expertise
- DIY woodworking, carpentry, furniture making, and home décor projects.
- Creating clear, accessible tutorials and guides for beginner to advanced woodworkers.
- Helping readers experience the satisfaction and fulfillment of turning raw materials into stunning finished products.