
Preparing your garden hose for the winter months is an essential step to prevent damage from freezing temperatures.
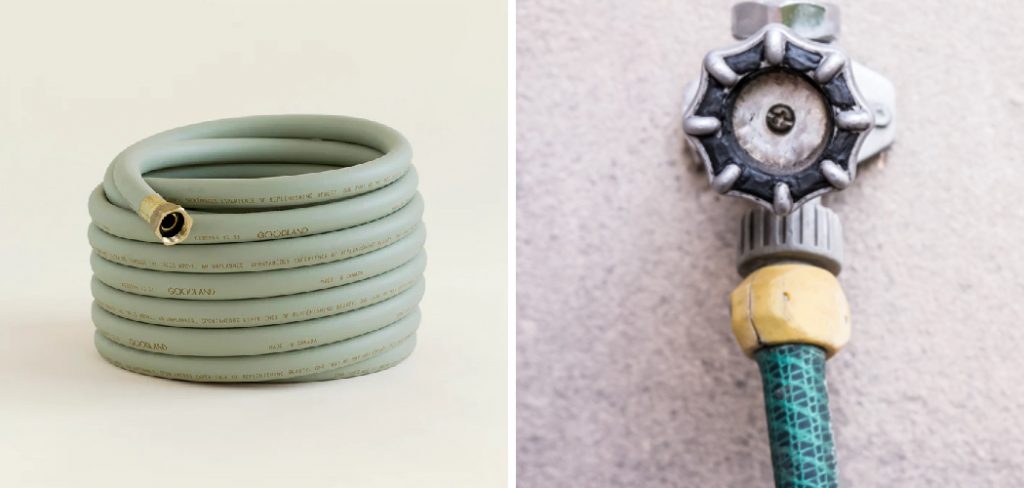
When water is left inside the hose, it can freeze, expand, and cause cracking or leaks, shortening the lifespan of your equipment. Winterizing your garden hose not only protects it but also ensures it will be ready for use when spring arrives. This guide will walk you through the simple steps of how to winterize garden hose.
Common Problems Caused by Not Winterizing
Failing to winterize your garden hose can lead to a range of issues, many of which can be costly and inconvenient to address. One of the primary problems is cracking or splitting of the hose material due to frozen water expanding inside. This damage can render the hose unusable and necessitate its replacement.
Additionally, any connectors or fittings attached to the hose may also suffer damage, such as rusting or cracking, which can compromise their ability to create a secure seal. If the damaged hose is connected to an outdoor faucet, there is also a risk of backflow or freezing in the pipes, potentially causing plumbing issues inside your home. Taking the time to winterize your garden hose helps you avoid these common problems and ensures your equipment remains in good condition.
When to Winterize Your Garden Hose
The ideal time to winterize your garden hose is before the first frost of the season. Freezing temperatures typically occur in late fall, depending on your region, so it’s important to prepare in advance. Monitor local weather forecasts for signs of an approaching cold snap and make it a point to disconnect and drain your hose as soon as temperatures start to drop consistently below freezing.
Waiting too long could result in frozen water left inside the hose, which can expand and lead to cracks or other forms of damage. By acting early, you can protect not only your garden hose but also the overall integrity of your outdoor plumbing system.
10 Methods How to Winterize Garden Hose
1. Disconnect the Hose from the Outdoor Faucet
The first and most crucial step in winterizing your garden hose is to disconnect it from the outdoor spigot. As temperatures drop, any water remaining in the connection point can freeze, expand, and cause significant damage—not just to the hose, but potentially to your home’s plumbing system as well.
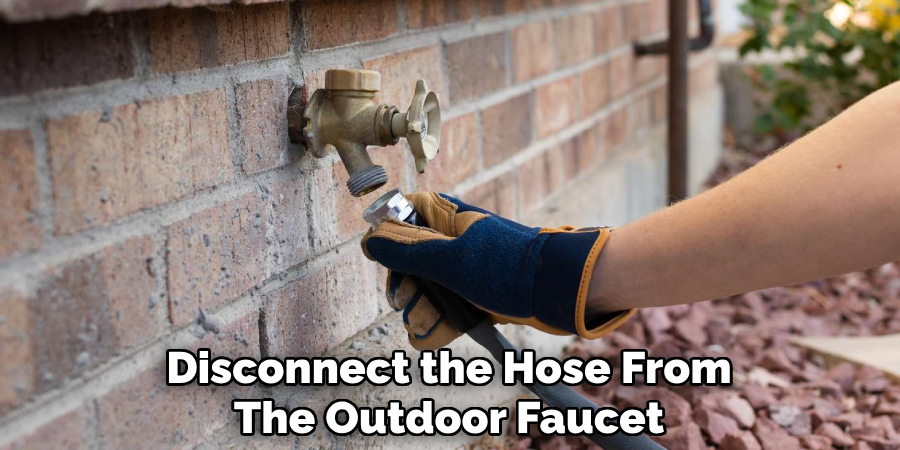
Turn off the faucet and unscrew the hose coupling from the spout. Make sure to do this before the first hard freeze to prevent the metal fittings from becoming brittle or the hose from becoming rigid and harder to manipulate. By disconnecting early, you safeguard both your hose and outdoor faucet from unnecessary wear or bursting.
2. Drain All Water from the Hose
After disconnection, thoroughly draining the garden hose is essential to prevent water from freezing inside the line. Start by stretching the hose out fully across a slight slope or over a driveway, allowing gravity to assist the drainage process.
Lift the hose from one end and gradually work your way down to the other end, squeezing or pressing along its length to push out all residual water. For long hoses or those with kinks, consider moving in sections. Water left inside will expand as it freezes, causing cracks or even complete ruptures, rendering the hose useless come spring.
3. Use an Air Compressor for Thorough Drying
For gardeners who want a more thorough method to ensure a completely dry interior, using an air compressor is highly effective. Attach the nozzle of the compressor to the hose’s fitting and carefully blow compressed air through the entire length.
This method forces out water droplets that gravity might miss, especially in hoses with textured interiors or multiple bends. Be sure to set the compressor to a moderate PSI to avoid damaging the hose. This technique is particularly useful for heavy-duty hoses or those with attachments like sprinklers or spray heads that may hold water in small chambers.
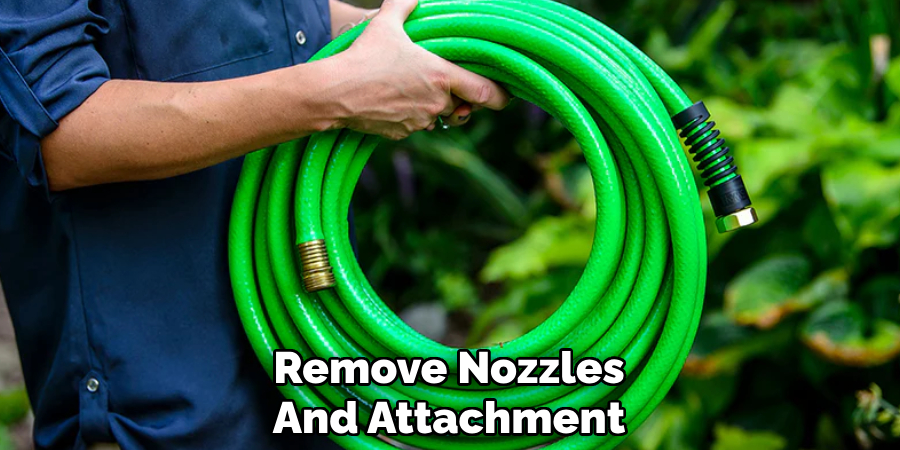
4. Remove Nozzles and Attachments
Always detach any watering wands, spray nozzles, or sprinklers from your hose before storing it for the winter. These attachments often retain small amounts of water in internal cavities that can freeze and expand, damaging the delicate mechanisms inside. Unscrew them and give them a thorough shake or rinse to eliminate trapped water.
Store them indoors in a dry, warm place—like a garage cabinet or utility room drawer—separately from the hose. If these components are left attached, not only do they risk damage, but they can also obstruct airflow during drying or create pressure points that cause cracking.
5. Inspect for Damage Before Storage
Before rolling up your hose, take the time to inspect it for any signs of damage—such as cracks, bulges, weak spots, or worn-out connectors. Winter storage is the ideal opportunity to catch small issues before they worsen.
If you find minor leaks or worn gaskets, replace them now or make a note to do so before spring. Reinforcing damaged sections with repair tape or hose menders can extend the hose’s lifespan. Catching these problems early saves time and money later, especially when demand for replacement parts increases in gardening season.
6. Coil the Hose Properly
Proper coiling reduces kinks and makes your garden hose easier to store. Start coiling from one end, laying the loops flat and uniform, preferably in large circular shapes about 18 to 24 inches in diameter.
Avoid twisting or forcing the hose into tight loops, which can cause cracks or permanent bends. If possible, allow the hose to warm up in the sun beforehand, as this will soften the material and make it more pliable. A hose reel or wall-mounted hanger can be helpful for keeping the coil organized and off the ground, protecting it from pests and moisture.
7. Store in a Dry, Frost-Free Location
The location of your hose storage plays a significant role in its longevity. Choose a place that stays above freezing temperatures throughout winter, such as a garage, basement, shed, or utility room.
Avoid leaving the hose outside, even if it’s disconnected and drained, as exposure to extreme cold can still make the material brittle over time. Hanging the coiled hose on a wall-mounted rack helps maintain its shape and prevents moisture from collecting underneath. Ensure the area is dry and ventilated to prevent mold or mildew growth on the hose surface.
8. Protect with Hose Covers or Bags
If indoor storage is not possible, or if your climate sees only occasional freezing temperatures, consider using protective hose covers or heavy-duty storage bags. These coverings shield the hose from UV rays, frost, and dirt while providing insulation. Some are made with thermal lining and drawstring closures to completely enclose the hose.
Even an old tarp or thick blanket secured with bungee cords can work in a pinch. While this may not provide complete freeze protection, it does significantly reduce exposure and prolong the hose’s life compared to leaving it bare in the elements.

9. Insulate Outdoor Faucets and Hose Bibs
In addition to winterizing your hose, protect the faucet it was attached to by installing an insulated hose bib cover. These foam or plastic covers are inexpensive and simple to use: just slip them over the spigot and secure with the built-in strap. Some homeowners go a step further and wrap the exposed pipe with foam insulation before applying the bib. Protecting your faucet ensures no cold air enters your plumbing system through an exposed exterior wall, which is a common cause of frozen pipes in winter.
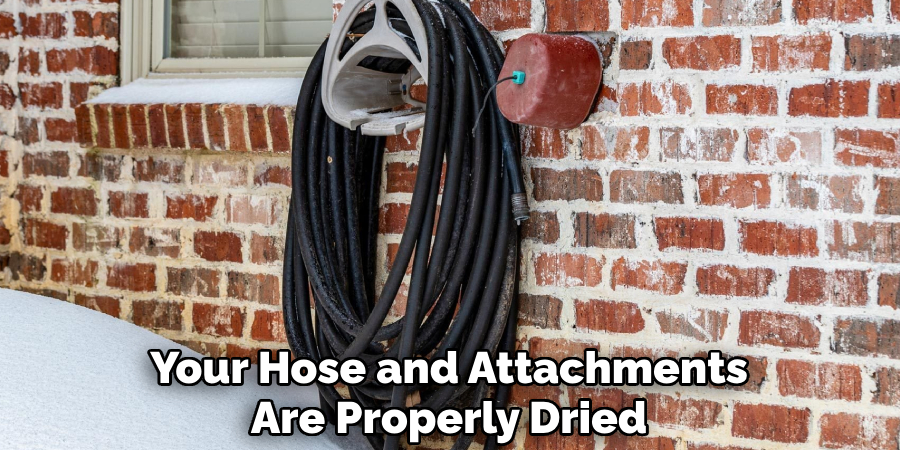
10. Label and Organize for Spring Use
Once your hose and attachments are properly dried, coiled, and stored, take the time to label or organize them in a way that makes springtime setup easy and efficient. If you have multiple hoses for different tasks—watering, pressure washing, or irrigation—label them accordingly using zip ties and tags. Store hose-related accessories, like nozzles and washers, in a labeled bin or container nearby. This small organizational step saves time and effort once warmer weather returns and you’re eager to get your garden back in shape.
Things to Consider When Storing Garden Hoses
Proper storage of garden hoses not only extends their lifespan but also ensures they are ready for use when needed. Here are a few key considerations to keep in mind:
- Location: Store hoses in a dry, shaded area to prevent cracking or damage from prolonged exposure to sunlight or freezing temperatures. A garage, shed, or a specially designed hose reel box works well.
- Condition: Always check hoses for leaks or damage before storing them. Repair any small issues promptly to avoid further wear.
- Drainage: Ensure hoses are completely drained of water to prevent freezing and cracking during colder months.
- Avoid Kinks: Roll hoses loosely or use a hose reel to avoid kinks and folds that can weaken the material over time.
By implementing these steps, your garden hoses will remain in excellent condition and help you tackle your outdoor tasks with ease.
Conclusion
Garden hose holder diy ideas is a straightforward but essential practice that protects your investment and ensures smooth operation when the gardening season returns. By taking the time to thoroughly drain, dry, inspect, and store your hose correctly, you avoid costly replacements and enjoy a hassle-free spring startup.
From using air compressors to storing in frost-free zones, these ten methods offer a comprehensive approach to hose care throughout the colder months. Thanks for reading, and we hope this has given you some inspiration on how to winterize garden hose!
About the Author
Adrian Green is a passionate woodworking enthusiast who has dedicated his life to the craft of woodworking. From his early days working alongside his father in the family woodworking shop, Adrian has honed his skills and developed a deep love for creating beautiful, functional pieces with his hands. As the voice behind The Woodenify Blog, he shares his knowledge, tips, and inspiration with fellow woodworkers of all skill levels, helping them build confidence in their abilities while learning new techniques.
Professional Focus
- Specializes in DIY woodworking projects, from furniture making to home décor.
- Provides step-by-step guides, tips, and practical tutorials for woodworkers at any skill level.
- Focused on empowering readers with confidence and knowledge through easy-to-follow instructions and hands-on techniques.
- Passionate about building a community where makers can share, learn, and grow together in the world of woodworking.
Education History
University of Craft and Design – Bachelor of Fine Arts (BFA) in Woodworking and Furniture Design
Woodworking Apprenticeships – Gained extensive hands-on experience through various workshops and mentorships with seasoned craftsmen, refining carpentry and furniture-making skills.
Expertise
- DIY woodworking, carpentry, furniture making, and home décor projects.
- Creating clear, accessible tutorials and guides for beginner to advanced woodworkers.
- Helping readers experience the satisfaction and fulfillment of turning raw materials into stunning finished products.