
Installing a rain shower system can elevate your bathroom experience, providing a luxurious and spa-like ambiance in the comfort of your home. This guide will walk you through the essential steps of how to install rain shower system, whether you’re upgrading your existing shower or starting from scratch. With the right tools and preparation, you can enjoy the soothing sensation of rainfall every time you step into your shower.
Benefits of Installing a Rain Shower System
A rain shower system offers numerous benefits that can transform your daily shower routine into a more enjoyable and relaxing experience. First and foremost, the wide and even water distribution mimics the sensation of natural rainfall, providing a soothing and calming effect that can help alleviate stress. Additionally, rain showerheads are often designed with aesthetics in mind, adding a modern and luxurious touch to your bathroom decor. Many systems also include adjustable settings, allowing you to customize the water pressure and flow to your preferences.
Beyond comfort, rain showers can be more water-efficient than traditional systems, helping to reduce water usage and lower utility bills when designed with eco-friendly features. Overall, installing a rain shower system offers a blend of relaxation, style, and practicality that enhances your bathroom experience.
Tools and Materials You’ll Need
Before installing a rain shower system, ensure you have the necessary tools and materials to complete the project efficiently. Here’s a checklist to guide you:
- Rain showerhead – The central component of your new shower system.
- Shower arm and flange – Essential for mounting the showerhead to the wall or ceiling.
- Teflon tape – Used to seal pipe threads and prevent leaks.
- Adjustable wrench – For tightening and loosening fittings.
- Screwdriver set – For securing any screws or fixtures.
- Pipe wrench – Ideal for removing and attaching larger fittings.
- Plumber’s tape or sealant – To create watertight seals where necessary.
- Measuring tape – To ensure precise placement and alignment.
- Drill and appropriate bits – For creating screw holes if required.
- Bucket and towel – To manage excess water during installation.
By assembling these tools and materials upfront, you can simplify the process and focus on achieving a seamless rain shower setup.
10 Methods How to Install Rain Shower System
1. Plan Your Installation and Choose the Right Rain Shower System
The first and most essential step in installing a rain shower system is to start with a clear and well-informed plan. Rain showers come in various designs, including ceiling-mounted, wall-mounted, or integrated systems with handheld attachments and body jets. Your bathroom’s existing plumbing and space layout will influence which system you can install. For instance, ceiling-mounted heads may require rerouting water lines through the ceiling, while wall-mounted systems may be easier to retrofit. It’s also important to choose a system compatible with your water pressure and heater capacity. A good rain shower system should offer both luxury and function, so research well before making your selection.

2. Shut Off the Water Supply and Prepare Your Workspace
Before touching any plumbing, ensure the water supply to your bathroom is completely shut off to prevent any accidental flooding or leaks. Turn off the main water valve or use shut-off valves if your bathroom has them. Next, clear the area around the shower—remove toiletries, bath mats, and any obstructions. If you’re working on a ceiling-mounted model, cover the floor with plastic sheeting or a drop cloth to catch debris. Having a dry, accessible workspace makes the installation more efficient and reduces mess. Safety is key, so make sure power tools are plugged into GFCI outlets and that you work in a well-lit area.
3. Remove the Existing Shower Head and Arm
To begin your actual installation, you’ll need to remove the existing shower head and possibly the shower arm, especially if you’re switching from a wall-mounted head to a ceiling-mounted rain shower. Use a wrench or adjustable pliers to loosen the shower head, turning counterclockwise. If the shower arm needs to come out, grip it firmly and unscrew it from the wall fitting. Wrap a soft cloth around chrome pieces to prevent scratching. Once removed, clean the threads of old plumber’s tape or corrosion. This step allows you to start with a clean slate and ensures a secure fit for the new components.
4. Install a New Shower Arm or Ceiling Drop Pipe (If Needed)
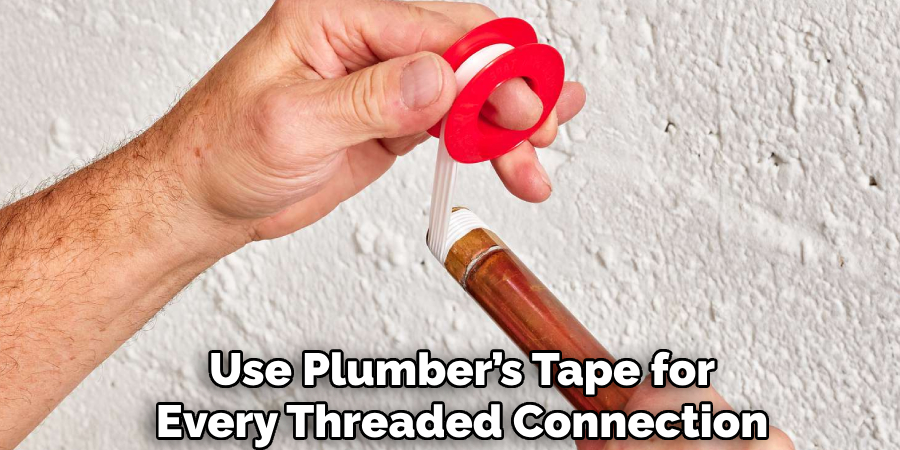
Depending on your chosen system, you may need to install a longer, angled shower arm or a ceiling-mounted drop pipe. For wall-mounted rain showers, insert a new shower arm that extends farther out to properly position the rain head. If installing in the ceiling, you’ll likely need to thread a pipe through ceiling joists and connect it to your existing plumbing. In both cases, wrap Teflon plumber’s tape clockwise around the threads for a tight seal. Make sure the arm or pipe is level and firmly screwed into place. This part determines the head’s final height and angle, so measure carefully.
5. Secure the Mounting Hardware for the Rain Shower Head
Most rain shower systems come with brackets or mounting hardware designed to support the wider and heavier head. If ceiling-mounted, ensure the drop pipe is secured to a joist or use appropriate anchor brackets. For wall-mounted systems, attach any wall-mounting brackets to the arm or tile, using a drill with a masonry bit if needed. Apply wall anchors and screws to hold the fixture securely.
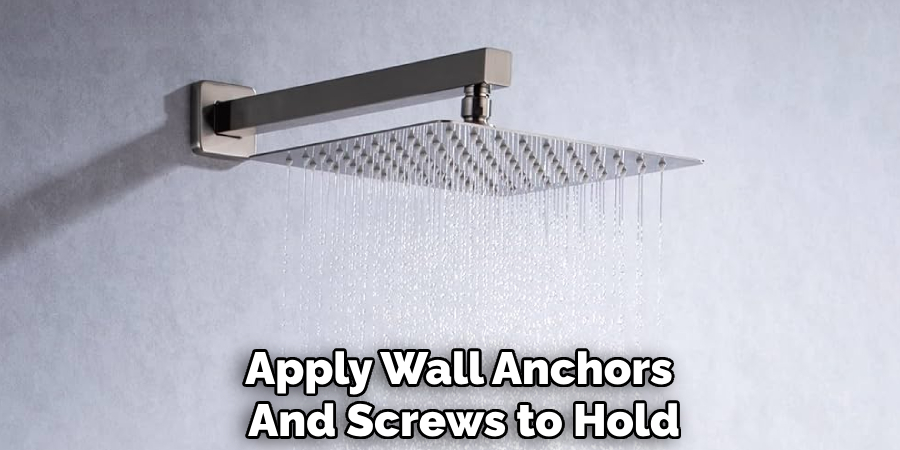
These mounts not only support the shower head’s weight but also allow for proper alignment and positioning. A solid, well-secured mount is crucial to preventing sagging or loosening over time.
6. Attach the Rain Shower Head to the Pipe or Arm
Once the mounting hardware is secure and the pipe or arm is in place, attach the rain shower head. Most heads screw directly onto the pipe, and again, plumber’s tape should be used to ensure a leak-free connection. Tighten the head by hand, then gently use a wrench if needed, being careful not to overtighten or damage any finishes. Some models may include a swivel joint that allows you to adjust the angle—confirm that it moves smoothly. After attachment, double-check that the shower head is centered and level, as a lopsided rain head will affect both aesthetics and function.
7. Install Additional Components (Handheld Units or Diverters)
If your rain shower system includes a handheld shower or body jets, now is the time to install those components. These often connect to a diverter valve that lets you switch water flow between the rain head and other outlets. Mount the diverter control according to the manufacturer’s instructions, usually onto the existing valve or directly onto the wall. Attach the handheld hose and dock it into its cradle. Use plumber’s tape for every threaded connection and test for security. Adding these components enhances versatility, especially for rinsing or cleaning, and should be integrated seamlessly into your system.
8. Turn On the Water and Check for Leaks
With all components installed, turn the water supply back on slowly and observe the system as it fills and begins to function. Carefully inspect all joints, especially at the shower head and diverter valves, for leaks. If you notice dripping or moisture, turn the water off and tighten the connection or reapply plumber’s tape. Pay attention to the water flow—rain shower heads are designed to provide a gentle, evenly distributed spray. If the pressure feels weak or irregular, check for clogs in the head or verify your home’s water pressure. Proper testing ensures everything works before finishing the job.
9. Seal Around New Wall Penetrations (If Applicable)
If you’ve made new holes in the tile or wall to mount brackets or valves, it’s important to seal around them to prevent water intrusion. Use a high-quality silicone caulk that’s mold- and mildew-resistant. Apply a thin, even bead around the edges where fixtures meet the tile, and smooth it with your finger or a caulking tool. Let it cure according to the manufacturer’s directions before exposing it to water. Proper sealing helps protect your bathroom from hidden water damage, which can lead to mold growth or structural issues behind the walls over time.
10. Finalize and Enjoy Your New Rain Shower Experience
With the system fully installed, leak-tested, and sealed, give it one final wipe-down to remove fingerprints or debris. Adjust the shower head for your ideal water flow direction and pressure, and test out the spray settings if your model includes them. Step back and admire your work—you’ve transformed your shower into a spa-like retreat. Rain shower systems offer a luxurious, soothing experience unlike any traditional head, and now that yours is installed, you can enjoy that daily indulgence. Routine maintenance like descaling the head and checking for leaks will keep it performing like new for years to come.

Conclusion
Installing a rain shower head system may seem complex, but breaking it down into clear, methodical steps makes the process approachable and satisfying. Whether you’re enhancing your bathroom with a ceiling-mounted rainfall or a versatile combo set, careful planning and attention to detail ensure both beauty and performance. So, there you have it – a quick and easy guide on how to install rain shower system.
About the Author
Adrian Green is a passionate woodworking enthusiast who has dedicated his life to the craft of woodworking. From his early days working alongside his father in the family woodworking shop, Adrian has honed his skills and developed a deep love for creating beautiful, functional pieces with his hands. As the voice behind The Woodenify Blog, he shares his knowledge, tips, and inspiration with fellow woodworkers of all skill levels, helping them build confidence in their abilities while learning new techniques.
Professional Focus
- Specializes in DIY woodworking projects, from furniture making to home décor.
- Provides step-by-step guides, tips, and practical tutorials for woodworkers at any skill level.
- Focused on empowering readers with confidence and knowledge through easy-to-follow instructions and hands-on techniques.
- Passionate about building a community where makers can share, learn, and grow together in the world of woodworking.
Education History
University of Craft and Design – Bachelor of Fine Arts (BFA) in Woodworking and Furniture Design
Woodworking Apprenticeships – Gained extensive hands-on experience through various workshops and mentorships with seasoned craftsmen, refining carpentry and furniture-making skills.
Expertise
- DIY woodworking, carpentry, furniture making, and home décor projects.
- Creating clear, accessible tutorials and guides for beginner to advanced woodworkers.
- Helping readers experience the satisfaction and fulfillment of turning raw materials into stunning finished products.