
Are you tired of your gas water heater malfunctioning? You might need to vent it. Venting a gas water heater is not as complicated as it may seem and can be done in just a few simple steps.
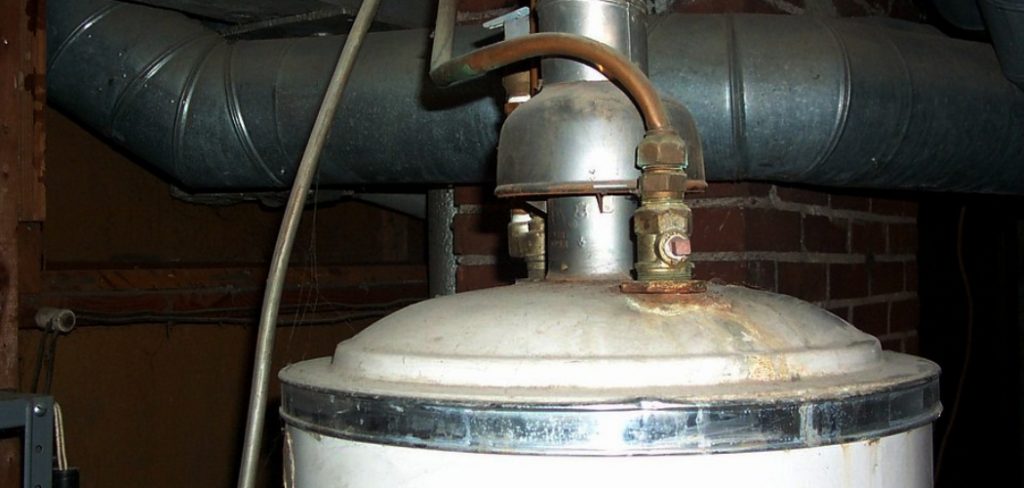
Properly venting a gas water heater is a crucial step in ensuring the safe and efficient operation of the appliance. Venting allows harmful combustion gases, such as carbon monoxide, to escape safely outside your home, preventing health risks and potential damage to your property. Whether you are installing a new water heater or upgrading an existing venting system, understanding the basics of gas water heater venting is essential.
This guide will walk you through the key considerations and steps on how to vent a gas water heater, ensuring compliance with safety standards and optimal performance.
What Are the Benefits of Venting a Gas Water Heater?
Venting a gas water heater offers several benefits, including:
- Safety: As mentioned earlier, properly venting your gas water heater ensures the safe expulsion of dangerous combustion gases outside your home. This is crucial in preventing carbon monoxide poisoning and other health risks.
- Efficiency: A well-vented gas water heater operates more efficiently, as proper ventilation allows for the smooth flow of air and exhaust gases. This means your appliance will heat water faster and use less energy, resulting in lower utility bills.
- Prevention of Corrosion: Inadequately vented gas appliances can lead to excess moisture buildup, which can cause corrosion and damage to the appliance and surrounding materials. Proper venting helps prevent this issue and prolongs the lifespan of your gas water heater.
- Compliance: Venting a gas water heater is not just for safety and efficiency but also for compliance with building codes and regulations. It is essential to ensure that your venting system meets the necessary standards to avoid any potential legal or insurance issues in the future.
What Will You Need?
Before you begin venting your gas water heater, make sure to gather the necessary tools and materials. These may include:
- Vent Pipe: This is the main component of your venting system and is responsible for carrying exhaust gases safely outside. Vent pipes are available in different sizes and types, such as single-wall or double-wall pipes.
- Vent Connectors: These are used to connect the vent pipe to your gas water heater.
- Screws and Brackets: These will be necessary for securing the vent pipe in place.
- Metal Snips: You may need these to cut and shape the vent pipe according to your specific installation requirements.
- Silicone Sealant: This is used to seal any gaps or joints in the venting system to prevent gas leaks.
It is essential to carefully read and follow the manufacturer’s instructions for your specific gas water heater model and requirements.
9 Easy Steps on How to Vent a Gas Water Heater
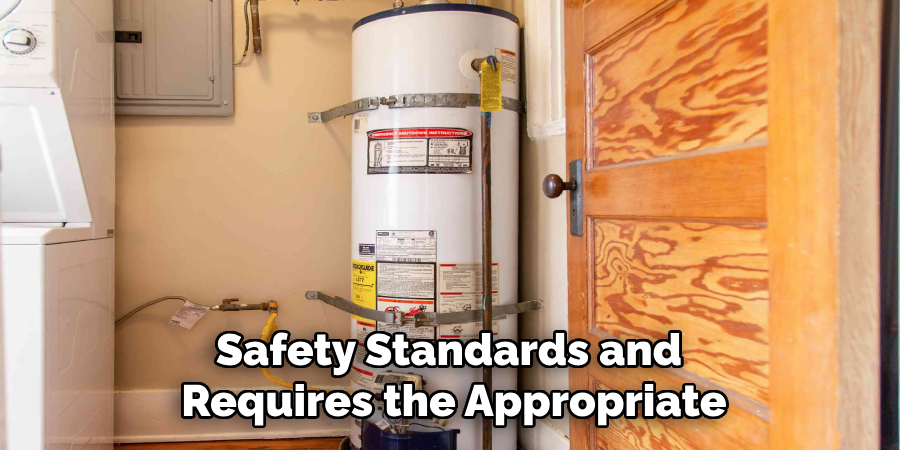
Step 1: Check Local Codes and Regulations
Before installing, check your local building codes and gas water heater venting regulations. Ensure that your planned setup complies with safety standards and requires the appropriate permits. This step will help avoid future issues and ensure your venting system is both safe and legal.
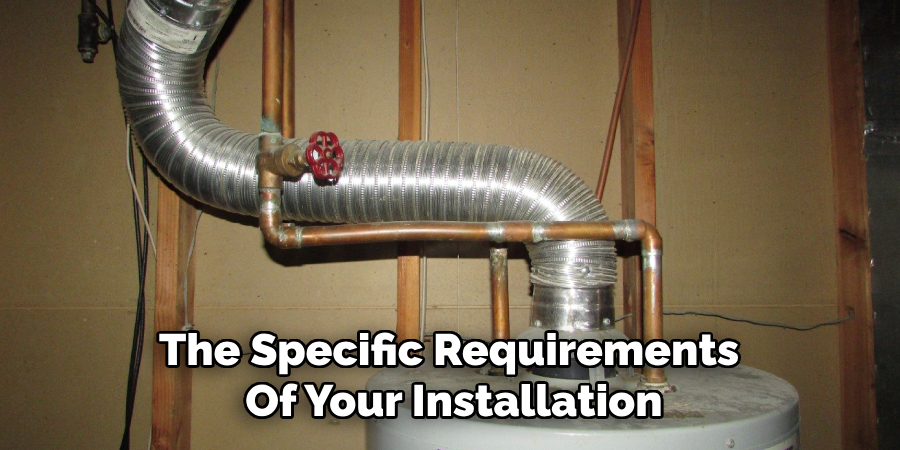
Step 2: Choose the Appropriate Venting Type
Determine the type of venting system required for your gas water heater. Standard options include direct vents, power vents, and atmospheric vents. Consult your heater’s manual to identify the correct type for your unit, considering the available installation space and the route the vent pipe will need to follow. Selecting the right venting type is crucial for safe and efficient operation.
Step 3: Gather Necessary Tools and Materials
Before beginning the installation, collect all the tools and materials you need to vent your gas water heater. Common items include a vent pipe, elbows, a vent cap, sealant, screws, a drill, a screwdriver, and a measuring tape. Having everything ready ensures a smoother installation process and reduces interruptions due to missing components. Double-check the specifications of your heater to ensure compatibility with the chosen materials.
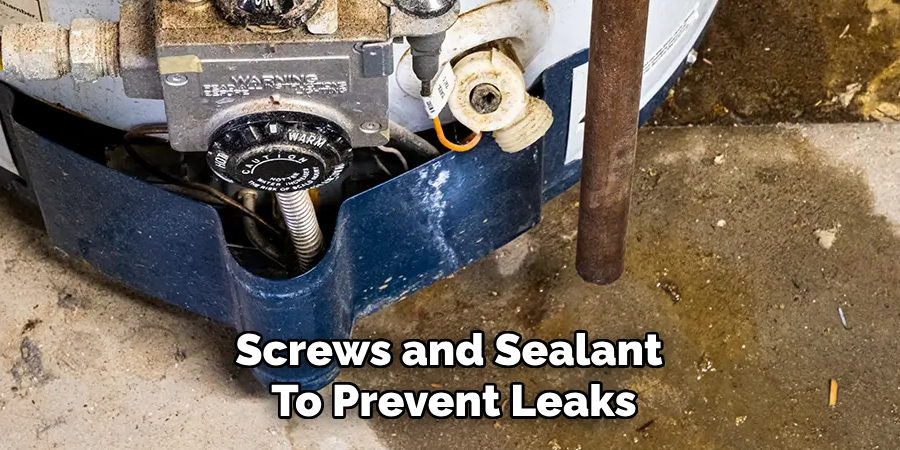
Step 4: Install the Vent Pipe
Begin the installation of the vent pipe by measuring and cutting it to the required length, ensuring it fits the space and connects securely to your gas water heater. Attach the vent pipe to the unit using the appropriate fittings as specified in the manual. If your system requires elbows, install them at the correct angles to ensure proper airflow. Secure all connections with screws and sealant to prevent leaks. Finally, guide the vent pipe to its designated exit point, whether through a wall or roof and ensure it is properly secured and supported along the route to comply with safety standards.
Step 5: Connect the Water Supply Lines
Connect the water supply lines to the gas water heater, ensuring a secure and watertight fit. Depending on your system requirements, begin by attaching the cold water inlet to the designated connection point using a flexible hose or a copper pipe. Repeat the hot water outlet process, ensuring that the fittings are tightened adequately but not overtightened to avoid damaging the threads.
Use Teflon tape or pipe joint compound on the threads to create a reliable seal. Once both connections are secure, check for leaks by turning on the water supply and scrutinizing the joints. Make adjustments as needed before proceeding to the next step.
Step 6: Connect the Gas Supply Line
Attach the gas supply line to the gas inlet of the water heater. Use a flexible gas line or a rigid pipe, depending on local building codes and the specific requirements of your installation. Apply pipe thread sealant or gas-rated Teflon tape to the threads to ensure a secure and airtight connection. Tighten the fittings with a wrench, but be cautious not to overtighten, as this could damage the components. Once the connection is complete, turn on the gas supply and test for leaks using a soapy water solution. If bubbles form, immediately turn off the gas and recheck the connections.
Step 7: Install the Pressure Relief Valve
Attach the pressure relief valve to the designated port on the water heater, typically located on the side or near the top of the tank. The pressure relief valve is a critical safety feature designed to release excess pressure and prevent damage or potential hazards. Apply Teflon tape to the valve threads before threading it securely into place.
Ensure the valve is oriented correctly, with the outlet directed downward or connected to a discharge pipe that complies with local codes. This discharge pipe should terminate close to the floor to direct any released water downward safely. Double-check the installation for secure placement before proceeding.
Step 8: Keep the Venting System Clear
Proper venting is essential for the safe and efficient operation of the system. Blocked or improperly installed vents can lead to the buildup of fumes or pressure, posing a serious risk to both safety and functionality. Inspect the venting system to ensure there are no obstructions, such as debris, dirt, or corrosion, that could hinder the flow of exhaust gases. Additionally, verify that all vent pipes are securely connected and angled correctly to promote proper airflow, typically sloped upward, if required, under local regulations.
Regular maintenance of the venting system is crucial, as even minor issues may escalate over time, potentially compromising system performance. Follow the manufacturer’s guidelines and local building codes to maintain a clear and functional ventilation pathway. If necessary, consult a professional for a thorough inspection or repair.
Step 9: Regular Maintenance and Inspections
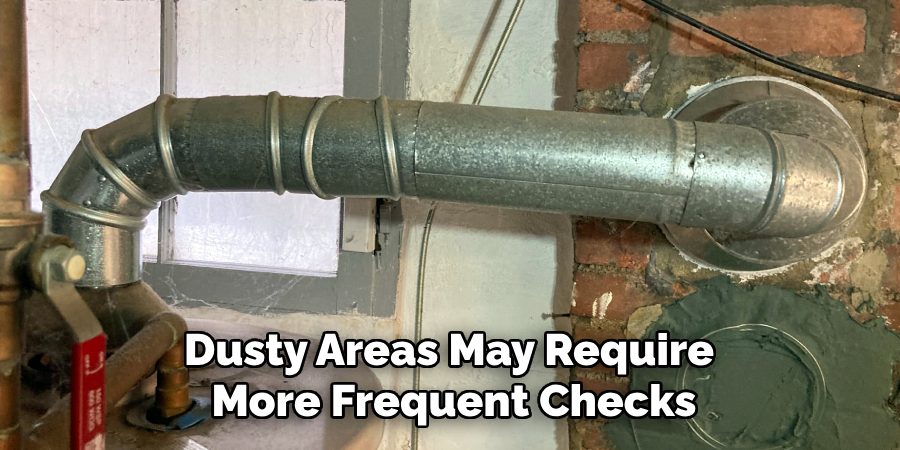
Proper and consistent maintenance of your venting system ensures safety and extends the lifespan of the equipment it supports. Establish a routine inspection schedule, with frequency depending on the system’s usage and environmental conditions. For example, systems in humid or dusty areas may require more frequent checks to prevent buildup and corrosion. During these inspections, pay close attention to signs of wear and tear, such as cracks, loose fittings, or discoloration on piping, which could indicate leaks or inefficient operation.
By following these steps, you can confidently install your gas water heater and its accompanying venting system.
5 Things You Should Avoid
- Using Improper Venting Materials: Avoid using materials not explicitly designed for venting gas water heaters, such as PVC pipes or non-heat-resistant materials. These can degrade quickly and pose a serious safety risk.
- Neglecting to Follow Local Codes and Regulations: Skipping proper adherence to local building codes can lead to unsafe installations and potential legal issues. Always ensure that the venting process meets safety standards in your area.
- Installing Insufficient Ventilation: Poor ventilation or inadequate vent sizing can lead to hazardous conditions such as carbon monoxide buildup. Ensure that the vent allows for proper airflow to expel gases safely.
- Improper Vent Slope: A level or downward-sloping vent can cause condensation or gas to flow back into the heater. Always ensure the vent has a slight upward slope that follows manufacturer guidelines.
- Ignoring Regular Maintenance: Even once the vent is installed, neglecting to inspect and maintain it regularly can result in blockages, corrosion, or leaks that compromise safety and efficiency. Always check for wear and tear periodically.
Conclusion
How to vent a gas water heater is essential for maintaining the safety, efficiency, and longevity of the system.
By understanding the importance of correct installation methods, adhering to local codes, and avoiding common mistakes, you can ensure adequate ventilation that prevents dangerous gas buildup. Regular maintenance and inspections further aid in identifying potential issues early, providing peace of mind and sustained performance.
Always consult the manufacturer’s guidelines and seek professional assistance if needed, as ensuring correct venting is a responsibility that should never be overlooked.
About the Author
Adrian Green is a passionate woodworking enthusiast who has dedicated his life to the craft of woodworking. From his early days working alongside his father in the family woodworking shop, Adrian has honed his skills and developed a deep love for creating beautiful, functional pieces with his hands. As the voice behind The Woodenify Blog, he shares his knowledge, tips, and inspiration with fellow woodworkers of all skill levels, helping them build confidence in their abilities while learning new techniques.
Professional Focus
- Specializes in DIY woodworking projects, from furniture making to home décor.
- Provides step-by-step guides, tips, and practical tutorials for woodworkers at any skill level.
- Focused on empowering readers with confidence and knowledge through easy-to-follow instructions and hands-on techniques.
- Passionate about building a community where makers can share, learn, and grow together in the world of woodworking.
Education History
University of Craft and Design – Bachelor of Fine Arts (BFA) in Woodworking and Furniture Design
Woodworking Apprenticeships – Gained extensive hands-on experience through various workshops and mentorships with seasoned craftsmen, refining carpentry and furniture-making skills.
Expertise
- DIY woodworking, carpentry, furniture making, and home décor projects.
- Creating clear, accessible tutorials and guides for beginner to advanced woodworkers.
- Helping readers experience the satisfaction and fulfillment of turning raw materials into stunning finished products.