
Are you tired of spending a fortune on your monthly gas and water heater bills? Do you want to switch to an electric water heater for more energy efficiency and cost savings?
How to convert gas water heater to electric can be an effective way to improve energy efficiency and reduce reliance on natural gas. This process involves replacing your existing gas water heater with an electric unit while ensuring compatibility with your home’s electrical system and hot water needs. The conversion requires careful planning, proper tools, and adherence to safety standards. Before starting, it’s essential to assess your home’s electrical capacity, research the correct type of electric water heater, and determine if professional help is needed.
By understanding the steps involved, you can make an informed decision and complete the transition smoothly.
What Will You Need?
Before starting the conversion process, gather all the necessary tools and materials. This includes:
- Electric Water Heater: Research and purchase a suitable electric water heater for your home’s hot water needs.
- Electrical Capacity Assessment: Determine if your home’s electrical system can support the new electric water heater. If not, consider upgrading or seeking professional help.
- Plumbing Tools: You may need basic tools like wrenches, pipes, and fittings to disconnect and remove the old gas water heater.
- Electrical Tools: These include wire strippers, screwdrivers, pliers, and other tools needed to connect the new electric unit to your home’s electrical system.
- Safety Equipment: It’s essential to have proper safety equipment, such as gloves and goggles, when working with electricity.
- Professional Help: If you are not comfortable or confident in conducting the conversion process yourself, it’s best to seek professional help from a licensed electrician or plumber.
You can begin the conversion process once you have all the necessary tools and materials.
10 Easy Steps on How to Convert Gas Water Heater to Electric
Step 1: Turn Off the Power and Gas Supply
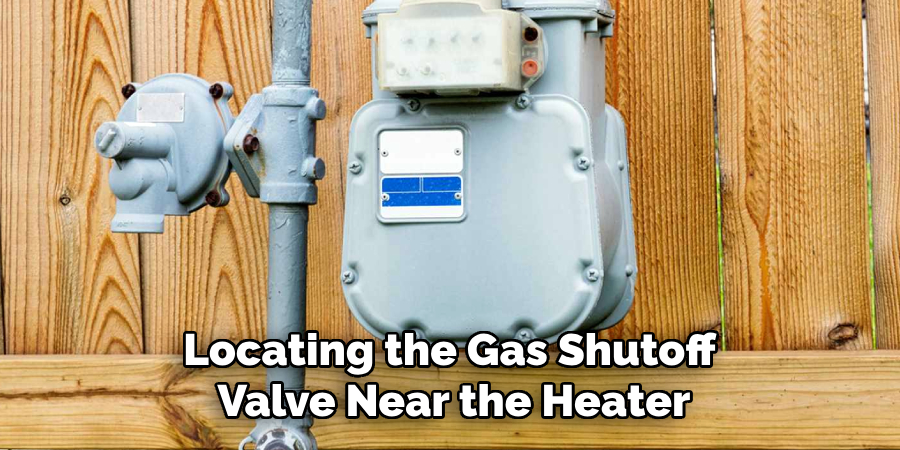
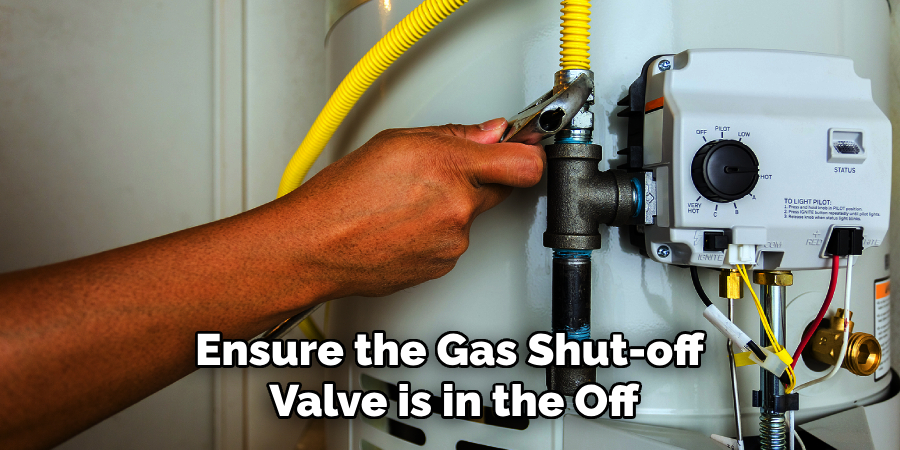
Safety always comes first when embarking on the conversion process. Begin by turning off the power supply to the gas water heater at the circuit breaker or fuse box. Ensure that the power to the area is wholly disconnected before proceeding. Similarly, turn off the gas supply by locating the gas shutoff valve near the heater and switching it to the off position. Ensure that the gas line is fully closed by checking for any lingering gas odors.
It’s critical to take these precautions to reduce the risk of electrical shocks, gas leaks, or other hazards during the process. Always double-check both the power and gas supplies to confirm they are securely off before moving on to the next step.
Step 2: Drain the Water Heater Tank
The tank must be fully drained before removing the existing gas water heater to prevent leaks or spills. Start by turning off the water supply to the heater, typically located at the cold water inlet valve. Attach a garden hose to the drain valve at the bottom of the tank and route the other end to a suitable drainage area, such as a floor drain or outdoors. Open the drain valve and a hot water faucet in the house to allow air flow into the system, facilitating draining.
Once the tank is completely empty, close the drain valve and remove the garden hose. Make sure to exercise caution, as the water may still be hot.
Step 3: Disconnect the Gas and Water Lines
With the water heater tank drained, it’s time to disconnect the gas and water lines. Begin using a wrench to unscrew the gas line from the heater carefully. Ensure the gas shut-off valve is in the off position before proceeding. Next, disconnect the water lines connected to the heater—both the cold water inlet and the hot water outlet. Use two wrenches if necessary to stabilize the fittings and prevent damage. Be prepared for any residual water still in the pipes. Once the lines are disconnected, gently move them aside to provide clear access to the water heater for removal.
Step 4: Remove the Old Water Heater
You can now remove the old water heater with the gas and water lines detached. Carefully lift the unit, making sure to use proper lifting techniques or assistance if the heater is too heavy to handle alone. Slowly carry or slide the water heater out of its installation area, not damaging walls, floors, or other fixtures. Dispose of the old water heater under local regulations, as some areas may require it to be taken to a recycling or waste disposal facility. Ensure the space is clear and clean before preparing to install the new water heater.
Step 5: Prepare the Installation Area
Before installing the new water heater, inspect the installation area to ensure it meets all safety and building code requirements. Check that the flooring is stable and capable of supporting the weight of the new unit. Verify that the ventilation is adequate if installing a gas water heater, as proper airflow is essential to prevent dangerous gas buildup. Modify the area, such as installing a drip pan for leak protection or ensuring easy access to the water and gas lines. Once the area is ready, position the new water heater in place, aligning it with the connections for the next steps in the installation process.
Step 6: Connect the Water Supply Lines
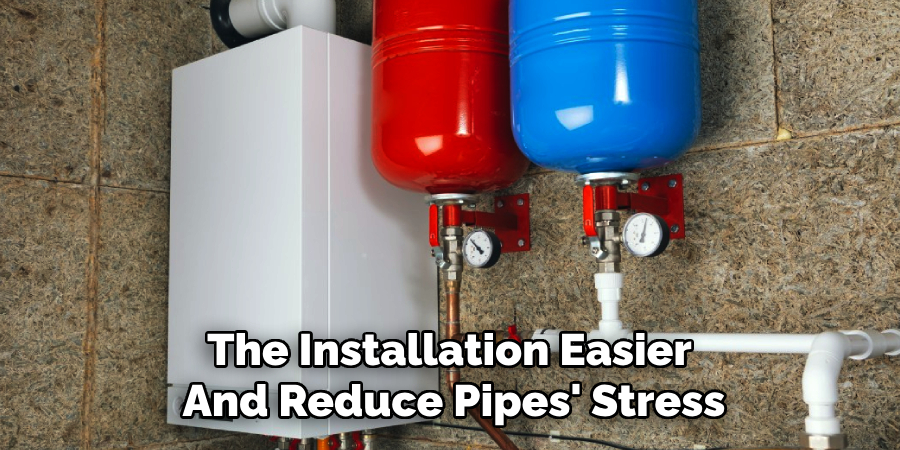
Begin by attaching the cold water inlet and hot water outlet lines to the corresponding connections on the new water heater. Use flexible connectors to make the installation easier and reduce pipes’ stress. Apply Teflon tape or pipe joint compound to the threads to ensure a watertight seal and prevent leaks. Tighten the connections securely, but be careful not to overtighten, as this may damage the fittings. Once the water lines are connected, turn on the cold water supply valve to fill the tank and check for leaks. If leaks are detected, turn off the water supply and re-check the connections, tightening as needed.
Step 7: Connect the Gas or Electric Supply
Attach the gas supply line to the gas control valve using a flexible gas connector for a gas water heater. Apply pipe joint compound or gas-rated Teflon tape on the threads to create a secure seal. Once connected, use a gas leak detection solution or soapy water to check for leaks by applying it to the connection and observing if bubbles form when the gas supply is turned on. Connect the electrical wiring following the manufacturer’s instructions for an electric water heater. Ensure the power supply is turned off at the breaker box before working with the wiring.
Securely connect the wires to the terminals, matching the colors (black to black, white to white, and ground to ground), and tighten all connections properly. Double-check each connection to ensure safety before proceeding to the next step.
Step 8: Fill the Tank and Check for Leaks
Once all connections are secure, open a hot water faucet in your home to allow air to escape and prevent pressure buildup. Then, turn on the cold water supply to the tank and allow it to fill completely. Monitor the connections and joints for any leaks as the tank fills. If a leak is detected, turn off the water supply, tighten the connection, or apply additional pipe joint compound or Teflon tape as necessary. Once the tank is complete and no leaks are observed, close the hot water faucet to finish this step.
Step 9: Restore Power or Gas Supply
For electric water heaters, restore power by switching the circuit breaker back on. For gas water heaters, turn the gas valve to the “On” position and relight the pilot light if necessary, following the manufacturer’s instructions. Once the power or gas supply is restored, allow the water heater to start heating the water. Monitor the unit for proper operation and ensure no unusual noises, smells, or issues during this process.
Step 10: Adjust the Thermostat
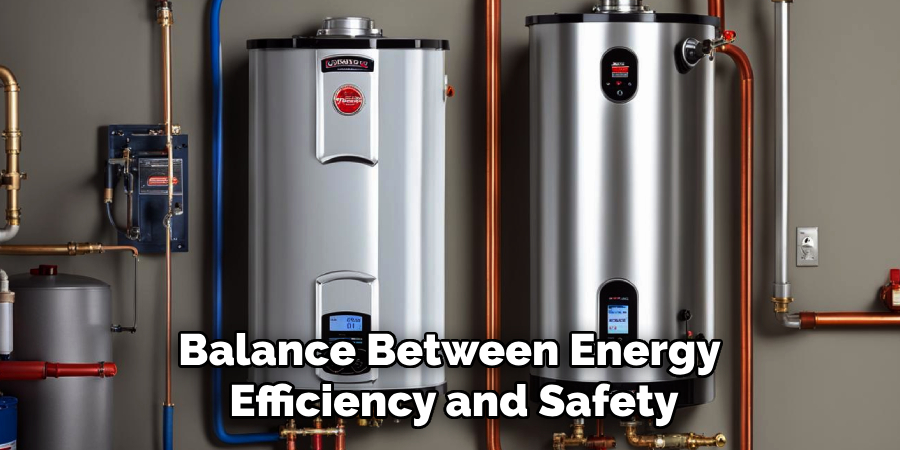
Set the thermostat on your water heater to the desired temperature. A recommended setting of 120°F (49°C) for most households provides an optimal balance between energy efficiency and safety. Avoid setting the temperature too high, leading to scalding hazards and increased energy costs. Once the thermostat is adjusted, give the water heater some time to reach the set temperature before checking the water temperature at the nearest faucet to confirm proper operation.
By following these steps, you can safely remove and replace your gas water heater with a new one. Always take necessary precautions, such as turning off the power and gas supplies and draining the tank, before beginning any work.
Conclusion
How to convert gas water heater to electric can be a practical choice for homeowners looking to improve energy efficiency or move away from gas reliance.
The process involves several critical steps, including ensuring proper electrical capacity, installing the necessary wiring and breaker, and safely disconnecting the gas supply. Consultation with a licensed electrician and plumber is highly recommended to ensure all work complies with local codes and safety standards.
While the transition requires an upfront investment, the long-term energy savings, and environmental benefits can make the switch worthwhile for many households.
About the Author
Adrian Green is a passionate woodworking enthusiast who has dedicated his life to the craft of woodworking. From his early days working alongside his father in the family woodworking shop, Adrian has honed his skills and developed a deep love for creating beautiful, functional pieces with his hands. As the voice behind The Woodenify Blog, he shares his knowledge, tips, and inspiration with fellow woodworkers of all skill levels, helping them build confidence in their abilities while learning new techniques.
Professional Focus
- Specializes in DIY woodworking projects, from furniture making to home décor.
- Provides step-by-step guides, tips, and practical tutorials for woodworkers at any skill level.
- Focused on empowering readers with confidence and knowledge through easy-to-follow instructions and hands-on techniques.
- Passionate about building a community where makers can share, learn, and grow together in the world of woodworking.
Education History
University of Craft and Design – Bachelor of Fine Arts (BFA) in Woodworking and Furniture Design
Woodworking Apprenticeships – Gained extensive hands-on experience through various workshops and mentorships with seasoned craftsmen, refining carpentry and furniture-making skills.
Expertise
- DIY woodworking, carpentry, furniture making, and home décor projects.
- Creating clear, accessible tutorials and guides for beginner to advanced woodworkers.
- Helping readers experience the satisfaction and fulfillment of turning raw materials into stunning finished products.