
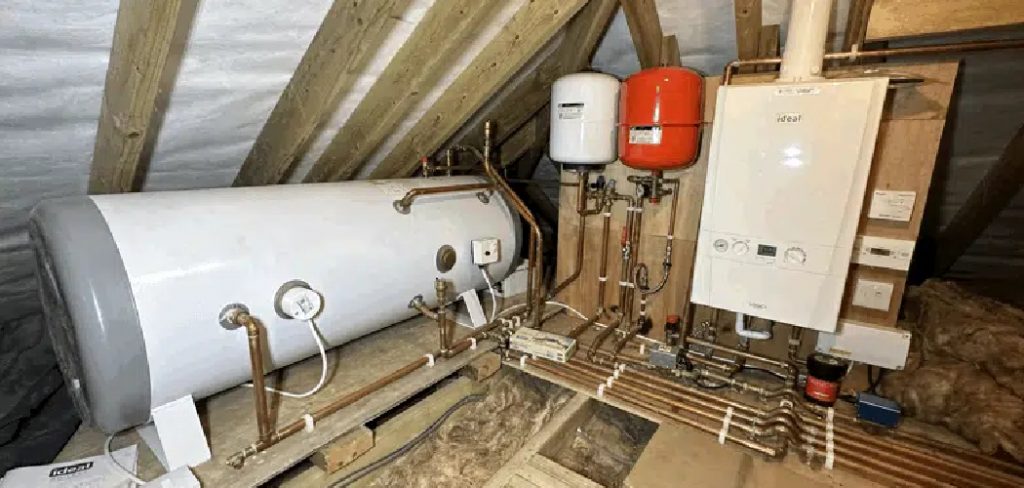
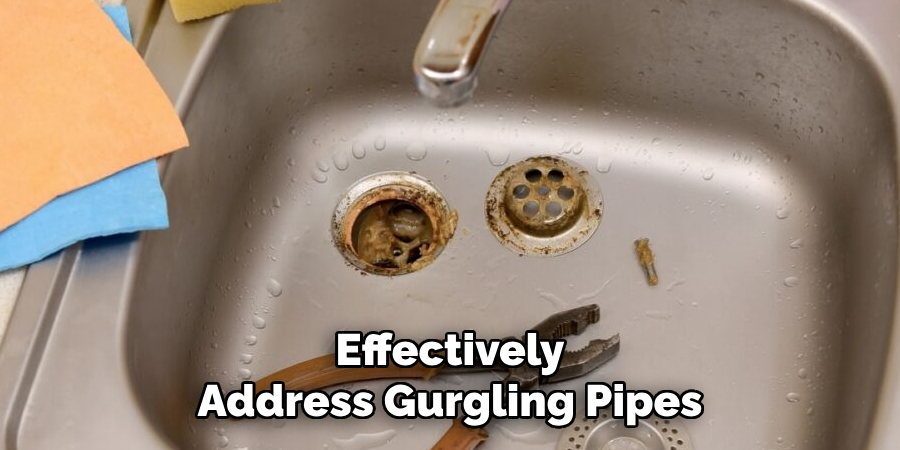
Are you plagued by gurgling pipes in your home? Not only is the noise annoying, but it could also be a sign of a more significant plumbing issue.
Gurgling pipes can be annoying and a sign of potential plumbing issues in your home. This sound typically indicates trapped air, blockages, or issues with the drainage system. While the problem may seem minor initially, ignoring it can lead to more significant damage over time, such as clogged drains or poor overall plumbing performance.
Fortunately, how to fix gurgling pipes is often a manageable task that requires only a few simple tools and a bit of troubleshooting. Additionally, understanding the causes of gurgling pipes can help prevent future issues and ensure your plumbing system runs smoothly.
This guide on diy gurgling pipes will walk you through the common causes of gurgling pipes and provide step-by-step solutions to restore your plumbing system to proper working order.
What Are the Benefits of Fixing Gurgling Pipes?
Fixing gurgling pipes offers several benefits beyond just restoring proper plumbing performance. These include:
- Better Functionality: Gurgling pipes often indicate an underlying issue within the plumbing system. By fixing the cause of the gurgling, you can improve the overall functionality and efficiency of your plumbing.
- Cost Savings: If left unaddressed, gurgling pipes can lead to more serious plumbing problems that may require costly repairs. You can save money in the long run by fixing them early on.
- Improved Hygiene: Gurgling pipes can also result from clogs or blockages in the plumbing system. These issues can cause foul odors and create an unhygienic environment in your home. By fixing the gurgling, you can improve the overall cleanliness of your plumbing system.
- Preventing Water Damage: If the gurgling is caused by a clogged or blocked drain, it can lead to overflowing water and potential water damage in your home. You can promptly address the issue to prevent possible water damage to your property.
What Will You Need?
To address gurgling pipes, you may need the following:
- Drain snake or plunger for minor blockages
- A plumbing snake or auger is used for more serious clogs or blockages
- Pipe wrench to tighten loose connections
- Chemical drain cleaner (optional)
- Plumbers tape or joint compound for leaks in joints or fittings
If the issue persists after attempting these solutions, it may be best to consult a professional plumber. They will have the necessary tools and expertise to handle more complex plumbing issues.
8 Easy Steps on How to Fix Gurgling Pipes
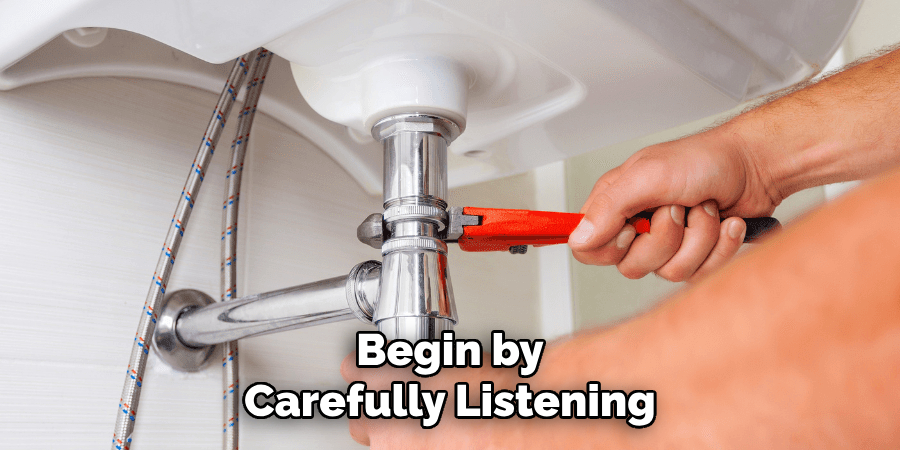
Step 1. Identify the Source of the Noise
Begin by carefully listening to the gurgling sound to pinpoint its source. This noise is often caused by air trapped in the plumbing system or a blockage disrupting the water flow. Check sinks, drains, toilets, and vent pipes to determine where the gurgling originates.
By identifying the exact location, you can better address the underlying issue. Additionally, observe if the noise occurs when using a specific fixture or during certain activities, such as running a dishwasher or flushing a toilet, as this can provide essential clues about the root cause of the problem.
Step 2: Inspect the Plumbing System
Begin by carefully inspecting the plumbing system for any visible signs of damage, leaks, or blockages. Check the pipes underneath sinks, around toilets, and near fixtures for cracks or wear. Additionally, ensure vent pipes on the roof are free from debris or obstructions, as clogged vents can lead to pressure imbalances and gurgling noises. A systematic approach will help narrow potential problem areas and prevent further complications.
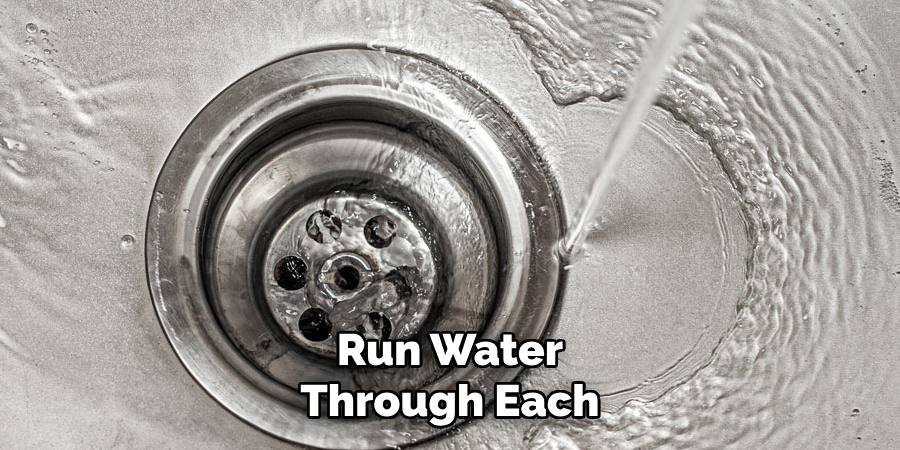
Step 3: Test the Drains and Fixtures
Run water through each drain and observe how it flows. Note any slow drainage, unusual noises, or backflow, which can indicate blockages or venting issues. Turn each one on and off for fixtures to check for proper water pressure and functionality. If you hear gurgling or notice water backing up in other drains, this could signal a problem within the venting system or main sewer line. Testing each component thoroughly ensures a comprehensive assessment of the plumbing system.
Step 4: Inspect for Leaks
Carefully inspect all visible pipes, faucets, and connections for signs of leaks. Look for water stains, drips, or pooling water around connections and underneath sinks. Pay close attention to areas where pipes join or fittings are tightened, as these are common locations for leaks to develop. If you discover any leaks, repair them promptly to prevent water damage and ensure the plumbing system operates efficiently.
Step 5: Test Water Pressure
Testing water pressure is essential to ensure your plumbing system is functioning correctly. First, use a water pressure gauge, available at most hardware stores, and attach it to an outdoor faucet or a hose bib. Turn the water on fully and observe the gauge reading. Ideal residential water pressure typically falls between 40 and 60 psi (pounds per square inch).
If the reading is lower than this range, it may indicate a potential problem, such as a clog, a leak, or an issue with your water supply. Alternatively, if the pressure is too high—above 80 psi—it might strain your pipes and appliances unnecessarily, leading to damage over time. High pressure can often be resolved by installing or adjusting a pressure-reducing valve (PRV). Regularly testing the water pressure helps maintain the health of your plumbing system and ensures optimal performance.
Step 6: Regular Maintenance
Regular plumbing system maintenance is essential for preventing costly issues and ensuring a steady water supply in your home. Start by periodically inspecting exposed pipes and plumbing joints for any signs of corrosion, leaks, or damage. Listen for unusual sounds, such as banging or gurgling, which may indicate underlying problems within your system.
Drains should be clear of debris to avoid clogs—strainers can help catch hair or food particles before they cause blockages. Additionally, check faucets and showerheads for consistent water flow and clean them periodically to remove mineral buildup.
It’s also wise to shut off and drain outdoor faucets before freezing weather to prevent burst pipes. By keeping up with these routine tasks, you can significantly extend the life of your plumbing system and avoid unexpected emergencies.
Step 7: Check for Leaks
Leaks can be a major issue in any plumbing system, leading to wasted water and potential damage to your home. First, turn off all faucets and appliances that use water to check for leaks. Then, check your water meter – if it is still moving, you likely leak somewhere in your system.
To locate the source of the leak, start by checking all visible pipes for signs of moisture or dripping. If you don’t see any obvious leaks, try adding food coloring to your toilet tank and waiting 10-15 minutes without flushing – if the water in the bowl changes color, you may have a leaking toilet.
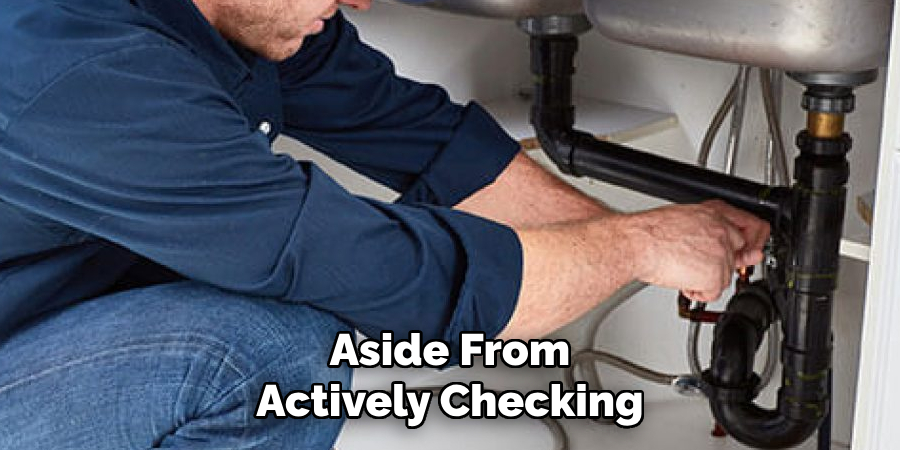
Step 8: Keep Track of Your Water Usage
Aside from actively checking for leaks, keeping track of your overall water usage is also important. This can help you identify any sudden spikes or changes in your consumption patterns, which may indicate a leak or other issue.
You can monitor your water usage by regularly reading your meter and recording the numbers. This will give you a baseline to compare against and help you spot any unusual activity. Additionally, many utility companies offer online tools or apps that allow you to track your water usage in real time.
By following these tips and making small changes in your daily habits, you can help conserve water and save money on your utility bills.
5 Things You Should Avoid
- Ignoring the Problem
One of the biggest mistakes you can make is to ignore gurgling pipes. This sound is often an early warning sign of a more significant issue, such as a partial blockage or a problem with your venting system. Delaying action could lead to costly repairs down the line.
- Using Harsh Chemical Drain Cleaners
While it might be tempting to pour a chemical cleaner down your drain to fix the issue, these can harm your pipes over time. Chemicals can corrode metal and plastic, potentially causing leaks. Always opt for safer, non-corrosive methods to address the problem.
- Overlooking the Vent Stack
The vent stack is an essential part of your plumbing system that regulates airflow. Blockages, such as debris or bird nests, can lead to gurgling pipes. Forgetting to check this component can prevent you from solving the root cause of the issue.
- Attempting Complex Repairs Without Experience
Plumbing issues can sometimes be complicated, and attempting a DIY fix without proper knowledge can worsen the problem. Without the right tools and expertise, you risk damaging your pipes or creating leaks that lead to water damage.
- Ignoring Regular Maintenance
Failing to perform routine plumbing maintenance can cause minor issues, like gurgling, to escalate unchecked. Regular inspections and cleaning of your drains and plumbing system can save you from costly and inconvenient repairs.
Conclusion
To effectively address gurgling pipes, it is essential to identify the root cause of the issue first. Start by inspecting your plumbing system’s vent pipes, drains, and potential clogs.
Regular cleaning and maintenance can mitigate such problems and prevent them from recurring. If the issue persists despite your efforts, it’s advisable to seek the help of a licensed plumber who can diagnose and resolve the problem professionally. Remember, taking proactive steps to maintain your plumbing will save you time, money, and stress in the long run.
Hopefully, the article on how to fix gurgling pipes has provided you with some valuable insights into this common plumbing issue.
About the Author
Adrian Green is a passionate woodworking enthusiast who has dedicated his life to the craft of woodworking. From his early days working alongside his father in the family woodworking shop, Adrian has honed his skills and developed a deep love for creating beautiful, functional pieces with his hands. As the voice behind The Woodenify Blog, he shares his knowledge, tips, and inspiration with fellow woodworkers of all skill levels, helping them build confidence in their abilities while learning new techniques.
Professional Focus
- Specializes in DIY woodworking projects, from furniture making to home décor.
- Provides step-by-step guides, tips, and practical tutorials for woodworkers at any skill level.
- Focused on empowering readers with confidence and knowledge through easy-to-follow instructions and hands-on techniques.
- Passionate about building a community where makers can share, learn, and grow together in the world of woodworking.
Education History
University of Craft and Design – Bachelor of Fine Arts (BFA) in Woodworking and Furniture Design
Woodworking Apprenticeships – Gained extensive hands-on experience through various workshops and mentorships with seasoned craftsmen, refining carpentry and furniture-making skills.
Expertise
- DIY woodworking, carpentry, furniture making, and home décor projects.
- Creating clear, accessible tutorials and guides for beginner to advanced woodworkers.
- Helping readers experience the satisfaction and fulfillment of turning raw materials into stunning finished products.