
A leaking water heater can be a frustrating and potentially costly problem if left unaddressed. Whether it’s a minor drip or a significant leak, identifying the cause and taking prompt action is essential to avoid further damage and ensure your water heater runs efficiently.

This guide on how to fix a leaking water heater will walk you through the common causes of water heater leaks and provide clear steps to fix the issue safely and effectively.
Why Is My Water Heater Leaking?
Water heater leaks can be caused by various factors, including:
- Loose or Damaged Pipe Connections
- Corrosion and Rust
- High Water Pressure
- Faulty Temperature and Pressure Relief Valve (T&p Valve)
- Sediment Buildup in the Tank
- Age of the Water Heater
It’s essential to first identify the source of the leak before attempting to fix it. This will help you determine the appropriate steps to take and whether a professional plumber’s assistance is necessary.
Needed Materials
- Adjustable Wrench
- Screwdriver
- Garden Hose (if Sediment Buildup is the Cause)
- Replacement Parts (if Necessary)
8 Step-by-step Guidelines on How to Fix a Leaking Water Heater
Step 1: Shut off the Power and Water Supply
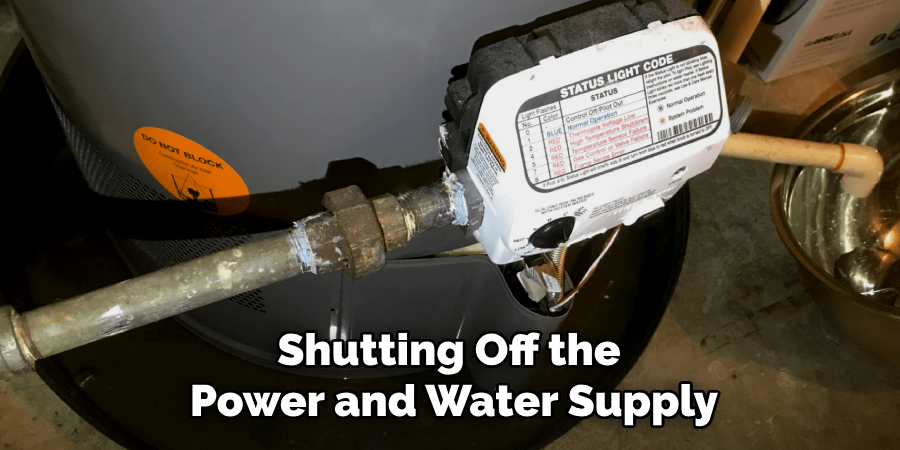
Before beginning any repairs, it is critical to ensure your safety by shutting off the power and water supply to the water heater. For electric water heaters, locate the circuit breaker in your electrical panel and switch it off.
For gas water heaters, turn the gas supply valve to the “Off” position. Next, shut off the water supply by turning the cold water inlet valve, usually located at the top of the water heater, clockwise until it is fully closed. This step prevents water from continuing to flow into the tank and minimizes the risk of leaks worsening while you work.
Step 2: Drain the Tank
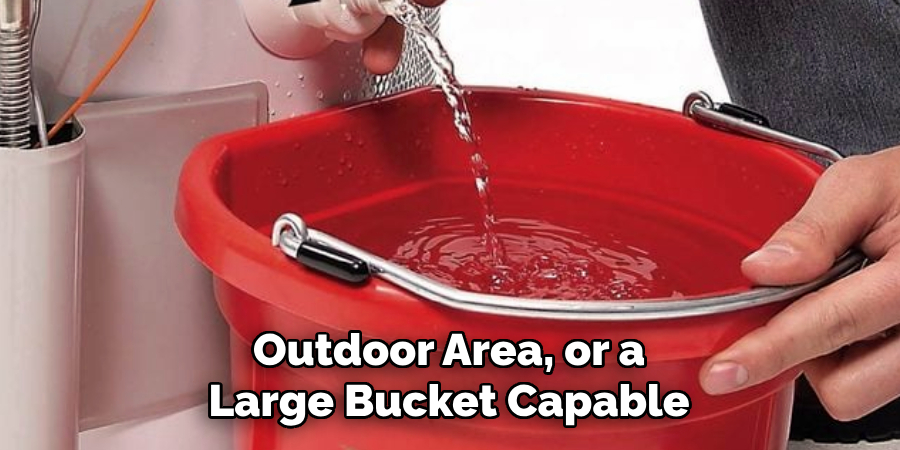
Once the power and water supply have been turned off, the next step is to drain the water heater tank. Attach a garden hose to the drain valve located near the bottom of the tank. Run the other end of the hose to a safe drainage location, such as a floor drain, outdoor area, or a large bucket capable of holding water. Open the drain valve to allow the water to flow out of the tank.
Be cautious, as the water inside may still be very hot. To speed up the process, open a nearby hot water faucet to allow air to flow into the tank, which will help the water drain more effectively. Ensure that the tank is fully drained before moving on to the next step.
Step 3: Check the Temperature and Pressure Relief Valve (T&p Valve)
The T&P valve is an essential safety feature on water heaters that releases excess pressure or temperature in the tank. It is located on the side of the water heater near the top, usually with a pipe running down to the floor. If this valve is leaking, it may be due to excessive pressure or temperature in the tank.
To check if this is the issue, lift up the lever of the T&P valve slightly for a few seconds and then release it. If water continues to leak out after release, it may need to be replaced. However, if no water leaks out when lifting and releasing the lever, the valve is working correctly and not the cause of the leak.
Step 4: Tighten Loose Pipe Connections
Loose pipe connections are a common cause of water heater leaks and can often be resolved with minimal effort. Carefully inspect all the pipes connected to your water heater, including the cold water inlet and hot water outlet pipes at the top of the tank and any additional connections. Look for any visible gaps or water seepage around the fittings.
Using an adjustable wrench, gently tighten any connections that appear loose while being cautious not to overtighten, as this could damage the fittings or pipes. After tightening, carefully turn the water supply back on and observe the connections to check if the leak has stopped. If tightening the connections does not resolve the issue or if the fittings are damaged, consider replacing the affected components. Always ensure the water is turned off again before performing any further repairs.
Step 5: Remove Sediment Buildup
Over time, sediment can build up in the bottom of your water heater tank, which can lead to leaks and reduce the efficiency of the unit. If you notice a buildup of debris or sediment in your tank, you will need to flush it out.
To do this, turn off the power and water supply and allow the tank to cool down before beginning. Attach a garden hose to the drain valve at the bottom of the tank and run it outside or into a large bucket. With caution, open both hot water faucets connected to your water heater to release any pressure inside. Then, open the drain valve and let water flow out for a few minutes until it appears clean. Close the drain valve and turn the water supply back on, allowing the tank to fill before turning the power back on.
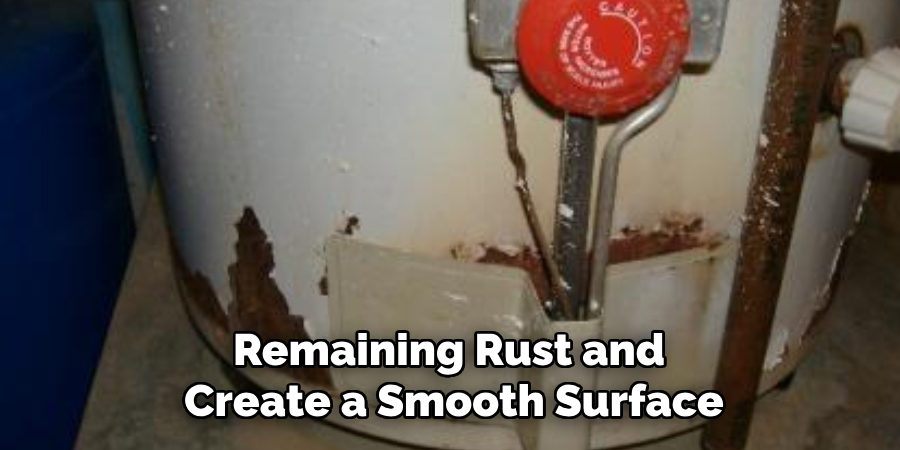
Step 6: Inspect for Corrosion or Rust
If you notice significant corrosion or rust on your water heater, this is a sign that it may need to be replaced. However, smaller areas of corrosion can often be repaired.
Using a screwdriver, gently scrape away any loose debris around the affected area. Next, use steel wool or sandpaper to remove any remaining rust and create a smooth surface. Once complete, apply a coat of rust inhibitor specifically designed for use with water heaters to prevent further corrosion. If the damaged area is significant, consider replacing the affected section or contacting a professional plumber for assistance.
Step 7: Check the Age of Your Water Heater
The age of your water heater plays a crucial role in determining whether a repair is feasible or if a replacement is necessary. Most water heaters have a lifespan of 8 to 12 years, depending on usage and maintenance. To check the age of your unit, locate the manufacturer’s label on the side of the water heater. This label usually contains the serial number, which can be used to determine the production date. Consult the manufacturer’s website or user manual to decode the serial number if needed.
If your water heater is nearing or exceeding its expected lifespan, frequent leaks or other issues may indicate that it’s time for a replacement. Older units are often less energy-efficient and more prone to recurring problems, making a new water heater a long-term investment. If your water heater is still within its expected lifespan, the issue may be repairable, and addressing it promptly can help extend its overall durability.
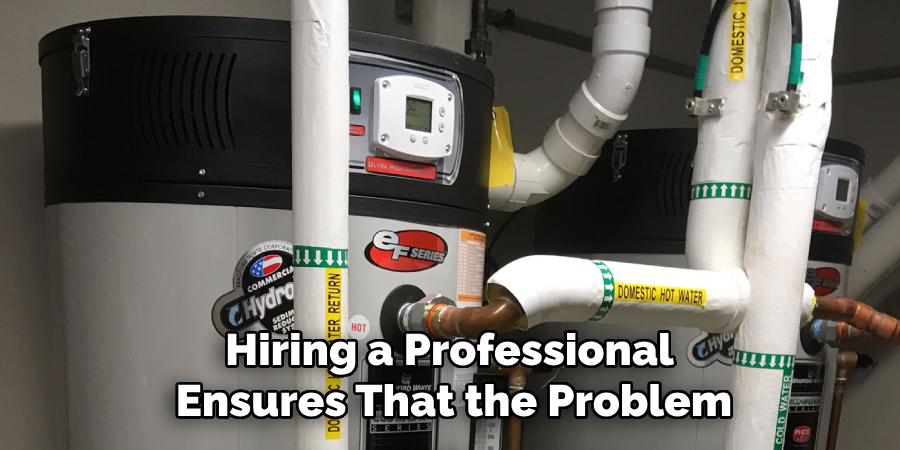
Step 8: Call a Professional Plumber
If all previous steps have been tried and the issue persists, or if the problem seems complex or beyond your expertise, it is time to call a professional plumber. Licensed plumbers have the tools, experience, and knowledge to diagnose and fix water heater issues safely and effectively. Attempting to handle serious problems without the proper skills can lead to further damage or even pose safety risks.
When contacting a plumber, be ready to provide important information, such as the make and model of your water heater, a description of the issue, and any steps on how to fix a leaking water heater you have already taken to troubleshoot. This will help them assess the situation more efficiently. Hiring a professional ensures that the problem is resolved correctly and can provide peace of mind, knowing your water heater is operating safely and efficiently.
Frequently Asked Questions
Q: Can I Repair a Leaking Water Heater Myself?
A: For minor issues such as loose connections or sediment buildup, it is possible to fix a leaking water heater yourself. However, for more significant problems or if you are not comfortable working with plumbing systems, it is best to call a professional plumber. Attempting to repair complex issues without the proper skills and tools can lead to further damage or safety hazards.
Q: How Often Should I Flush My Water Heater?
A: It is recommended that your water heater be flushed at least once a year to remove any sediment buildup and maintain its efficiency. Flushing may need to be done more frequently if you notice an increase in debris or sediment within the tank. Always turn off the power and water supply before flushing and use caution when handling hot water.
Q: Why is My Water Heater Leaking from the Top?
A: A leak from the top of your water heater can be caused by various factors, such as a faulty T&P valve, loose fittings, or excess pressure. It is essential to troubleshoot and address the issue promptly to avoid further damage. If you are unsure of the cause, it is best to call a professional for assistance.
Q: How Long Does a Water Heater Last?
A: The average lifespan of a water heater is 8 to 12 years, depending on usage and maintenance. Regularly flushing your tank and addressing any issues promptly can help extend its lifespan. It is recommended to check the age of your water heater and consider replacing it if it is nearing or exceeding its expected lifespan.
Conclusion
Maintaining your water heater is essential to ensure its longevity and efficiency. By following these outlined steps on how to fix a leaking water heater, you can address common issues such as leaks, sediment buildup, or corrosion and prevent more significant problems down the line. Regular maintenance, timely repairs, and knowing when to replace your water heater are key to keeping it functioning properly.
For complex issues, do not hesitate to contact a professional plumber to ensure the safety and reliability of your system. Taking these proactive measures will ultimately save you time, money, and the inconvenience of unexpected water heater failures.
About the Author
Adrian Green is a passionate woodworking enthusiast who has dedicated his life to the craft of woodworking. From his early days working alongside his father in the family woodworking shop, Adrian has honed his skills and developed a deep love for creating beautiful, functional pieces with his hands. As the voice behind The Woodenify Blog, he shares his knowledge, tips, and inspiration with fellow woodworkers of all skill levels, helping them build confidence in their abilities while learning new techniques.
Professional Focus
- Specializes in DIY woodworking projects, from furniture making to home décor.
- Provides step-by-step guides, tips, and practical tutorials for woodworkers at any skill level.
- Focused on empowering readers with confidence and knowledge through easy-to-follow instructions and hands-on techniques.
- Passionate about building a community where makers can share, learn, and grow together in the world of woodworking.
Education History
University of Craft and Design – Bachelor of Fine Arts (BFA) in Woodworking and Furniture Design
Woodworking Apprenticeships – Gained extensive hands-on experience through various workshops and mentorships with seasoned craftsmen, refining carpentry and furniture-making skills.
Expertise
- DIY woodworking, carpentry, furniture making, and home décor projects.
- Creating clear, accessible tutorials and guides for beginner to advanced woodworkers.
- Helping readers experience the satisfaction and fulfillment of turning raw materials into stunning finished products.