
A running toilet can be a frustrating and costly issue, as it wastes water and increases your utility bills. However, the good news is that fixing a running toilet is often a straightforward task that you can handle without needing professional help. With a few tools and some basic knowledge, you can identify the problem and resolve it in no time.
This guide on how to fix a running toilet will walk you through the steps to diagnose and fix common causes of a running toilet, saving you time and money.
Needed Materials
Before you begin, make sure you have the following materials on hand:
A Pair of Rubber Gloves:
Toilet water may contain bacteria and other hazardous substances, so it’s important to protect your hands with rubber gloves.
A Bucket:
You will need a bucket to collect any excess water from the toilet tank.
Towels or Rags:
Keep some towels or rags nearby to clean up any spills or drips.
Adjustable Wrench:
This tool will come in handy for loosening and tightening nuts and bolts on the toilet tank.
Screwdriver:
A screwdriver is necessary for removing screws that hold the toilet tank lid in place.
7 Simple Steps on How to Fix a Running Toilet
Step 1: Turn off the Water Supply
Locate the water shut-off valve, typically found on the wall behind the toilet. Turn the valve clockwise to stop the flow of water to the toilet.
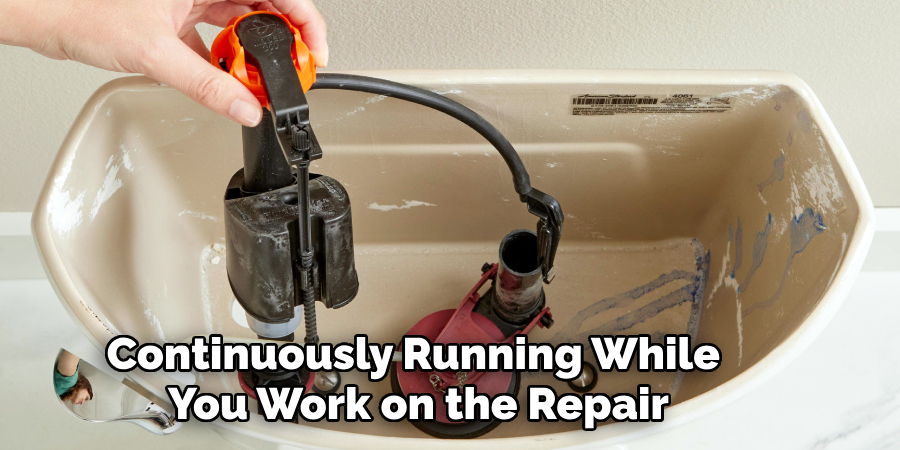
This is a crucial step to prevent water from continuously running while you work on the repair. Once the water is off, flush the toilet to empty the tank and bowl as much as possible.
Step 2: Remove the Tank Lid
Carefully lift the toilet tank lid off and set it aside in a safe place to prevent it from breaking. The tank lid is usually made of porcelain and can be fragile, so handle it with care.
Removing the lid will give you access to the internal components of the tank, allowing you to inspect and address the issue causing the toilet to run.
Step 3: Check the Flapper Valve
Inspect the flapper valve, which is located at the bottom center of the tank. The flapper is a rubber seal that lifts when you flush, allowing water to flow into the bowl. Check if it is properly seated over the drain opening. If the flapper is warped, dirty, or damaged, it may not create a proper seal, causing the toilet to run continuously.
Clean the flapper and the area around the drain opening if there is debris or buildup. If the flapper is visibly damaged or worn, replace it with a new one to ensure an effective seal.
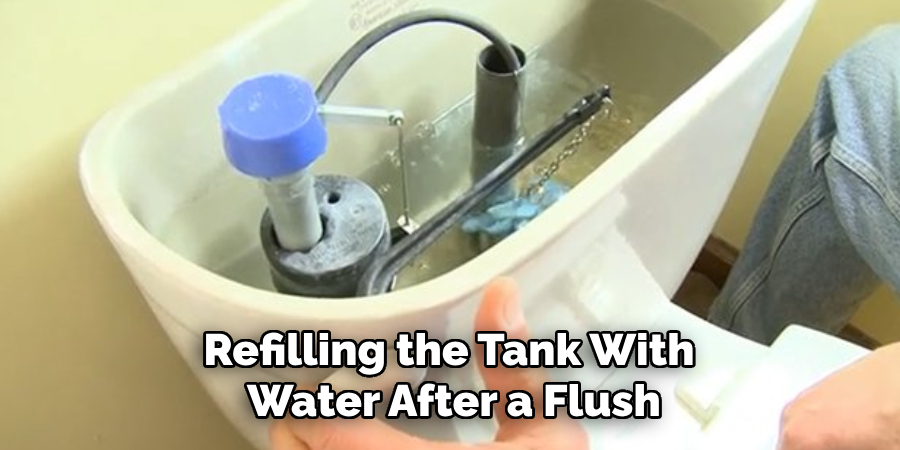
Step 4: Check the Fill Valve
The fill valve is responsible for refilling the tank with water after a flush. If it is not functioning properly, it can cause the toilet to run continuously or not fill up enough for a complete flush.
To check the fill valve, lift up the float arm and let go. The water should stop running when the float reaches its highest point. If it continues to run, adjust the float arm or replace the entire fill valve if necessary.
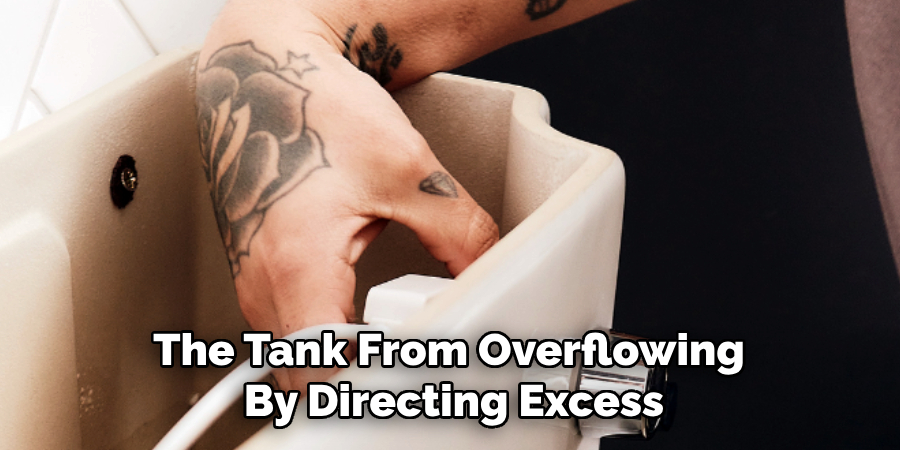
Step 5: Inspect the Overflow Tube
The overflow tube prevents the tank from overflowing by directing excess water into the bowl. If this tube becomes damaged or blocked, it can lead to constant running of the toilet.
To inspect the overflow tube, flush the toilet and watch to see if water is flowing into the tube. If it is not, check for any obstructions or cracks in the tube. If necessary, replace the tube.
Step 6: Check the Flapper
The flapper is a rubber valve that controls the flow of water from the tank into the bowl. Over time, it can become worn or damaged, causing it to not seal properly and resulting in a running toilet.
To check the flapper, turn off the water supply and flush the toilet to empty out all of the water in the tank. Inspect the flapper for any signs of wear or damage. If necessary, replace the flapper with a new one.
Step 7: Check the Fill Valve
The fill valve is responsible for filling the tank with water after each flush. If it is not functioning properly, it can cause issues with the water level in the tank and result in a running toilet.
To check the fill valve, turn off the water supply and flush the toilet to empty out all of the water in the tank. Inspect the fill valve for any signs of wear or damage. You may also want to clean any debris that may be blocking or interfering with its function.
If necessary, replace the fill valve with a new one.
Following these steps on how to fix a running toilet can help ensure that your toilet is properly and efficiently filling with water after each flush.
When to Call a Plumber?
While many toilet repairs can be handled using basic tools and a bit of DIY knowledge, there are times when calling a professional plumber is the best course of action. If you’ve followed all the recommended steps to fix a running toilet and the issue persists, it may indicate a more complex plumbing problem such as a damaged pipe, a faulty sewer line, or internal tank issues.
Additionally, if you’re uncomfortable handling repairs yourself or lack the necessary tools, a plumber can provide expert service and ensure the problem is resolved efficiently. Don’t hesitate to reach out to a professional when the situation seems beyond your expertise or if you want peace of mind knowing the issue has been properly addressed.
Preventative Maintenance Tips
To avoid unexpected plumbing issues, it’s essential to practice regular preventative maintenance. Start by checking for leaks around faucets, pipes, and appliances to catch minor problems before they escalate. Periodically inspect your toilet for any signs of wear, such as unstable fixtures or continuous running water, as these can lead to higher water bills and damage over time. Drain strainers should be used in sinks and showers to prevent clogs, and grease, coffee grounds, or other debris should not be disposed of down the drains.
Additionally, flushing your water heater annually can help remove sediment buildup, ensuring its efficiency and extending its lifespan. By staying proactive, you can save time money, and avoid the inconvenience of emergency plumbing repairs.
Additional Tips
- Regularly check for leaks by adding a few drops of food coloring to the water in the tank. If the color appears in the bowl without flushing, there may be a leak.
- To prevent future issues with your toilet’s fill valve, consider using a water softener or installing an inline filter to reduce mineral deposits.
- If you are uncomfortable performing any of these steps on your own, it is always best to consult a professional plumber for assistance.
- Remember to turn off the water supply and flush the toilet before attempting any repairs or replacements.
- It is important to regularly clean and maintain your toilet to avoid potential issues and costly repairs. This includes cleaning the inside of the tank and replacing any damaged parts as needed.
By following these simple steps, you can ensure that your toilet continues to function properly and efficiently for years to come.
Frequently Asked Questions
Q1: How Often Should I Clean My Toilet?
A1: It is recommended that you clean your toilet at least once a week to prevent any buildup of grime and bacteria. The frequency of cleaning may also depend on the number of people using the toilet and how often it is used.
Q2: What Cleaning Products Should I Use for My Toilet?
A2: When cleaning your toilet, it is important to use products that are specifically designed for this purpose. This includes a toilet brush and a mild cleaner or disinfectant. Avoid using harsh chemicals as they can damage the porcelain and plumbing system.
Q3: How Do I Clean the Inside of the Toilet Tank?
A3: Cleaning the inside of the toilet tank is an important step in maintaining a clean and hygienic toilet. To do so, you can use a toilet cleaner or mix equal parts vinegar and water to remove any buildup or stains. Let it sit for a few minutes before flushing to rinse.
Q4: How Do I Clean Underneath the Toilet Rim?
A4: The area underneath the toilet rim can easily accumulate dirt, germs, and mineral deposits. To clean this area thoroughly, you can use a specialized toilet brush with stiff bristles or a pumice stone to gently scrub away any buildup.
Conclusion
Maintaining a clean and hygienic toilet is essential for a healthy and comfortable home. By incorporating regular cleaning routines and using the right tools and products, you can effectively eliminate dirt, stains, and germs.
Paying attention to often-overlooked areas, such as underneath the toilet rim, ensures a thorough clean and helps prevent the buildup of harmful bacteria and odors. With consistent care, your toilet will remain fresh, spotless, and sanitary for you and your household. Thanks for reading this article on how to fix a running toilet.
About the Author
Adrian Green is a passionate woodworking enthusiast who has dedicated his life to the craft of woodworking. From his early days working alongside his father in the family woodworking shop, Adrian has honed his skills and developed a deep love for creating beautiful, functional pieces with his hands. As the voice behind The Woodenify Blog, he shares his knowledge, tips, and inspiration with fellow woodworkers of all skill levels, helping them build confidence in their abilities while learning new techniques.
Professional Focus
- Specializes in DIY woodworking projects, from furniture making to home décor.
- Provides step-by-step guides, tips, and practical tutorials for woodworkers at any skill level.
- Focused on empowering readers with confidence and knowledge through easy-to-follow instructions and hands-on techniques.
- Passionate about building a community where makers can share, learn, and grow together in the world of woodworking.
Education History
University of Craft and Design – Bachelor of Fine Arts (BFA) in Woodworking and Furniture Design
Woodworking Apprenticeships – Gained extensive hands-on experience through various workshops and mentorships with seasoned craftsmen, refining carpentry and furniture-making skills.
Expertise
- DIY woodworking, carpentry, furniture making, and home décor projects.
- Creating clear, accessible tutorials and guides for beginner to advanced woodworkers.
- Helping readers experience the satisfaction and fulfillment of turning raw materials into stunning finished products.