A properly sealed shower drain is essential to prevent water leakage and ensure your bathroom remains safe and damage-free. Over time, drains can develop gaps or wear that allow water to seep through, causing potential issues like mold growth or structural damage. Sealing a shower drain is a straightforward process that can save you time and money in the long run.
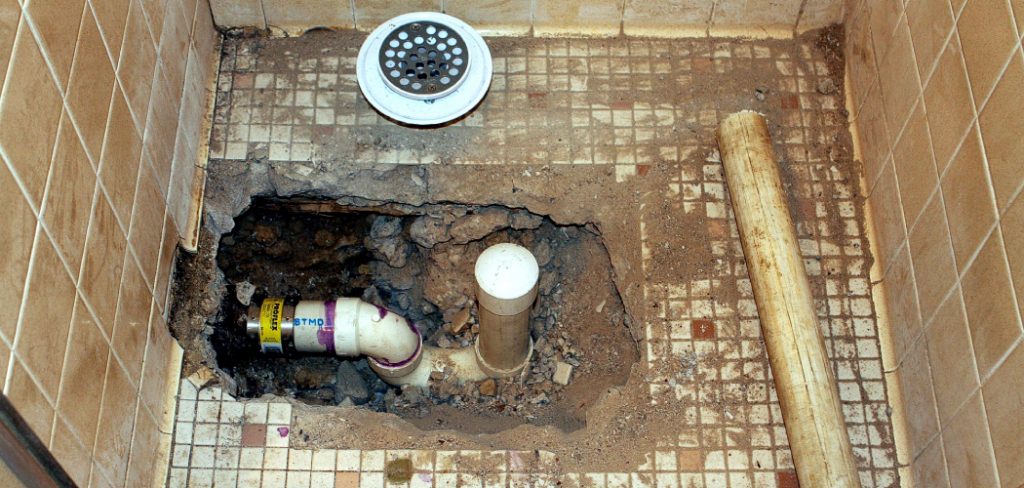
This guide on how to seal a shower drain will walk you through the steps to effectively seal your shower drain and maintain a watertight seal. A shower drain plumbing diagram is essential for understanding the proper installation and flow direction of water in your bathroom’s drainage system.
Why is Sealing a Shower Drain Important?
Sealing a shower drain not only prevents water damage but also helps maintain the cleanliness and hygiene of your bathroom. By sealing the drain, you can prevent water from seeping into areas like the subfloor or walls, which can lead to mold growth and other issues. Additionally, a sealed shower drain can help keep pests out, as they are attracted to damp environments.
Furthermore, regularly sealing your shower drain can prolong its lifespan and prevent costly repairs in the future.
Tools and Materials Needed
Plumber’s Putty or Silicone Caulk:
These are the two most commonly used materials for sealing a shower drain. Plumber’s putty is more pliable and easier to work with, but silicone caulk provides a stronger and longer-lasting seal.
Flathead Screwdriver:
This tool will come in handy for removing the old drain cover and any remaining residue or debris.
Cleaning Supplies:
Before sealing your shower drain, make sure to thoroughly clean the area around it to ensure proper adhesion of the sealant.
8 Step-by-step Guides on How to Seal a Shower Drain
Step 1: Remove the Old Drain Cover
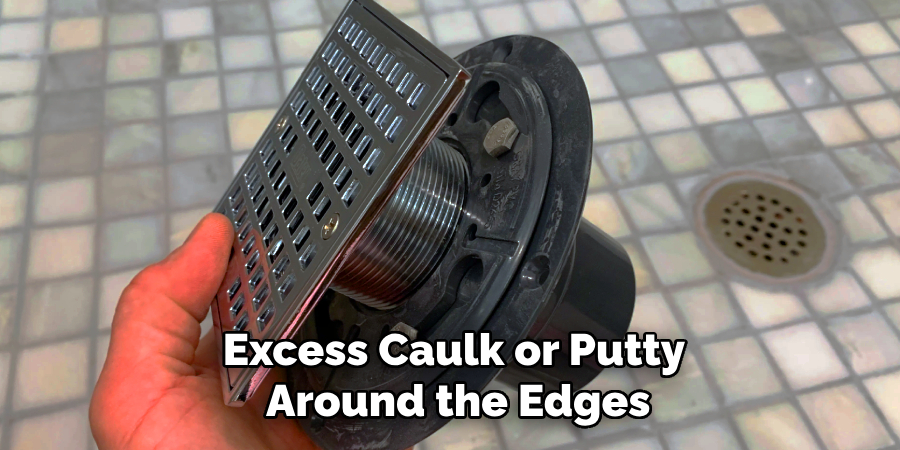
Start by locating the screws that secure the drain cover in place. Use a flathead screwdriver to carefully unscrew and remove the cover. If the cover is stuck due to buildup or rust, gently pry it loose using the screwdriver, being cautious not to damage the surrounding area.
Once removed, set the drain cover aside and ensure the drain opening is accessible for further cleaning and preparation.
Step 2: Clean the Drain and Surrounding Area
Before applying any sealant, it is crucial to clean the drain and its surrounding area thoroughly. Start by removing any visible debris, such as hair or soap scum, from the drain opening. Use a scrub brush or sponge along with a cleaning agent to scrub the area around the drain, ensuring it is free of dirt, grime, and residue.
This step is critical for the sealant to adhere properly. Rinse the area with water and wipe it dry with a clean cloth to eliminate any excess moisture. A well-prepared surface will help create a durable and watertight seal.
Step 3: Prepare the Sealant
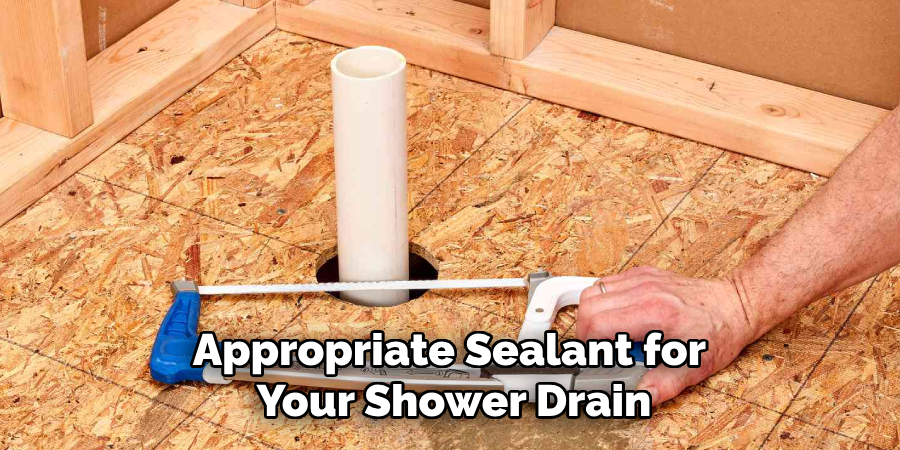
Choose the appropriate sealant for your shower drain—either plumber’s putty or silicone caulk, based on your preference and the type of drain. If using a plumber’s putty, take a small amount and roll it into a rope-like shape that is long enough to encircle the base of the drain opening. This makes it easier to apply evenly. If opting for silicone caulk, ensure you have a caulk gun and cut the nozzle of the silicone tube at a 45-degree angle for precise application. Load the tube into the caulk gun and have it ready to use.
Before applying, read the product instructions to confirm proper usage and curing time. Preparing your sealant properly ensures a smooth application and an effective seal.
Step 4: Apply the Sealant
Using your fingers or a putty knife, apply the plumber’s putty or silicone caulk around the base of the drain opening. Ensure it is evenly distributed and covers any gaps or cracks that may exist. Wipe away any excess sealant with a damp cloth. If using silicone caulk, gently smooth out the bead of the caulk with your finger for a clean finish.
Be cautious not to push too hard on the drain flange, as this can cause an uneven seal.
Step 5: Set the Drain Cover
Once applied, carefully set the drain cover back into place and screw it in securely using the flathead screwdriver. Make sure the cover is flush with the shower floor and there are no gaps or spaces between it and the drain opening.
Otherwise, water can leak through these gaps and defeat the purpose of sealing your shower drain.
Step 6: Let it Dry
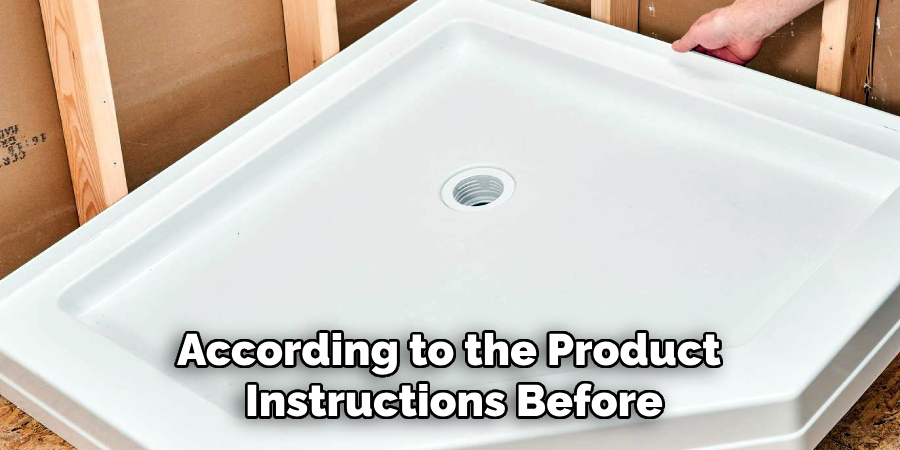
Allow the sealant to dry according to the product instructions before using the shower. This typically takes a few hours for silicone caulk and up to 24 hours for plumber’s putty.
Avoid using the shower during this time to ensure the sealant cures properly.
Step 7: Check for Leaks
After the sealant has fully cured, it is essential to test the effectiveness of your work by checking for leaks. Begin by running a small amount of water in the shower, allowing it to flow directly into the drain. Observe the area around the drain, especially where the sealant was applied, for any signs of water leakage or moisture accumulation.
If you detect any leaks, carefully reapply the sealant to the affected areas and allow it to cure again as directed. Ensuring there are no leaks guarantees a watertight seal and protects your bathroom from potential water damage.
Step 8: Regular Maintenance
To maintain a strong and long-lasting seal, it is essential to periodically check and reseal your shower drain. Over time, the sealant may deteriorate due to water exposure or wear and tear. Regularly inspecting and reapplying the sealant when necessary can prevent any potential issues and prolong the lifespan of your shower drain.
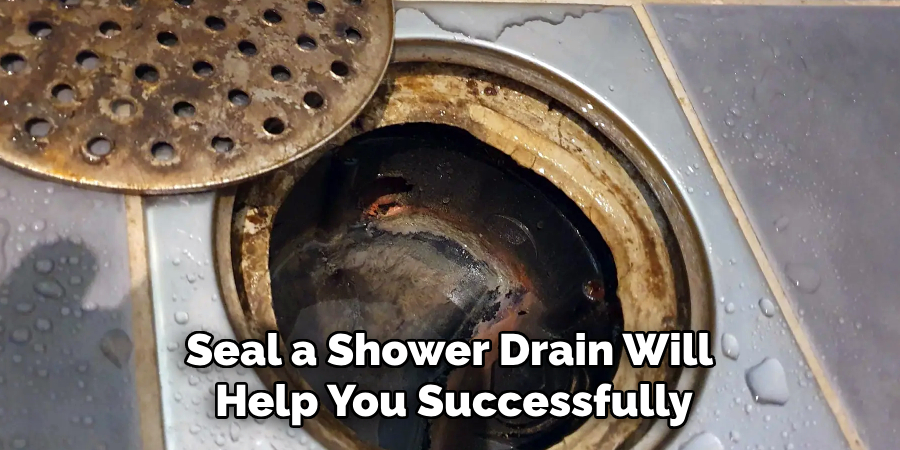
Following these steps on how to seal a shower drain will help you successfully seal your shower drain and prevent any potential water damage or pest infestations. Remember to always wear protective gear, such as gloves, when working with sealants, and consult a professional if unsure about the process. With proper maintenance, your sealed shower drain will continue to function efficiently and keep your bathroom clean and dry. Happy sealing!
Common Mistakes to Avoid
- Not cleaning the drain and surrounding area properly before sealing. This can prevent the sealant from adhering correctly.
- Using too much or too little sealant leads to an uneven or ineffective seal.
- Not allowing enough time for the sealant to cure before using the shower.
- Applying the sealant too close to the edge of the drain cover causes it to ooze out when installed, resulting in a messy finish.
- Forgetting to periodically check and reseal your shower drain which can lead to leaks and potential water damage.
Remembering these common mistakes will help you avoid any issues during the sealing process and ensure a successful outcome.
Maintenance Tips
Regular Inspections:
Make it a habit to inspect the shower drain every few months to ensure the sealant is still intact and there are no signs of wear or leaks. Early detection of any issues can save you time and prevent costly repairs.
Proper Cleaning:
To maintain the effectiveness of the sealant, regularly clean your shower drain and its surrounding area. This will prevent any buildup of debris or residue that can weaken the sealant over time.
Use Drain Strainers:
Invest in a drain strainer to catch any hair or debris before it goes down the drain. This will not only help with maintaining a clean shower but also prevent clogs and extend the lifespan of your shower drain seal.
By following these maintenance tips, you can prolong the life of your sealed shower drain and ensure it continues to function efficiently. Remember, regular maintenance is key to preventing any potential issues and keeping your bathroom dry and safe.
Frequently Asked Questions
Q1: How Do I Know if My Shower Drain Needs to Be Resealed?
A1: You may notice water leaking around the base of the drain or an unpleasant odor coming from the drain. These are signs that the sealant has deteriorated and needs to be reapplied. Regularly checking and maintaining your shower drain can prevent these issues.
Q2: Can I Use Plumbers Putty Instead of Silicone Caulk?
A2: Yes, you can use either plumber’s putty or silicone caulk to seal a shower drain. However, silicone caulk is typically the preferred option as it provides a more watertight seal and is easier to apply.
Q3: How Often Should I Reseal My Shower Drain?
A3: It is recommended to reseal your shower drain every 6-12 months, depending on usage and the type of sealant used. Regular inspections can help determine when resealing is necessary.
Conclusion
By following these simple steps on how to seal a shower drain, you can effectively seal your shower drain and protect your bathroom from water damage and other potential problems.
Remember to clean the area thoroughly before applying the sealant, choose an appropriate product based on your needs, evenly distribute the sealant around the drain opening, let it dry properly, and periodically check and reseal as needed.
With proper maintenance, your shower drain will continue to function efficiently for years to come. Happy sealing!
About the Author
Adrian Green is a passionate woodworking enthusiast who has dedicated his life to the craft of woodworking. From his early days working alongside his father in the family woodworking shop, Adrian has honed his skills and developed a deep love for creating beautiful, functional pieces with his hands. As the voice behind The Woodenify Blog, he shares his knowledge, tips, and inspiration with fellow woodworkers of all skill levels, helping them build confidence in their abilities while learning new techniques.
Professional Focus
- Specializes in DIY woodworking projects, from furniture making to home décor.
- Provides step-by-step guides, tips, and practical tutorials for woodworkers at any skill level.
- Focused on empowering readers with confidence and knowledge through easy-to-follow instructions and hands-on techniques.
- Passionate about building a community where makers can share, learn, and grow together in the world of woodworking.
Education History
University of Craft and Design – Bachelor of Fine Arts (BFA) in Woodworking and Furniture Design
Woodworking Apprenticeships – Gained extensive hands-on experience through various workshops and mentorships with seasoned craftsmen, refining carpentry and furniture-making skills.
Expertise
- DIY woodworking, carpentry, furniture making, and home décor projects.
- Creating clear, accessible tutorials and guides for beginner to advanced woodworkers.
- Helping readers experience the satisfaction and fulfillment of turning raw materials into stunning finished products.
