
Replacing a toilet fill valve may seem like a daunting task, but it is actually a straightforward process that can save you money and prevent water wastage. The fill valve controls the flow of water into your toilet tank and ensures it refills properly after each flush. Over time, this component may wear out or become faulty, leading to issues such as a running toilet or insufficient water levels.
This guide on how to install toilet fill valve will walk you through the steps to install a new fill valve so you can restore your toilet’s functionality with ease. A properly functioning toilet fill valve is essential for maintaining the water level in the tank, ensuring efficient flushing and preventing leaks or overflow.
Why Replace a Toilet Fill Valve?
Before diving into the installation process, it is important to understand why you may need to replace your toilet fill valve in the first place. Here are some common reasons:
The Current Fill Valve is Leaking:
A faulty or worn-out fill valve can develop cracks or wear and tear over time, leading to leaks. This can result in a constantly running toilet or water seeping into the bowl.
The Toilet is Not Refilling Properly:
If your toilet tank takes longer than usual to refill after flushing or does not fill up to the appropriate level, it could be due to a faulty fill valve.
Water is Constantly Running Into the Overflow Tube:
When the fill valve fails to shut off properly, it can cause water to continuously run into the overflow tube in your toilet tank. This can lead to wasted water and higher utility bills.
Tools and Materials You Will Need
Before you start the installation process, make sure you have all the necessary tools and materials on hand. These include:
- A New Toilet Fill Valve
- Adjustable Pliers or a Wrench
- A Bucket or Container to Catch Any Water From the Tank
- A Sponge or Towel for Cleaning Up Any Spills
8 Step-by-step Guides on How to Install Toilet Fill Valve
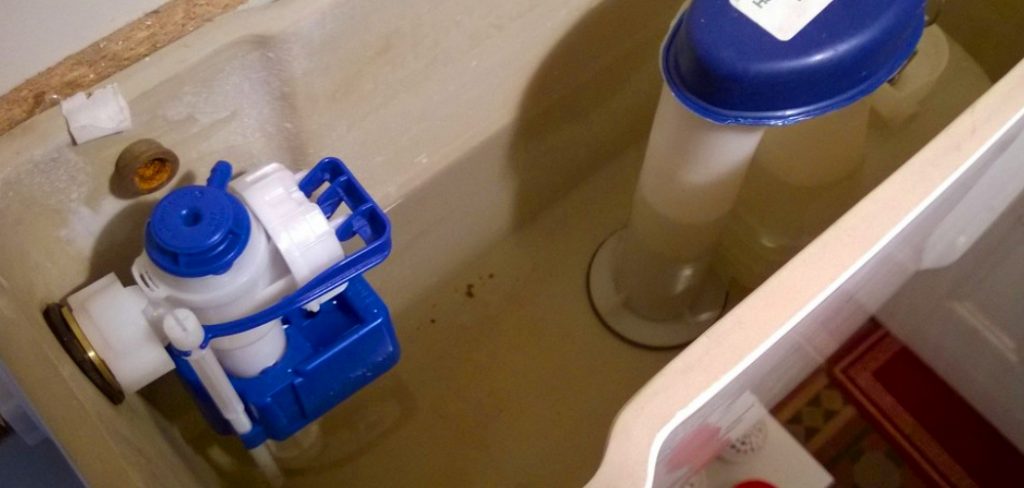
Step 1: Shut Off the Water Supply
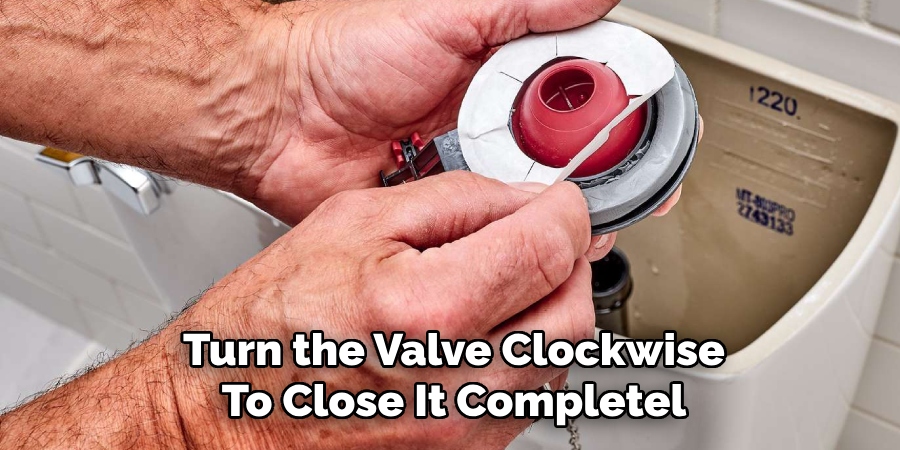
The first step in replacing the toilet fill valve is to shut off the water supply to the toilet. Locate the water supply valve, which is usually found on the wall behind or near the base of the toilet. Turn the valve clockwise to close it completely. This will stop water from flowing into the toilet tank during the installation process.
Once the water is turned off, flush the toilet to drain as much water as possible from the tank. Use a sponge or towel to absorb any remaining water at the bottom of the tank to ensure it’s empty and dry before proceeding.
Step 2: Remove the Old Fill Valve
Using adjustable pliers or a wrench, loosen and remove the nut connecting the water supply line to the bottom of the fill valve.
Next, locate and unscrew any additional nuts or bolts that may be securing the fill valve to the tank. Once all connections have been detached, lift the old fill valve out of the tank.
Step 3: Prepare and Install the New Fill Valve
Begin by preparing the new fill valve according to the manufacturer’s instructions. Most fill valves come with adjustable heights to match the size of your toilet tank. Adjust the height of the new fill valve so that the top of the valve extends slightly above the overflow tube in the tank.
Insert the new fill valve into the hole at the bottom of the tank where the old valve was removed. Make sure the valve’s rubber gasket is seated properly inside the hole to prevent leaks. Secure the fill valve by tightening the mounting nut underneath the tank. Be careful not to overtighten, as this could crack the tank or damage the gasket.
Step 4: Connect the Water Supply Line
Once the new fill valve is securely installed, reconnect the water supply line to the base of the fill valve. Use your adjustable pliers or wrenches to tighten the nut connecting the water supply line to the fill valve.
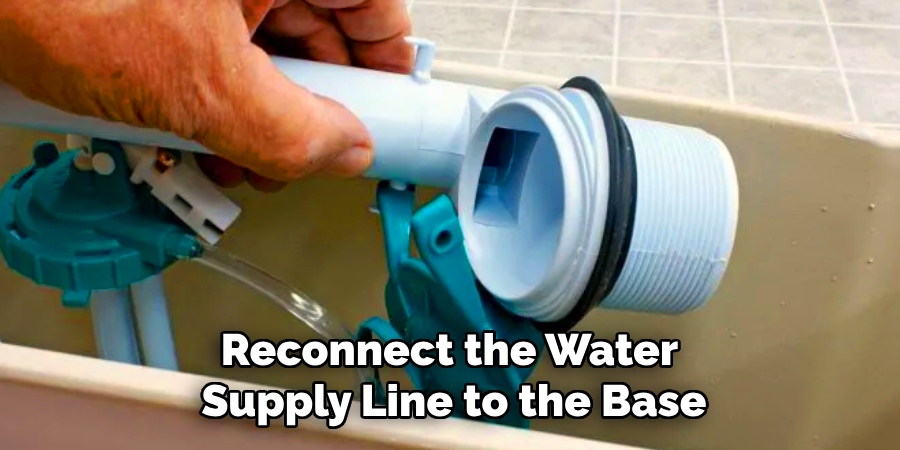
Ensure the connection is snug and secure, but avoid overtightening, as this can damage the threads or the fill valve. After reconnecting, double-check that the supply line is properly aligned to prevent leaks.
Step 5: Adjust the Fill Valve Height
Adjust the height of the new fill valve to ensure it is at the appropriate level for your toilet tank. This can be done by turning a screw or rotating a dial on the top of the fill valve, depending on the type you have purchased.
The correct water level should be marked on the inside of your toilet tank or mentioned in its manual. Once adjusted, flush the toilet and observe if it refills to this level.
Step 6: Complete any Additional Connections
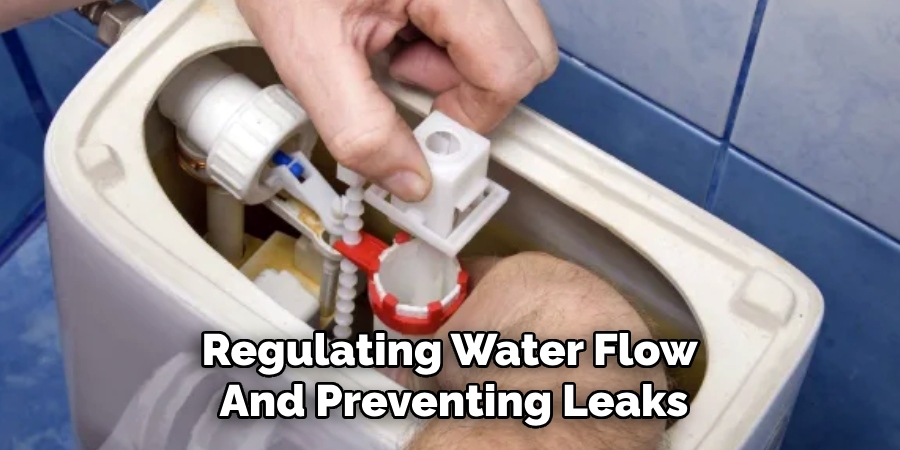
If your new fill valve came with additional attachments, such as refill tubes or clips, follow the manufacturer’s instructions to secure them in place. These are important for regulating water flow and preventing leaks.
If your toilet has a flapper or flush valve that is operated by the fill valve, make sure it is properly connected.
Step 7: Turn the Water Supply Back On
Once all connections are secure and the fill valve is properly adjusted, it is time to turn the water supply back on. Slowly turn the water supply valve counterclockwise to allow water to flow into the toilet tank. Pay close attention to ensure there are no leaks around the base of the fill valve or at the connection where the water supply line meets the valve.
Allow the tank to fill completely, and check that the water stops at the appropriate level marked inside the tank. Flush the toilet a few times to confirm that it is functioning correctly and that the fill valve is operating as intended. If adjustments are necessary, refer back to the manufacturer’s instructions to fine-tune the fill valve settings.
Step 8: Test and Make Adjustments if Necessary
With everything properly connected and functioning, test your toilet by flushing it a few times to ensure proper refilling and no leaks. If you notice any issues, such as overflowing or inadequate refilling, make necessary adjustments to the fill valve height until it works correctly.
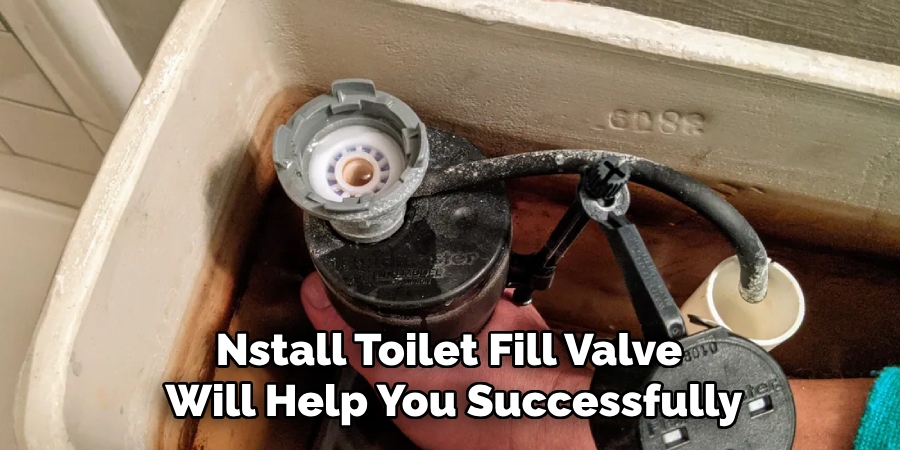
Following these steps on how to install toilet fill valve will help you successfully install a new toilet fill valve and properly maintain your toilet’s function. Regularly checking and replacing faulty parts, such as the fill valve, can save you money on utility bills and prevent costly water damage in the long run. With just a few tools and simple steps, you can easily replace a malfunctioning fill valve and keep your toilet in good working order. Happy flushing!
Additional Tips for Maintaining Your Toilet
- Regularly check for and fix any leaks in your toilet to prevent water waste and damage.
- Use a flapper or flush valve with a water-saving feature to reduce your water usage.
- Consider using vinegar and baking soda as natural cleaning alternatives for your toilet.
- Avoid flushing anything other than toilet paper down the toilet to prevent clogs and potential damage to the plumbing system.
- Schedule regular maintenance checks for your toilet, including inspecting and replacing any worn-out parts such as flappers, fill valves, or flush valves.
- Use a plunger or toilet auger to clear minor clogs before resorting to harsh chemicals that can damage your pipes.
- If you notice any unusual sounds or issues with the functioning of your toilet, address them promptly to avoid larger problems in the future.
Frequently Asked Questions
Q: How Often Should I Replace My Toilet Fill Valve?
A: It is recommended that you replace your toilet fill valve every 5-7 years if you notice any issues with refilling or water leakage.
Q: Can I Replace a Toilet Fill Valve Myself?
A: Yes, replacing a toilet fill valve is a relatively simple DIY task that only requires basic tools and some precautions.
Q: What Tools Do I Need to Replace a Toilet Fill Valve?
A: To replace your toilet fill valve, you will need adjustable pliers or wrenches, screwdrivers, and possibly a towel or rag to clean up any water spills. It may also be helpful to have a bucket or container to catch any excess water from the tank during the process.
Q: How Do I Know if my Toilet Fill Valve Needs Replacing?
A: Some signs that your toilet fill valve may need replacing include the toilet constantly running or making unusual noises, inadequate refilling after flushing, or visible water leaks in the tank.
Q: Can a Faulty Toilet Fill Valve Cause Water Damage?
A: Yes, a malfunctioning toilet fill valve can lead to water waste and potential damage to your flooring and walls if left unrepaired. It is essential to address any issues with your toilet’s fill valve promptly to prevent costly damage in the long run.
Conclusion
Proper maintenance and timely replacement of your toilet’s fill valve are crucial for ensuring the efficient functioning of your toilet and preventing unnecessary water waste or damage. By following the step-by-step guide on how to install toilet fill valve outlined above, even those with minimal DIY experience can confidently replace a faulty fill valve and restore their toilet to optimal working condition.
Regular checks and simple upkeep, such as inspecting for leaks and addressing minor issues immediately, can save you money and avoid more extensive plumbing repairs in the future. With the right tools and a little effort, maintaining a reliable and efficient toilet is both achievable and worthwhile.
About the Author
Adrian Green is a passionate woodworking enthusiast who has dedicated his life to the craft of woodworking. From his early days working alongside his father in the family woodworking shop, Adrian has honed his skills and developed a deep love for creating beautiful, functional pieces with his hands. As the voice behind The Woodenify Blog, he shares his knowledge, tips, and inspiration with fellow woodworkers of all skill levels, helping them build confidence in their abilities while learning new techniques.
Professional Focus
- Specializes in DIY woodworking projects, from furniture making to home décor.
- Provides step-by-step guides, tips, and practical tutorials for woodworkers at any skill level.
- Focused on empowering readers with confidence and knowledge through easy-to-follow instructions and hands-on techniques.
- Passionate about building a community where makers can share, learn, and grow together in the world of woodworking.
Education History
University of Craft and Design – Bachelor of Fine Arts (BFA) in Woodworking and Furniture Design
Woodworking Apprenticeships – Gained extensive hands-on experience through various workshops and mentorships with seasoned craftsmen, refining carpentry and furniture-making skills.
Expertise
- DIY woodworking, carpentry, furniture making, and home décor projects.
- Creating clear, accessible tutorials and guides for beginner to advanced woodworkers.
- Helping readers experience the satisfaction and fulfillment of turning raw materials into stunning finished products.