
Shower wall panels are a popular and practical option for modern bathrooms, offering a sleek appearance and excellent water resistance. However, over time, issues such as cracks, detachment, or water damage may arise, requiring repairs. Fixing these problems not only restores the aesthetic appeal of your shower but also prevents further damage and potential leaks.
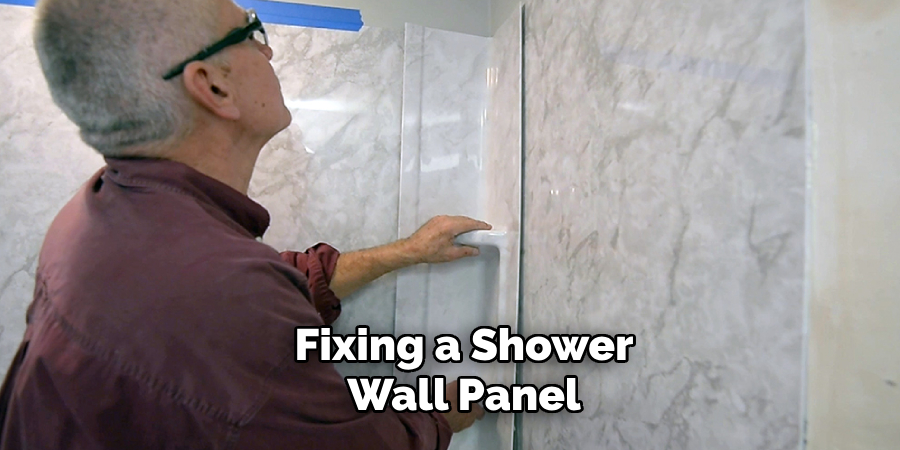
This guide on how to fix a shower wall panel will walk you through the steps to effectively repair a shower wall panel and ensure it remains durable and functional. Installing DIY shower wall panels is a simple and affordable way to give your bathroom a fresh, modern look without the hassle of traditional tiling.
Why Do Shower Wall Panels Need Fixing?
Shower wall panels can face various issues, depending on their material and installation method. Some of the common problems include:
Cracks:
If the panel is made of acrylic or fiberglass, it may develop cracks due to impact or stress from heavy objects. This can also happen with tile or stone panels if the grout is not properly installed. Water can seep through these cracks, leading to water damage and mold growth.
Detachment:
Improper adhesive application or weak installation can cause the panels to detach from the wall. This not only affects their appearance but also creates gaps where water can seep in, causing damage to the underlying structure.
Water Damage:
If there are any gaps or cracks in the panel, water can penetrate through and reach the drywall or insulation. Over time, this can result in rotting of the framing and mold growth, which poses health risks.
8 Step-by-step Guidelines on How to Fix a Shower Wall Panel
Step 1: Gather Materials
Before starting any repair work, gather all the necessary materials to avoid interruptions. This may include:
- Protective Gear Such as Gloves and Safety Glasses
- Adhesive Suitable for Shower Wall Panels (Check Manufacturer’s Instructions)
- Caulk/sealant (if Needed)
- Sandpaper or Sanding Block
- Putty Knife
- Painter’s Tape
Step 2: Identify the Problem
The first step in fixing a shower wall panel is to identify the exact issue you are dealing with. Begin by closely inspecting the entire panel for visible cracks, gaps, or signs of detachment. Check for any loose sections where the panel may be pulling away from the wall, as well as areas with discoloration or mold, which could indicate water damage.
If necessary, use a flashlight to thoroughly examine corners and seams for hidden problems. By accurately diagnosing the issue, you can determine the best course of action to repair the panel effectively.
Step 3: Remove Damaged Panel Sections
If you are dealing with cracks or detachment, begin by removing the damaged panel sections. Use a putty knife to gently pry off the panel from the wall. If there is still adhesive residue left on the wall, carefully scrape it off using the putty knife or sand it down with sandpaper.
For larger cracks, you may need to cut out a section of the panel using a utility knife. Be sure to take precise measurements before cutting to ensure a perfect fit for the replacement piece.
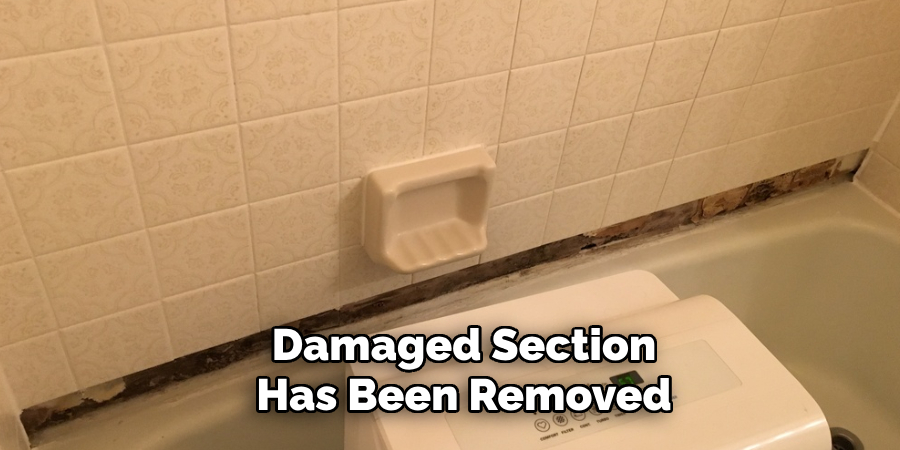
Step 4: Prepare Replacement Panel
Once the damaged section has been removed, measure the area that needs to be replaced to ensure your replacement panel will fit perfectly. Use these measurements to cut the new panel to the correct size, following the manufacturer’s guidelines for accuracy. If the replacement panel is made from a material that requires sanding or smoothing along the edges, use sandpaper or a sanding block to eliminate any rough edges.
Before installation, clean the back of the replacement panel as well as the wall surface to ensure proper adhesion. Wipe both surfaces with a damp cloth to remove dust, debris, or residue. Allow the surfaces to dry completely before proceeding. Additionally, you may apply painter’s tape around the area to protect surrounding surfaces during the installation process.
Step 5: Apply Adhesive
With the replacement panel prepared, it is time to apply the adhesive. Refer to the manufacturer’s instructions for the appropriate type of adhesive and the recommended method of application. Using a caulking gun or an applicator, evenly distribute the adhesive on the back of the replacement panel in a zigzag or grid pattern to ensure full coverage. Pay extra attention to the edges and corners, as these areas require strong adhesion to prevent gaps.
Once the adhesive is applied, carefully align the replacement panel with the measured area on the wall. Press the panel firmly into place, applying even pressure across the surface to ensure the adhesive bonds effectively. You may use a roller tool or a flat object to smooth out the panel and remove any air bubbles trapped beneath. Allow the adhesive to cure for the amount of time specified by the manufacturer before proceeding to the next step.
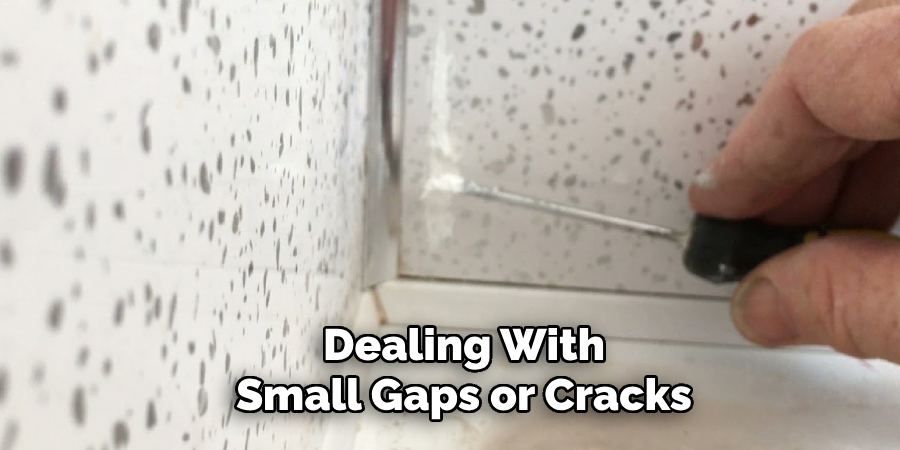
Step 6: Fill Gaps and Cracks (if Required)
If you are dealing with small gaps or cracks, you may use caulk or sealant to fill them before continuing. This will prevent water from seeping through and causing further damage. Choose a waterproof and mold-resistant product suitable for shower areas, following the instructions on the packaging for proper application.
But if the gaps or cracks are too large, you may need to use a patching compound instead. Mix the compound according to the instructions and apply it to the damaged area using a putty knife. Smooth out any excess and allow it to dry completely before proceeding.
Step 7: Finishing Touches
Once all repairs have been completed, remove any painter’s tape from around the panel and clean up any excess adhesive or caulking that may have squeezed out during installation. If necessary, sand down any rough edges or surfaces for a smooth finish. Allow everything to dry completely before using the shower.
It is also a good idea to regularly check and maintain the shower wall panels to prevent future issues. Keep an eye out for any cracks, detachment, or water damage and address them promptly to avoid further damage.
Step 8: Consult a Professional
If the issue with your shower wall panel seems too complicated or if you are unsure about the repair process, it is best to consult a professional contractor. They have the necessary skills and experience to accurately assess and fix any problems with your shower walls. Additionally, they can provide advice on proper maintenance techniques to prolong the lifespan of your shower wall panels.
Following these step-by-step guidelines on how to fix a shower wall panel can help you effectively repair your shower wall panels and maintain a safe and functional bathroom. By addressing any issues promptly, you can prevent further damage and ensure the longevity of your shower walls. Remember to always prioritize safety by wearing protective gear and following proper procedures when working with adhesives or other materials. So, take care of your shower walls and keep them in good condition for a clean and healthy bathroom environment!
Frequently Asked Questions
Q: Can I Repair a Shower Wall Panel on My Own?
A: Yes, you can repair a shower wall panel on your own using the steps outlined in this guide. However, if you are unsure or uncomfortable with the process, it is best to consult a professional contractor for assistance.
Q: How Do I Determine the Cause of Damage to My Shower Wall Panel?
A: The first step in fixing a shower wall panel is accurately diagnosing the cause of the damage. This can be done by thoroughly inspecting the panel for any cracks, detachment, or water damage. If necessary, use a flashlight to examine hidden areas as well. Additionally, it may be helpful to consult a professional for their expertise.
Q: Can I Just Replace the Damaged Section of My Shower Wall Panel?
A: Yes, in most cases, you can just replace the damaged section of your shower wall panel. However, if the damage is extensive or affects multiple panels, it may be more cost-effective to replace the entire set of panels instead.
Q: How Often Should I Check and Maintain My Shower Wall Panels?
A: It is recommended to regularly inspect and maintain your shower wall panels at least once every few months. This will help identify any potential issues early on and prevent them from worsening over time. Additionally, proper maintenance techniques can prolong the lifespan of your shower walls. So, make sure to stay on top of regular checks and maintenance for a clean and functional shower.
Q: Are There Any Tips for Keeping My Shower Wall Panels in Good Condition?
A: Yes, there are a few tips you can follow to keep your shower wall panels in good condition. These include regularly cleaning them with mild soap and water, avoiding harsh chemicals or abrasive materials, and promptly addressing any damages or issues that may arise. Also, make sure to ventilate the bathroom properly to prevent excess moisture and mold growth. By taking these precautions, you can maintain the appearance and functionality of your shower walls for years to come.
Conclusion
Repairing and maintaining your shower wall panels is an essential part of ensuring the longevity and functionality of your bathroom. By following the detailed steps and practical tips provided in this guide on how to fix a shower wall panel, you can address minor issues effectively and prevent them from escalating into costly repairs. Regular inspections and prompt action are key to keeping your shower walls in excellent condition.
Remember, if the damage is beyond your expertise or if you’re unsure about any part of the process, consulting a professional is always a wise decision. With proper care and maintenance, your shower wall panels can remain durable, visually appealing, and a reliable part of your home for years to come.
About the Author
Adrian Green is a passionate woodworking enthusiast who has dedicated his life to the craft of woodworking. From his early days working alongside his father in the family woodworking shop, Adrian has honed his skills and developed a deep love for creating beautiful, functional pieces with his hands. As the voice behind The Woodenify Blog, he shares his knowledge, tips, and inspiration with fellow woodworkers of all skill levels, helping them build confidence in their abilities while learning new techniques.
Professional Focus
- Specializes in DIY woodworking projects, from furniture making to home décor.
- Provides step-by-step guides, tips, and practical tutorials for woodworkers at any skill level.
- Focused on empowering readers with confidence and knowledge through easy-to-follow instructions and hands-on techniques.
- Passionate about building a community where makers can share, learn, and grow together in the world of woodworking.
Education History
University of Craft and Design – Bachelor of Fine Arts (BFA) in Woodworking and Furniture Design
Woodworking Apprenticeships – Gained extensive hands-on experience through various workshops and mentorships with seasoned craftsmen, refining carpentry and furniture-making skills.
Expertise
- DIY woodworking, carpentry, furniture making, and home décor projects.
- Creating clear, accessible tutorials and guides for beginner to advanced woodworkers.
- Helping readers experience the satisfaction and fulfillment of turning raw materials into stunning finished products.