
Finding and fixing a leak in an above-ground pool is essential to prevent excessive water loss, costly damage, and potential structural issues. Leaks can increase water bills, erode ground support, and diminish pool durability over time. Common signs of a leak include a steadily dropping water level, soggy or wet areas around the pool, or visible tears, punctures, or weakening seams in the liner.
Early detection of these issues allows pool owners to address the problem effectively, reducing the chances of expensive repairs or irreversible damage. This guide provides detailed advice on how to find leak in pool above ground, including inspecting the pool liner, plumbing systems, and equipment for irregularities. By understanding and applying the outlined methods, pool owners can maintain their pools in top condition, ensuring longevity, safety, and continuous enjoyment for themselves and their families.
Identifying Signs of a Leak
How to Determine if It’s a Leak or Normal Evaporation
Before concluding that your above-ground pool has a leak, it’s crucial to determine whether the water loss is due to a genuine issue or normal evaporation. On average, outdoor pools can lose about 1/4 to 1/2 inch of water daily due to evaporation, depending on weather conditions like heat, wind, and humidity. To confirm if the water drop exceeds these evaporation rates, homeowners can perform a simple “bucket test.”
Start by filling a bucket with pool water, marking the water level inside the bucket and on the pool wall. Place the bucket on a step or secure it so it stays level with the water in the pool. After 24 hours, compare the water loss between the bucket and the pool. If the pool water level decreases more significantly than the bucket, this suggests a leak.
Common Areas Where Leaks Occur
Leaks often arise in specific areas of an above-ground pool. The pool liner is among the most frequent culprits, with punctures, tears, or damaged seams allowing water to seep into the ground. Common leak-prone areas include plumbing systems such as pool filters, pumps, and return lines, which can experience wear and tear over time. Identifying these possible sources of leaks can help narrow down where to inspect for damage.
Checking for Visible Damage
Inspecting the Pool Liner

The pool liner is one of the most common areas where leaks can originate. Begin by visually inspecting the liner for any tears, punctures, or stretched areas. Such damage may occur from sharp objects, improper installation, or general wear over time. Look closely for soft spots, which can indicate areas where water is escaping beneath the liner, or discolored spots, which may develop as water leaks into the surrounding area. Both are telltale signs of a potential problem that needs addressing.
Examining the Pool Structure and Seams
The structural integrity of your pool walls and seams plays a critical role in preventing water loss. Even minor weaknesses in these areas can result in leaks over time. Carefully examine the walls of your pool for signs of rust, especially if you own a metal-framed above-ground pool. Rust can weaken the pool’s structure and eventually create small openings for water to escape. Additionally, inspect the seams where the pool material is joined together. Any bulges, gaps, or noticeable wear at these joints can point to potential leaking issues that require immediate repair.
Checking the Skimmer, Jets, and Filter System
Leaks are not always limited to the liner or walls; they can also originate from the skimmer, jets, and filter system. Ensure all fittings and gaskets are securely sealed to prevent water from dripping or flowing out. Give particular attention to hoses or return lines, as cracks and loose connections can lead to significant water loss. Identifying and addressing these issues promptly can prevent further damage and keep your pool in good condition.
How to Find Leak in Pool Above Ground: Using the Dye Test to Locate Leaks
When visual inspection isn’t enough to locate a pool leak, performing a dye test can be an effective solution. This method uses food coloring or specialized pool leak detection dye to pinpoint the exact location of water loss. You can identify where repairs are needed by carefully observing how the dye behaves near suspected leak areas.
How the Dye Test Works
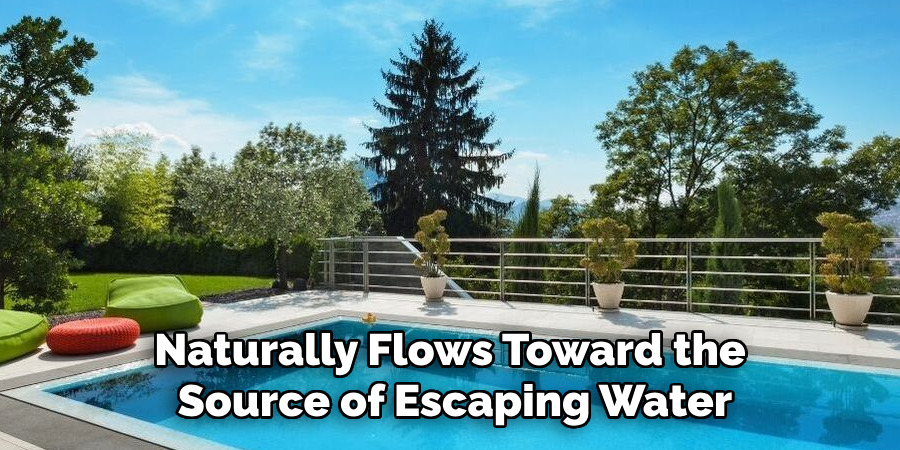
The dye test functions by introducing a colored dye substance into the water near areas that may be leaking. When the dye is released, it naturally flows toward the source of escaping water, providing a clear visual indicator of the leak’s location. This process works best in calm, still water to ensure the dye is not disrupted by movement.
Performing the Dye Test in Steps
- Begin by turning off all pool equipment to keep the water perfectly still.
- Gently release the dye near a seam, crack, or fitting where a leak is suspected.
- Watch carefully as the dye moves—if it drifts and gets pulled toward a particular spot, you’ve found the leak.
- Repeat this process at various potential trouble areas until all leaks are identified.
By following these steps, you can locate even the smallest pool leaks efficiently, making this a useful tool for proper pool maintenance.
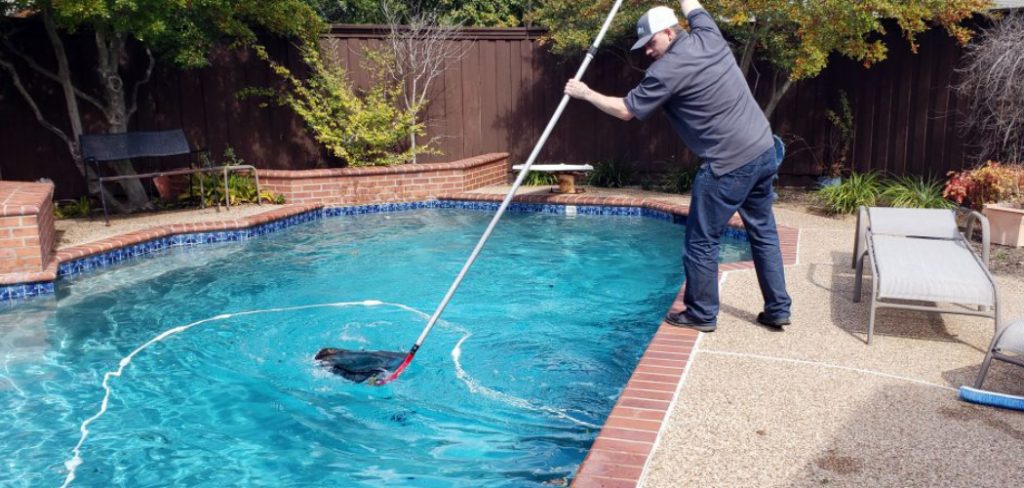
Checking the Pool Bottom for Leaks
Using Pool Goggles or a Mask for Close Inspection
Visually inspecting the bottom of the pool is an essential step in leak detection. By using pool goggles or a mask, you can clearly observe any potential tears, holes, or other irregularities on the pool liner. Slowly swim along the pool bottom, paying close attention to seams, edges, and areas with visible wear or discoloration. It can also be helpful to run your hands gently along suspect spots, as this can help you detect weaker sections or slightly damaged areas that might not be immediately visible.
Walking Barefoot to Detect Soft Spots
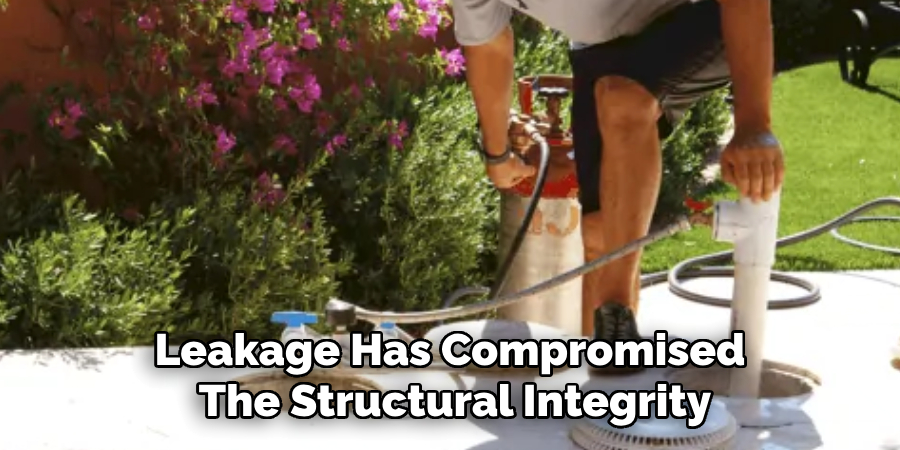
Another effective technique is to walk barefoot across the pool floor to feel for soft spots. These areas may indicate separation of the liner or places where water leakage has compromised the structural integrity of the base beneath the liner. Take small, deliberate steps, and note any sections where the floor feels spongy or uneven. Mark these spots for further investigation, as they may reveal hidden damage requiring repair.
Using a Drain-and-Inspect Method (If Necessary)
If visual and tactile inspections do not yield conclusive results, consider partially draining the pool for a closer look. Lower the water level just enough to inspect the bottom thoroughly without exposing the liner to excessive air, which can cause shrinkage or damage. Use a flashlight to illuminate any questionable areas and look closely for bubbling, peeling, or perforations.
Be cautious when draining the pool, as draining too much water or leaving the pool empty for extended periods can weaken the liner and reduce its lifespan. Lastly, always ensure the pool is properly supported and monitored during the inspection process to avoid complications.
Inspecting Pool Equipment and Plumbing
Checking the Pump and Filter System
A thorough inspection of the pump and filter system is essential for maintaining the efficiency and functionality of your pool. Begin by examining all connections, seals, and o-rings for any signs of wear or leaks. Damaged or worn-out o-rings can often be the culprits behind small leaks and should be replaced promptly. Next, test the pressure gauge on the filter system for irregularities. Deviations from the normal pressure range may indicate clogs, blockages, or other issues within the system. Regular monitoring of the pump and filter will help ensure optimal water circulation and filtration.
Looking for Underground or Hose Leaks

Detecting underground or hose leaks requires careful observation and attention to detail. Check for wet patches or areas of sinking ground near the pool, as these may signal an underground leak. Additionally, inspect all pool hoses and connectors to ensure there are no loose fittings, cracks, or visible splits. Tighten or replace connectors as needed to prevent water loss.
Early detection and repair of leaks in plumbing and equipment are vital to preventing structural damage and ensuring the longevity of your pool system. Always address potential issues promptly to maintain a safe and efficient swimming environment.
Temporary Fixes vs. Permanent Repairs
When dealing with pool leaks, it’s important to differentiate between temporary fixes and permanent repairs. Pool patch kits provide a convenient solution for small liner leaks. These kits are easy to use and can seal minor holes or tears effectively. Waterproof tape or epoxy can be applied quickly to address cracks or leaks in pipes, fittings, or other pool surfaces. While these temporary measures can minimize water loss and prevent further damage for a short period, they are not a substitute for professional care when the issue is severe.
Consulting a pool specialist is essential if the liner is extensively damaged or if leaks persist despite patching. A professional repair or complete liner replacement may be necessary to ensure the pool’s structural integrity and long-term performance. Addressing damage promptly with permanent solutions will save you time, money, and frustration in the future.
Conclusion
Identifying and repairing leaks early is vital to maintaining your pool’s efficiency and longevity. Routine inspections are essential to detect minor issues before they escalate into costly repairs. For pool owners wondering “how to find leak in pool above ground,” simple methods such as visual inspections or using dye tests can help locate the problem. However, complex leaks or major structural damage will likely require professional assistance to ensure effective repairs. Proper maintenance and timely care not only extend the life of your pool but also save you from unnecessary expenses and stress in the long run.
About the Author
Adrian Green is a passionate woodworking enthusiast who has dedicated his life to the craft of woodworking. From his early days working alongside his father in the family woodworking shop, Adrian has honed his skills and developed a deep love for creating beautiful, functional pieces with his hands. As the voice behind The Woodenify Blog, he shares his knowledge, tips, and inspiration with fellow woodworkers of all skill levels, helping them build confidence in their abilities while learning new techniques.
Professional Focus
- Specializes in DIY woodworking projects, from furniture making to home décor.
- Provides step-by-step guides, tips, and practical tutorials for woodworkers at any skill level.
- Focused on empowering readers with confidence and knowledge through easy-to-follow instructions and hands-on techniques.
- Passionate about building a community where makers can share, learn, and grow together in the world of woodworking.
Education History
University of Craft and Design – Bachelor of Fine Arts (BFA) in Woodworking and Furniture Design
Woodworking Apprenticeships – Gained extensive hands-on experience through various workshops and mentorships with seasoned craftsmen, refining carpentry and furniture-making skills.
Expertise
- DIY woodworking, carpentry, furniture making, and home décor projects.
- Creating clear, accessible tutorials and guides for beginner to advanced woodworkers.
- Helping readers experience the satisfaction and fulfillment of turning raw materials into stunning finished products.