
Are you tired of using harsh chemicals to clean your toilet bowl? Look no further! You can make an effective and eco-friendly toilet bowl cleaner right at home with just a few simple ingredients.
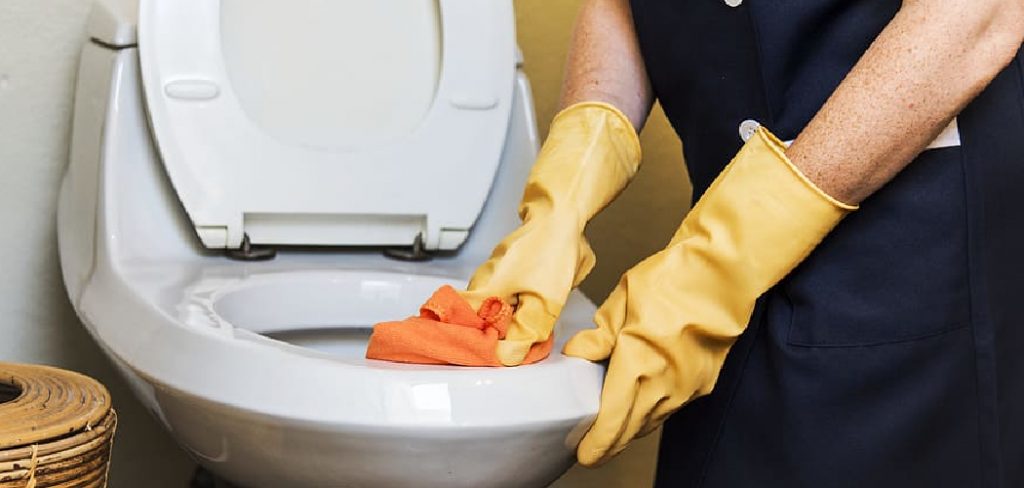
Maintaining a hygienic and fresh-smelling bathroom is essential to keeping your toilet bowl clean. Many commercial cleaners are packed with harsh chemicals that can harm your health and the environment. Fortunately, making your toilet bowl cleaner is a simple and cost-effective alternative. By using natural ingredients, you can create a powerful and eco-friendly cleaner that tackles stains, removes odors, and leaves your toilet sparkling clean.
This guide on how to make toilet bowl cleaner will walk you through the steps to make your own DIY toilet bowl cleaner at home.
What Are the Benefits of Making Your Own Toilet Bowl Cleaner?
There are several benefits to making your toilet bowl cleaner:
- Healthier Option: Commercial toilet cleaners often contain harsh chemicals that can irritate your skin, eyes, and respiratory system. By making your own cleaner with natural ingredients, you can avoid exposure to these harmful chemicals.
- Cost-effective: Making your toilet bowl cleaner is a budget-friendly alternative to buying commercial cleaners.
- Eco-friendly: Using natural ingredients can reduce the amount of toxic chemicals released into the environment through wastewater.
- Customizable: You can choose which ingredients you want to use in your cleaner and adjust the strength and scent according to your preference.
These benefits make creating your own toilet bowl cleaner a great option for both your health and the environment.
What Will You Need?
To make your own toilet bowl cleaner, you will need:
- Baking soda
- White vinegar
- Essential oils (optional)
- Water
- Spray bottle or squeeze bottle
- Measuring cups and spoons
Once you have gathered all of your ingredients and tools, you are ready to make your own toilet bowl cleaner.
10 Easy Steps on How to Make Toilet Bowl Cleaner
Step 1. Prepare the Ingredients:
Start by ensuring you have all of your ingredients and tools ready. Measure out 1/2 cup of baking soda, 1 cup of white vinegar, and, if you’d like, 10-15 drops of your favorite essential oil. Essential oils such as tea tree, lavender, or lemon add a pleasant fragrance and offer additional antibacterial or antifungal properties. Having a clean spray or squeeze bottle on
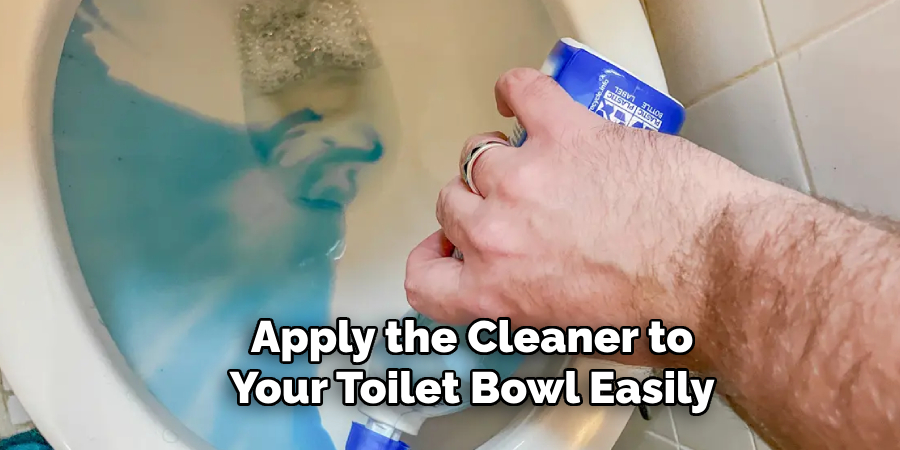
hand is essential, as this will allow you to apply the cleaner to your toilet bowl easily. Make sure your measuring cups and spoons are clean and dry to ensure accurate measurements and avoid any undesired reactions between the ingredients. Preparing everything in advance will make the process more seamless and efficient.
Step 2. Combine the Ingredients:
Begin by pouring the 1/2 cup of baking soda into a small mixing bowl. Slowly add the 1 cup of white vinegar to the bowl. Be cautious; combining baking soda and vinegar will create a fizzing reaction. Stir the mixture gently until it is well combined. If you are using essential oils, add 10-15 drops at this stage and mix thoroughly. This step ensures the ingredients are fully integrated, creating an effective cleaner ready for use.
Step 3. Apply the Cleaner:
Using a sponge, cloth, or spray bottle, apply the cleaner to the surface you wish to clean. For tougher stains or grime, allow the mixture to sit on the surface for 5-10 minutes to give it time to break down the buildup. Gently scrub the area using circular motions to lift dirt, grease, or residue. Use a softer cloth or sponge to avoid scratching if you’re working on delicate surfaces. For sinks, countertops, or other washable surfaces, rinse thoroughly with water after cleaning to remove any remaining cleaner and achieve a streak-free shine. This versatile homemade cleaner can be used in various areas of your home, leaving them fresh and spotless.
Step 4. Scrub and Rinse:
Using a toilet brush, thoroughly scrub the inside of the toilet bowl, focusing on areas with visible stains or buildup. Pay special attention to the underside of the rim, where grime often accumulates unnoticed. Use firm, circular motions to ensure that the cleaner penetrates into the most stubborn areas. Once you’ve finished scrubbing, flush the toilet to rinse
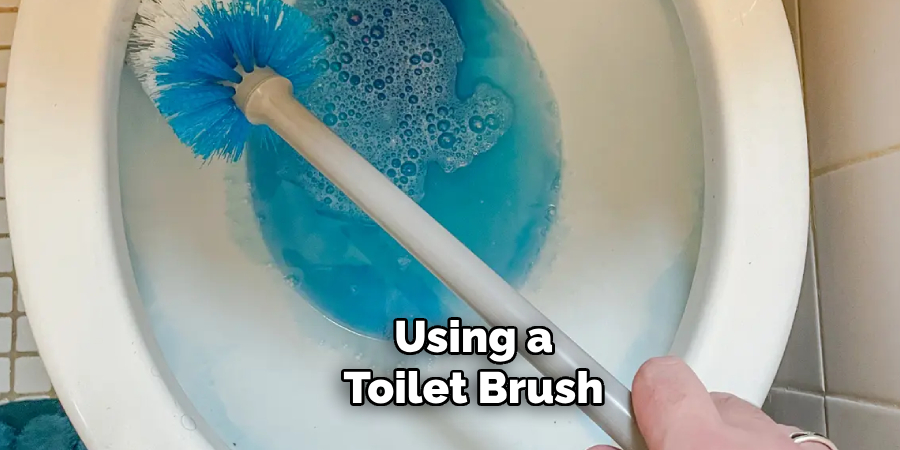
away the solution and loosen debris. For particularly tough stains, you may need to repeat the process or allow the cleaner to sit for a few minutes before scrubbing again. Afterward, wipe down the exterior surfaces of the toilet with a damp cloth for a complete clean, leaving your toilet fresh, sanitized, and sparkling.
Step 5. Final Touches:
Finish the cleaning process by inspecting the toilet for any remaining spots or stains. If necessary, apply a small amount of cleaner to a cloth or sponge and target these areas directly. Next, ensure the toilet seat, lid, and surrounding areas are wiped down with a disinfectant to eliminate any remaining bacteria and leave a hygienic surface. Finally, spray a light air freshener to leave the bathroom smelling clean and refreshed.
Step 6. Proper Tool Maintenance:
Once the toilet cleaning process is complete, take a moment to clean and maintain your tools. Rinse the toilet brush thoroughly with hot water and disinfectant to remove any residue, then allow it to air dry before storing it in its holder. Similarly, wash any sponges or cloths you use with soap and hot water or place them in the laundry if reusable. Keeping your cleaning tools sanitized ensures they remain effective for future use and helps maintain a hygienic environment in your bathroom.
Step 7. Regular Cleaning Schedule:
Establish a regular cleaning schedule to keep your toilet clean and hygienic. Depending on household use, aim to clean the toilet at least once a week or more frequently if needed. Regular maintenance prevents the buildup of grime, stains, and bacteria, ensuring the toilet remains sanitary and pleasant to use. Consistency in cleaning reduces the effort required over time and contributes to a healthier bathroom environment.
Step 8. Proper Ventilation:
Ensure your bathroom has proper ventilation during and after cleaning. Good airflow helps reduce moisture buildup, which can lead to mold and mildew growth. Open a window or turn on the bathroom fan to circulate air and prevent dampness in the space. Ventilation supports a fresher environment and aids in the quicker drying of cleaned surfaces, contributing to long-lasting cleanliness and hygiene.
Step 9. Proper Disposal:
Ensure that all cleaning materials, such as used gloves, wipes, paper towels, or any disposable cleaning items, are properly discarded. Avoid flushing non-biodegradable materials like sanitary wipes or paper towels down the toilet, as they can cause clogs and damage the plumbing system. Instead, dispose of these items in a designated trash bin lined
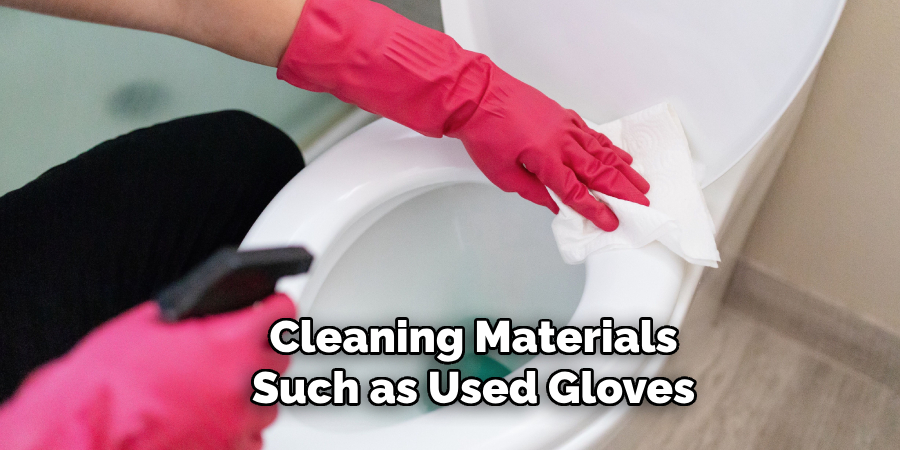
with a bag for convenience and hygiene. Liquid cleaners should be stored safely per manufacturer instructions to avoid spills or contamination. Proper disposal prevents plumbing issues and supports a cleaner and more organized bathroom environment, enhancing overall sanitation.
Step 10. Inspect and Restock:
After completing the cleaning process, take a moment to inspect the bathroom for any overlooked areas or spots that may need additional attention. Ensure all surfaces are spotless and the bathroom appears fresh and tidy. Next, restock essential items such as toilet paper, soap, hand towels, or tissues to ensure the space is fully prepared. Replacing these necessities regularly maintains functionality and prevents inconvenience for future users. This final step helps round off the cleaning process, leaving the bathroom clean, well-organized, and ready for daily use.
By following these ten steps, you can effectively clean your toilet using homemade, environmentally-friendly solutions and maintain a hygienic and pleasant bathroom environment.
5 Things You Should Avoid
- Using Abrasive Ingredients: Avoid harsh abrasive substances like sand or coarse powders. These can scratch the surface of the toilet bowl, causing damage and making it more prone to stains in the future.
- Mixing Bleach and Ammonia: Never mix bleach with ammonia or other chemicals, as this combination produces toxic fumes that can be harmful or even fatal if inhaled.
- Skipping Safety Gear: Always wear gloves and a mask when handling potent cleaning agents, even if they are homemade. Failing to do so can lead to skin irritation and respiratory issues.
- Using Too Much Vinegar: While vinegar is an ordinary natural cleaner, excessive use can weaken certain surfaces or seals in your toilet, potentially leading to leaks or damage over time.
- Ignoring Proper Ventilation: Ensure that the area is properly ventilated when making or using natural toilet bowl cleaner. Poor ventilation can lead to a buildup of fumes, which may cause discomfort or health risks during prolonged exposure.
By avoiding these common mistakes, you can safely and effectively clean your toilet without causing harm to yourself or the surfaces in your bathroom.
Conclusion
How to make toilet bowl cleaner can be a simple and effective way to keep your bathroom clean without relying on harsh commercial chemicals.
By using natural ingredients like baking soda, vinegar, and essential oils, you can create a powerful cleaner that is affordable, eco-friendly, and safe for your family. Always follow proper safety precautions, such as wearing gloves, working in a well-ventilated area, and avoiding harmful combinations like bleach and ammonia.
With the right approach and attention to detail, homemade toilet bowl cleaners can provide excellent results while contributing to a healthier and more sustainable cleaning routine.
About the Author
Adrian Green is a passionate woodworking enthusiast who has dedicated his life to the craft of woodworking. From his early days working alongside his father in the family woodworking shop, Adrian has honed his skills and developed a deep love for creating beautiful, functional pieces with his hands. As the voice behind The Woodenify Blog, he shares his knowledge, tips, and inspiration with fellow woodworkers of all skill levels, helping them build confidence in their abilities while learning new techniques.
Professional Focus
- Specializes in DIY woodworking projects, from furniture making to home décor.
- Provides step-by-step guides, tips, and practical tutorials for woodworkers at any skill level.
- Focused on empowering readers with confidence and knowledge through easy-to-follow instructions and hands-on techniques.
- Passionate about building a community where makers can share, learn, and grow together in the world of woodworking.
Education History
University of Craft and Design – Bachelor of Fine Arts (BFA) in Woodworking and Furniture Design
Woodworking Apprenticeships – Gained extensive hands-on experience through various workshops and mentorships with seasoned craftsmen, refining carpentry and furniture-making skills.
Expertise
- DIY woodworking, carpentry, furniture making, and home décor projects.
- Creating clear, accessible tutorials and guides for beginner to advanced woodworkers.
- Helping readers experience the satisfaction and fulfillment of turning raw materials into stunning finished products.