
Are you tired of using buckets to fetch water whenever you need it? Worry no more! You can make a simple water pump at home with readily available materials.
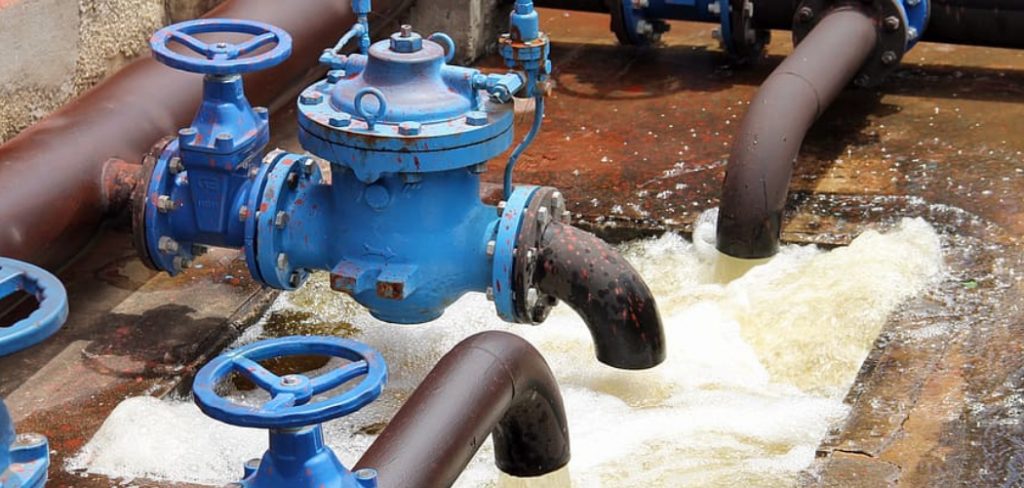
Creating a water pump is a valuable and rewarding project involving mechanical knowledge and basic engineering skills. A water pump transfers water from one location to another, making it an essential device for irrigation, water supply, and other purposes. By understanding the fundamental principles of hydraulics and utilizing accessible materials, you can construct your functional water pump.
This guide on how to make water pump will provide you with a step-by-step approach to designing and building a basic water pump, ensuring efficiency and ease of operation. Let’s get started!
What Are the Benefits of Making Your Water Pump?
Making your own water pump has several advantages, including:
- Cost-saving: You can create a functional water pump with easily available materials, saving you money on purchasing an expensive one.
- Customization: By making your water pump, you can customize it to fit your specific needs and preferences.
- Learning Opportunity: This project provides an excellent learning opportunity for basic engineering principles and practical skills.
- Utilizing Readily Available Materials: Most materials needed for this project are commonly found in households or hardware stores, making it convenient and accessible for everyone.
These are just a few of the benefits of making your water pump. Now, let’s dive into the step-by-step process to create one.
What Will You Need?
- 0.5-inch PVC pipe
- 2-liter plastic bottle
- Inline check valve
- Metal or plastic tube for the riser pipe
- Bicycle pump or old bike tire pump with hose attachment
- Silicon sealant
- Drill and drill bits
Once you have gathered all the materials, you are ready to start building your water pump.
10 Easy Steps on How to Make Water Pump
Step 1: Preparing the PVC Pipe
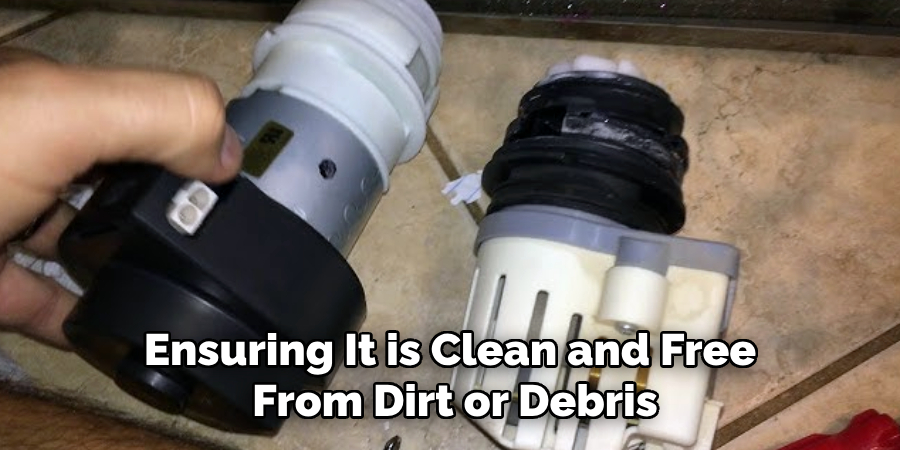
Start by taking the 0.5-inch PVC pipe and ensuring it is clean and free from dirt or debris. This will help ensure a proper seal and smooth functioning of the water pump. Measure and cut the PVC pipe to the desired length using a saw or pipe cutter, keeping in mind the pump’s intended application and the ideal height for water flow. Smooth the edges of the cut pipe using sandpaper or a file to remove rough or uneven surfaces, which could lead to leaks or inefficiency later.
Once the pipe is prepared, it will serve as your pump system’s primary channel for water movement. This preparation step is crucial for achieving consistent and efficient pump performance.
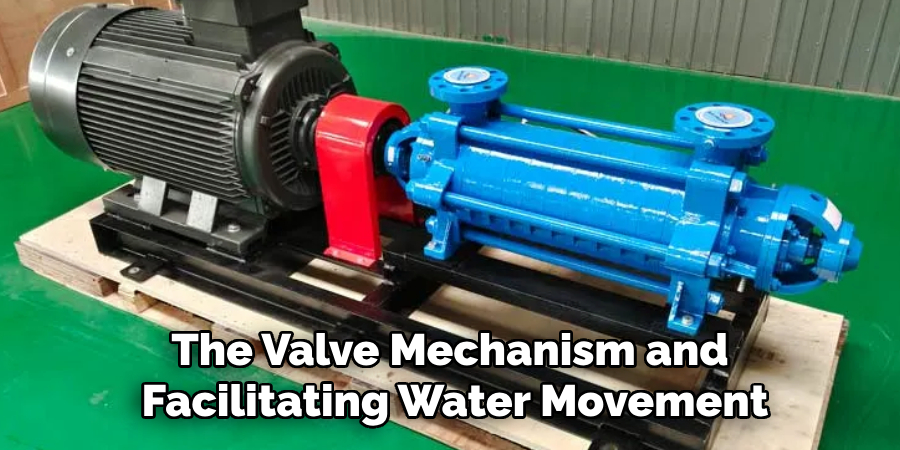
Step 2: Creating the Valve Mechanism
To create the valve mechanism, take the rubber sheet and cut it into a circular shape that matches the diameter of the PVC pipe. This rubber disc will act as a one-way valve, allowing water to flow in one direction while preventing backflow. Secure the rubber disc inside the PVC pipe using a small piece of adhesive or by fitting it tightly into place. Ensure the valve is flexible enough to open and close with water pressure but remains firmly seated to prevent leaks. This valve mechanism is an essential component of the pump, as it regulates the flow of water effectively.
Step 3: Constructing the Pump Chamber
To construct the pump chamber, take another section of PVC pipe with a slightly larger diameter than the first. This larger pipe will act as the main body of the pump, housing the valve mechanism and facilitating water movement. Attach the valve mechanism created in Step 2 to one end of the pump chamber using a PVC connector or adhesive, ensuring a secure and watertight fit. Attach a cap with a small hole drilled in the center on the opposite end of the pipe to accommodate the handle or lever.
This handle will enable the pump to operate manually, controlling the suction and pressure inside the chamber. Ensure all seals are tight to prevent air or water leaks, as they could reduce the pump’s efficiency.
Step 4: Installing the Pump Handle
To install the pump handle, select a sturdy, durable rod or lever that fits securely through the hole in the cap of the pump chamber. Insert the handle through the hole, ensuring it moves freely without obstruction. Attach a rubber or plastic piston to the end of the handle inside the chamber. This piston should fit snugly within the pump chamber, creating an airtight seal to facilitate efficient water movement.
Test the handle by moving it up and down to ensure smooth operation and to verify that the piston maintains proper suction and compression within the chamber. Adjust or secure any loose parts before proceeding to the next step.
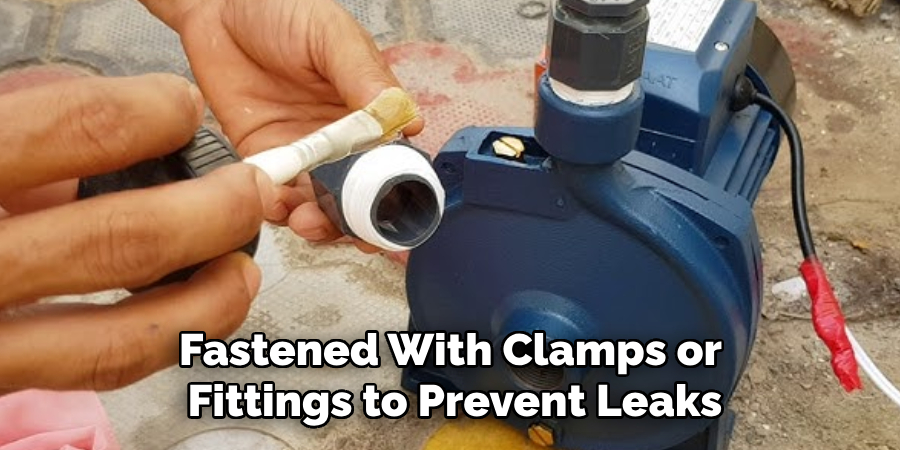
Step 5: Connecting the Pump to the Water Source
To connect the pump to a water source, attach a flexible hose or pipe to the intake valve located at the bottom of the pump chamber. Ensure the hose or pipe is securely fastened with clamps or fittings to prevent leaks. The other end of the hose should be submerged in the water source, such as a well, tank, or reservoir. Check for any kinks or blockages in the hose that could impede water flow. Once connected, test the setup by operating the pump handle and observing the water intake into the chamber. Make adjustments as needed to improve suction and ensure a steady flow.
Step 6: Priming the Pump
Before the pump can function effectively, it may need to be primed. Pour a small amount of water into the top of the pump chamber through the priming port or opening to prime the pump. This initial water helps create a seal and facilitates suction during operation. While pouring, ensure that no air bubbles are trapped inside the pump chamber, which could hinder performance.
If the pump has a dedicated priming valve, use it according to the manufacturer’s instructions. Once priming is complete, operate the pump handle a few times to confirm that water is being drawn successfully through the intake. Repeat the process if necessary to ensure optimal performance.
Step 7: Inspecting for Leaks
After successfully priming the pump and confirming water flow, inspect the entire system for leaks. Check all connections, including the intake hose, pump chamber, and any valves or fittings, to ensure they are secure and watertight. If you notice any leaks, tighten the corresponding connections or replace faulty components. A leak-free system is essential for maintaining consistent pump performance and preventing water loss. Once all inspections and adjustments are complete, the pump should be ready for regular operation.
Step 8: Maintaining the Pump
Regular maintenance is crucial to ensure the longevity and efficiency of your pump. Periodically clean the pump chamber and intake components to remove any debris or sediment that could cause blockages. Lubricate moving parts if recommended by the manufacturer to prevent wear and tear. Additionally, inspect the pump for signs of damage or corrosion and address any issues promptly. Proper maintenance will not only extend the pump’s life but also ensure consistent performance over time.
Step 9: Winterizing the Pump
If you live in a region with cold winters, it’s essential to winterize your pump to protect it from freezing temperatures. Start by draining all water from the pump system, including the pump chamber, pipes, and fittings. Use compressed air if necessary to ensure no water remains. Remove the pump and store it in a dry, frost-free area. Cover any exposed pipes or openings to prevent debris or pests from entering during the off-season. Proper winterization will help you avoid costly damages and ensure your pump is ready for use when warmer weather returns.
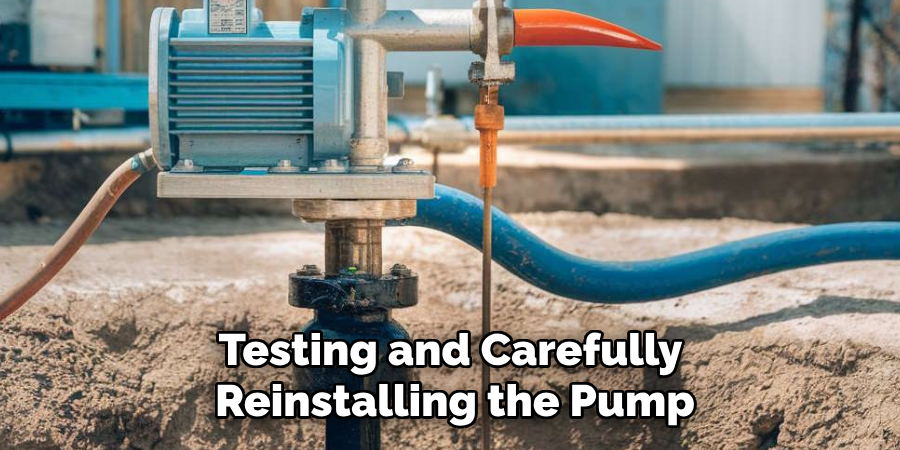
Step 10: Reinstalling and Testing the Pump
When the cold season is over, and you’re ready to use your pump again, start by carefully reinstalling it in its designated location. Reconnect all pipes, fittings, and electrical connections securely, ensuring no leaks or loose parts. Once everything is in place, prime the pump according to the manufacturer’s instructions and gradually turn it on to test its functionality. Monitor the system for unusual noises, vibrations, or performance issues, and make the necessary adjustments. Regularly testing and carefully reinstalling the pump will ensure it operates efficiently and effectively for the new season.
By following these 10 simple steps, you can build and install your own DIY water pump for various applications.
5 Things You Should Avoid
- Using Poor-Quality Materials: Using substandard or inappropriate materials can compromise the durability and efficiency of your water pump. Always choose materials suitable for the pump’s intended use and can withstand the required pressure and environmental conditions.
- Ignoring Proper Measurements: Failing to take accurate measurements can lead to improper component fittings, leaks, or inefficiencies in the pump’s operation. Precision is key to ensuring a well-functioning system.
- Skipping the Testing Phase: Never skip testing your water pump after assembly. Evaluating how well it functions and identifying any potential issues is essential before using it for extended operations.
- Overlooking Safety Precautions: Neglecting safety guidelines when building or handling a water pump could lead to accidents or damage. Always follow proper safety protocols, wear protective gear, and handle tools carefully.
- Neglecting Regular Maintenance: Once the pump is operational, ignoring maintenance requirements, such as cleaning and inspections, can lead to premature wear and tear. Regular upkeep ensures the pump remains efficient and extends its lifespan.
Conclusion
How to make water pump requires a careful balance of planning, precision, and safety measures.
By understanding the design requirements, selecting the right materials, and adhering to proper assembly techniques, you can create a functional and efficient pump suited to your needs. Avoiding common mistakes, such as overlooking safety precautions or skipping critical steps like testing and maintenance, ensures the pump’s reliability and longevity.
With diligent effort and attention to detail, constructing a water pump can be a rewarding and practical project.
About the Author
Adrian Green is a passionate woodworking enthusiast who has dedicated his life to the craft of woodworking. From his early days working alongside his father in the family woodworking shop, Adrian has honed his skills and developed a deep love for creating beautiful, functional pieces with his hands. As the voice behind The Woodenify Blog, he shares his knowledge, tips, and inspiration with fellow woodworkers of all skill levels, helping them build confidence in their abilities while learning new techniques.
Professional Focus
- Specializes in DIY woodworking projects, from furniture making to home décor.
- Provides step-by-step guides, tips, and practical tutorials for woodworkers at any skill level.
- Focused on empowering readers with confidence and knowledge through easy-to-follow instructions and hands-on techniques.
- Passionate about building a community where makers can share, learn, and grow together in the world of woodworking.
Education History
University of Craft and Design – Bachelor of Fine Arts (BFA) in Woodworking and Furniture Design
Woodworking Apprenticeships – Gained extensive hands-on experience through various workshops and mentorships with seasoned craftsmen, refining carpentry and furniture-making skills.
Expertise
- DIY woodworking, carpentry, furniture making, and home décor projects.
- Creating clear, accessible tutorials and guides for beginner to advanced woodworkers.
- Helping readers experience the satisfaction and fulfillment of turning raw materials into stunning finished products.