
Instant water heaters are a modern solution for on-demand hot water, using electricity to heat water as it flows through the unit quickly. Unlike traditional storage water heaters, which maintain large tanks of pre-heated water, instant water heaters operate only when needed, offering significant energy savings and eliminating standby heat loss. Their compact design makes them ideal for homes with limited space, while their ability to provide hot water almost instantly ensures convenience and comfort.
Installing an instant water heater ensures optimal performance, safety, and compliance with electrical and plumbing standards. Proper mounting, secure plumbing connections, and adherence to local electrical codes are critical steps. Improper installation can pose safety risks, including leaks or electrical hazards. If you are unsure about the process of how to install instant water heater shower, always consult a licensed professional to guarantee safe and reliable operation.
Tools and Materials Needed
You will need essential tools and materials to install an instant water heater shower successfully. Ensuring you have these items beforehand helps streamline the process and avoids unnecessary delays.
Essential Tools
- Drill and Masonry Bits: (for wall mounting): Used to secure the unit to the wall safely.
- Adjustable Wrench and Pipe Wrench: Handy for tightening or loosening plumbing connections.
- Screwdrivers and Wire Strippers: Necessary for electrical connections and wire preparation.
- Voltage Tester and Insulation Tape: Ensures safety while handling electrical components and properly insulates connections.
Required Materials
- Instant Water Heater Unit: The main component of the installation.
- Water Inlet and Outlet Pipes: Connect the heater to your water supply and outlet.
- Circuit Breaker (if required): Provides additional electrical safety for the water heater.
- Electrical Wiring and Waterproof Junction Box: Used to connect the unit to the power source while ensuring safety against water exposure.
Having these tools and materials ready will ensure a smoother installation process and help maintain the safety and longevity of your instant water heater shower.
Choosing the Right Location for Installation
Selecting the correct location for your instant water heater shower is critical to its functionality, safety, and convenience. Here are some important factors to consider:
Factors to Consider
- Proximity to the shower: Installing the heater close to the shower ensures better efficiency, minimizing heat loss in the water as it travels through the pipes. This also results in quicker delivery of hot water and energy savings.
- Protection from direct water splashes: Place the unit in an area that avoids direct contact with water. This precaution helps prevent potential damage to the unit and reduces electrical risks.
- Ease of access to controls: Install the water heater at a height that allows for comfortable access to its controls, ensuring user convenience when adjusting settings.
Safety Clearance
- Safe distance from electrical outlets: Maintain a minimum distance between the water heater and other electrical outlets or appliances to eliminate the risk of electrical hazards.
- Proper ventilation: Ensure the location allows adequate airflow around the water heater. Proper ventilation prevents the unit from overheating and promotes its overall performance and longevity.
By carefully considering these factors and clearances, your instant water heater will operate efficiently while maintaining safety and ease of use.
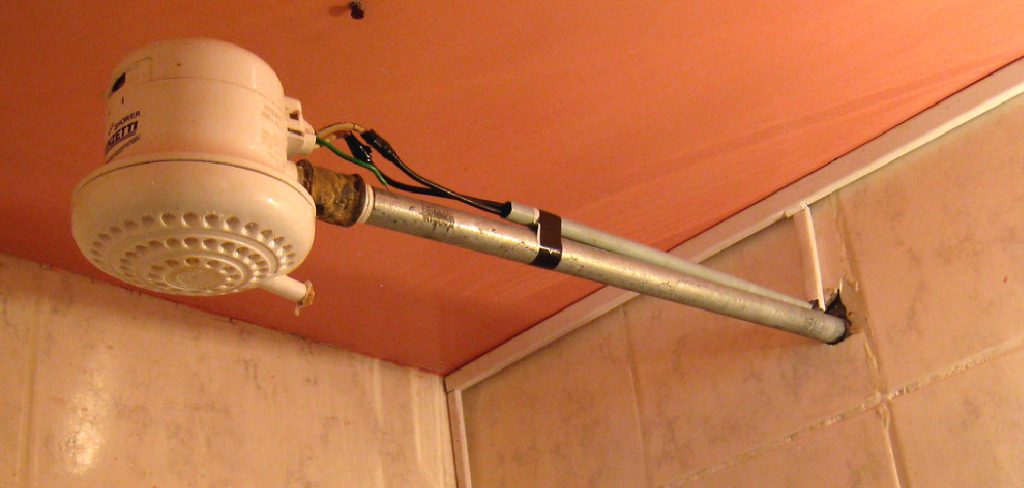
How to Install Instant Water Heater Shower: Mounting the Instant Water Heater
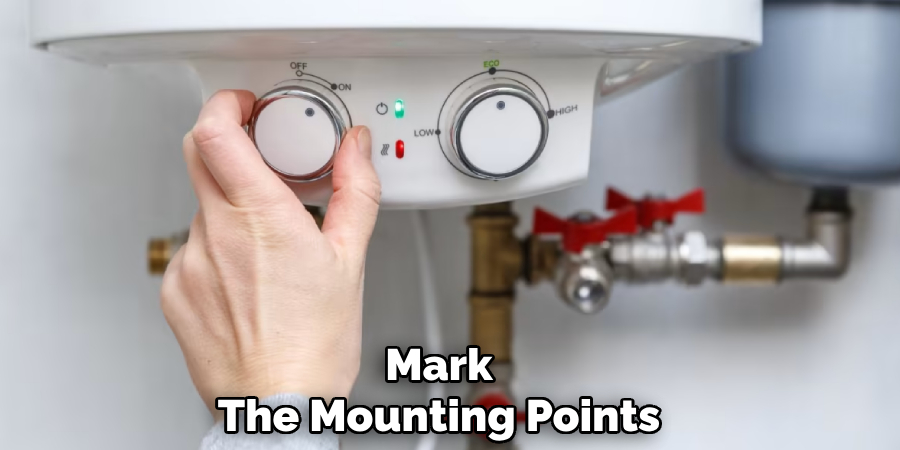
Step 1: Mark the Mounting Points
As discussed in the previous section, begin by selecting the appropriate location for the water heater. Use a level to ensure the unit is evenly mounted for proper alignment. Once the position is finalized, mark the mounting points on the wall. Precision is crucial in this step, as incorrect markings can lead to misalignment and instability. After marking the spots, use a drill to create the necessary holes. Insert wall anchors into the drilled holes to provide additional support, especially if mounting on drywall or a less sturdy surface.
Step 2: Secure the Heater Unit
With the mounting points prepared, position the water heater carefully, aligning it with the drilled holes. Attach the heater to the wall using screws and the provided brackets. It’s important to ensure the screws are firmly tightened to provide a stable and secure installation. Double-check that the unit is mounted correctly and is not wobbling or tilting. A stable installation minimizes the risks of damage or accidents during use, enhancing the overall safety and durability of the system. Once securely mounted, proceed with the wiring and plumbing connections as per the manufacturer’s instructions.
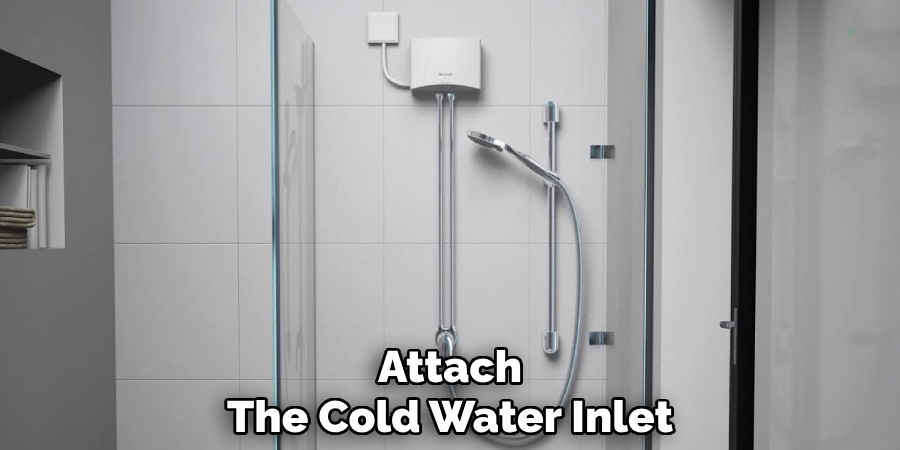
How to Install Instant Water Heater Shower: Connecting the Water Supply
Properly connecting the water supply to your water heater is crucial to ensure efficient performance and prevent leaks. Follow these steps carefully:
Step 1: Attach the Cold Water Inlet
Start by identifying your water heater’s cold water inlet valve, typically marked with a blue indicator. Take the cold water pipe and align it with the inlet. Before securing the connection, wrap the pipe threads with Teflon tape to ensure a tight and leak-proof seal. Carefully screw the pipe into the inlet valve, tightening it with a wrench. Be cautious not to over-tighten, as this can damage the valve or the pipe fittings. Once connected, check the alignment to ensure the pipe is positioned correctly.
Step 2: Attach the Hot Water Outlet
Locate the hot water outlet on the water heater, usually marked with a red indicator. Connect a compatible hot water pipe to the outlet, which will supply hot water to the desired locations, such as a showerhead, sink, or mixer valve. Similar to the cold water inlet, wrap the threads with Teflon tape to avoid leaks.
Secure the connection with appropriate pipe fittings, ensuring a watertight seal. After attaching, confirm that all connections are snug and properly aligned. This step ensures that hot water flows efficiently to your plumbing system without any loss or leakage.
After both connections are completed, inspect the setup for any visible gaps or leaks before proceeding to the next steps in the installation process.
Wiring the Electrical Connection
Checking Power Requirements
Before starting the wiring process, verify the water heater’s power requirements specified in the manufacturer’s manual. Ensure that the voltage and amperage of your home’s electrical system match the water heater’s. Using incorrect specifications can lead to malfunction or safety hazards.
Installing a Dedicated Circuit
For safety and optimal performance, it is essential to use a dedicated circuit for the water heater. Install a circuit breaker that meets the unit’s amperage requirements to handle the electrical load safely. This reduces the risk of overloading your home’s electrical system. According to local electrical codes, run the appropriate gauge of wire from the circuit breaker to the water heater.
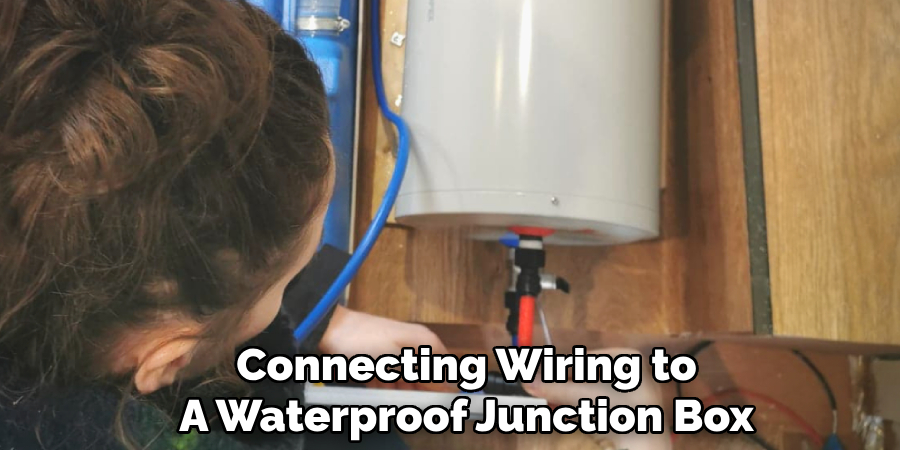
Connecting Wiring to a Waterproof Junction Box
Locate the designated area on the water heater for electrical connections. Use a waterproof junction box to house the wiring connections for added safety and protection from moisture. Connect the wires from the circuit breaker to the heater — typically, these include a live (hot), neutral, and ground wire. Secure each connection with wire nuts and double-check for loose connections.
Grounding the Heater
Proper grounding is critical to prevent electrical shocks in case of a fault. Attach the ground wire from the circuit to the grounding terminal on the water heater, ensuring it is tightly secured. Confirm the grounding meets local safety codes before powering on the unit.
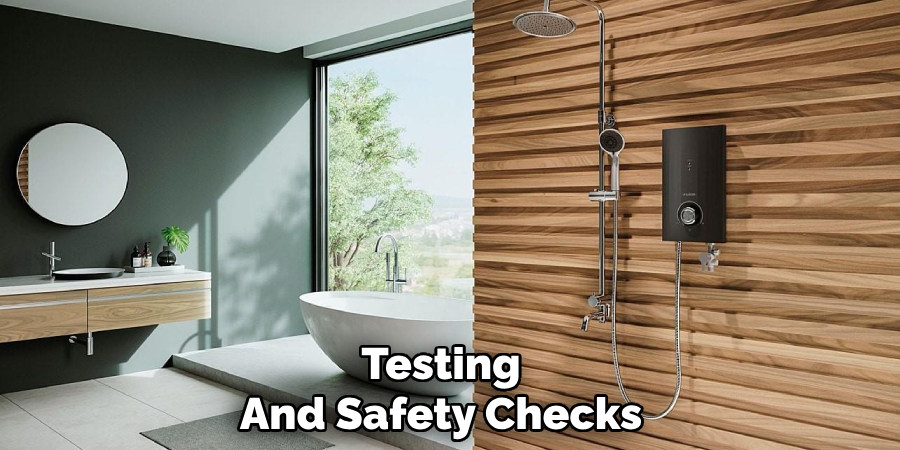
Testing and Safety Checks
Checking for Leaks
After completing the installation, carefully turn on the water supply to fill the water heater tank. Pay close attention to all connections, including inlet and outlet valves, to ensure no leaks. Turn off the water supply and tighten the affected connections if any leakage is detected. Ensure all fittings are secure before proceeding to the next steps.
Testing the Heater
Once you verify there are no leaks, switch on the power supply to the water heater. Allow the unit to operate for a few minutes and confirm that it is heating water correctly. Check for any unusual noises, vibrations, or indicators of improper functioning. If the heater fails to operate as expected, double-check the wiring connections and consult the manufacturer’s troubleshooting guide.
Adjusting Temperature Settings
Adjust the thermostat on the heater to ensure the water temperature aligns with your comfort level and prioritizes energy efficiency. The recommended setting is usually around 120°F (49°C) to provide sufficient hot water while reducing energy usage and minimizing the risk of scalding. Test the output water temperature to confirm the adjustment is effective.
Conclusion
Installing an instant water heater shower involves several crucial steps, including mounting the unit, connecting the plumbing, completing the wiring, and thorough testing. Each phase should be approached with attention to detail, prioritizing safety at all times. Proper grounding is essential to protect against electrical hazards and ensure a safe operation. Always follow local codes and safety guidelines throughout the process.
If uncertain about any step or how to install instant water heater shower units correctly, it is highly recommended to seek professional assistance to avoid errors and potential dangers. Safety is key to a successful installation.
About the Author
Adrian Green is a passionate woodworking enthusiast who has dedicated his life to the craft of woodworking. From his early days working alongside his father in the family woodworking shop, Adrian has honed his skills and developed a deep love for creating beautiful, functional pieces with his hands. As the voice behind The Woodenify Blog, he shares his knowledge, tips, and inspiration with fellow woodworkers of all skill levels, helping them build confidence in their abilities while learning new techniques.
Professional Focus
- Specializes in DIY woodworking projects, from furniture making to home décor.
- Provides step-by-step guides, tips, and practical tutorials for woodworkers at any skill level.
- Focused on empowering readers with confidence and knowledge through easy-to-follow instructions and hands-on techniques.
- Passionate about building a community where makers can share, learn, and grow together in the world of woodworking.
Education History
University of Craft and Design – Bachelor of Fine Arts (BFA) in Woodworking and Furniture Design
Woodworking Apprenticeships – Gained extensive hands-on experience through various workshops and mentorships with seasoned craftsmen, refining carpentry and furniture-making skills.
Expertise
- DIY woodworking, carpentry, furniture making, and home décor projects.
- Creating clear, accessible tutorials and guides for beginner to advanced woodworkers.
- Helping readers experience the satisfaction and fulfillment of turning raw materials into stunning finished products.