
Water hydrants are essential outdoor access points that provide a reliable water supply for various purposes such as irrigation, firefighting, and utility operations. Their robust design ensures years of dependable performance under diverse conditions. However, like any mechanical system, water hydrants can develop issues over time, with leaks being one of the most common problems.
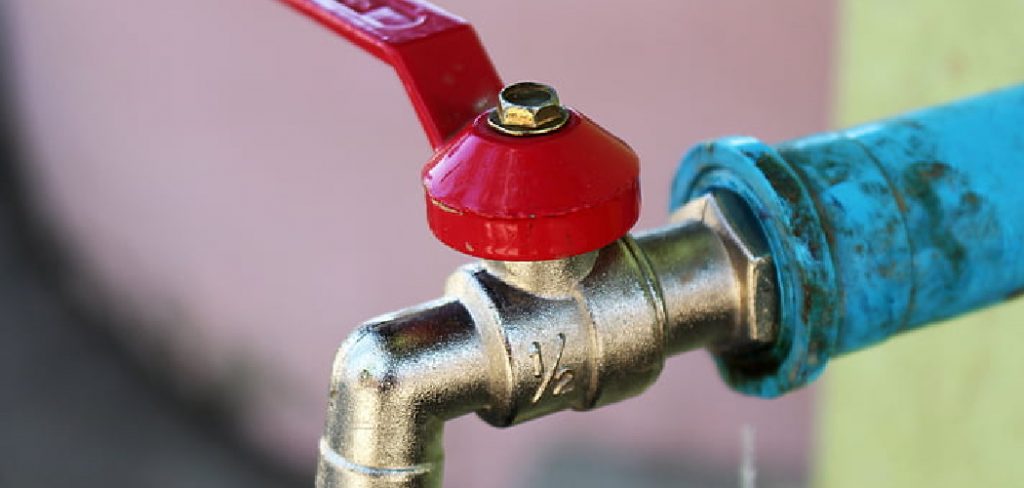
Leaks in a hydrant can be caused by worn-out seals or washers, leading to ineffective sealing and water loss. Damaged or corroded internal components, often due to prolonged exposure to harsh elements, can also contribute to leaks. Additionally, improper installation and freezing temperatures can weaken the hydrant’s structure or compromise its functionality.
This guide is designed to provide practical, step-by-step troubleshooting and repair methods for addressing leaks in water hydrants. By learning how to stop a water hydrant from leaking, you can reduce water waste, avoid costly repairs, and extend the lifespan of your hydrant.
Identifying the Type of Leak
Leak at the Nozzle
A faulty rubber gasket or worn-out nozzle threads often cause a leak at the nozzle. Over time, gaskets can deteriorate, losing their ability to create a tight seal, which leads to water escaping from the nozzle. Similarly, worn or damaged threads can prevent the nozzle from firmly attaching to the hydrant, causing leaks. Inspect the nozzle and gasket thoroughly and replace any damaged components to resolve the issue.
Leak from the Packing Nut or Handle Area
This type of leak is usually due to a loose or worn packing material. The packing nut ensures that the area around the handle is sealed and watertight. Over time, the packing material may degrade or become loose, allowing water to seep out. Tightening the packing nut or replacing the packing material can effectively stop the leak.
Leak at the Base of the Hydrant
A leak at the base of the hydrant is a more serious issue and could indicate a broken underground pipe or a damaged plunger seal. This type of leak often requires more extensive investigation, as the source of the problem is not always visible. Professional assistance may be needed to repair or replace the damaged components.
Leak When the Hydrant is Off
If a hydrant leaks when it is turned off, the issue is likely due to a faulty internal valve that isn’t sealing properly. Internal valves are responsible for stopping the flow of water when the hydrant is not in use. If the valve is worn or damaged, it may allow water to flow continuously. Replacing the malfunctioning valve is typically necessary to solve this problem.
Tools and Materials Needed for Repair
Basic Tools
Repairing a leaky hydrant typically requires common tools such as an adjustable wrench, pipe wrench, screwdriver, and pliers. These tools are essential for loosening and tightening connections, removing faulty components, and installing replacements efficiently.
Replacement Parts
Having the right replacement parts on hand is crucial for a successful repair. Commonly needed parts include rubber washers, O-rings, packing material, and the hydrant plunger. These items are used to replace worn or damaged components within the hydrant system to restore proper sealing and functionality.
Sealants and Lubricants
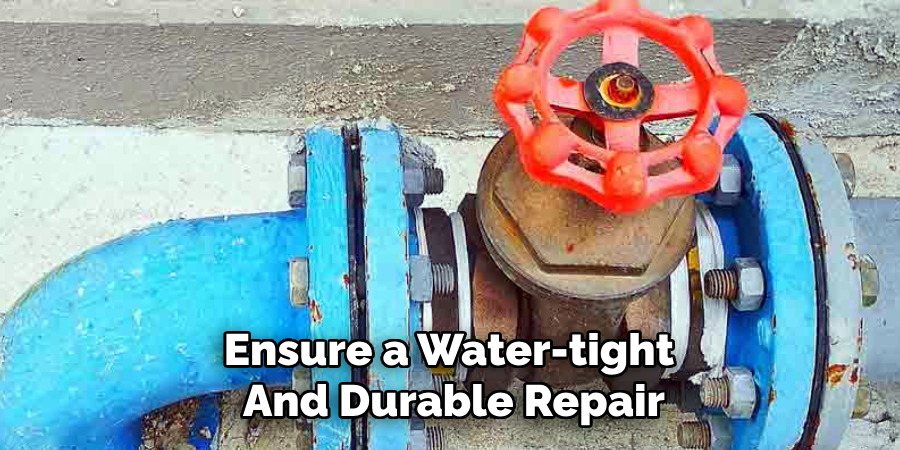
Sealants and lubricants are essential to ensure a water-tight and durable repair. Teflon tape and pipe thread sealant are used to secure threaded connections and prevent leaks. Plumber’s grease is beneficial for lubricating moving parts to ensure smoother operation and extend the hydrant’s service life.
Safety Equipment
When undertaking repairs, safety should always come first. Gloves and safety goggles protect against accidental injuries from tools, sharp edges, or pressurized water. Access to a shutoff valve tool is also essential to safely isolate the water supply before beginning any work on the hydrant.
How to Stop a Water Hydrant from Leaking: Fixing a Leak at the Nozzle
Step 1: Turn Off the Water Supply
Before beginning any repairs, locate the shutoff valve connected to the hydrant. Use the shutoff valve tool to turn off the water supply completely. This step ensures that no water pressure remains in the system, allowing you to work on the hydrant safely and effectively.
Step 2: Inspect and Replace the Rubber Washer
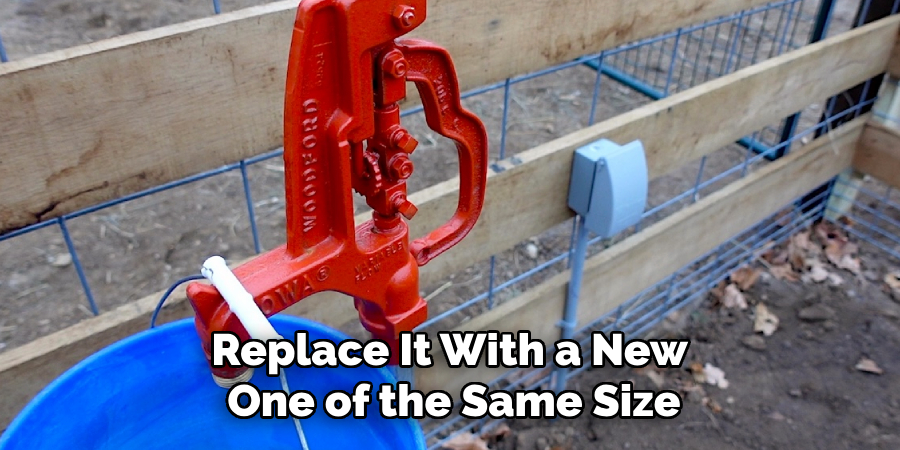
Remove the nozzle cap by carefully unscrewing it, and remove the rubber gasket inside. Closely examine the gasket for signs of wear, such as cracks, deformation, or hardening. If the gasket shows any damage, replace it with a new one of the same size and type. This small yet essential component is critical for creating a proper seal and preventing leaks.
Step 3: Apply Thread Sealant and Reassemble
After replacing the damaged gasket, wrap Teflon tape around the nozzle threads to reinforce the seal. Ensure the tape is applied evenly, without overlapping excessively, to avoid improper threading. Reattach the nozzle cap by screwing it back into place securely.
Once the cap is tightened, turn the water supply back on and test the hydrant for leaks. If no water escapes from the nozzle, the repair has been successfully completed.
These steps methodically ensure the hydrant’s functionality is fully restored while preventing water wastage and further damage.
How to Stop a Water Hydrant from Leaking: Stopping a Leak at the Packing Nut or Handle
Step 1: Tighten the Packing Nut
Begin by inspecting the packing nut for any obvious looseness or damage. Using an adjustable wrench, carefully tighten the nut by turning it clockwise. Avoid overtightening, as this can damage the threads or compress the packing material excessively. Once adjusted, test the hydrant by turning the handle and checking if the leak has stopped. Often, minor leaks can be resolved with this simple adjustment.
Step 2: Replace the Packing Material
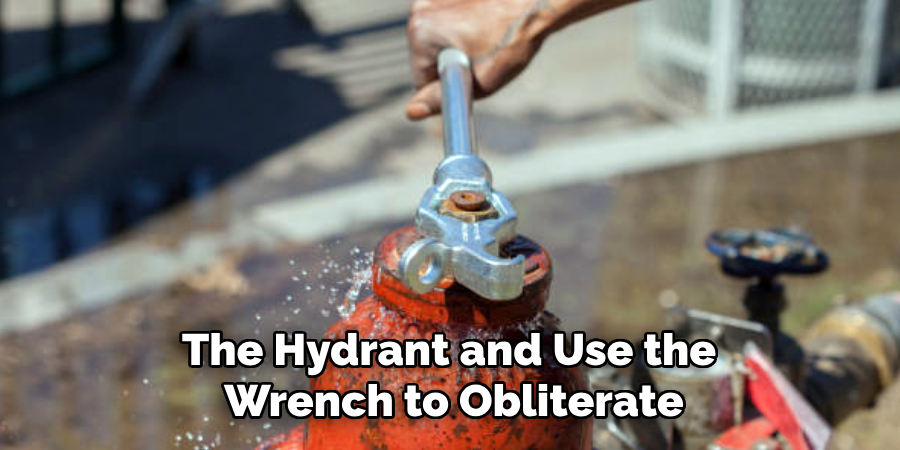
If tightening the packing nut does not stop the leak, the packing material inside is likely worn or deteriorated. First, turn off the water supply to the hydrant and use the wrench to obliterate the packing nut to address this. Carefully pull out the old packing material, which may be graphite, Teflon, or another type of sealing material.
Wrap new packing material evenly around the stem, ensuring full coverage for an effective seal. Reinstall the packing nut and tighten it snugly without overtightening, which could hinder proper function.
Step 3: Lubricate and Test the Handle Operation
Apply the plumber’s grease or a similar lubricant to the handle mechanism for smooth and efficient operation. This step ensures the handle can turn easily and prevents wear over time. Open and close the hydrant several times to test its operation and confirm that the leak has been successfully stopped. If no water escapes from the packing nut or handle area, the repair is complete, and the hydrant is ready for use.
Repairing a Leak at the Base of the Hydrant
Step 1: Inspect for Underground Pipe Leaks
If a leak occurs at the hydrant’s base, begin by inspecting the surrounding area for signs of underground pipe leaks. Look for pooling water, muddy patches, or unusually soft ground around the hydrant base, as these can indicate water escaping from an underground connection. This step helps identify the issue with the hydrant or the supply line.
Step 2: Dig and Check the Plunger Seal
If pooling water suggests the hydrant is at fault, dig around the base of the hydrant to expose the connection and access the standpipe. Once the base is exposed, carefully remove the standpipe to reveal the plunger seal. This seal is crucial in preventing leaks at the base and within the hydrant assembly. Examine the seal for wear, cracks, or other signs of damage that could lead to leaks.
Step 3: Replace the Plunger Seal and Reassemble
If the plunger seal is found to be damaged, replace it with a new one of the correct size and type. Proper alignment is critical when installing the new seal to ensure an effective fit. After the replacement, reassemble the hydrant by securing the standpipe and any other components back into place.
Test the hydrant by gradually turning the water supply back on and checking for leaks. If no water escapes from the base, the repair is booming, and the hydrant is ready for reliable use.
Preventing Future Hydrant Leaks
Regular Maintenance and Inspection
To ensure the longevity and reliability of your hydrant, implement a routine maintenance schedule. Regularly check for leaks and corrosion around connections and moving parts. Early detection can prevent minor issues from escalating into larger, more costly problems. Replace worn parts, such as plunger seals or gaskets, before they fail completely to maintain optimal functionality.
Winterizing to Prevent Freezing Damage
Freezing temperatures can cause significant damage to hydrants, leading to leaks and operational failure. Drain the hydrant completely before the onset of freezing weather to prevent this. Additionally, consider installing an insulated cover to provide extra protection against the harsh winter conditions, reducing the risk of internal damage caused by ice expansion.
Proper Installation and Sealant Use
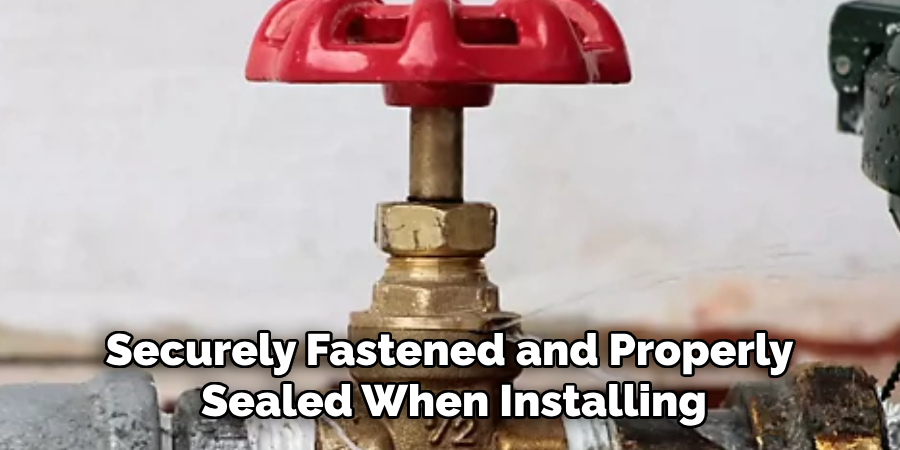
Ensure all connections are securely fastened and properly sealed when installing or repairing a hydrant. A high-quality pipe thread sealant creates a tight, leak-free bond between components. Following manufacturer guidelines for installation and maintenance is essential for the hydrant to function effectively and to prevent avoidable issues in the future. Regular care and attention will keep your hydrant operating reliably year-round.
Conclusion
Understanding how to stop a water hydrant from leaking is crucial for maintaining an efficient and reliable water system. By addressing common hydrant leaks promptly—whether caused by worn seals, freezing conditions, or improper installation—you can prevent excess water waste and avoid costly repairs.
Regular inspections, timely gasket replacements, and careful winterizing techniques are essential in mitigating potential issues.
Additionally, adherence to proper installation practices ensures leak-free operation. Routine maintenance not only extends the lifespan of the hydrant but also promotes optimal functionality year-round. Commit to these best practices to safeguard your hydrant’s performance and reduce long-term expenses.
About the Author
Adrian Green is a passionate woodworking enthusiast who has dedicated his life to the craft of woodworking. From his early days working alongside his father in the family woodworking shop, Adrian has honed his skills and developed a deep love for creating beautiful, functional pieces with his hands. As the voice behind The Woodenify Blog, he shares his knowledge, tips, and inspiration with fellow woodworkers of all skill levels, helping them build confidence in their abilities while learning new techniques.
Professional Focus
- Specializes in DIY woodworking projects, from furniture making to home décor.
- Provides step-by-step guides, tips, and practical tutorials for woodworkers at any skill level.
- Focused on empowering readers with confidence and knowledge through easy-to-follow instructions and hands-on techniques.
- Passionate about building a community where makers can share, learn, and grow together in the world of woodworking.
Education History
University of Craft and Design – Bachelor of Fine Arts (BFA) in Woodworking and Furniture Design
Woodworking Apprenticeships – Gained extensive hands-on experience through various workshops and mentorships with seasoned craftsmen, refining carpentry and furniture-making skills.
Expertise
- DIY woodworking, carpentry, furniture making, and home décor projects.
- Creating clear, accessible tutorials and guides for beginner to advanced woodworkers.
- Helping readers experience the satisfaction and fulfillment of turning raw materials into stunning finished products.