
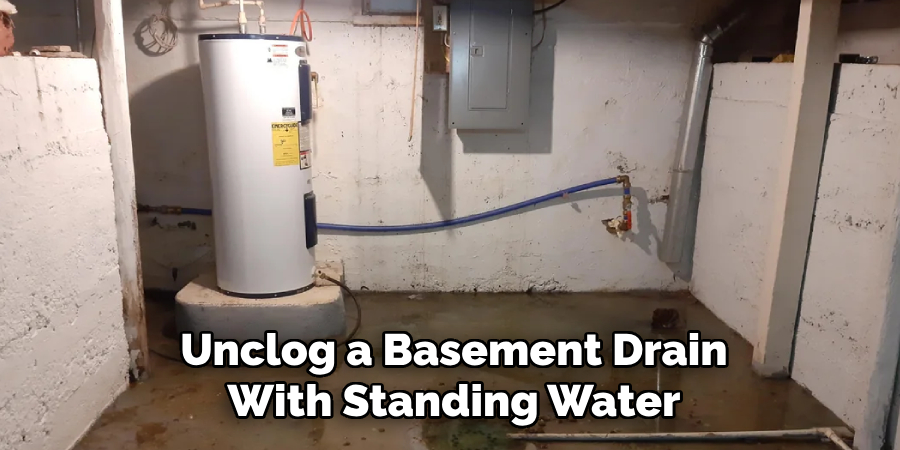
Dealing with a clogged basement drain filled with standing water can be a frustrating and messy challenge. This common household issue not only disrupts normal activities but also poses a risk of water damage or unpleasant odors if left untreated.
Fortunately, with the right tools and techniques, you can often tackle the problem effectively on your own. In this guide on how to unclog a basement drain with standing water, we’ll walk you through the steps to clear your basement drain and restore proper water flow.
What is a Basement Drain?
Before diving into the unclogging process, it’s important to understand what a basement drain is and how it functions. A basement drain, also known as a floor or waste drain, is an essential plumbing fixture found in most homes. It’s typically located in the lowest part of the house, such as the basement or utility room.
The primary purpose of a basement drain is to remove excess water from the basement and prevent flooding. It’s connected to the main sewer line, which carries wastewater away from your home. Additionally, a basement drain may also serve as an access point for plumbing maintenance or a way to dispose of certain household liquids.
Causes of Clogged Basement Drains
There are several reasons why your basement drain may become clogged with standing water. Some common causes include:
- The buildup of debris such as hair, soap scum, dirt, and grease
- Tree roots infiltrating the sewer line
- Foreign objects accidentally flushed down the drain
- Corroded or damaged pipes
Knowing the potential culprits can help you prevent clogs from occurring in the future.
Tools and Materials You’ll Need
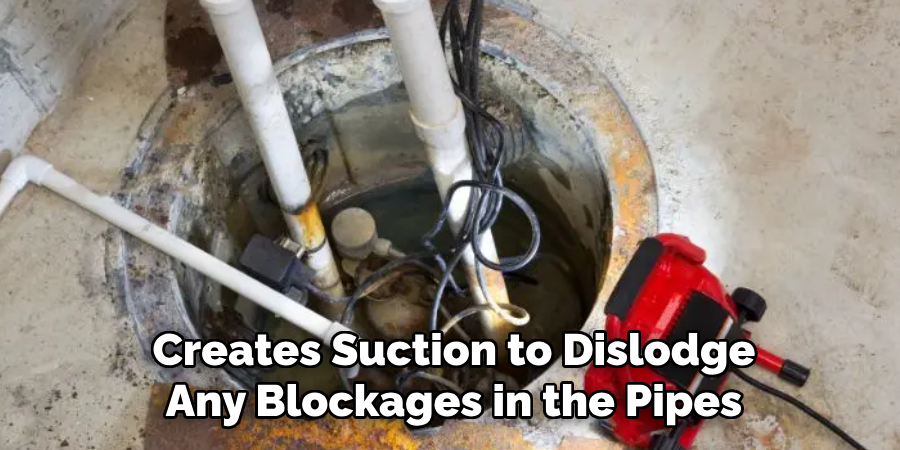
Plunger:
A plunger is an essential tool for unclogging a basement drain with standing water. It creates suction to dislodge any blockages in the pipes.
Drain Snake
Also known as a plumber’s snake, this flexible auger can reach deep into the pipes and physically remove the clog.
Wet/Dry Shop Vacuum:
This powerful vacuum can be used to suck out standing water from the basement drain, making it easier to access and unclog.
Rubber Gloves and Eye Protection:
It’s always a good idea to protect yourself while dealing with clogged drains. Wear rubber gloves to avoid contact with bacteria or chemicals, and eye protection in case of splashing.
8 Step-by-step Guides on How to Unclog a Basement Drain With Standing Water
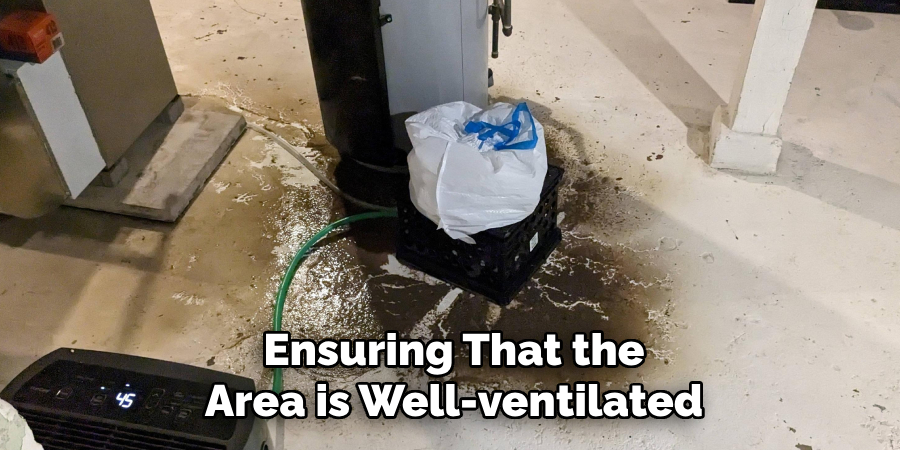
Step 1: Safety First
Before you begin working on unclogging your basement drain, it’s crucial to prioritize safety. Start by ensuring that the area is well-ventilated, especially if you suspect sewer gases. Turn on any exhaust fans or open nearby windows if possible. Wear a pair of durable rubber gloves to protect your hands from bacteria, debris, and any harsh cleaning chemicals you might use.
Additionally, put on protective eyewear to shield your eyes from splashes or debris. If the standing water is murky or contaminated, avoid direct contact to reduce exposure to harmful substances. Taking these precautions will help ensure that you can work safely and effectively.
Step 2: Remove Standing Water Using a Wet/Dry Vacuum
If the water level is high enough to impede your access to the drain, you’ll need to remove it first. A wet/dry vacuum can be an efficient way to quickly suck out standing water and prevent it from making a mess while you work on unclogging the drain.
To use a wet/dry vacuum, follow these steps:
- Place the vacuum nozzle over the drain opening and turn it on.
- Slowly move the nozzle around to catch as much water as possible.
- Empty out the collected water in a nearby sink or drain.
Repeat this process until most of the standing water has been removed. If you don’t have a wet/dry vacuum, you can also use a bucket or large container to scoop out the water.
Step 3: Prepare the Plunger
With most of the standing water removed, it’s time to tackle the clog using a plunger. To get started, follow these steps:
- Thoroughly clean and dry the area around the drain opening.
- Fill the basin with enough water to cover the rubber part of the plunger.
- Apply petroleum jelly or similar lubricant to create a better seal between the plunger and drain opening.
Step 4: Plunge Away
Now for the main event! Use your plunger to create suction and force air and water through the drain, forcing out any clogs. Here’s how to do it:
- Place the plunger over the drain opening, ensuring that it forms a tight seal.
- Push the plunger downwards and then quickly pull it back up.
- Repeat this motion 10-15 times or until you feel resistance, indicating that the clog is breaking up.
Step 5: Check for Progress
After plunging, it’s important to check if the clog has been cleared or if further action is needed. Remove the plunger from the drain and observe how the water flows. If you notice that the water begins to drain more quickly and there is no standing water left, this indicates that the clog has likely been dislodged.
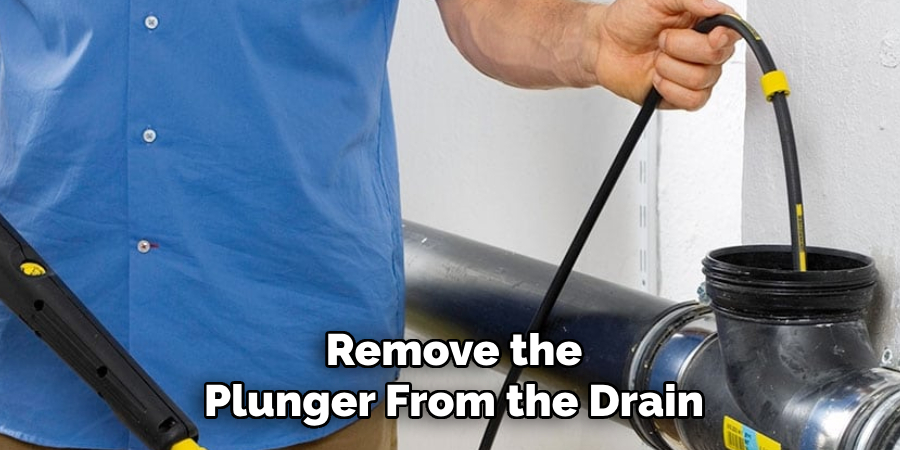
If the water is still draining slowly or remains stagnant, shine a flashlight into the drain to see if there are visible blockages near the surface. At this point, you can decide whether to repeat the plunging process or move on to using a drain snake for deeper clogs. Monitoring your progress after each attempt will ensure that you’re effectively addressing the issue.
Step 6: Use a Drain Snake
If plunging does not solve the problem, it’s time to try using a drain snake. This tool is designed to reach deep into the pipes and remove clogs that are further down the line. Here’s how to use it:
- Insert the drain snake into the drain opening.
- Slowly feed it through while twisting and turning to navigate through any curves or bends in the pipe.
- When you feel resistance, rotate the handle of the drain snake to break up and grab onto any blockages.
- Pull out the drain snake along with any debris or clogs attached to it.
Repeat this process until you no longer feel resistance, indicating that the clog has been removed.
Step 7: Flush the Drain
After using a drain snake, it’s important to flush the drain with hot water to remove any remaining debris or buildup. Here’s how:
- Boil enough water to fill a large pot.
- Slowly pour the water into the drain in two or three stages, allowing it to sit for a few minutes each time.
- If you have baking soda and vinegar on hand, you can also create a natural drain cleaner by pouring half a cup of baking soda down the drain followed by one cup of vinegar. Allow it to fizz for about 10 minutes before flushing with hot water.
Step 8: Prevent Future Clogs
Congratulations, you’ve successfully unclogged your basement drain with standing water! To prevent future clogs, here are some tips:
- Regularly clean and maintain your drains by using a mixture of baking soda and vinegar once a month.
- Avoid pouring grease or oil down the drain, as they can solidify and cause blockages.
- Use a hair catcher in bathroom drains to prevent hair from accumulating and causing clogs.
By following these preventative measures on how to unclog a basement drain with standing water, you can save yourself from having to deal with clogged basement drains in the future.
Frequently Asked Questions
Q: Can I Use a Chemical Drain Cleaner Instead of a Plunger or Drain Snake?
A: While chemical drain cleaners may seem like an easy solution, they can actually cause more harm than good. These harsh chemicals can corrode pipes and potentially cause health hazards if not handled properly. It’s best to stick to mechanical methods like plunging or using a drain snake.
Q: I Can’t Seem to Locate the Source of the Clog. What Should I Do?
A: If you can’t find the clog near the surface, it may be located further down in your main sewage line. In this case, it’s best to call a professional plumber who has specialized tools and equipment to remove deep clogs without causing damage to your pipes.
Additionally, they have the expertise and training to handle any potential safety hazards that may arise during the unclogging process.
Q: Are There Any Signs That Indicate I Have a Clogged Basement Drain?
A: Yes, there are a few common signs that indicate you may have a clogged basement drain. These include:
- Slow-draining water in sinks or tubs.
- Gurgling sounds from drains.
- Foul odors coming from drains.
If you notice any of these signs, it’s important to address the issue as soon as possible to prevent further damage and potential flooding.
Conclusion
Unclogging a basement drain with standing water may seem like a daunting task, but with the right tools and techniques, it is a manageable DIY project. By prioritizing safety, using a combination of methods such as plunging and using a drain snake, and regularly maintaining your drains, you can effectively remove clogs and prevent future ones from occurring.
Remember to always be cautious when dealing with standing water and seek professional help if needed. Don’t let clogged basement drains disrupt your daily routine any longer – follow these steps on how to unclog a basement drain with standing water to unclog them today!
About the Author
Adrian Green is a passionate woodworking enthusiast who has dedicated his life to the craft of woodworking. From his early days working alongside his father in the family woodworking shop, Adrian has honed his skills and developed a deep love for creating beautiful, functional pieces with his hands. As the voice behind The Woodenify Blog, he shares his knowledge, tips, and inspiration with fellow woodworkers of all skill levels, helping them build confidence in their abilities while learning new techniques.
Professional Focus
- Specializes in DIY woodworking projects, from furniture making to home décor.
- Provides step-by-step guides, tips, and practical tutorials for woodworkers at any skill level.
- Focused on empowering readers with confidence and knowledge through easy-to-follow instructions and hands-on techniques.
- Passionate about building a community where makers can share, learn, and grow together in the world of woodworking.
Education History
University of Craft and Design – Bachelor of Fine Arts (BFA) in Woodworking and Furniture Design
Woodworking Apprenticeships – Gained extensive hands-on experience through various workshops and mentorships with seasoned craftsmen, refining carpentry and furniture-making skills.
Expertise
- DIY woodworking, carpentry, furniture making, and home décor projects.
- Creating clear, accessible tutorials and guides for beginner to advanced woodworkers.
- Helping readers experience the satisfaction and fulfillment of turning raw materials into stunning finished products.