
A boiler cover is a protective enclosure designed to conceal and safeguard a boiler while ensuring easy access for maintenance and use. Boilers, though essential household appliances, can often be bulky and unsightly, disrupting the overall aesthetics of a space. Learning how to make a boiler cover offers a practical solution for hiding these appliances while also reaping additional benefits. Creating a boiler cover can enhance your home’s appearance, improve insulation, and reduce noise levels.
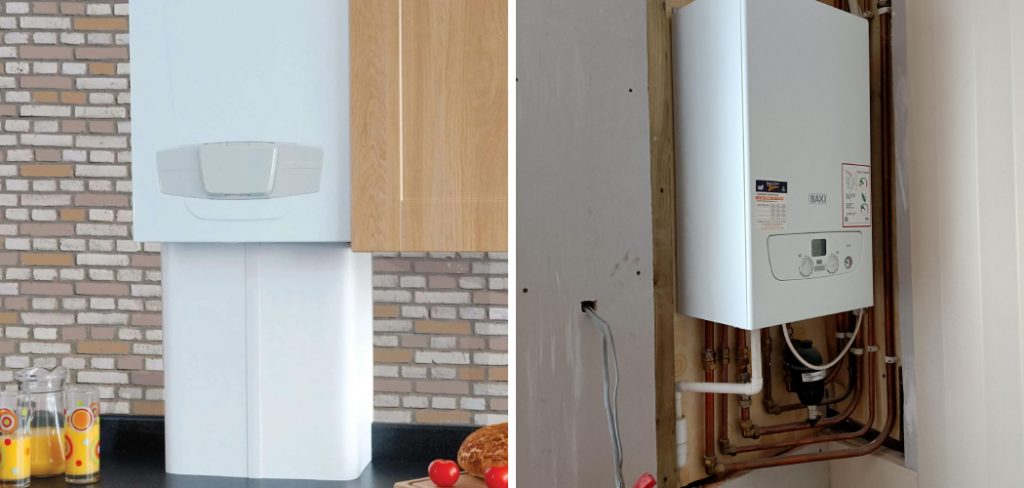
Additionally, it protects against dust, dirt, and accidental damage, ensuring the longevity of your boiler. This guide aims to provide clear, step-by-step instructions on designing, building, and maintaining a boiler cover that is safe, functional, and stylish. Follow along to transform your space with a custom boiler cover tailored to your needs.
Planning and Safety Considerations
Building Regulations and Safety
Before constructing a boiler cover, it is essential to prioritize safety and adhere to local building regulations. Proper ventilation must be ensured to prevent overheating, as restricted airflow can lead to system failures or hazardous conditions.
Additionally, the design should incorporate sufficient clearance to allow easy access for routine maintenance and emergencies. Always consult local building codes to ensure the cover complies with safety standards and does not interfere with the boiler’s functionality.
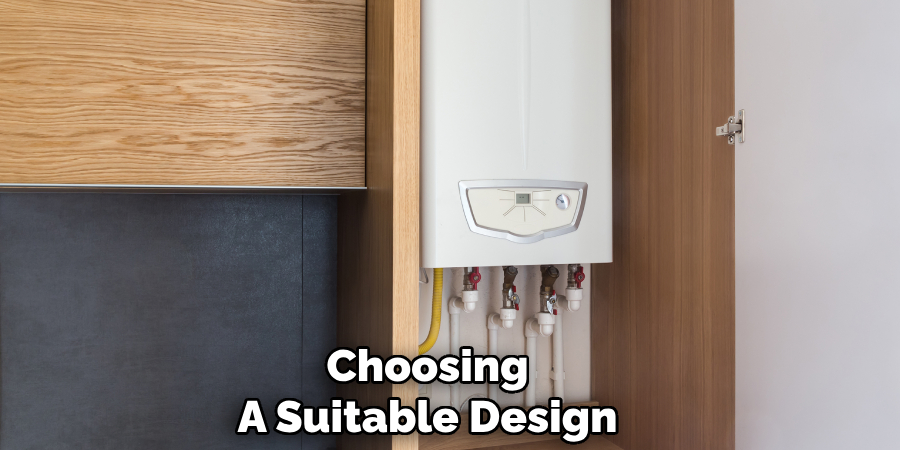
Choosing a Suitable Design
Selecting the right design is crucial for both functionality and aesthetic appeal. Decide between fixed panels for a seamless look or removable panels to allow convenient access. Consider whether a wall-mounted cabinet or a freestanding enclosure best suits your space and needs. The materials chosen should complement the room’s existing decor while remaining sturdy and heat-resistant to ensure durability.
Measuring the Boiler Area
Accurate measurements are essential for a proper fit. Measure the boiler’s height, width, and depth, leaving adequate space for surrounding pipes and controls. For optimal ventilation, include at least 50mm (2 inches) of clearance on all sides to promote airflow and prevent overheating. These preparations will ensure your boiler cover is safe, practical, and perfectly tailored to your home.
Gathering Tools and Materials
To create a functional and visually appealing boiler cover, assembling the right tools and selecting suitable materials is crucial.
Essential Tools
You will need a tape measure, saw, drill, screwdriver, sandpaper, and a level. These tools will assist in accurate measurements, cutting, assembling, and smoothing the cover to ensure it fits securely and looks polished.
Materials Based on Cover Type
- For a Wooden Cover: Use MDF, plywood, or pine boards for a sturdy and customizable option.
- For a Metal Cover: Aluminum or steel panels are ideal for a sleek, modern, durable appearance.
- For a Fabric or Soft Cover: Fire-resistant fabric, velcro, or curtain rods can create a flexible, lightweight cover alternative.
Optional Additions
To enhance functionality, consider adding hinges for easy access to the boiler. Magnetic catches or latches can ensure the cover stays securely closed. You may paint the cover or apply a laminate finish for a finished and cohesive look. Proper preparation with the right tools and materials will lay the foundation for a safe and stylish boiler cover.
How to Make a Boiler Cover: Step-by-Step Guide
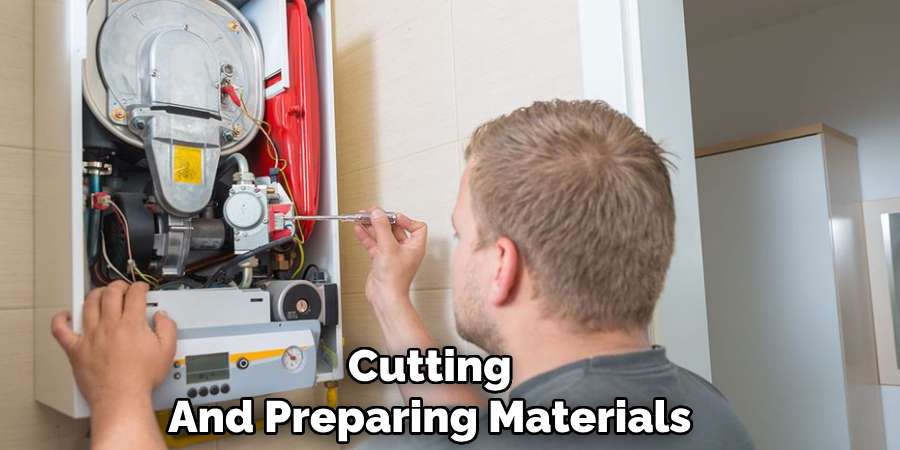
Step 1: Cutting and Preparing Materials
Begin by measuring the dimensions of your boiler cover ideas, accounting for adequate ventilation space. Using these measurements, cut wooden panels to fit around the boiler while leaving room for airflow. Sand the edges of each panel to ensure a smooth finish, preventing splinters and creating a polished appearance. Proper preparation at this stage will make assembly easier and ensure a professional result.
Step 2: Assembling the Frame
Create a sturdy frame to support your wooden panels. Attach wooden supports using screws or metal brackets to form a box-like structure. Double-check that the frame’s dimensions match the boiler space’s, leaving an opening if an access door is planned. Ensure the frame is stable and even, as this forms the foundation of your boiler cover.
Step 3: Attaching Panels and Access Door
Securely fix the wooden panels to the frame, using screws to hold them in place. Leave appropriate gaps or slots for ventilation to allow heat to escape safely. If you need regular access to your boiler, install hinges on one section of the paneling to create an access door. Attach a handle or knob and use magnetic catches or latches to ensure the door stays closed when not in use.
Step 4: Painting or Finishing the Cover
Complete your boiler cover by applying a finish that complements your space. Use heat-resistant paint, wood stain, or a laminate coating to achieve a durable and aesthetic look. This step enhances the appearance and protects the wood from damage, ensuring that your boiler cover remains stylish and functional for years to come.
Alternative Methods: Metal and Fabric Covers
Metal Boiler Covers
Consider using aluminum or stainless steel panels for a sleek and modern design. These materials offer a polished industrial look that complements contemporary spaces. To create a metal boiler cover, measure the dimensions of the boiler and cut the panels accordingly.
Use screws or brackets to secure the panels, ensuring they are tightly fitted and stable. Metal covers are highly durable and resistant to heat, making them a practical choice for boiler enclosures. They are also easy to clean and maintain, making them ideal for long-term use.
Fabric Boiler Covers
A fabric boiler cover might be the answer if you are looking for a softer and budget-friendly alternative. Use fire-resistant fabric to create a curtain-like cover that can be easily attached and removed. Install a small rod above the boiler or secure velcro strips to the surrounding surface to anchor the fabric.
This option allows for greater flexibility in design, as fabrics come in a wide range of patterns and colors. However, ensuring the fabric is properly fire-rated for safety is essential.
Pre-Built vs. DIY Covers
If creating your own boiler cover doesn’t fit your schedule or skills, consider purchasing a pre-made boiler cabinet. These cabinets come in various styles and materials to suit different preferences and spaces. While pre-built options may save time, DIY solutions allow for more customization and can be tailored specifically to your needs and home décor. Select the approach that best aligns with your budget, style, and capabilities.

Ensuring Proper Ventilation and Accessibility
Why Ventilation is Crucial
Proper ventilation is essential for maintaining the efficiency and safety of your boiler. It prevents the risk of overheating by allowing hot air to escape and ensures that the boiler operates as intended. Additionally, many boiler manufacturers provide specific guidelines regarding ventilation to comply with safety and warranty requirements. Neglecting these guidelines could lead to malfunction, inefficiency, or even voided warranties.
Best Ventilation Methods
Consider incorporating vented panels or slats into your boiler cover design to achieve adequate ventilation. These features promote airflow while maintaining the cover’s aesthetic appeal. Another effective method is leaving small gaps at the top and bottom of the cover, allowing natural air circulation. Avoid fully enclosing the boiler in an airtight structure, as restricted airflow can compromise the unit’s performance and safety.
Accessibility for Maintenance
Equally important is ensuring that your boiler cover allows for easy access during maintenance or servicing. A removable cover or a built-in access panel provides efficient entry to the boiler without requiring dismantling. Avoid permanent fixtures or installations that could obstruct routine inspections or repairs: balance ventilation and accessibility to create a safe, functional, and practical boiler cover solution.
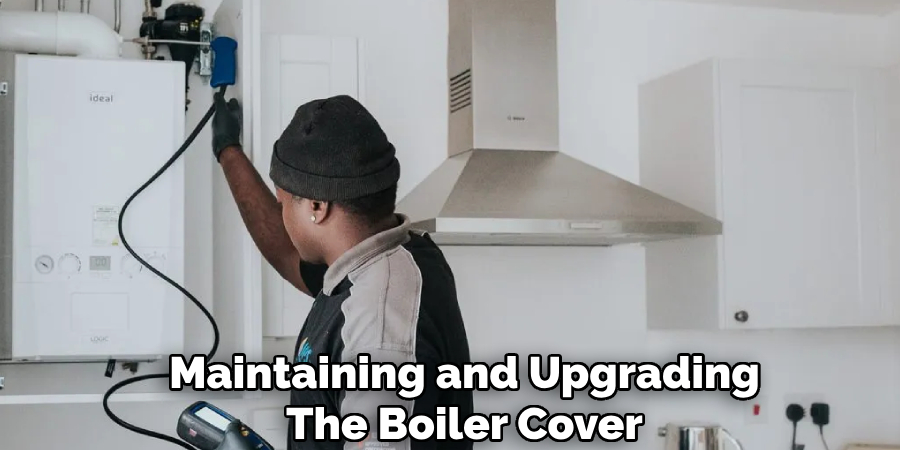
Maintaining and Upgrading the Boiler Cover
Regular maintenance of your boiler cover is essential to ensure its longevity and functionality. Start by periodically checking for signs of heat damage, such as discoloration or warping, particularly on wooden or painted surfaces. If you notice any wear, repaint or reseal the cover as needed to protect it from further damage. Inspect fixings and joints to ensure they remain secure and intact.
Upgrading your boiler cover can enhance both its practicality and appearance. For instance, adding soundproofing foam to the interior can help reduce boiler noise and create a quieter home environment. Additionally, consider incorporating decorative elements, such as stylish patterns or colors, to align the cover with your interior design. These upgrades can transform a purely functional item into an attractive feature in the room.
Safety checks are equally important when maintaining your boiler cover. Always ensure that ventilation openings remain clear of obstructions and debris to prevent overheating. If you are considering material changes, prioritize fire-resistant materials to enhance your household’s safety. Consistent attention to maintenance, upgrades, and safety features will keep your boiler cover efficient and visually appealing while prolonging its usability.
Conclusion
Creating a boiler cover is a rewarding process that blends functionality and design. Planning, gathering materials, constructing the cover, and ensuring safety are essential to a successful project. Prioritizing ventilation and accessibility is critical to maintaining proper boiler operation and household safety. Understanding “how to make a boiler cover” allows homeowners to craft a solution that fits their needs while enhancing the room’s aesthetics.
Consider customizing the cover with colors or designs that complement your home décor, all while keeping practicality in focus. With attention to detail, your boiler cover can become both a functional and stylish addition.
you can also check it out Clean Bathtub Stains
About the Author
Adrian Green is a passionate woodworking enthusiast who has dedicated his life to the craft of woodworking. From his early days working alongside his father in the family woodworking shop, Adrian has honed his skills and developed a deep love for creating beautiful, functional pieces with his hands. As the voice behind The Woodenify Blog, he shares his knowledge, tips, and inspiration with fellow woodworkers of all skill levels, helping them build confidence in their abilities while learning new techniques.
Professional Focus
- Specializes in DIY woodworking projects, from furniture making to home décor.
- Provides step-by-step guides, tips, and practical tutorials for woodworkers at any skill level.
- Focused on empowering readers with confidence and knowledge through easy-to-follow instructions and hands-on techniques.
- Passionate about building a community where makers can share, learn, and grow together in the world of woodworking.
Education History
University of Craft and Design – Bachelor of Fine Arts (BFA) in Woodworking and Furniture Design
Woodworking Apprenticeships – Gained extensive hands-on experience through various workshops and mentorships with seasoned craftsmen, refining carpentry and furniture-making skills.
Expertise
- DIY woodworking, carpentry, furniture making, and home décor projects.
- Creating clear, accessible tutorials and guides for beginner to advanced woodworkers.
- Helping readers experience the satisfaction and fulfillment of turning raw materials into stunning finished products.