
Replacing a water heater drain valve is an essential maintenance task that can help prevent leaks, improve efficiency, and extend the lifespan of your water heater. Over time, the drain valve may wear out or become clogged with sediment, necessitating a replacement to ensure proper function. This guide will walk you through the steps off how to replace water heater drain valve, using basic tools and techniques.
Importance of a Functioning Drain Valve
A properly functioning drain valve is crucial for maintaining the health and efficiency of your water heater. It allows you to drain the tank periodically, which is necessary to remove sediment buildup that can reduce the heater’s efficiency and potentially cause damage. Sediment accumulation can lead to uneven heating, increased energy costs, and even tank corrosion over time. Additionally, a functioning drain valve provides a quick and effective way to empty the tank for repairs, maintenance, or when replacing the water heater altogether.
Ensuring the drain valve is in good condition helps extend the lifespan of your water heater and prevents costly issues down the road.
Common Reasons for Replacing a Drain Valve
There are several common reasons why a water heater drain valve may need to be replaced. One of the most frequent issues is wear and tear over time, which can cause the valve to malfunction or leak. Leaks not only waste water but can also lead to water damage in the surrounding area. Another common reason is sediment buildup inside the valve, which can clog the opening and prevent proper drainage of the tank. Corrosion is also a potential problem, particularly if the valve is made of lower-quality materials or if the water contains high levels of minerals.
Additionally, if the valve becomes stuck or difficult to operate, replacing it may be necessary to ensure the tank can be properly drained when needed. Addressing these issues promptly helps maintain the overall efficiency and integrity of the water heater.
Tools and Materials Needed
Before beginning the process of replacing your water heater drain valve, make sure you have the following tools and materials on hand:
- Replacement Drain Valve (compatible with your water heater model)
- Adjustable Wrench or Pipe Wrench
- Flathead Screwdriver (if needed for your specific valve)
- Thread Seal Tape (also known as Teflon tape)
- Bucket or Hose (for draining water from the tank)
- Work Gloves (optional, for added grip and protection)
- Towels or Rags (to clean up any spills)
Having these items prepared will make the replacement process smoother and more efficient, minimizing delays and ensuring a successful outcome.
10 Methods How to Replace Water Heater Drain Valve
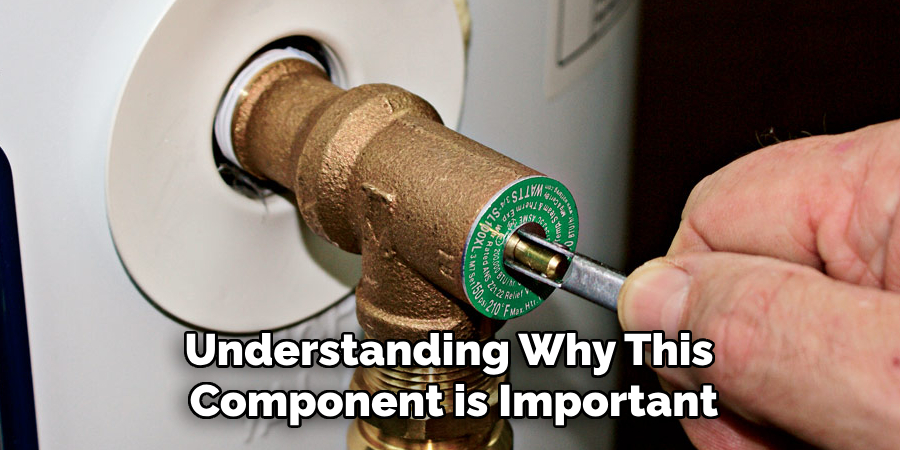
1. Understanding the Importance of Replacing the Drain Valve
The drain valve on a water heater plays a crucial role in allowing you to flush out sediment buildup, perform maintenance, or fully drain the tank when necessary. Over time, the valve can become clogged, corroded, or start leaking, making replacement necessary. By understanding why this component is important, you can ensure the longevity of your water heater and prevent potential damage caused by leaks or inefficiency.
2. Turning Off the Power and Water Supply
Before beginning the replacement process, it is essential to turn off the power supply to the water heater. For electric water heaters, shut off the power at the circuit breaker, while for gas models, turn the thermostat to the “Pilot” setting or completely shut off the gas supply. Additionally, turn off the cold water supply to prevent water from continuing to flow into the tank, ensuring a safe and manageable working environment.
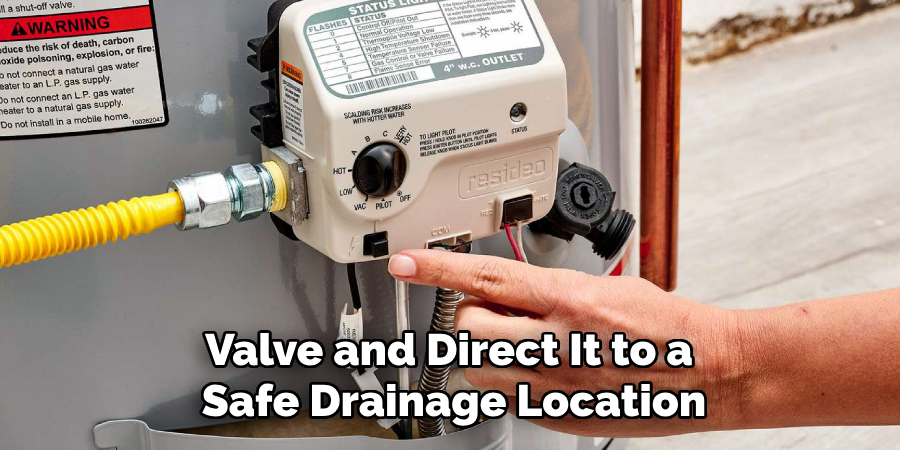
3. Draining the Water Heater Tank
To replace the drain valve, the tank must be emptied to prevent water from spilling out uncontrollably. Attach a garden hose to the existing drain valve and direct it to a safe drainage location, such as a floor drain or outside. Open a hot water faucet elsewhere in the house to relieve pressure, then open the drain valve to allow water to exit the tank. Ensure the tank is completely drained before proceeding with valve removal.
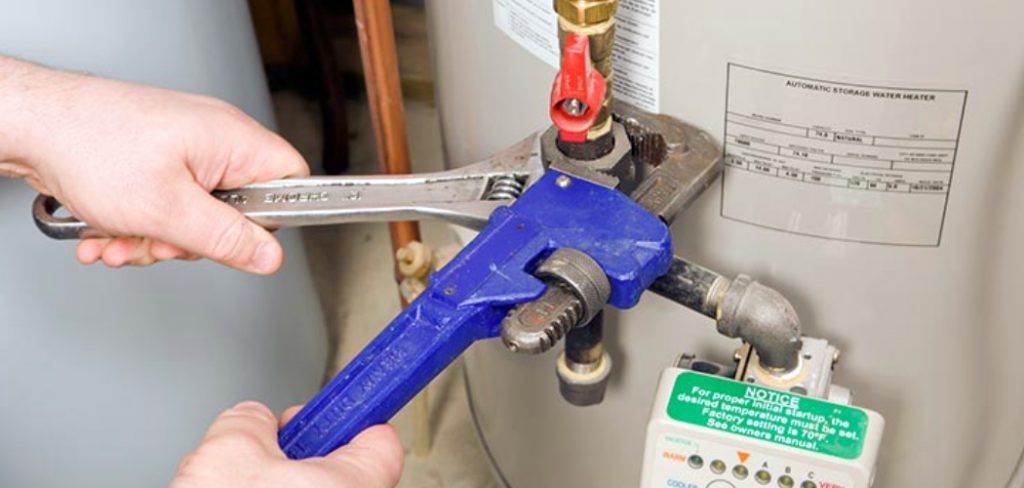
4. Loosening and Removing the Old Drain Valve
Once the tank is empty, use an adjustable wrench or pipe wrench to carefully loosen the old drain valve by turning it counterclockwise. If the valve is corroded or stuck, applying penetrating oil and allowing it to sit for a few minutes may help. Be cautious not to use excessive force, as this can damage the threads on the water heater’s drain outlet.
5. Cleaning the Drain Valve Opening
After removing the old valve, inspect the drain outlet for debris, corrosion, or mineral buildup. Use a cloth or a small brush to clean the opening thoroughly. If there is significant corrosion, a wire brush may be needed to remove it. Ensuring a clean and smooth opening will help create a better seal when installing the new valve and prevent future leaks.
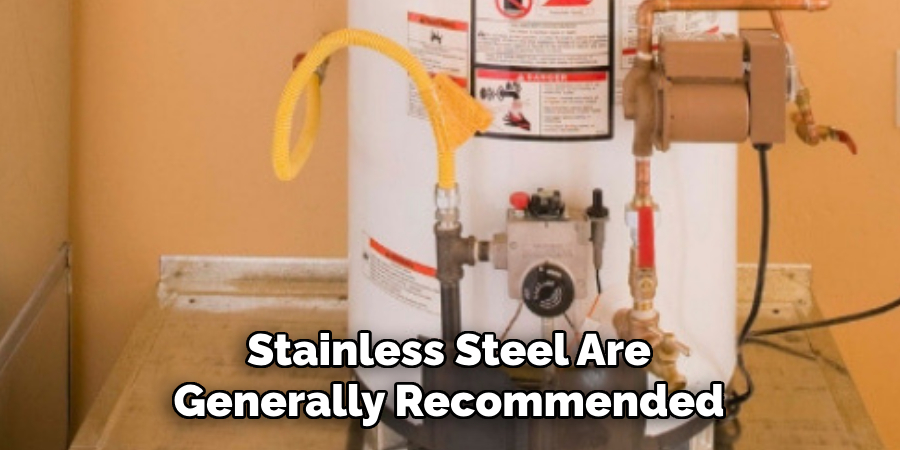
6. Choosing a Suitable Replacement Drain Valve
Selecting the right replacement valve is important for compatibility and durability. Drain valves come in plastic, brass, or stainless steel materials. Brass and stainless steel are generally recommended for their durability and resistance to corrosion. Additionally, ensure that the new valve matches the size and threading of your water heater’s drain outlet to prevent installation issues.
7. Applying Plumber’s Tape or Pipe Sealant
Before installing the new valve, wrap the threaded end with plumber’s tape (Teflon tape) or apply pipe thread sealant to create a watertight seal. This step helps prevent leaks and ensures a secure fit. When applying the tape, wrap it in the same direction that the valve will be tightened to prevent it from unraveling during installation.
8. Installing the New Drain Valve
Carefully thread the new drain valve into the drain outlet by hand to avoid cross-threading. Once it is hand-tight, use a wrench to secure it further, ensuring a snug fit without overtightening, which can damage the threads. Double-check that the valve is positioned properly and that the handle or lever is accessible for future use.
9. Refilling the Water Heater and Checking for Leaks
Turn the cold water supply back on to begin refilling the tank. Keep an eye on the new drain valve and surrounding areas for any signs of leaks. If you notice any dripping, slightly tighten the valve or apply additional plumber’s tape and reseal the connection. Allow the tank to fill completely before restoring power to the unit.
10. Testing and Regular Maintenance of the New Valve
Once the water heater is fully operational, test the new drain valve by briefly opening it to ensure proper functionality. If everything is working correctly, periodically check the valve for any signs of leaks or corrosion. Regular maintenance, including annual flushing of the water heater, will help prevent future issues and prolong the life of both the valve and the tank.

Things to Consider When Replacing a Water Heater Drain Valve
Compatibility with Your Water Heater Model
Before purchasing a replacement valve, ensure it is compatible with your specific water heater model. Check the size, material, and threading requirements to avoid installation issues. Consult the owner’s manual or contact the manufacturer if you are unsure.
Material of the Replacement Valve
Choose a durable material for the replacement valve, such as brass or stainless steel, to ensure longevity and resistance to corrosion. While plastic valves are often less expensive, they may not withstand high temperatures and prolonged use as effectively as metal options.
Safety Measures
Working with a water heater involves risks, including potential burns or electrical hazards. Always ensure the power is turned off (via the circuit breaker or gas supply) and the tank is cool before starting. Use proper tools and safety equipment, such as gloves and eye protection.
Proper Drainage Location
Plan ahead for where the water from the tank will be drained. Choose a location that can handle the volume of water being emptied, such as a floor drain, a driveway, or a garden area. Avoid areas where water could cause damage.
Avoiding Over-Tightening
When installing the new valve, avoid over-tightening it. Excessive force can damage the threads on the valve or the tank, leading to potential leaks or the need for costly repairs.
Testing for Functionality
After the installation is complete, thoroughly test the new valve to ensure it operates smoothly without leaks. Open and close the valve a few times to confirm it is functioning properly and sealing when shut.
Regular Maintenance
To extend the life of the new valve, practice regular maintenance of your water heater. This includes annual flushing to remove sediment buildup and periodic inspections to check for any signs of wear or leaks. Proper care will minimize the need for future replacements.
Conclusion
Replacing a water heater drain valve is a straightforward task that can save you time, money, and potential headaches in the future. By following the proper steps and using the right tools, you can ensure a successful installation and prevent issues such as leaks or corrosion. Always prioritize safety and take the time to choose a durable and compatible valve for your water heater. Thanks for reading, and we hope this has given you some inspiration on how to replace water heater drain valve!
About the Author
Adrian Green is a passionate woodworking enthusiast who has dedicated his life to the craft of woodworking. From his early days working alongside his father in the family woodworking shop, Adrian has honed his skills and developed a deep love for creating beautiful, functional pieces with his hands. As the voice behind The Woodenify Blog, he shares his knowledge, tips, and inspiration with fellow woodworkers of all skill levels, helping them build confidence in their abilities while learning new techniques.
Professional Focus
- Specializes in DIY woodworking projects, from furniture making to home décor.
- Provides step-by-step guides, tips, and practical tutorials for woodworkers at any skill level.
- Focused on empowering readers with confidence and knowledge through easy-to-follow instructions and hands-on techniques.
- Passionate about building a community where makers can share, learn, and grow together in the world of woodworking.
Education History
University of Craft and Design – Bachelor of Fine Arts (BFA) in Woodworking and Furniture Design
Woodworking Apprenticeships – Gained extensive hands-on experience through various workshops and mentorships with seasoned craftsmen, refining carpentry and furniture-making skills.
Expertise
- DIY woodworking, carpentry, furniture making, and home décor projects.
- Creating clear, accessible tutorials and guides for beginner to advanced woodworkers.
- Helping readers experience the satisfaction and fulfillment of turning raw materials into stunning finished products.