
When it comes to maintaining your water heater, one of the tasks you might face is opening the plastic drain valve. This valve is crucial for draining the tank during routine maintenance, such as flushing out sediment or preparing the unit for repairs. While it may seem straightforward, opening the plastic drain valve requires a careful approach to prevent damage to the valve or leaks. This guide will provide step-by-step instructions on how to open plastic drain valve on water heater.
Importance of Draining a Water Heater
Draining your water heater is an essential maintenance task that helps ensure the unit’s efficiency and longevity. Over time, sediment and mineral deposits can accumulate at the bottom of the tank, reducing the heater’s capacity to warm water effectively and causing potential damage to internal components. This buildup can lead to increased energy consumption, higher utility bills, and even premature failure of the water heater.
Regular draining helps remove these deposits, preventing corrosion and ensuring that the appliance operates at peak performance. Additionally, maintenance like this can extend the lifespan of the heater, saving you from costly repairs or replacements down the line.
Common Issues with Plastic Drain Valves
Plastic drain valves, while cost-effective and commonly used in water heaters, can present a handful of issues over time. One of the most frequent problems is leakage. Due to constant exposure to heat and pressure, the plastic material can weaken or degrade, leading to cracks or improper sealing. Another common issue is clogging, which typically occurs when sediment from the tank accumulates around the valve, obstructing the flow of water. Additionally, plastic drain valves are more susceptible to damage from over-tightening or mishandling during maintenance, which can cause the valve to break or become difficult to operate.
These potential problems highlight the importance of careful handling and regular inspection to ensure the valve remains functional and reliable. If a plastic drain valve becomes faulty, it may need to be replaced with a more durable alternative, such as a brass valve, to prevent future complications.
10 Methods How to Open Plastic Drain Valve on Water Heater
1. Turn Off the Water Supply
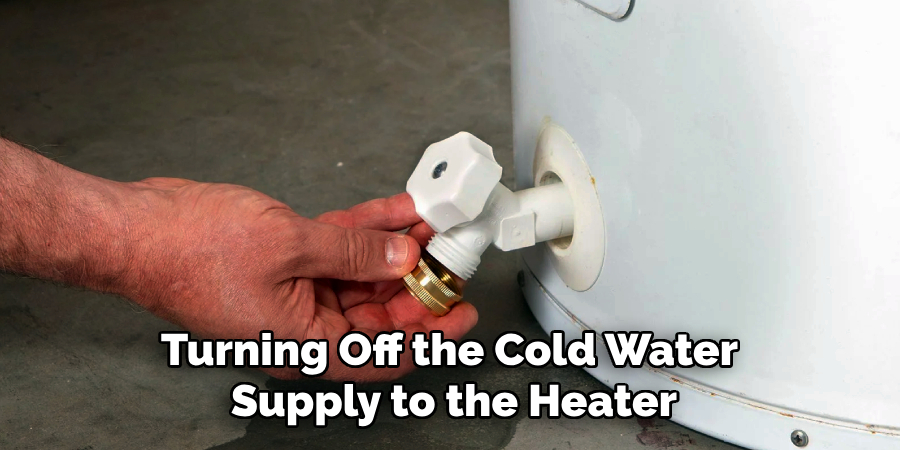
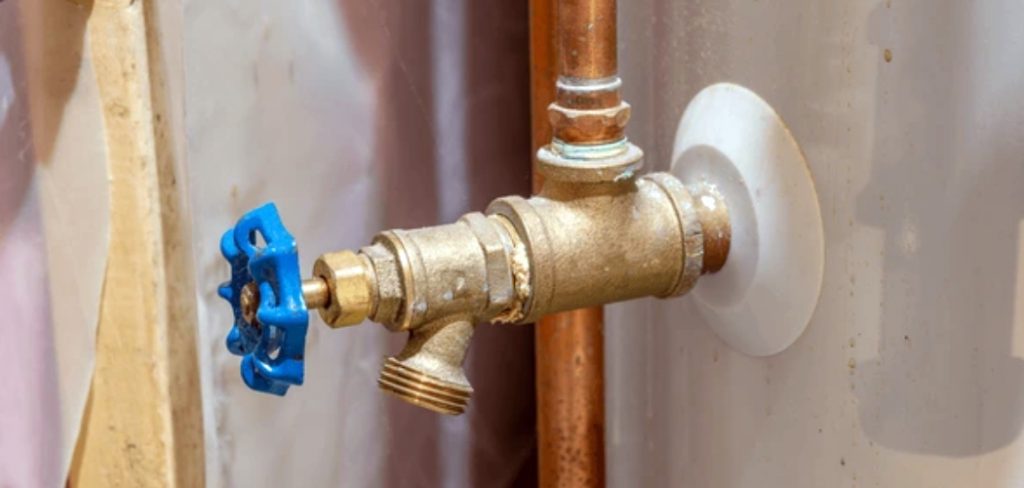
Before attempting to open the plastic drain valve, ensure that the water heater is no longer filling with water during the draining process. Start by turning off the cold water supply to the heater. The cold water inlet valve is typically located at the top of the tank. By shutting off the water supply, you can prevent additional water from flowing into the tank while you’re attempting to drain it, which could make the process more difficult or create spills.
2. Turn Off the Power or Gas
If you’re working with a gas or electric water heater, you’ll want to turn off the power source to avoid any electrical hazards or damage during the process. For gas water heaters, turn the thermostat to the “off” position. For electric models, turn off the power at the circuit breaker panel. This step is essential for safety, particularly if you’re working near the drain valve or need to move the tank without worrying about electricity or gas usage.
3. Attach a Hose to the Drain Valve
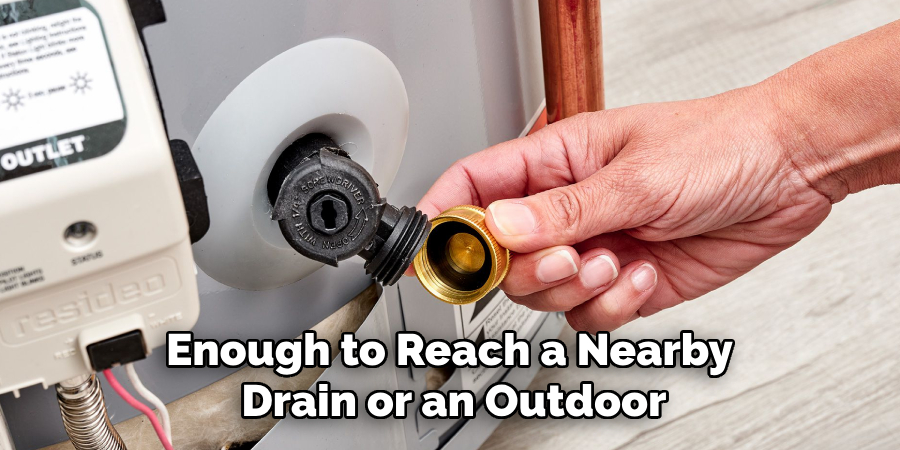
Many plastic drain valves are located near the bottom of the water heater and require a hose to be attached to drain the water properly. Before opening the valve, connect a garden hose to the drain valve. Ensure the hose is long enough to reach a nearby drain or an outdoor area. Tighten the connection to prevent leaks, ensuring that the hose remains securely attached during the entire draining process. If the hose does not fit securely, consider using a hose clamp or replacing the hose with one that fits more snugly.
4. Locate the Drain Valve
Once you’ve set up the necessary connections, locate the plastic drain valve at the bottom of the tank. This valve is typically made of durable plastic and is either round or angled, depending on the make and model of your water heater. Take a moment to visually inspect the valve for any signs of wear, cracking, or corrosion. If the valve looks damaged or brittle, you may want to proceed with extra caution, as it could break during the draining process.
5. Use a Proper Tool to Open the Valve
Plastic drain valves are often designed for manual operation, but in some cases, you may need to use a tool to assist in opening the valve. Most valves can be opened using a simple wrench or a pair of pliers if the valve is too tight to turn by hand. When using pliers, grip the valve gently to avoid cracking the plastic. For valves that are designed for easy hand operation, simply turn the valve counterclockwise to open it. Take care not to overtighten the valve when closing it to avoid damaging the plastic threads.
6. Open the Valve Slowly
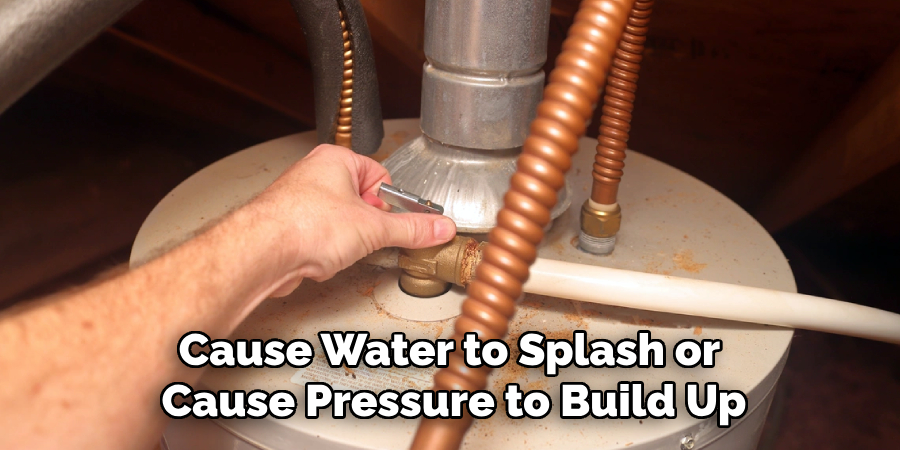
Once you’ve securely attached the hose and are ready to begin draining, open the valve slowly. Opening it too quickly could cause water to splash or cause pressure to build up, potentially damaging the valve or creating a mess. Turn the valve slowly in a counterclockwise direction, listening for the sound of water beginning to flow. Once the valve is open, water will begin to drain through the hose, so be sure to monitor the process to prevent overflows or spills.
7. Release Pressure in the Tank
In some cases, the water in the heater may be under pressure, which can make draining the tank more difficult. To relieve pressure in the tank, open a hot water faucet somewhere in the house (preferably the highest faucet) while you’re draining the water heater. This allows air to enter the tank and enables the water to flow freely from the drain valve. This step is especially helpful if the water heater has been in use for a while and the water inside is under pressure.
8. Monitor the Drainage Process
As the water begins to flow out of the tank, it’s important to monitor the drainage process. Ensure that the water is draining properly through the hose, and check the flow for any signs of clogs or interruptions. If the water is draining too slowly or seems to be backing up, check for any kinks in the hose or blockages in the drain. You may need to clear the hose or adjust the placement of the hose to ensure proper drainage. If sediment has built up inside the tank, it could impede the flow, so consider flushing the tank afterward to remove the sediment.
9. Allow the Tank to Fully Drain
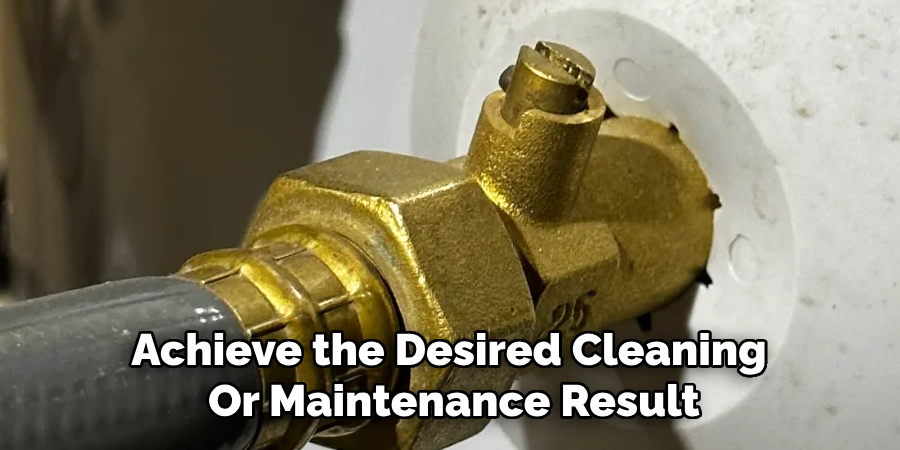
Let the water heater drain completely, which could take anywhere from 15 minutes to an hour depending on the size of the tank and the water pressure. It’s important to wait until all the water has been removed before proceeding with any further steps. If you’re using the draining process for maintenance, such as sediment removal, a full drainage is essential. Otherwise, you may not achieve the desired cleaning or maintenance result. It’s worth noting that draining water heaters on a regular basis can improve their efficiency and extend their lifespan.
10. Close the Drain Valve and Refill the Tank
Once the water heater has been fully drained, close the plastic drain valve by turning it clockwise. Be sure not to overtighten it, as doing so could cause the valve to crack or break, especially if it’s made of plastic. After closing the valve, remove the hose and check for any signs of leakage. Next, turn the cold water supply valve back on and allow the tank to refill. Once the tank is full, check the hot water faucets to ensure that the water heater is functioning properly.
Things to Consider When Draining a Water Heater
When draining a water heater, there are several important factors to keep in mind to ensure the process is safe and effective. First, always verify that the power or gas supply to the heater is turned off before proceeding. This prevents potential injuries or damage to the unit. Additionally, consider the location where the water will drain—choose a suitable drain or outdoor space to avoid flooding or water damage.
Keep an eye out for sediment buildup inside the tank, as it may require extra flushing to remove. Lastly, use caution when handling tools and the drain valve, especially if it is made of plastic, as improper handling could result in damage. Regular maintenance and awareness of these considerations will help prolong the lifespan of your water heater and improve its performance.
Conclusion
Draining your water heater is an essential maintenance task that promotes its efficiency and prolongs its lifespan. By following the outlined steps carefully, you can safely and effectively remove sediment buildup and ensure your water heater operates at its best. Thanks for reading, and we hope this has given you some inspiration on how to open plastic drain valve on water heater!
About the Author
Adrian Green is a passionate woodworking enthusiast who has dedicated his life to the craft of woodworking. From his early days working alongside his father in the family woodworking shop, Adrian has honed his skills and developed a deep love for creating beautiful, functional pieces with his hands. As the voice behind The Woodenify Blog, he shares his knowledge, tips, and inspiration with fellow woodworkers of all skill levels, helping them build confidence in their abilities while learning new techniques.
Professional Focus
- Specializes in DIY woodworking projects, from furniture making to home décor.
- Provides step-by-step guides, tips, and practical tutorials for woodworkers at any skill level.
- Focused on empowering readers with confidence and knowledge through easy-to-follow instructions and hands-on techniques.
- Passionate about building a community where makers can share, learn, and grow together in the world of woodworking.
Education History
University of Craft and Design – Bachelor of Fine Arts (BFA) in Woodworking and Furniture Design
Woodworking Apprenticeships – Gained extensive hands-on experience through various workshops and mentorships with seasoned craftsmen, refining carpentry and furniture-making skills.
Expertise
- DIY woodworking, carpentry, furniture making, and home décor projects.
- Creating clear, accessible tutorials and guides for beginner to advanced woodworkers.
- Helping readers experience the satisfaction and fulfillment of turning raw materials into stunning finished products.