
Clogged toilets can be a frustrating and inconvenient problem, but with the right tools and techniques, you can handle the situation effectively on your own. One of the most reliable methods for clearing a stubborn blockage is using a roto rooter, a tool designed to break up and remove obstructions in your plumbing.
This guide on how to roto rooter a toilet will walk you through the step-by-step process of using a roto rooter to restore your toilet to proper working condition, saving you time and the cost of hiring a professional plumber.
Why Use a Roto Rooter?
There are many methods and tools available to unclog a toilet. However, using a roto rooter has several advantages that make it the preferred choice for many homeowners:
It’s Versatile:
A roto rooter can be used on different types of clogs, whether they are caused by paper products, hair, or other materials. This makes it a versatile tool that can be used on different types of toilets and plumbing systems.
It’s Effective:
Roto rooters are specifically designed to break up and remove tough clogs, making them more effective than plungers or other DIY methods.
It’s Quick:
With the right technique, using a roto rooter can quickly clear a clogged toilet in just a few minutes.
It Saves Money:
Hiring a professional plumber can cost hundreds of dollars, but purchasing or renting a roto rooter is a one-time investment that will save you money in the long run.
Materials Needed
Before you begin the process of roto rooting your toilet, make sure you have the following materials on hand:
A Roto Rooter:
You can purchase or rent a roto rooter from most hardware stores. Make sure to choose one that is appropriate for your toilet and clogging issue. For example, some roto rooters are designed specifically for clogs caused by foreign objects in the toilet.
Rubber Gloves:
To protect your hands from any potential bacteria or mess, it’s recommended to wear rubber gloves during the process.
Protective Eyewear:
This is especially important if you have a stubborn clog and need to use more force with the roto-rooter. Plunging can sometimes cause water and debris to splash back up, so wearing protective eyewear is a safety precaution.
A Bucket:
You may need this to collect any excess water or debris that comes out of the toilet during the process.
10 Step-by-step Guidelines on How to Roto Rooter a Toilet
Step 1: Prepare Your Roto Rooter

Before beginning the process, ensure that your roto rooter is clean, functional, and ready for use. If you’ve rented the tool, inspect it for any damage or wear that might affect its performance. Adjust the length of the cable to ensure it can adequately reach the area of the clog but avoid overextending it.
Once the tool is prepared, position yourself near the toilet with all the necessary materials, such as gloves and eyewear, within easy reach. This preparation step is crucial for ensuring a smooth and efficient unclogging process.
Step 2: Adjust the Blade or Head of the Roto Rooter
Most roto rooters come equipped with an adjustable blade or head designed to break up various types of clogs. Before inserting the tool into the toilet, check the blade or head to ensure it is securely attached and appropriate for the type of clog you suspect. For example, a larger blade is better for breaking up paper or organic material, while a smaller head is ideal for maneuvering through tighter plumbing spaces.
Adjust the blade or head to the proper size and tighten any locking mechanisms to prevent it from shifting during use. This step helps maximize the tool’s effectiveness and minimizes the risk of damage to your plumbing.
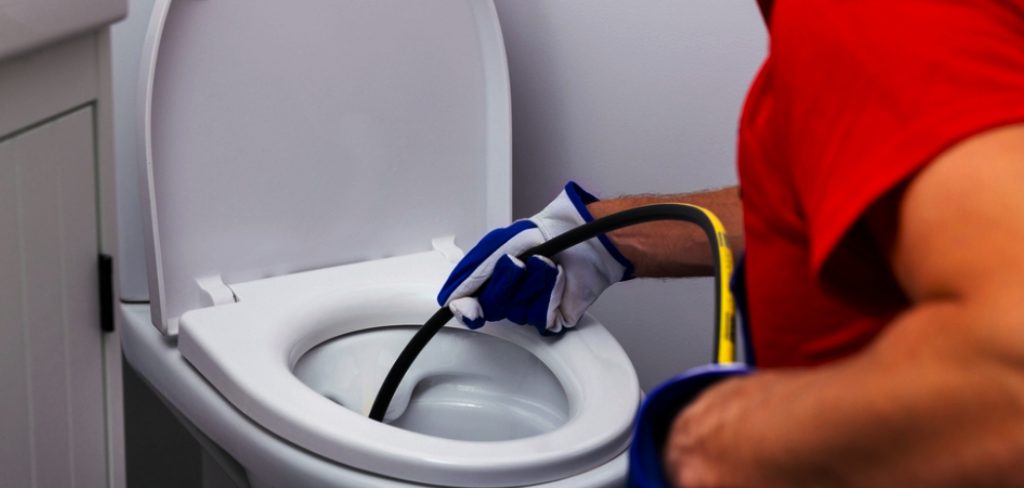
Step 3: Insert the Roto Rooter into the Toilet

Slowly insert the roto rooter cable into your toilet bowl, keeping a firm grip on the tool to prevent it from slipping out of your hand. As you insert it, ensure that the blade or head is facing downward and towards the clog. Continue pushing until you feel resistance, which may indicate that you have reached the obstruction.
You can also use a flashlight to peer down the toilet bowl to get a better idea of where the clog may be located.
Step 4: Use Gentle Pressure to Break Up Clogs
Once you have identified resistance from the clog, begin using gentle pressure while turning the handle or crank of the roto-rooter. Avoid forcing the tool too aggressively, as this could damage your plumbing or the toilet itself. Instead, allow the blade or head to gradually work through the obstruction by rotating it back and forth.
While maintaining steady, even pressure, continue to feed the cable further into the pipe if needed. If you encounter significant resistance, stop and reassess the position of the tool to ensure it is aligned correctly with the clog. Patience is key during this step, as applying too much force can complicate the situation rather than resolve it.
Step 5: Increase Pressure and Speed as Needed
If the clog proves difficult to break up with gentle pressure, you can gradually increase the speed and force of your roto-rooter. However, it’s crucial to do so cautiously to avoid damaging your plumbing or causing any messes.
Consider using a back-and-forth motion while cranking the handle for optimal results. Keep in mind that different types of clogs may require varying degrees of pressure and speed, so be prepared to adjust accordingly.
Step 6: Use Water to Flush Out Debris
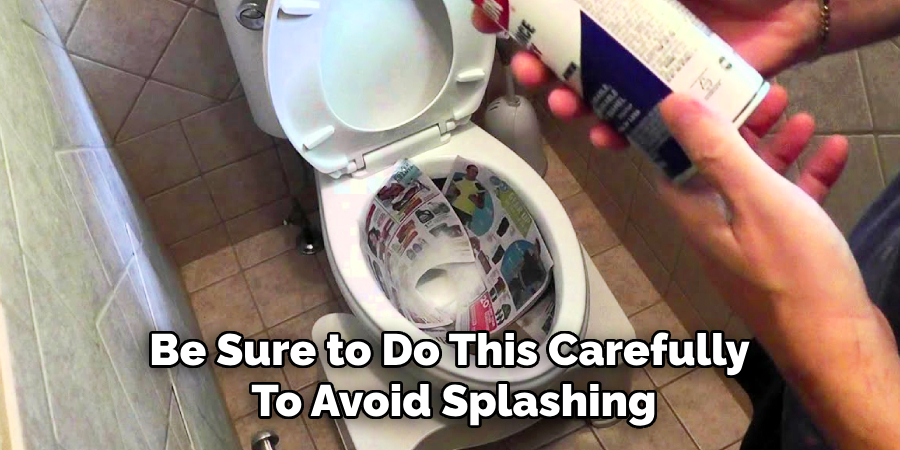
Once you notice the clog breaking apart or feel the resistance easing, stop cranking the roto rooter and slowly retract the cable from the toilet. Be sure to do this carefully to avoid splashing or pulling out debris too quickly.
After removing the tool, pour a bucket of warm water or flush the toilet gently to help flush out any remaining debris that may still be in the pipes. Repeat this process if necessary to ensure all remnants of the clog are cleared. If the water drains smoothly, it indicates that the blockage has been successfully removed.
Step 7: Clean the Roto Rooter After Use
Once you have finished using the roto rooter, it’s essential to clean and sanitize it thoroughly before storing it. Use a solution of hot water and bleach or an all-purpose cleaner to remove any lingering debris or bacteria from the tool.
Rinse it with warm water and allow it to dry completely before storing. Proper cleaning after each use can help extend the life of your roto rooter and prevent potential health hazards.
Step 8: Dispose of Debris Properly
After clearing the clog, dispose of any debris you collected in a proper trash receptacle. Do not flush these materials down the toilet, as they may cause further clogging or damage to your plumbing.
Step 9: Check for Leaks and Repeat if Necessary
Before declaring the job complete, conduct a quick inspection of all visible pipes and surrounding areas for any signs of leaks or damage. If everything appears intact and dry, you can begin using the toilet normally again.
However, if the water continues to drain slowly or you still experience issues with flushing, it may be necessary to repeat the roto rooting process to ensure that all debris has been removed.
Step 10: Consider Professional Help for Persistent Clogs
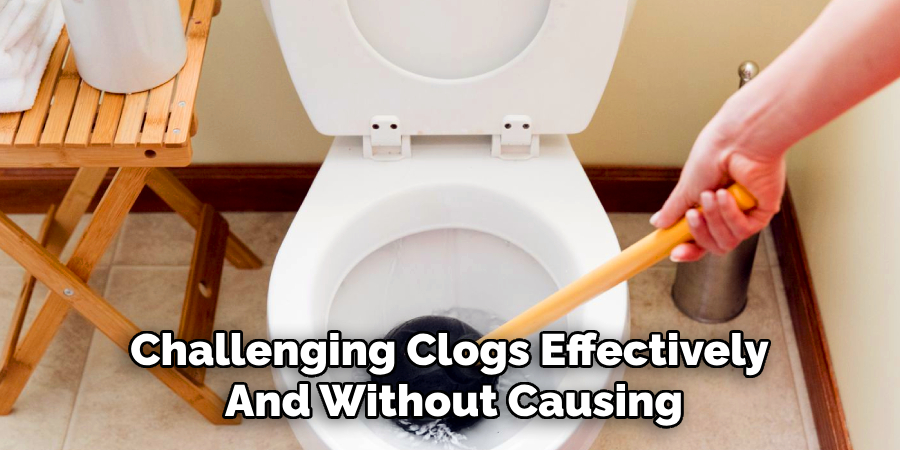
If, despite repeated attempts, you are unable to clear a stubborn clog from your toilet using a roto rooter, it may be time to call in professional plumbing services. They have the necessary experience, tools, and expertise to handle even the most challenging clogs effectively and without causing additional damage.
Remember that regular maintenance and proper use of your toilet can help prevent clogging issues in the future. Following these steps on how to roto rooter a toilet will help you confidently tackle any potential clogs that may arise and keep your toilet functioning smoothly. So don’t hesitate to put on those gloves and goggles and get to work with your rooter! Happy unclogging!
Additional Tips and Tricks for Using a Roto Rooter
- Wear protective gear such as gloves and goggles to avoid any potential splashing or contact with debris.
- Avoid using harsh chemicals or cleaners before, during, or after the roto rooting process, as they can cause damage to your plumbing and harm the environment.
- Regularly maintain your toilet and pipes by flushing them with hot water and a mild cleaner to help prevent clogging in the first place.
- If you encounter any issues or have questions about using a roto rooter, consult the manufacturer’s instructions or contact a professional for guidance.
- Always ensure that there is proper ventilation in the room when using a roto rooter to avoid inhaling any fumes or unpleasant odors.
- Consider investing in a high-quality, durable roto rooter for long-term use and efficient results.
- It may be helpful to practice using a roto rooter on a small, easy clog before attempting to tackle more significant or complicated blockages.
- Remember to take breaks and stay hydrated while using a roto rooter, as it can be physically demanding work.
By following these tips and tricks and using your roto rooter with caution, you can easily handle clogs in your toilet without the need for expensive plumbing services. Happy unclogging!
Conclusion
Using a roto rooter to clear a clogged toilet is a practical and cost-effective solution for addressing blockages without requiring professional assistance. By following the provided step-by-step instructions on how to roto rooter a toilet and adhering to the additional tips, you can confidently and safely tackle the most common clogs. Patience, preparation, and proper maintenance are key to ensuring a successful outcome and preventing future issues.
Remember to always prioritize safety, cleanliness, and care for your plumbing system during the process. With the right approach, you can keep your toilet in optimal working condition and avoid unnecessary expenses.
About the Author
Adrian Green is a passionate woodworking enthusiast who has dedicated his life to the craft of woodworking. From his early days working alongside his father in the family woodworking shop, Adrian has honed his skills and developed a deep love for creating beautiful, functional pieces with his hands. As the voice behind The Woodenify Blog, he shares his knowledge, tips, and inspiration with fellow woodworkers of all skill levels, helping them build confidence in their abilities while learning new techniques.
Professional Focus
- Specializes in DIY woodworking projects, from furniture making to home décor.
- Provides step-by-step guides, tips, and practical tutorials for woodworkers at any skill level.
- Focused on empowering readers with confidence and knowledge through easy-to-follow instructions and hands-on techniques.
- Passionate about building a community where makers can share, learn, and grow together in the world of woodworking.
Education History
University of Craft and Design – Bachelor of Fine Arts (BFA) in Woodworking and Furniture Design
Woodworking Apprenticeships – Gained extensive hands-on experience through various workshops and mentorships with seasoned craftsmen, refining carpentry and furniture-making skills.
Expertise
- DIY woodworking, carpentry, furniture making, and home décor projects.
- Creating clear, accessible tutorials and guides for beginner to advanced woodworkers.
- Helping readers experience the satisfaction and fulfillment of turning raw materials into stunning finished products.