
Painting shower tiles is an effective and budget-friendly way to refresh the look of your bathroom without undergoing a full renovation. With the right tools, preparation, and technique, you can achieve a durable and professional-looking finish. This guide will walk you through the steps of how to paint shower tiles not only look great but also withstand the moisture and wear typical of a shower environment.
Cost-Effective Way to Refresh Bathroom Aesthetics
Painting shower tiles is one of the most affordable ways to transform your bathroom’s appearance. Unlike replacing tiles, which can be expensive and labor-intensive, painting allows you to achieve a fresh, modern look at a fraction of the cost. By using specialized tile paint and following proper preparation steps, you can revamp dull or outdated tiles without breaking the bank. This approach not only saves money but also minimizes waste, making it an eco-friendly option for breathing new life into your bathroom space.
Unique Shower Tiles Design Ideas
When painting your shower tiles, you have the perfect opportunity to experiment with creative and unique designs that can transform your bathroom into a personalized sanctuary. Consider these ideas to inspire your project:
- Geometric Patterns
Add a modern touch with clean, angular designs like chevrons, hexagons, or diamonds. Use painter’s tape to achieve sharp, crisp lines and play with contrasting or complementary colors for a striking effect.
- Ombre Effect
Create a gradient color shift across your tiles, transitioning smoothly from light to dark tones. This design works beautifully in minimalist bathrooms, adding subtle elegance.
- Stencil Art
Use stencils to apply intricate designs like floral motifs, Moroccan patterns, or classic tile textures. This technique allows for precision and adds character to your shower space.
- Two-Tone Design
Divide your shower tiles into two sections, painting one half with a bold color and the other with a neutral or muted tone. This design adds depth and visual interest without overwhelming the space.
- Abstract Art
For a more artistic approach, consider painting abstract shapes, splashes, or brushstroke patterns. This freeform style creates a unique and creative vibe.
With a little inspiration and your personal touch, painted shower tiles can become a standout feature of your bathroom while reflecting your individual style.
10 Methods How to Paint Shower Tiles
1. Properly Cleaning the Tiles Before Painting
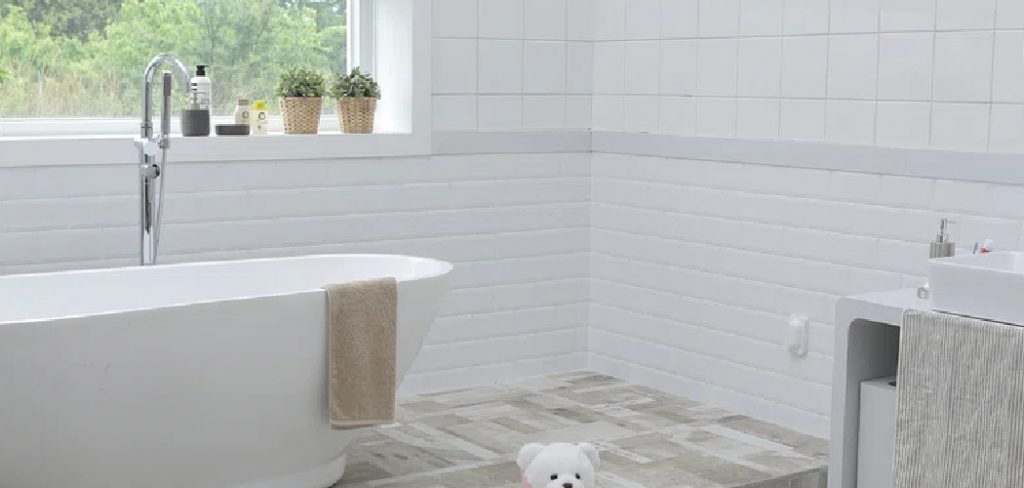
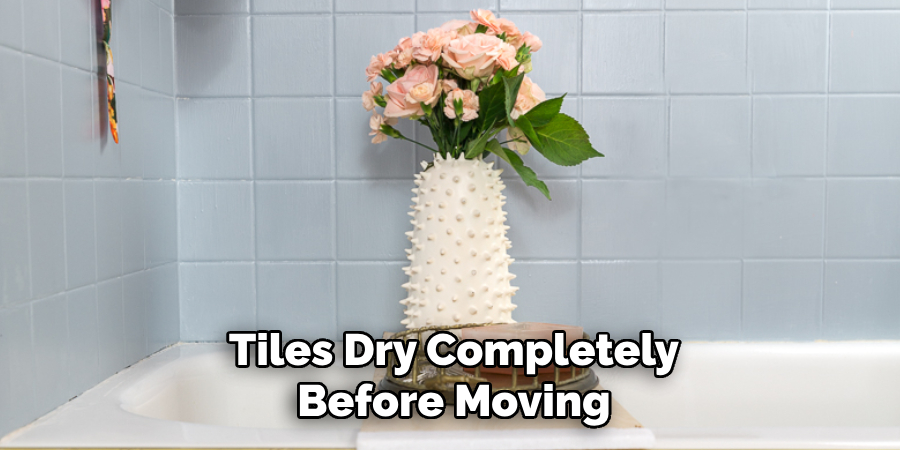
Before beginning the painting process, thoroughly cleaning the shower tiles is essential. Any residue from soap scum, mold, or mildew can prevent paint from adhering correctly. Use a strong tile cleaner or a mixture of equal parts white vinegar and water to remove dirt and grime. For stubborn stains, a baking soda paste or a commercial degreaser can be effective. Scrub the tiles with a sponge or a soft-bristle brush, ensuring that grout lines are also cleaned. Rinse thoroughly and let the tiles dry completely before moving on to the next step.
2. Sanding the Tiles for Better Adhesion
Since most shower tiles have a glossy, non-porous surface, sanding is necessary to create a rough texture that allows the paint to adhere. Use fine-grit sandpaper (around 220-grit) or a sanding block to lightly scuff the tile surface. Be sure to sand evenly, avoiding excessive pressure that could damage the tiles. Once done, wipe away the dust with a damp cloth and let the tiles dry completely. This step is critical for ensuring the paint bonds well with the tile surface.
3. Applying a High-Quality Primer
A bonding primer is crucial for a successful tile painting project, as it helps the paint stick to the slick tile surface. Choose a high-quality epoxy or urethane-based primer specifically designed for use on tiles and other non-porous materials. Apply the primer with a high-density foam roller for a smooth finish or a brush for hard-to-reach areas like grout lines. Allow the primer to dry according to the manufacturer’s instructions, usually 24 hours, before proceeding with painting.
4. Choosing the Right Type of Paint
For durability in a high-moisture environment like a shower, it’s essential to use the right type of paint. Epoxy-based paint is the best option, as it forms a hard, water-resistant finish that withstands moisture and frequent cleaning. Other alternatives include oil-based or latex enamel paints, but they require a waterproof sealant for added protection. Avoid standard wall paints, as they will not hold up against water exposure and will peel over time.
5. Using the Proper Painting Technique
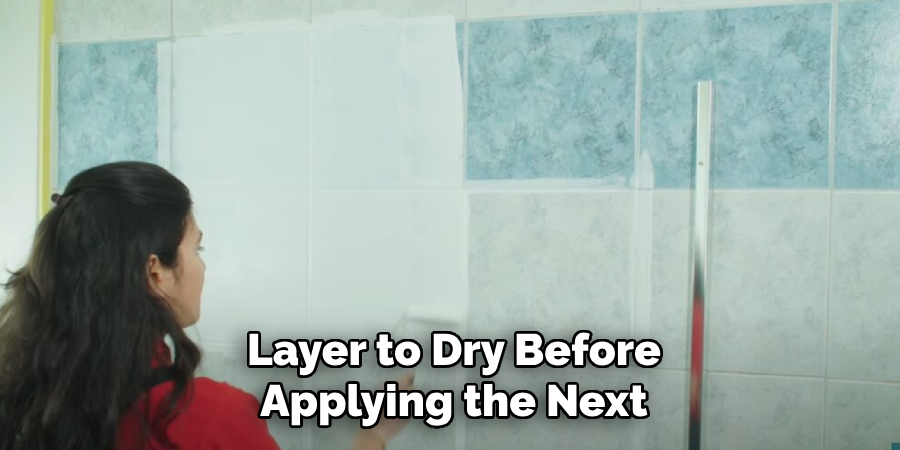
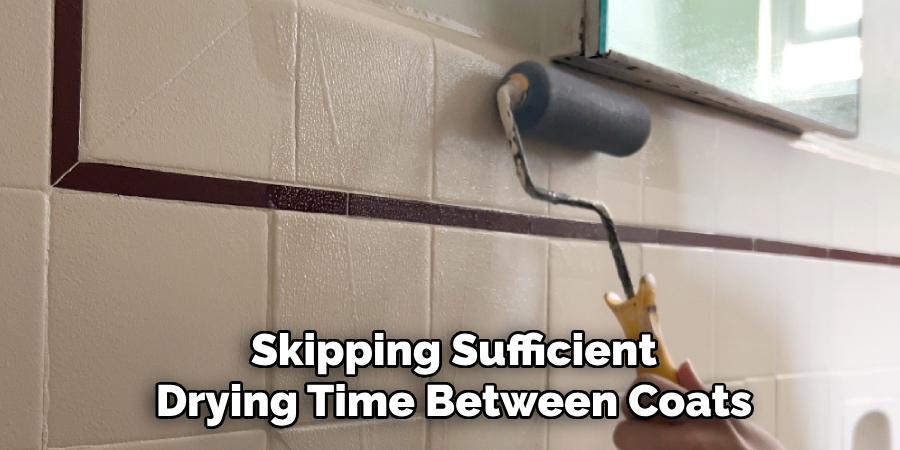
Applying paint correctly can make a significant difference in achieving a professional-looking finish. Use a high-quality synthetic bristle brush to paint the grout lines first, then follow with a high-density foam roller for the tile surfaces. Apply thin, even coats, allowing each layer to dry before applying the next. Typically, two to three coats are needed for full coverage. Avoid overloading the roller with paint to prevent drips and streaks, and always work in small sections to maintain control over the application.
6. Sealing the Painted Tiles for Durability
Since shower tiles are exposed to constant moisture, sealing the paint is a crucial step to ensure longevity. A clear polyurethane or epoxy sealant provides a waterproof barrier that protects the painted surface from chipping and peeling. Use a foam roller or brush to apply the sealant evenly, ensuring all grout lines and tile surfaces are covered. Allow the sealant to cure for at least 48 hours before using the shower. This step significantly extends the lifespan of the painted tiles.
7. Allowing Sufficient Drying and Curing Time
Patience is key when painting shower tiles. While the paint may feel dry to the touch within hours, it requires a longer curing time to fully harden and become water-resistant. Most tile paints require at least 24-48 hours before light use, but for best results, avoid exposing the painted tiles to moisture for at least a week. This allows the paint and sealant to bond completely, ensuring a durable finish that won’t peel or crack prematurely.
8. Maintaining the Painted Tiles Properly
Once your tiles are painted, proper maintenance is essential for longevity. Avoid using harsh chemical cleaners or abrasive scrubbing pads that could damage the painted surface. Instead, opt for mild soap and a soft sponge when cleaning. Wipe down the tiles after each shower to prevent excessive moisture buildup. Regular maintenance will help preserve the finish and extend the life of your painted shower tiles.
9. Using Stencils for Decorative Designs
If you want to add a unique touch to your painted tiles, consider using stencils to create decorative patterns. Geometric shapes, floral patterns, or faux grout designs can enhance the aesthetic appeal of your bathroom. After applying the base coat of paint, position the stencil over the tile and use a small foam roller or stencil brush to apply a contrasting color. Allow the design to dry before sealing with a clear waterproof topcoat. Stenciling is an excellent way to personalize your shower space while maintaining a professional appearance.
10. Testing a Small Area Before Full Application
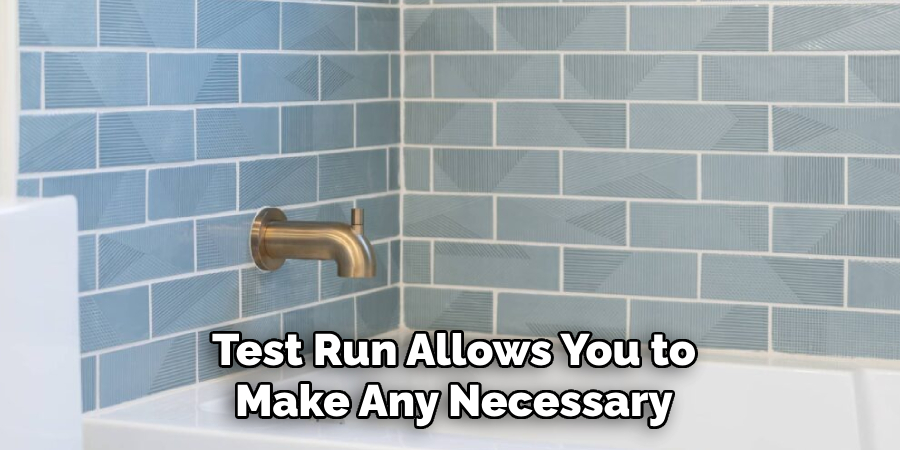
Before committing to painting all your shower tiles, it’s a good idea to test a small, inconspicuous area first. Apply the primer, paint, and sealant to a single tile and allow it to cure completely. Observe how well the paint adheres and whether it holds up against moisture and cleaning. This test run allows you to make any necessary adjustments before painting the entire shower, ensuring a successful outcome.
Common Mistakes to Avoid
When painting shower tiles, avoiding common mistakes can save time, effort, and ensure a professional-quality finish. One major error is skipping the preparation steps, such as cleaning and sanding the tiles thoroughly. Neglecting these steps can lead to poor paint adhesion and peeling over time. Another frequent mistake is using the wrong type of paint or primer—standard wall paints are not designed for high-moisture areas and will fail quickly when exposed to water.
Overloading brushes or rollers with paint is also problematic, as it can cause drips, streaks, and an uneven finish. Rushing the drying and curing process is another pitfall; skipping sufficient drying time between coats or exposing the tiles to moisture too soon can result in a fragile, easily damaged surface. Finally, failing to seal the tiles properly is a critical mistake. Without a durable, waterproof sealant, even the best paint jobs will degrade quickly in a high-moisture environment like a shower. Taking the time to address these issues ensures your painted tiles remain beautiful and durable for years to come.
Conclusion
Painting shower tiles is an excellent way to give your bathroom a fresh, modern look without the expense of a full renovation. By following these 10 methods—from thorough cleaning and sanding to using the right paint, sealant, and maintenance techniques—you can achieve a durable and professional finish. Proper preparation, patience during the drying process, and ongoing care will ensure that your painted tiles remain beautiful and functional for years to come. Thanks for reading our blog post on how to paint shower tiles! We hope you found it helpful and informative.
About the Author
Adrian Green is a passionate woodworking enthusiast who has dedicated his life to the craft of woodworking. From his early days working alongside his father in the family woodworking shop, Adrian has honed his skills and developed a deep love for creating beautiful, functional pieces with his hands. As the voice behind The Woodenify Blog, he shares his knowledge, tips, and inspiration with fellow woodworkers of all skill levels, helping them build confidence in their abilities while learning new techniques.
Professional Focus
- Specializes in DIY woodworking projects, from furniture making to home décor.
- Provides step-by-step guides, tips, and practical tutorials for woodworkers at any skill level.
- Focused on empowering readers with confidence and knowledge through easy-to-follow instructions and hands-on techniques.
- Passionate about building a community where makers can share, learn, and grow together in the world of woodworking.
Education History
University of Craft and Design – Bachelor of Fine Arts (BFA) in Woodworking and Furniture Design
Woodworking Apprenticeships – Gained extensive hands-on experience through various workshops and mentorships with seasoned craftsmen, refining carpentry and furniture-making skills.
Expertise
- DIY woodworking, carpentry, furniture making, and home décor projects.
- Creating clear, accessible tutorials and guides for beginner to advanced woodworkers.
- Helping readers experience the satisfaction and fulfillment of turning raw materials into stunning finished products.