
Are you annoyed by the constant gurgling or sputtering noises coming from your house water pipes? Not only can it be irritating, but it can also affect the overall water pressure and quality in your home.
Air trapped in house water pipes can cause several issues, including sputtering faucets, uneven water flow, and noisy pipes. These problems are often the result of changes in water pressure, system repairs, or the introduction of air into the plumbing system. Fortunately, removing air from water pipes is a straightforward process that can often be done without professional assistance.
This guide on how to remove air from house water pipes will walk you through simple and effective steps to eliminate trapped air and restore smooth, consistent water flow in your home.
What Are the Benefits of Removing Air From House Water Pipes?
Before we dive into the steps to remove air from your house water pipes, let’s first understand why it’s essential.
- Improved Water Pressure: Trapped air can cause blockages and disruptions in the water flow, reducing water pressure. Removing the air can restore proper and consistent water pressure in your home.
- Noise Reduction: As mentioned earlier, trapped air can create loud gurgling or sputtering noises in your pipes. You can enjoy a quieter and more peaceful living environment by eliminating this excess air.
- Better Quality Water: When too much air in the pipes, it can affect the water quality from your faucets. Removing air can improve water clarity and taste, making it more enjoyable for drinking or cooking.
- Prevents Damage to Pipes: Excessive air in the pipes can cause pressure build-up, which can lead to damage or even bursts in the plumbing system. By regularly removing air from your house water pipes, you can prevent potentially costly repairs and replacements in the future.
What Will You Need?
To successfully remove air from your house water pipes, you will need a few basic tools and materials:
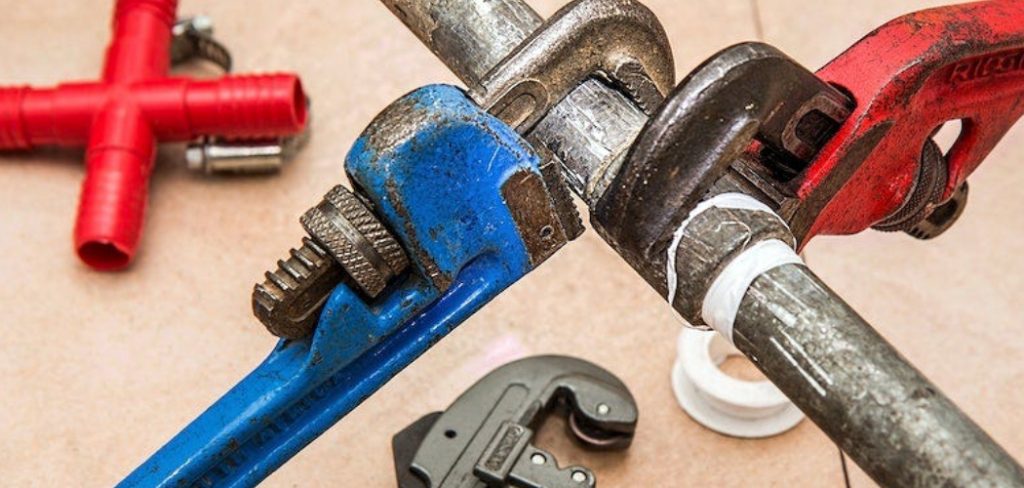
- A pair of pliers
- An adjustable wrench
- A bucket or container to catch any water that may come out during the process
Once you have these items on hand, you can begin removing air from your house water pipes.
10 Easy Steps on How to Remove Air From House Water Pipes
Step 1. Turn Off the Main Water Supply:
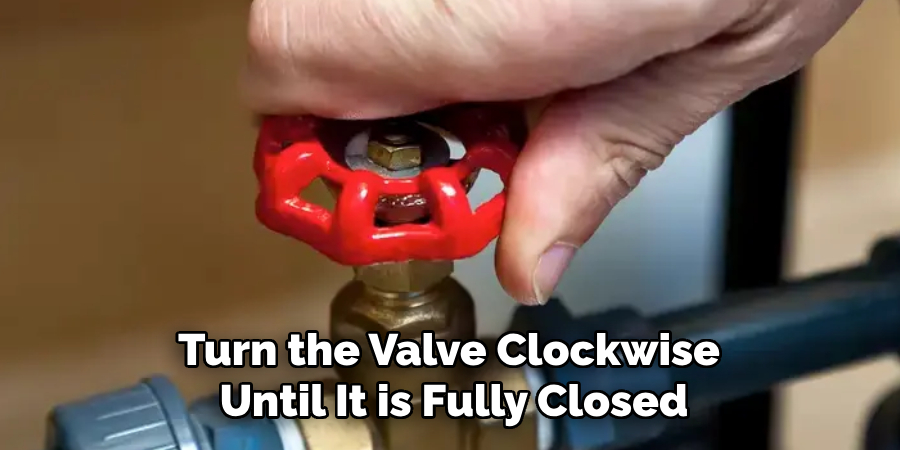
Locate the main water supply valve in your home. This is typically found where the water line enters your house, such as in a basement, crawl space, or utility room. Turn the valve clockwise until it is fully closed to stop water flow into your plumbing system. Ensure all household members know that the water supply will be temporarily shut off to avoid unintended use. Shutting off the main water supply is crucial, as it ensures safety while preventing any additional air or water from entering the pipes during the process. Once the water supply is off, you can proceed confidently to the next step.
Step 2. Open All Faucets in the House:
Go through your home and open every hot and cold faucet to allow any trapped air and residual water to escape. Start with the faucets on the highest floor and work your way down to the lowest floor. In this process, don’t forget to include outdoor spigots and other fixtures, like showers or tubs. This ensures that all air pockets have a clear path to exit the system. Leave the faucets open while you proceed with the following steps.
Step 3. Drain the Water Heater:
Locate your water heater and connect a garden hose to the drain valve at the bottom of the tank. Direct the hose to a safe drainage location, such as a floor drain or an outdoor area. Open the drain valve and allow the water to flow out ultimately. This step removes any remaining water in your plumbing system and prevents potential issues, such as sediment buildup in the water heater. Be cautious, as the water draining from the heater may still be hot. Make sure the tank is fully drained before moving on.
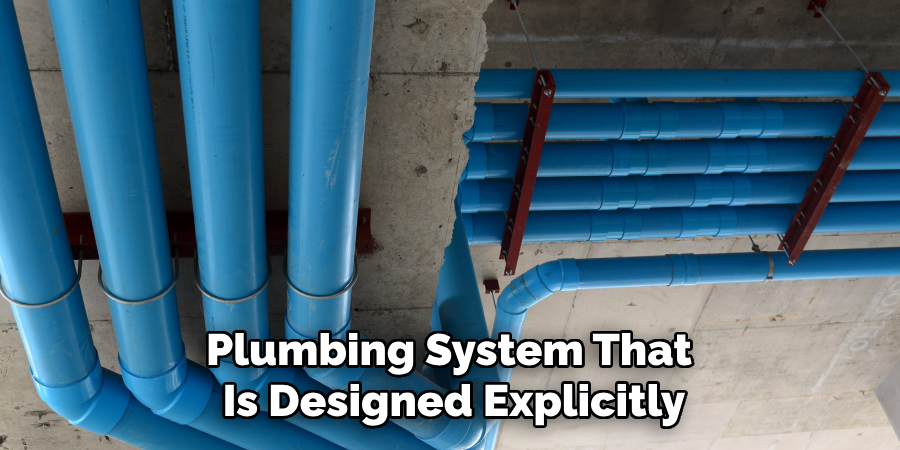
Step 4. Blow Out the Pipes:
Attach an air compressor to the fitting on your plumbing system that is designed explicitly for blowing out water lines. Begin applying compressed air starting from the fixture closest to the air compressor and gradually work toward the farthest fixtures indoors and outdoors. This step ensures that any remaining water is pushed out of the pipes, reducing the risk of freezing and damage during colder months. Repeat the process for all fixtures and ensure no residual water is left in the system.
Step 5. Close All Valves and Fixtures:
After ensuring that all water has been removed from the system, close all valves and opened fixtures during the draining and blow-out process. This includes closing the drain valve on the water heater, shutting off faucets, and securing any outdoor spigots. Double-check to confirm that everything is tightly sealed, as this will help maintain the integrity of the plumbing system and prevent any debris or pests from entering while it is not in use.
Step 6. Insulate Exposed Pipes:
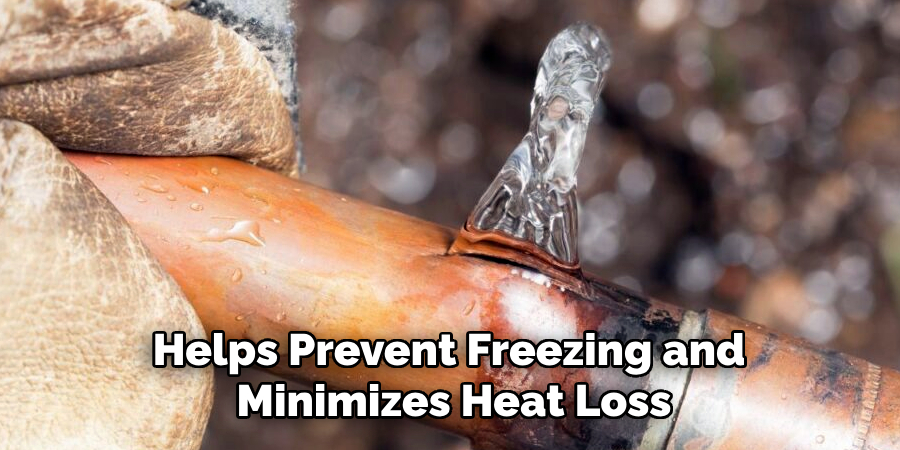
To protect against freezing temperatures, insulate any exposed pipes, especially those in unheated areas such as basements, attics, or crawl spaces. Use foam pipe insulation, heat tape, or other appropriate materials for cold-weather protection. Proper insulation helps prevent freezing and minimizes heat loss, making your plumbing system more energy-efficient. Ensure that the insulation is securely fastened and covers the entire length of the exposed pipes for maximum effectiveness.
Step 7. Inspect and Maintain Your Pumps:
If your plumbing system includes sump or other water pumps, ensure they are in good working condition before winter. Test the pumps by pouring water into the basin to trigger activation and ensure they function correctly. Clean out any debris accumulated around or within the pump to prevent blockages. Additionally, if the pump features a backup power source, verify that it is charged and operational. Regular maintenance of your pumps is essential to protect your home from flooding and other water-related issues during the colder months.
Step 8. Disconnect and Drain Outdoor Hoses:
Before freezing temperatures arrive, disconnect and drain all outdoor hoses to prevent water from freezing inside them. Frozen water can expand and cause damage to the hose itself, as well as the connected faucet or supply pipe. Once drained, store the hoses indoors or in a protected area to preserve their longevity. Additionally, shut off the water supply to outdoor faucets, and consider using insulated faucet covers to provide extra protection against freezing.
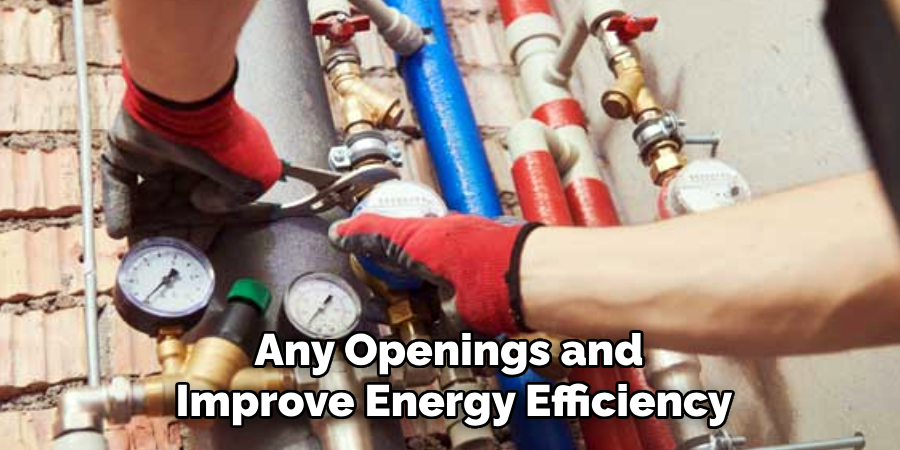
Step 9. Inspect and Seal Windows and Doors:
Check all windows and doors for any gaps, cracks, or drafts that could allow cold air to enter your home. Use weatherstripping or caulking to seal any openings and improve energy efficiency. For added insulation, consider using draft stoppers or applying window film to reduce heat loss. Properly sealed windows and doors can help maintain a comfortable indoor temperature and lower heating costs during the winter months.
Step 10. Clean Gutters:
Before winter sets in, clean out all gutters and downspouts to remove any leaves, debris, or blockages. Clogged gutters can prevent proper drainage, leading to ice dams that may cause water damage to your roof and walls. After cleaning, inspect the gutters for any damage or loose parts and make necessary repairs. Consider installing gutter guards to reduce debris buildup and ensure smooth water flow throughout the colder months. Properly maintained gutters are essential for protecting your home from winter-related damage.
By following these steps, you can effectively prepare your plumbing system for winter and prevent potential issues that may arise.
5 Things You Should Avoid
- Ignoring the Main Water Supply: Always turn off the main water supply before attempting to remove air from the pipes. Failing to do so could result in water spraying uncontrollably, leading to potential flooding and water damage.
- Using Extreme Water Pressure: Do not use excessively high water pressure to clear the air. This could damage the pipe fittings or even cause leaks, creating a bigger problem than the trapped air.
- Neglecting to Open All Faucets: Avoid only opening a single faucet when eliminating air from the system. Opening all faucets in your house is essential to ensure air bubbles are fully cleared from the entire plumbing network.
- Overlooking Trapped Air in Appliances: Appliances like washing machines and dishwashers can also trap air in their connections. Forgetting to release air from these can lead to inconsistent operation or even damage to these appliances over time.
- Not Checking for Leaks After Purging: Failing to check for leaks can result in unnoticed water damage after removing air from the pipes. Always inspect for any signs of dripping or moisture to ensure the system is properly sealed and functioning correctly.
Conclusion
How to remove air from house water pipes is a manageable process when approached methodically.
Following the outlined steps — such as shutting off the water supply, draining the system, and gradually reintroducing water while ensuring all faucets and appliances are addressed — you can restore your plumbing system to regular operation without unnecessary complications. Remember to proceed carefully, avoid common mistakes, and thoroughly check for leaks afterward.
Regular maintenance and prompt action can help prevent air blockages, ensuring an efficient and reliable water supply in your home.
About the Author
Adrian Green is a passionate woodworking enthusiast who has dedicated his life to the craft of woodworking. From his early days working alongside his father in the family woodworking shop, Adrian has honed his skills and developed a deep love for creating beautiful, functional pieces with his hands. As the voice behind The Woodenify Blog, he shares his knowledge, tips, and inspiration with fellow woodworkers of all skill levels, helping them build confidence in their abilities while learning new techniques.
Professional Focus
- Specializes in DIY woodworking projects, from furniture making to home décor.
- Provides step-by-step guides, tips, and practical tutorials for woodworkers at any skill level.
- Focused on empowering readers with confidence and knowledge through easy-to-follow instructions and hands-on techniques.
- Passionate about building a community where makers can share, learn, and grow together in the world of woodworking.
Education History
University of Craft and Design – Bachelor of Fine Arts (BFA) in Woodworking and Furniture Design
Woodworking Apprenticeships – Gained extensive hands-on experience through various workshops and mentorships with seasoned craftsmen, refining carpentry and furniture-making skills.
Expertise
- DIY woodworking, carpentry, furniture making, and home décor projects.
- Creating clear, accessible tutorials and guides for beginner to advanced woodworkers.
- Helping readers experience the satisfaction and fulfillment of turning raw materials into stunning finished products.