
Are you tired of taking cold showers every day? Then you’ve come to the right place!
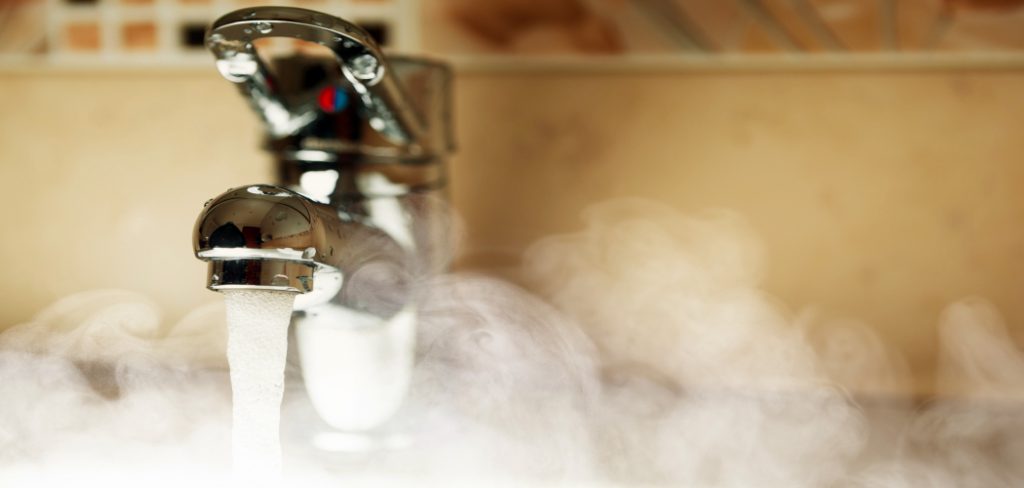
Having issues with hot water in your shower can be a frustrating experience, especially when you’re looking forward to a relaxing, warm rinse after a long day. Whether the water isn’t heating up at all, fluctuates between hot and cold, or simply isn’t reaching the desired temperature, there are several possible causes behind the problem. The good news is that many of these issues can be addressed with straightforward troubleshooting and repairs.
This guide on how to fix hot water in shower will walk you through the steps to identify and fix common problems with hot water in your shower so you can get back to enjoying a comfortable and consistent showering experience.
What Are the Causes of Hot Water Issues in Showers?
Before jumping into the solutions, it’s essential to understand the potential causes of hot water problems in your shower. Some common factors that can contribute to a lack of hot water include:
- A faulty or malfunctioning water heater
- Sediment buildup in the tank
- Issues with the thermostat or heating element
- Leaks in the plumbing system
- Old or corroded pipes
It’s also worth noting that certain types of showers, such as electric and gas-powered models, may have different underlying issues regarding hot water problems. It’s always best to consult your specific shower manual or seek professional help if you’re unsure about how to troubleshoot and
What Will You Need?
Before attempting to fix hot water in your shower, gathering the necessary tools and materials is important. Depending on the cause of the problem, you may need:
- A screwdriver
- Wrenches
- Multimeter
- Replacement parts (e.g., heating element, thermostat)
- Pipe cutter or pliers
Once you have these items on hand, you’ll be ready to start troubleshooting and fixing the issue with your shower’s hot water.
10 Easy Steps on How to Fix Hot Water in Shower
Step 1: Turn Off the Water Supply

Before beginning any repair work, turning off the water supply to your shower is crucial. This step ensures safety and prevents accidental leaks or water damage during the repair process. Locate the main water valve or the valve specific to your shower. If you’re working on a standalone shower, there may be a dedicated shutoff valve near the plumbing. Turn the valve clockwise until it is fully closed. If you cannot locate this valve, you may need to turn off the main water supply to your home.
Once the water supply is off, turn on the shower to drain any remaining water, ensuring the pipes are empty. This step creates a safer working environment and makes it easier to perform repairs without dealing with undue water pressure or leakage.
Step 2: Inspect the Shower Valve
Once the water supply is turned off and the system is drained, the next step is to inspect the shower valve. The shower valve is critical for mixing hot and cold water to reach the desired temperature. Start by removing the handle or knob of the shower faucet, which usually requires unscrewing a visible screw or a hidden one under a decorative cover. Once the handle is removed, use a flashlight to carefully examine the valve for signs of wear, damage, or mineral buildup. You may need to clean or replace the valve if you notice any corrosion, cracks, or obstructions.
Cleaning can often be done with vinegar and water to dissolve mineral deposits. However, purchasing a compatible replacement part is recommended if the valve is beyond repair. Reassembling the handle after inspection will prepare the system for further troubleshooting or repairs.
Step 3: Check for Leaks
After inspecting the shower valve, it’s essential to check for any leaks within the system. Turn the water supply back on slowly and observe the areas surrounding the shower valve and connections. Pay attention to any dripping or pooling water, which may indicate a loose fitting or a damaged component. Tighten any loose connections using a wrench or pliers, but be careful not to overtighten, as this could cause further damage. If leaks persist despite adjustments, consider replacing the affected parts to ensure a watertight seal. Resolving leaks at this stage prevents potential water damage and allows the shower operate efficiently.
Step 4: Test the Shower Functionality
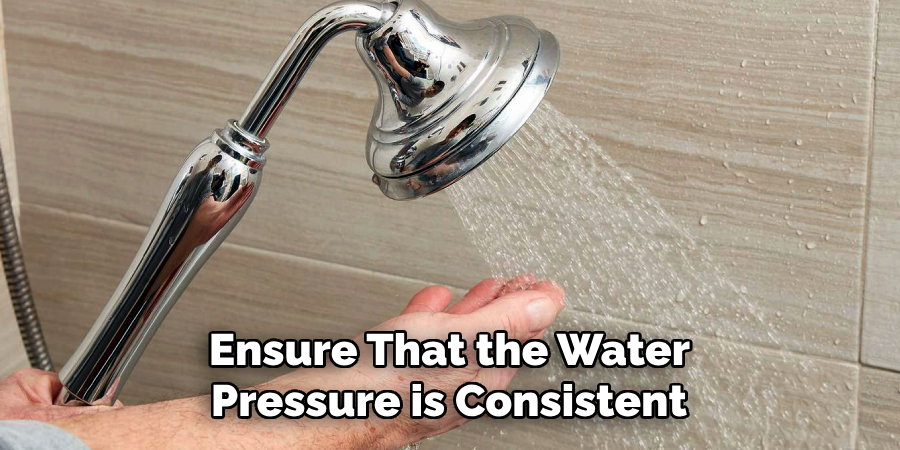
Once the leaks have been addressed, the final step is to test the overall functionality of the shower. Turn the water supply back on fully and operate the shower handle or controls to check for proper water flow and temperature adjustment. Ensure that the water pressure is consistent and that there are no unusual noises or irregularities during operation. If the shower functions as expected, the repair process is complete. However, if any issues remain, recheck the previous steps to identify potential oversights or seek professional assistance for complex repairs. Testing ensures the shower is safe and ready for regular use.
Step 5: Clean Up the Work Area
After ensuring the shower is functioning correctly, take some time to clean up the work area. Remove any tools, old parts, or debris from the repair process. Wipe down the surfaces around the shower to ensure no leftover residue or mess remains. Proper cleanup not only leaves the space tidy but also ensures no obstructions or hazards are left behind, providing a safe and functional bathroom environment. A thorough cleanup marks the completion of the repair process.
Step 6: Prevent Future Issues
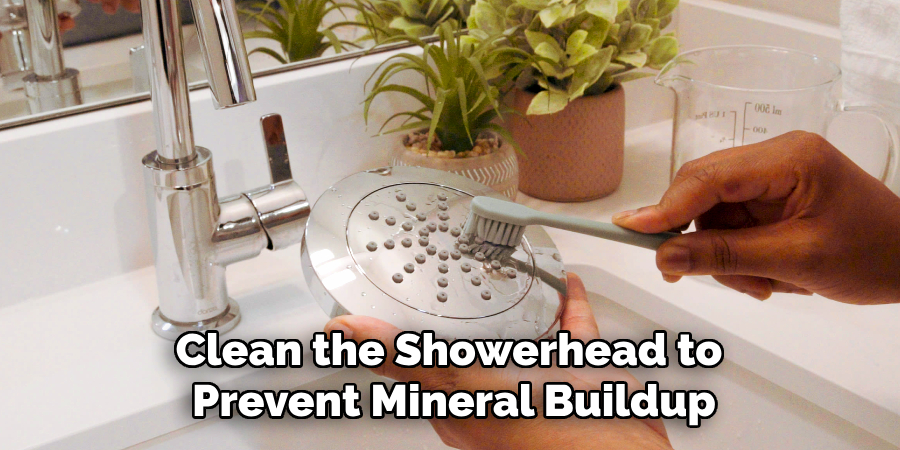
To avoid future problems, implement regular maintenance for your shower. Check for leaks or drips periodically, as these can indicate wear on seals or components. Clean the showerhead to prevent mineral buildup, which can affect water flow. Additionally, inspect the caulking and grout around the shower to ensure they are intact and free of damage, as this helps prevent water from seeping behind tiles or walls. Proactive care extends the lifespan of your shower and minimizes the need for extensive repairs in the future.
Step 7: Seek Professional Assistance if Needed
If you encounter issues beyond your skill level or shower problems persist despite your efforts, don’t hesitate to seek professional assistance. A licensed plumber or contractor can diagnose and repair more complex issues efficiently, ensuring the problem is resolved correctly. Professional help can save time, prevent costly mistakes, and provide peace of mind knowing your shower is in optimal condition.
Step 8: Perform Regular Maintenance
Schedule regular maintenance checks to maintain your shower’s efficiency and longevity. This includes cleaning the showerhead and faucets to remove mineral deposits, inspecting seals and caulking for wear, and checking for leaks or unusual noises. Regular upkeep ensures that small issues are addressed promptly, preventing them from developing into more significant, costlier problems.
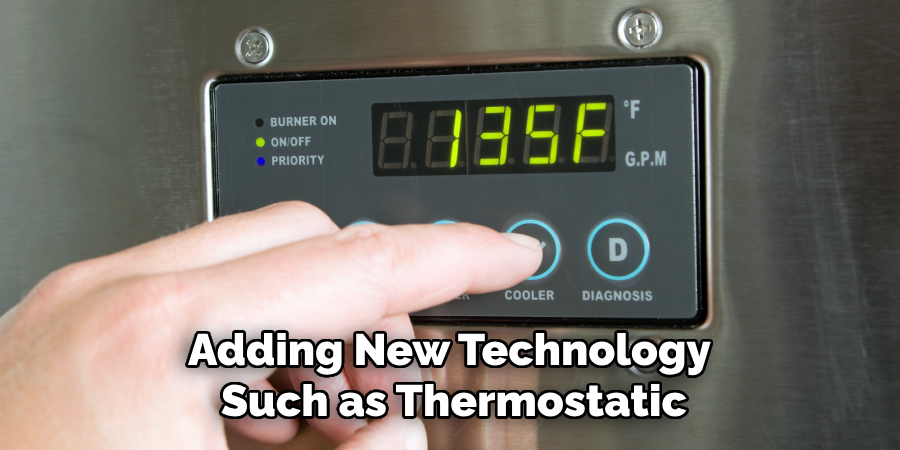
Step 9: Upgrade When Necessary
Over time, your shower system may become outdated or less efficient. Consider upgrading your shower components if you notice persistent problems, outdated fixtures, or a lack of modern features. Installing a water-saving showerhead, improving water pressure, or adding new technology such as thermostatic controls can enhance your shower experience and increase the value of your home. An upgrade can also improve water efficiency and energy savings in the long run.
Step 10: Optimize Water Temperature
Maintaining the ideal water temperature is crucial for both comfort and safety. Regularly test the temperature settings on your water heater and adjust as needed to ensure the water is not too hot or cold. For families with young children or elderly members, it’s essential to set a safe maximum temperature to avoid accidental burns. Investing in a thermostatic shower valve can help maintain a consistent temperature and improve overall shower functionality.
By following these steps and implementing regular maintenance, you can ensure your shower remains in excellent condition.
5 Things You Should Avoid
- Ignoring the Root Cause of the Problem: Simply addressing the symptoms without identifying the root cause can lead to recurring issues. For example, temporarily adjusting the shower settings won’t provide a long-term solution if the water heater is malfunctioning or the pipes are clogged.
- Using Incorrect Tools or Techniques: Attempting to fix hot water issues without the proper tools or sufficient knowledge can cause more damage. This includes over-tightening connections, damaging pipes, or incorrectly adjusting the water heater settings.
- Neglecting Safety Precautions: Working with plumbing systems often involves handling hot water, sharp tools, or electrical components. Failing to take proper safety measures, like turning off the water supply or the electricity to the water heater, can lead to injury or further damage.
- Overlooking Water Heater Maintenance: Many hot water problems stem from neglected water heaters. Forgetting to flush the water heater regularly, inspecting its components, or replacing old parts can lead to inefficiencies and breakdowns.
- Overcomplicating Simple Fixes: Sometimes, the issue may be straightforward, like an incorrectly set temperature dial or a clogged showerhead. Avoid overthinking or attempting complex fixes before verifying these simple potential problems.
Conclusion
How to fix hot water in shower requires a systematic and cautious approach. Start by identifying the root of the problem, whether it’s the water heater, plumbing system, or individual components like shower fixtures.
Always prioritize safety by turning off water or electrical supplies before making adjustments. Address common issues such as sediment buildup in the water heater, temperature miss settings, or clogged fixtures affecting water flow. If the problem seems beyond your expertise, don’t hesitate to contact a professional plumber to ensure the issue is resolved correctly and efficiently.
Regular water heater and plumbing system maintenance can prevent future problems and keep your shower running smoothly.
About the Author
Adrian Green is a passionate woodworking enthusiast who has dedicated his life to the craft of woodworking. From his early days working alongside his father in the family woodworking shop, Adrian has honed his skills and developed a deep love for creating beautiful, functional pieces with his hands. As the voice behind The Woodenify Blog, he shares his knowledge, tips, and inspiration with fellow woodworkers of all skill levels, helping them build confidence in their abilities while learning new techniques.
Professional Focus
- Specializes in DIY woodworking projects, from furniture making to home décor.
- Provides step-by-step guides, tips, and practical tutorials for woodworkers at any skill level.
- Focused on empowering readers with confidence and knowledge through easy-to-follow instructions and hands-on techniques.
- Passionate about building a community where makers can share, learn, and grow together in the world of woodworking.
Education History
University of Craft and Design – Bachelor of Fine Arts (BFA) in Woodworking and Furniture Design
Woodworking Apprenticeships – Gained extensive hands-on experience through various workshops and mentorships with seasoned craftsmen, refining carpentry and furniture-making skills.
Expertise
- DIY woodworking, carpentry, furniture making, and home décor projects.
- Creating clear, accessible tutorials and guides for beginner to advanced woodworkers.
- Helping readers experience the satisfaction and fulfillment of turning raw materials into stunning finished products.