
Replacing a sewer line can seem like a daunting task, but with careful planning and the right tools, it is manageable for those with some experience in home improvement or plumbing. This guide on how to replace sewer line will walk you through the essential steps of the process, ensuring you can approach the project confidently and efficiently.
Whether you’re dealing with persistent clogs, leaks, or an outdated line, understanding the basics of sewer line replacement is the first step toward resolving the issue and maintaining a functional plumbing system.
What is a Sewer Line?
A sewer line is an essential component of a home’s plumbing system, responsible for transporting wastewater from your household to the municipal sewer system or a septic tank. Typically made from materials such as PVC, cast iron, or clay, sewer lines are designed to handle the flow of water and waste from sinks, toilets, showers, and other drains within your home.
Over time, these pipes can become damaged or clogged due to age, tree root intrusion, shifting soil, or accumulated debris, which may lead to plumbing issues. Understanding the role and structure of a sewer line is crucial when addressing repairs or replacements.
Why Do You Need to Replace a Sewer Line?
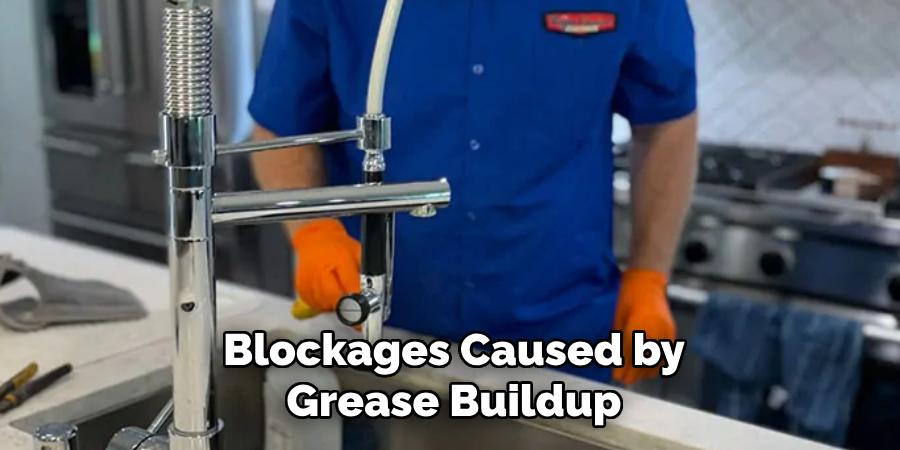
There are several reasons why replacing a sewer line might become necessary. One common cause is significant damage to the pipe, such as cracks or breaks, which can occur due to aging materials, pressure from shifting soil, or intrusion by tree roots. These issues can lead to leaks, water damage, and environmental hazards if left unchecked. Additionally, persistent clogs or blockages caused by grease buildup, debris, or even collapsing pipes can hinder the proper flow of wastewater, necessitating a replacement.
Another reason for replacement is outdated materials; older sewer lines made from clay, cast iron, or other less durable materials may degrade over time and no longer meet modern standards. Finally, major renovations or changes to your home that impact the plumbing system may also require an upgraded sewer line to accommodate increased water usage or altered layouts. Addressing these problems promptly ensures the safety, functionality, and efficiency of your plumbing system.
Needed Materials
Before beginning the process of replacing a sewer line, it is essential to gather all the necessary materials in one place. These may include:
- Shovels and Picks for Digging
- A Trenching or Excavating Machine (if Available)
- Pipe Wrenches and Pliers
- Hammers and Chisels
- Safety Gear, Such as Gloves, Goggles, and a Mask
- New Sewer Pipe or Fittings (if Necessary)
- Primer and Solvent Cement for Pvc Pipes
- Backfill Material Such as Gravel or Sand
8 Step by Step Guides on How to Replace Sewer Line
Step 1: Identify the Problem Area
The first step in replacing a sewer line is to locate the exact area that requires attention. Begin by observing signs of sewer line issues, such as slow drainage, foul odors, or frequent backups in your plumbing system. Once you’ve identified these warning signs, use diagnostic tools like a plumbing snake camera or hire a professional to perform a video inspection of the sewer line.
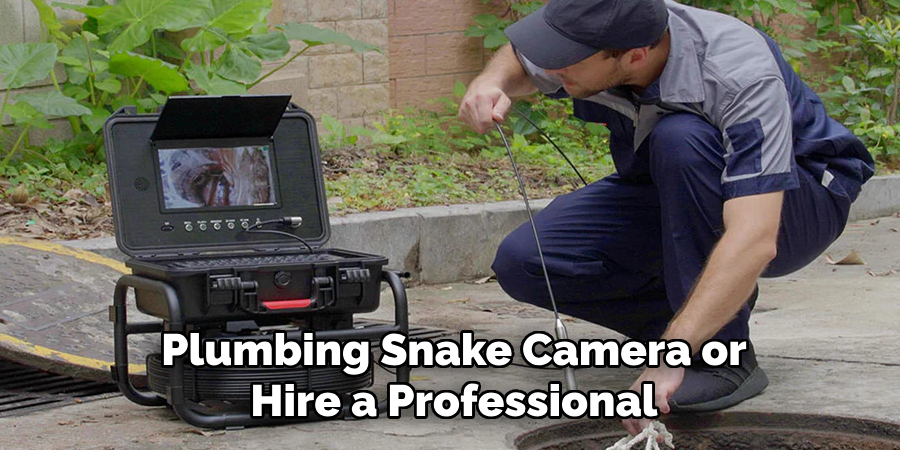
This process will help pinpoint the damaged or clogged section of the pipe. Accurate identification of the problem area ensures you focus your efforts on the correct portion of the sewer line, saving time and resources during the replacement process.
Step 2: Gather Necessary Permits and Check Local Regulations
Before commencing any work on the sewer line, it’s important to ensure you have obtained all necessary permits and are familiar with local regulations. Many jurisdictions require permits for sewer line work to ensure the project complies with building codes and does not pose a safety or environmental risk. Check with your local government or municipal office to determine the specific permits required for your area.
Additionally, be aware of any regulations regarding proper pipe materials, trenching depths, or connection protocols. Failing to comply with these rules could result in fines, project delays, or unsafe conditions. Taking the time to address these requirements beforehand ensures your work is lawful and adheres to all safety and quality standards.
Step 3: Prepare the Work Area
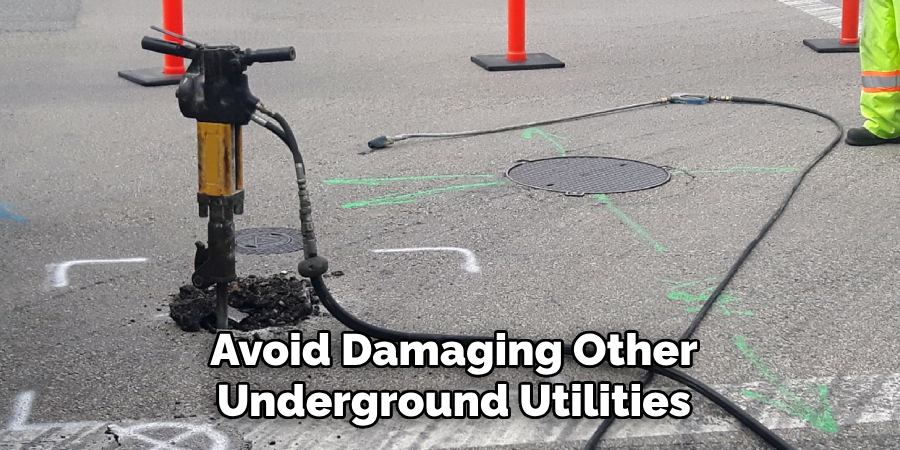
Once you have identified the problem area and obtained the necessary permits, the next step is to prepare the work area for excavation. Start by marking the section of ground directly above the damaged pipe using spray paint or flags to outline where digging will occur. Ensure you take precautions to locate and avoid other underground utilities, such as gas, water, or electrical lines, by contacting your local utility locator service.
Clear the area of any obstacles or debris to create a safe working environment. Set up barriers or warning signs to alert others to the ongoing work and prevent accidents. Additionally, all tools and safety gear should be gathered in a convenient location near the work site. Proper preparation of the work area minimizes potential hazards and ensures an organized and efficient excavation process.
Step 4: Dig Out the Old Sewer Line
Using shovels, picks, or an excavating machine, carefully dig out the old sewer line following the markings made in step three. Remember to work cautiously and avoid damaging other underground utilities or structures.
Once you’ve reached the pipe, use hammers and chisels to break apart any surrounding concrete or debris that may hinder access to the damaged section. Remove all excavated material from the work site and create a clear path for installing the new pipe.
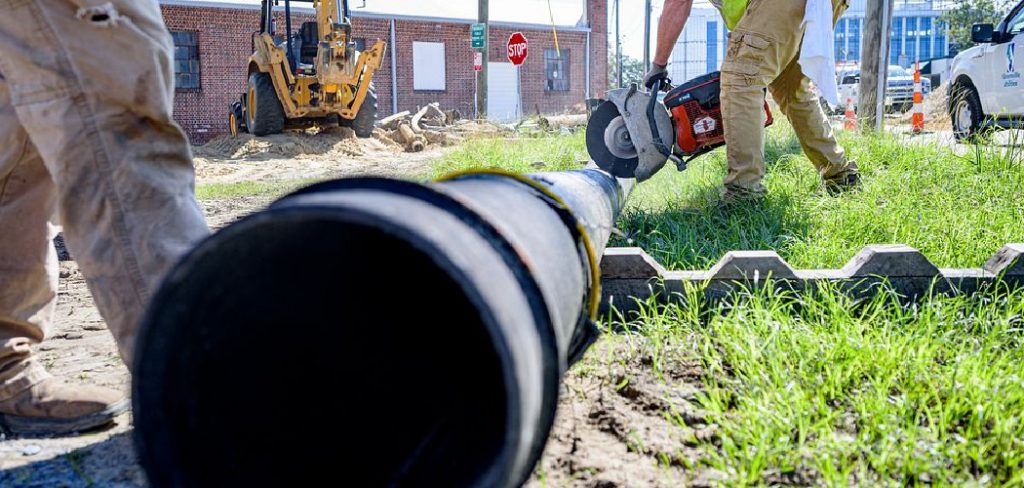
Step 5: Remove the Old Pipe
Once the old sewer line is fully exposed, carefully remove the damaged section of the pipe. Begin by using a pipe cutter or saw to disconnect the damaged segment from the rest of the sewer line. Make clean, straight cuts to ensure the new pipe can be connected seamlessly. If the old pipe is fragile or deteriorated, handle it gently to prevent further breakage and debris from entering the surrounding area.
Dispose of the removed pipe and any broken fragments in compliance with local waste disposal regulations. Take care to inspect the remaining sections of the sewer line for additional signs of wear or damage; if necessary, extend the replacement area to address any further issues. Proper removal of the old pipe ensures a clean and stable foundation for installing the new sewer line and prevents complications during the replacement process.
Step 6: Install the New Sewer Line
Before connecting the new sewer pipe, ensure it is properly aligned and cut to the appropriate length. This step may require measuring and cutting multiple sections of pipe to fit the specific replacement area accurately. Use pipe wrenches or pliers to tighten any necessary fittings securely. If using PVC pipes, apply primer and solvent cement to create a tight seal between joints.

Carefully lower the new sewer line into place, keeping in mind proper slope and alignment for efficient drainage. Ensure all connections are secure and check for any potential leaks before proceeding with backfilling.
Step 7: Backfill and Compact the Soil
Once the new sewer line is in place and connections have been checked, begin backfilling the excavated area with gravel or sand. This material provides a stable base for the new pipe and allows for proper drainage and settling of the ground above. Use hand tools to compact the soil firmly around the sewer line, preventing any shifting or movement that may cause future issues.
You may also need to add additional layers of backfill material and compact them between each layer until the ground is level with the surrounding area. Take care not to over-compact the soil, as this may cause further damage to the sewer line or create uneven ground above.
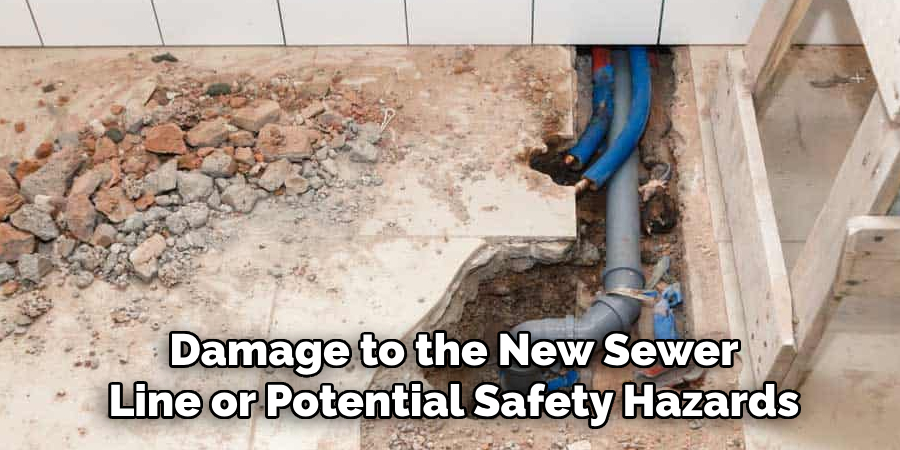
Step 8: Restore Surface Structures
After completing the replacement process and allowing time for the soil to settle, restore any surface structures or landscaping affected by excavation. Depending on local regulations, you may need to obtain additional permits or inspections before restoring sidewalks, driveways, or other structures near the work site. Ensure all surface repairs are completed accurately to prevent damage to the new sewer line or potential safety hazards.
Following these steps on how to replace sewer line will help you successfully replace a damaged sewer line and ensure your home or property is safe and functional. Remember to always take necessary precautions, follow local regulations, and seek professional assistance if needed to ensure the best possible outcome for your project. Happy digging!
Frequently Asked Questions
Q1: How Long Does It Take to Replace a Sewer Line?
A1: The time it takes to replace a sewer line can vary depending on factors such as the length of the pipe, depth of excavation, and any unforeseen issues that may arise. On average, it takes 3-5 days for a professional plumber to replace a residential sewer line.
Q2: How Much Does It Cost to Replace a Sewer Line?
A2: The cost of replacing a sewer line can also vary depending on various factors such as location, materials used, and labor costs. On average, it can cost anywhere from $3,000-$7,000 for a basic replacement for an average-sized home.
Q3: Can I Replace My Own Sewer Line?
A3: While it is possible to replace a sewer line on your own, it is not recommended. This task requires proper equipment, knowledge, and experience to ensure safety and efficiency. It is best to hire a professional plumber for this project.
Q4: How Often Should I Replace My Sewer Line?
A4: The lifespan of a sewer line can vary depending on factors such as material, usage, and maintenance. On average, clay or cast iron pipes can last up to 50-60 years, while PVC pipes can last up to 100 years. Regular inspections and maintenance can help determine when a replacement may be necessary.
Q5: Can I Claim Insurance for Sewer Line Replacement?
A5: In most cases, homeowner’s insurance does not cover the cost of sewer line replacement. However, some policies may offer coverage for damages caused by a damaged sewer line. It is best to check with your insurance provider to see what is included in your policy.
Conclusion
Replacing a damaged sewer line can be a challenging but rewarding project that ensures the long-term functionality and safety of your property. By carefully following the outlined steps on how to replace sewer line, using the proper tools, and adhering to local regulations, you can successfully replace a sewer line and prevent future plumbing issues.
Remember to prioritize safety, inspect your sewer system regularly, and address any signs of wear or damage promptly to avoid costly repairs down the line. When in doubt, do not hesitate to consult a professional plumber to ensure the best results for your project. Maintaining your sewer line is an essential part of property upkeep, contributing to a healthier and more efficient plumbing system for years to come.
About the Author
Adrian Green is a passionate woodworking enthusiast who has dedicated his life to the craft of woodworking. From his early days working alongside his father in the family woodworking shop, Adrian has honed his skills and developed a deep love for creating beautiful, functional pieces with his hands. As the voice behind The Woodenify Blog, he shares his knowledge, tips, and inspiration with fellow woodworkers of all skill levels, helping them build confidence in their abilities while learning new techniques.
Professional Focus
- Specializes in DIY woodworking projects, from furniture making to home décor.
- Provides step-by-step guides, tips, and practical tutorials for woodworkers at any skill level.
- Focused on empowering readers with confidence and knowledge through easy-to-follow instructions and hands-on techniques.
- Passionate about building a community where makers can share, learn, and grow together in the world of woodworking.
Education History
University of Craft and Design – Bachelor of Fine Arts (BFA) in Woodworking and Furniture Design
Woodworking Apprenticeships – Gained extensive hands-on experience through various workshops and mentorships with seasoned craftsmen, refining carpentry and furniture-making skills.
Expertise
- DIY woodworking, carpentry, furniture making, and home décor projects.
- Creating clear, accessible tutorials and guides for beginner to advanced woodworkers.
- Helping readers experience the satisfaction and fulfillment of turning raw materials into stunning finished products.