
Dealing with a sewer backup can be a challenging and unpleasant experience, especially when it affects concrete surfaces. Proper cleaning and sanitization are crucial to ensure the area is safe and free from harmful bacteria or odors.
This guide on how to clean concrete after sewer backup will walk you through the essential steps to effectively clean concrete after a sewer backup, leaving the surface restored and hygienic. Whether it’s your garage floor, basement, or driveway, following the right procedures can make a significant difference in the cleanup process.
Why is It Essential to Clean Concrete After a Sewer Backup?
Cleaning concrete after a sewer backup is crucial for several reasons. First and foremost, sewage contains harmful bacteria and pathogens that can pose health hazards if left untreated. These microorganisms can thrive in porous surfaces like concrete, making it an ideal breeding ground. Failure to properly clean the area can also lead to foul odors and mold growth, which can cause respiratory issues.
Moreover, concrete surfaces are highly absorbent and can easily retain sewage water, causing discoloration and damage over time. By cleaning the area promptly, you can prevent long-term structural issues and save on costly repairs.
10 Steps on How to Clean Concrete After Sewer Backup
Step 1: Safety First
Before beginning the cleaning process, prioritize your safety and that of others in the area. Wear appropriate protective gear, including rubber gloves, waterproof boots, safety goggles, and a face mask to prevent exposure to harmful bacteria or pathogens. Ensure the area is well-ventilated by opening windows or using fans to reduce the concentration of airborne contaminants.
If necessary, warning signs or barricades should be placed around the affected area to keep others away during the cleanup. Taking these precautions will help minimize health risks and create a safer environment as you proceed with the cleaning process.
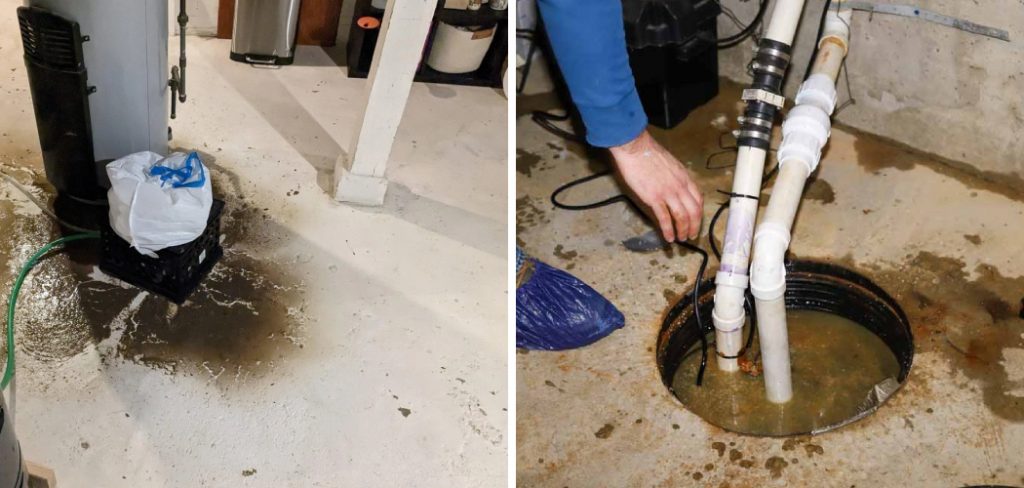
Step 2: Remove Excess Sewage Water
The next step involves removing as much sewage water as possible from the affected area. Start by using a wet/dry vacuum or a sump pump to extract standing water efficiently. For smaller amounts of sewage, a mop and bucket may suffice. Be sure to properly dispose of the wastewater according to local regulations to avoid further contamination.

If the sewage water has spread over a large area, consider consulting a professional cleanup service for assistance. Removing the excess water quickly is crucial to limit the spread of bacteria and prevent further damage to the concrete.
Step 3: Prepare the Cleaning Solution
To effectively clean concrete after a sewer backup, you will need to prepare a strong cleaning solution. Mix equal parts of hot water and white vinegar in a bucket or use a commercial disinfectant recommended for sewage cleanup.
Alternatively, you can also mix one cup of bleach with one gallon of water for stronger sanitization. Whichever solution you choose, make sure to wear gloves and avoid mixing bleach with other cleaners to prevent chemical reactions.
Step 4: Scrub the Area
Once the cleaning solution is prepared, use a stiff-bristled brush to scrub the affected concrete surface thoroughly. Focus on removing any visible stains, grime, or debris that may have been left behind by the sewage. Work in small sections and apply consistent pressure to ensure the cleaning solution penetrates the porous surface of the concrete.
Be diligent during this step, as properly scrubbing the area is essential for eliminating bacteria and preventing unpleasant odors or potential mold growth. Rinse the brush frequently in clean water to avoid spreading contaminants back onto the surface. Take your time to cover the entire affected area for a thorough cleaning.
Step 5: Rinse the Area
After scrubbing, rinse the concrete surface with clean water to remove any remaining debris or cleaning solution. You can use a garden hose or a pressure washer for larger areas. Be sure to wash away all traces of the cleaning solution as it can be corrosive to some surfaces if left to dry.
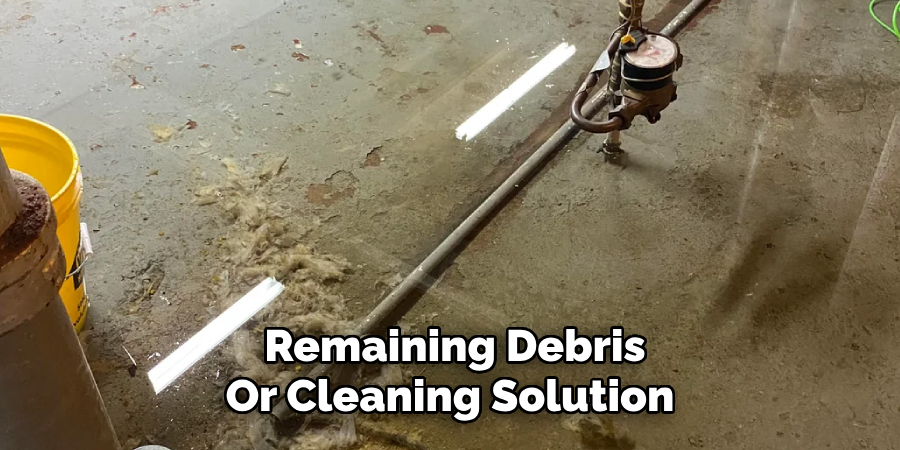
For stubborn stains, you may need to repeat the scrubbing and rinsing process until the area is visibly clean. Allow the surface to air-dry completely before moving on to the next step.
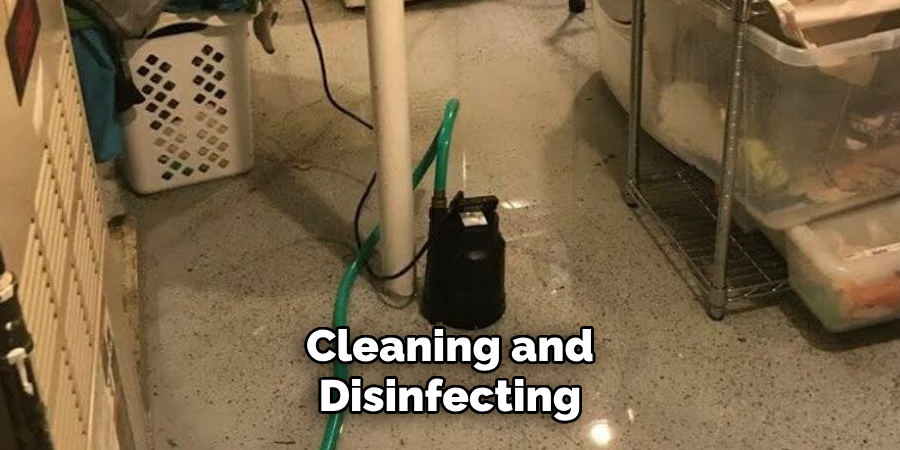
Step 6: Disinfect the Area
Disinfecting is an essential step in cleaning concrete after sewage backup. Use a disinfectant spray or wipe to cover the entire affected area, including hard-to-reach corners and crevices. Allow the disinfectant to sit for a few minutes before wiping off excess product with a clean cloth or paper towel. This will help kill any remaining bacteria and prevent future contamination.
You can also opt for a natural disinfectant such as tea tree oil, which has strong antimicrobial properties. Mix one teaspoon of tea tree oil with one cup of water and spray it onto the affected area. Let it sit for at least 10 minutes before wiping clean.
Step 7: Deodorize the Area
Even after cleaning and disinfecting, there may still be lingering odors from the sewage backup. To eliminate these unpleasant smells, sprinkle baking soda or activated charcoal over the concrete surface and let it sit for several hours to absorb any remaining odors. Then, vacuum or sweep up the powder and dispose of it properly.
You can also use an odor-neutralizing spray or add a few drops of essential oils to your cleaning solution for a fresh scent.
Step 8: Dry the Area Properly
Properly drying the concrete surface is crucial after cleaning and disinfecting. Use fans or open windows to increase airflow and speed up the drying process. If necessary, use a dehumidifier in enclosed spaces with poor ventilation.
Be patient during this step, as allowing the area to dry completely will help prevent future mold growth and maintain a clean environment.
Step 9: Consider Sealing the Area
If you want to take extra precautions, consider sealing the cleaned area with an epoxy or polyurethane sealant specifically designed for concrete surfaces. This will create an additional barrier against future contamination and make the surface easier to clean in the future.
It is important to note that sealing should only be done on completely dry surfaces, so make sure the area is thoroughly dried before applying the sealant. Follow the manufacturer’s instructions for proper application and drying times.
Step 10: Regularly Monitor and Maintain
After completing the cleaning process, it is essential to regularly monitor and maintain the affected area. Keep an eye out for any signs of mold growth or foul odors, which may indicate that a deeper cleaning is needed. Also, be sure to address any plumbing issues that may have caused the sewage backup in the first place. With proper maintenance, you can prevent future incidents and keep your concrete surfaces clean and sanitary.
Following these steps on how to clean concrete after sewer backup and taking the necessary precautions can help effectively clean concrete after a sewer backup. It is important to remember to wear protective gear, properly dispose of waste and follow safety guidelines throughout the cleaning process. By being diligent and thorough, you can successfully restore your concrete surfaces and maintain a healthy environment. So, always be prepared and informed to effectively handle a sewage backup situation. Let’s keep our homes safe and clean!
Additional Tips
- Consider using a wet/dry vacuum to remove excess water before cleaning the surface. This will make the cleaning process easier and more effective.
- Avoid using high-pressure washers on concrete surfaces as they can cause damage or push contaminants further into the porous surface.
- In case of extensive damage or persistent odors, it is best to seek professional help for thorough cleaning and restoration. Remember to document any damages for insurance purposes if necessary.
- Regularly disinfecting and maintaining your plumbing system can help prevent future sewage backups.
Frequently Asked Questions
Q1: How Long Does It Take for the Concrete to Dry After Cleaning?
A1: The drying time will depend on various factors such as humidity levels, air circulation, and the type of surface. It can take anywhere from a few hours to a couple of days for the concrete to completely dry. It is essential to ensure the surface is completely dry before sealing or using it to prevent future issues.
Q2: Can I Use Bleach to Clean Concrete After Sewage Backup?
A2: While bleach can effectively disinfect and remove stains, it can also be corrosive to some surfaces and produce harmful fumes. It is best to use a cleaner specifically designed for concrete surfaces or a natural alternative such as vinegar or tea tree oil.
Q3: How Often Should I Clean My Concrete Surfaces After a Sewage Backup?
A3: Regular monitoring and cleaning of concrete surfaces after a sewage backup is recommended, especially in areas where there may be recurring issues. Regular maintenance can help prevent further contamination and maintain a clean environment. Depending on the severity of the backup, it may be necessary to clean every few months or once a year.
Conclusion
Cleaning concrete after a sewer backup requires careful attention to detail and thoroughness to ensure a safe and sanitary environment. By following these steps and additional tips on how to clean concrete after sewer backup, you can effectively clean and maintain your concrete surfaces after a sewage backup incident. Remember to always prioritize safety and proper disposal of waste throughout the process.
Stay informed, prepared, and proactive to prevent future issues and keep your home clean and healthy. So don’t wait, start cleaning now! Happy cleaning!
About the Author
Adrian Green is a passionate woodworking enthusiast who has dedicated his life to the craft of woodworking. From his early days working alongside his father in the family woodworking shop, Adrian has honed his skills and developed a deep love for creating beautiful, functional pieces with his hands. As the voice behind The Woodenify Blog, he shares his knowledge, tips, and inspiration with fellow woodworkers of all skill levels, helping them build confidence in their abilities while learning new techniques.
Professional Focus
- Specializes in DIY woodworking projects, from furniture making to home décor.
- Provides step-by-step guides, tips, and practical tutorials for woodworkers at any skill level.
- Focused on empowering readers with confidence and knowledge through easy-to-follow instructions and hands-on techniques.
- Passionate about building a community where makers can share, learn, and grow together in the world of woodworking.
Education History
University of Craft and Design – Bachelor of Fine Arts (BFA) in Woodworking and Furniture Design
Woodworking Apprenticeships – Gained extensive hands-on experience through various workshops and mentorships with seasoned craftsmen, refining carpentry and furniture-making skills.
Expertise
- DIY woodworking, carpentry, furniture making, and home décor projects.
- Creating clear, accessible tutorials and guides for beginner to advanced woodworkers.
- Helping readers experience the satisfaction and fulfillment of turning raw materials into stunning finished products.