
Installing a sewer line is a crucial aspect of ensuring proper wastewater management in residential, commercial, or industrial settings. Whether you’re replacing an old line or setting up a new connection, the process requires careful planning, the right tools, and compliance with local building codes.
This guide on how to install a sewer line will walk you through the key steps involved, providing tips to help you complete the installation efficiently and safely.
Why Install a Sewer Line?
A properly installed sewer line is essential for maintaining hygiene and ensuring efficient wastewater disposal. It serves as the main pathway for removing sewage and waste from your property transporting it safely to either a municipal sewer system or a septic tank. Without a functional sewer line, there is a risk of blockages, leaks, or backups, which can lead to unpleasant odors, property damage, and potential health hazards.
Additionally, installing or upgrading a sewer line can improve the value of your property and ensure that your plumbing system complies with current building and environmental regulations. Whether you’re building a new structure or updating an outdated system, the installation of a sewer line is a critical investment in the functionality and safety of your property.
Needed Materials
Before starting the installation process, it’s important to gather all the necessary materials and tools. These may include:
- Permits and Approvals From Local Authorities
- Blueprints or Site Plans of Your Property
- Digging Equipment (Such as Shovels, Excavators, or Backhoes)
- Pipe Materials (Pvc, Clay, or Cast Iron)
- Couplings, Fittings, and Connectors
- Adhesives and Sealants
- Hangers and Supports
- Gravel or Sand for Backfilling
- Leveling Tools (Such as a Laser Level)
- Safety Gear (Gloves, Goggles, and Boots)
8 Steps on How to Install a Sewer Line
Step 1: Obtain Permits and Approvals

Before you begin any physical work, it’s essential to obtain the necessary permits and approvals from your local authorities. Start by contacting your city’s building or public works department to ensure that your project complies with zoning laws, building codes, and environmental regulations. These approvals are crucial to avoid legal issues and fines.
Depending on your area, you may also need to provide site plans or blueprints outlining the proposed sewer line installation. Once all the required permits are secured, you can proceed with confidence, knowing that your project adheres to local requirements.
Step 2: Plan the Layout of Your Sewer Line
Based on your site plans and blueprints, plan the layout of your sewer line, including the depth and location of the mainline, any lateral connections, and cleanouts. Consult a professional plumber or engineer if you need assistance with this step. This planning stage is crucial as it will determine the efficiency and longevity of your sewer line.
You should also mark the location of any existing utility lines, such as gas, water, or electricity, to avoid damaging them during excavation.
Step 3: Excavation
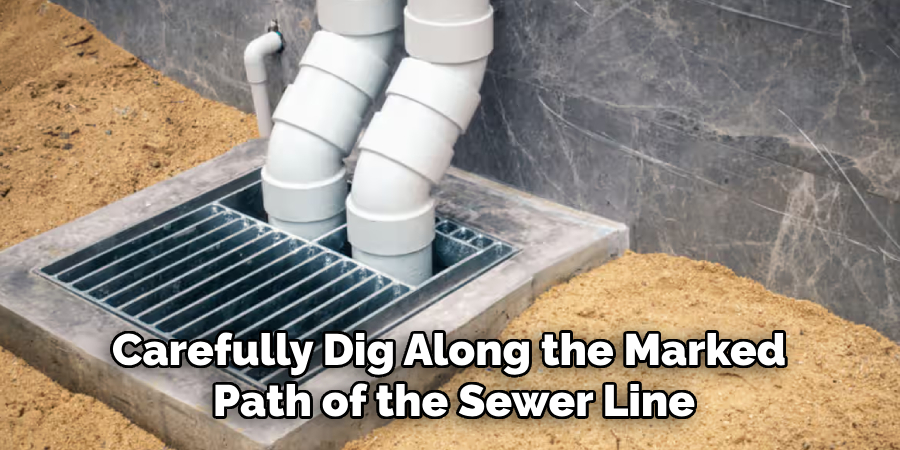
Once the layout has been planned, begin the excavation process. Use the appropriate digging equipment, such as shovels, excavators, or backhoes, to carefully dig along the marked path of the sewer line. The trench should be wide enough to work in and deep enough to ensure the sewer line maintains the proper slope, typically a gradient of 1/4 inch per foot, to allow for efficient drainage.
Take care to keep the sides of the trench stable to prevent cave-ins, and follow all safety protocols, including wearing protective gear. If the trench exceeds a certain depth, shoring may be required to prevent collapse. Additionally, ensure that any removed soil is placed far enough from the edge of the trench to avoid accidental falls or interference during the installation process.
Step 4: Install the Mainline
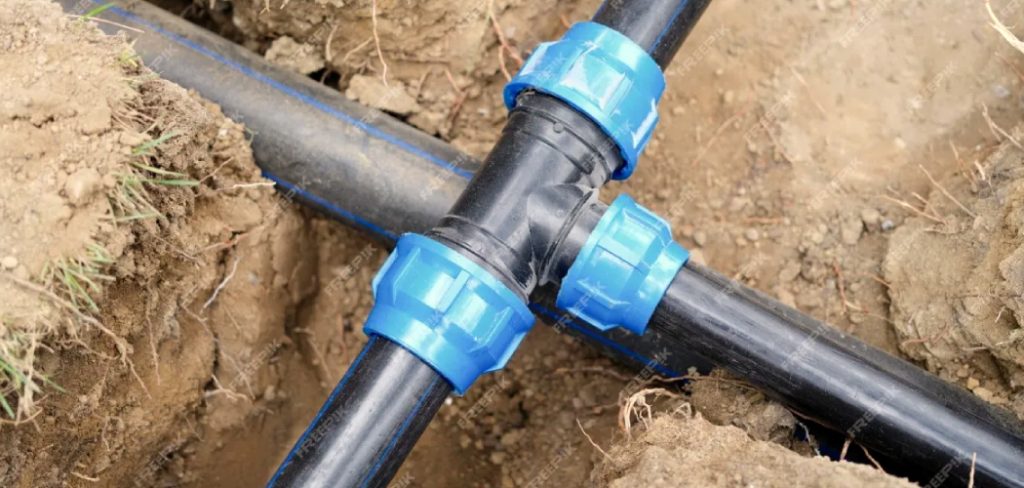
Once the trench is excavated to the necessary depth, begin laying and connecting the pipe for the mainline. Use couplings, fittings, and connectors as needed to connect sections of pipe together, following any specific instructions from the manufacturer. Make sure that all connections are secure and watertight to prevent leaks.
You may also need to cut or drill through obstacles such as tree roots or rocks while installing the mainline. In these situations, take caution not to damage the pipes or alter their slope.
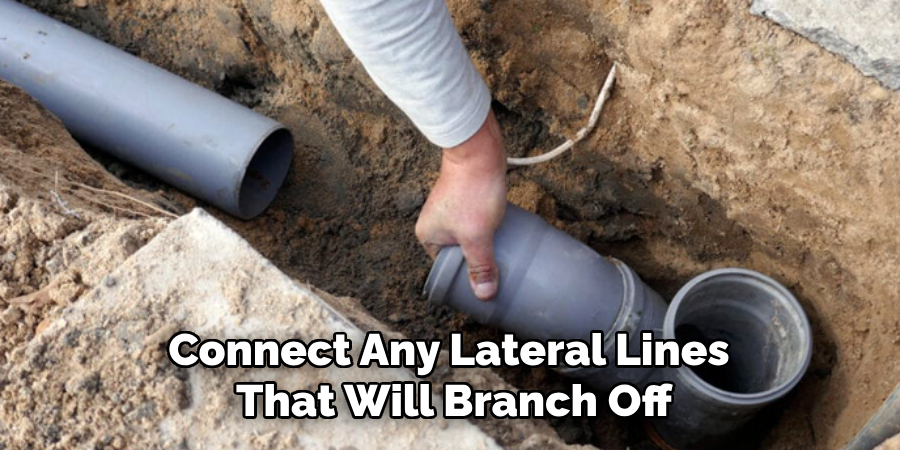
Step 5: Connect Lateral Lines and Cleanouts
With the mainline in place, connect any lateral lines that will branch off to other parts of the property, such as bathrooms, kitchens, or laundry rooms. Use the appropriate fittings to ensure a secure and watertight connection. It’s important to maintain the proper slope for these lateral lines to ensure smooth flow into the mainline.
Additionally, cleanouts should be installed at strategic locations along the sewer line. Cleanouts are access points that allow for easy inspection, cleaning, and maintenance of the sewer system. Typically, cleanouts are placed where the lateral lines join the mainline, as well as along long stretches of pipe or at changes in direction. Ensure the cleanouts are installed at or slightly above ground level for easy accessibility.
Step 6: Backfill and Compact
Once all the pipes are in place, backfill the trench with gravel or sand to create a stable base for the sewer line. Then, a compactor or tamper is used to compact the soil in layers. The goal is to achieve firm, but not too tight, soil around the pipes. This step will prevent future settling of the ground that could cause damage to the sewer line.
The last layer of backfill should be topsoil to promote plant growth and prevent erosion.
Step 7: Check for Proper Slope and Connections
Before completing the installation, it’s essential to verify that the sewer line has been installed with the correct slope and that all connections are secure and watertight. Use leveling tools, such as a laser level or builder’s level, to ensure that the pipes maintain a consistent gradient of 1/4 inch per foot or as recommended by local building codes. This slope is critical for allowing gravity to move wastewater efficiently through the system.
Inspect each joint and connection closely, checking for any signs of gaps, misalignments, or leaks. If you identify any issues, address them immediately by resealing or readjusting the pipes as necessary. Additionally, you may consider conducting a pressure or leak test before covering the pipes with backfill to ensure the entire system is functioning correctly. Once you’re confident that the slope and all connections are accurate, you can proceed with the final steps of the installation process.
Step 8: Cover the Trench and Restore the Site
Once all inspections are completed and any necessary adjustments have been made, cover the trench with topsoil. Use a rake to smooth out any uneven areas and keep the soil compacted. If desired, you can also plant grass or other vegetation over the trench once it has settled.
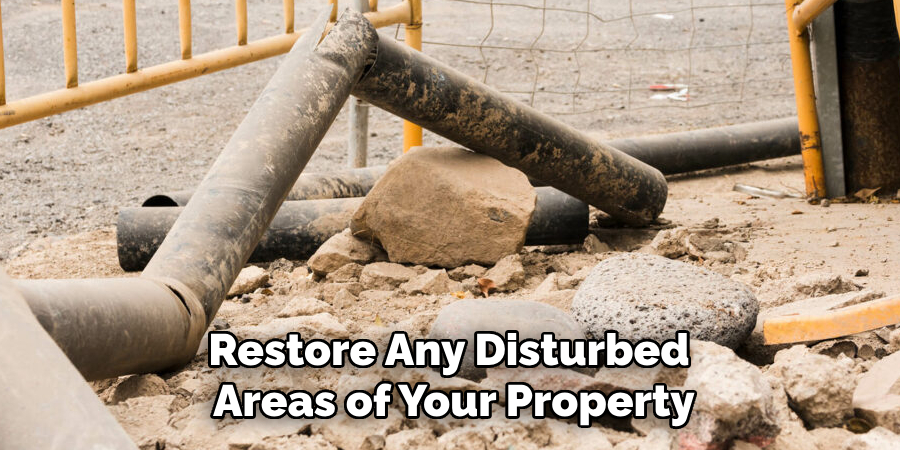
Finally, restore any disturbed areas of your property, such as driveways or sidewalks, to their original condition. This may involve repaving or replacing sections that were removed during excavation.
Following these steps on how to install a sewer line will ensure a successful and long-lasting sewer line installation. Remember to always follow local building codes and regulations, consult professionals when necessary, and prioritize safety throughout the process. With proper planning and execution, your new sewer line will efficiently remove wastewater from your property for many years to come.
Tips for Maintenance
Proper maintenance is critical to keep your sewer line functioning correctly. Consider implementing these tips to avoid potential issues:
- Regularly inspect cleanouts for any signs of clogs or buildup.
- Monitor the health of trees near your sewer line as their roots can cause damage over time.
- Avoid disposing of grease, oil, wipes, or other non-biodegradable items down drains to prevent clogs.
- Schedule routine inspections by a professional plumber to catch any potential problems early on.
- If you experience recurring clogs or slow drainage, consider using an enzyme-based drain cleaner to break down organic materials in the pipes.
By following these maintenance tips and addressing any issues promptly, you can help extend the lifespan of your sewer line and avoid costly repairs in the future.
Frequently Asked Questions
Q1: How Long Does It Take to Install a Sewer Line?
A1: The installation time can vary depending on factors such as the length of the sewer line, soil conditions, and any obstacles encountered during excavation. On average, a professional contractor can complete a sewer line installation in 3-5 days.
Q2: Can I Install a Sewer Line Myself?
A2: Installing a sewer line requires specialized equipment, knowledge, and experience. It’s best to leave this job to licensed professionals who are trained and equipped to handle potential hazards and ensure proper installation.
Q3: How Much Does It Cost to Install a Sewer Line?
A3: The cost of installing a sewer line can vary significantly depending on factors such as the length of the pipe, soil conditions, and labor costs in your area. On average, homeowners can expect to pay between $2,500 and $6,000 for a standard sewer line installation. However, this cost can increase if any unexpected issues or obstacles are encountered during the process. It’s best to consult with several contractors for accurate estimates before starting the project.
Conclusion
Installing a sewer line may seem like a daunting task, but with proper planning and execution, it can be completed efficiently and effectively. By following these steps and tips on how to install a sewer line, you can ensure a successful installation that will serve your property for many years to come. So don’t hesitate to invest in a new sewer line if needed – it will ultimately save you time and money in the long run! Happy piping!
About the Author
Adrian Green is a passionate woodworking enthusiast who has dedicated his life to the craft of woodworking. From his early days working alongside his father in the family woodworking shop, Adrian has honed his skills and developed a deep love for creating beautiful, functional pieces with his hands. As the voice behind The Woodenify Blog, he shares his knowledge, tips, and inspiration with fellow woodworkers of all skill levels, helping them build confidence in their abilities while learning new techniques.
Professional Focus
- Specializes in DIY woodworking projects, from furniture making to home décor.
- Provides step-by-step guides, tips, and practical tutorials for woodworkers at any skill level.
- Focused on empowering readers with confidence and knowledge through easy-to-follow instructions and hands-on techniques.
- Passionate about building a community where makers can share, learn, and grow together in the world of woodworking.
Education History
University of Craft and Design – Bachelor of Fine Arts (BFA) in Woodworking and Furniture Design
Woodworking Apprenticeships – Gained extensive hands-on experience through various workshops and mentorships with seasoned craftsmen, refining carpentry and furniture-making skills.
Expertise
- DIY woodworking, carpentry, furniture making, and home décor projects.
- Creating clear, accessible tutorials and guides for beginner to advanced woodworkers.
- Helping readers experience the satisfaction and fulfillment of turning raw materials into stunning finished products.