
Are you tired of waiting for hot water every time you turn on the tap? Don’t worry; installing a recirculating pump on your tankless water heater can help solve this problem.
How to install recirculating pump on tankless water heater is an effective way to ensure instant hot water availability while reducing water wastage. This setup helps improve the efficiency of your hot water system by maintaining a steady flow of heated water through your pipes, eliminating the delay often experienced with tankless models. Whether you want to save time, enhance convenience, or make your home more eco-friendly, adding a recirculating pump is a practical upgrade.
This guide will walk you through the necessary tools, components, and steps to install a recirculating pump on your tankless water heater.
What Are the Benefits of Installing a Recirculating Pump?
Before we dive into the installation process, let’s first understand the benefits of having a recirculating pump on your tankless water heater.
- Instant Hot Water Availability: As mentioned earlier, a recirculating pump ensures hot water is readily available at any faucet in your home. No more waiting for several minutes for the water to heat up! This is especially useful during colder seasons when it takes longer for hot water to flow through pipes.
- Reduced Water Wastage: Without a recirculating pump, cold water often sits stagnant in your pipes until you turn on the tap, leading to unnecessary wastage. With this setup, the pump circulates hot water through your pipes, reducing wasted water while waiting for it to heat up.
- Energy Savings: Since you no longer have to wait for hot water, you’ll also save on energy costs as there will be less demand for heated water from your tankless heater. This is especially beneficial if you have a large household that requires frequent use of hot water.
What Will You Need?
Now that you understand the benefits of installing a recirculating pump, let’s look at what materials and tools are required for this project:
- Recirculating Pump Kit: This includes the pump, valves, and other necessary components for installation. You can purchase a kit from your local hardware store or online.
- Pipe Cutter: You’ll need this to cut and adjust the length of pipes used in the setup.
- Screwdriver: A basic screwdriver will be needed to secure any mounting brackets for the pump.
- Adjustable Wrench: This is for tightening any bolts or nuts during installation.
- Teflon Tape: This is essential for creating watertight seals between pipe connections.
Once you have all the necessary tools and materials, follow these steps to install a recirculating pump on your tankless water heater.
10 Easy Steps on How to Install Recirculating Pump on Tankless Water Heater
Step 1: Shut off Water Supply
Before starting the installation process, ensuring the water supply to your tankless water heater is completely turned off is crucial. Locate the main water valve connected to the system and turn it clockwise until it is fully closed. This step is
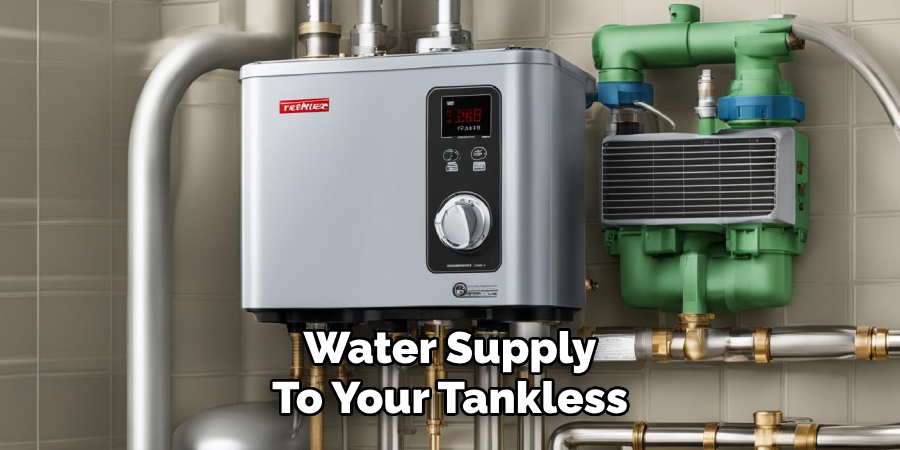
essential to prevent water leakage or accidental flooding during installation. After shutting off the water supply, open a nearby faucet to relieve any remaining water pressure in the pipes. This will allow you to work on the system safely and avoid spills. Double-check that the water is no longer flowing to ensure a secure and dry setup area before proceeding to the next step.
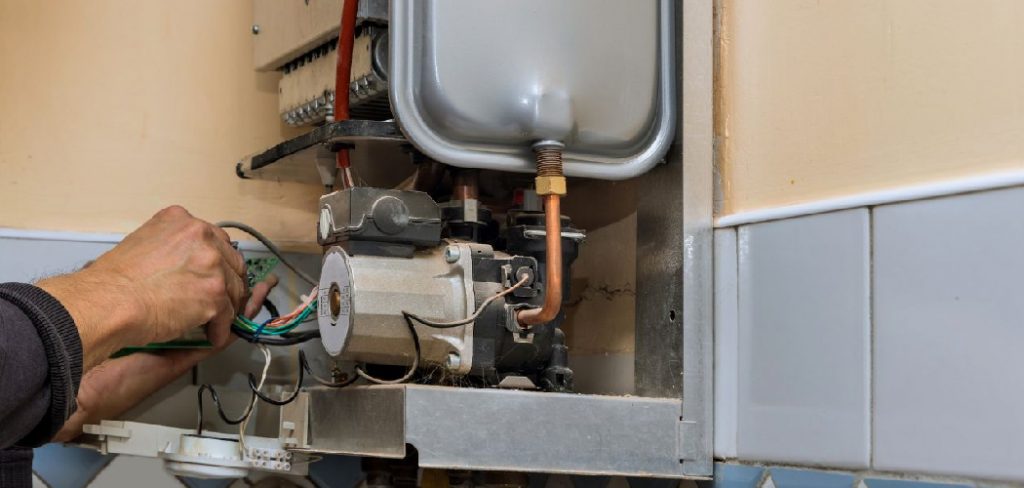
Step 2: Disconnect Power Supply
Safety is paramount when working with any electrical appliance. Begin by turning off the power supply to your tankless water heater. Locate the circuit breaker that controls the unit and switch it to the “off” position. This step is critical to avoid the risk of electrical shock during installation. If your system includes a power cord, unplug it from the power outlet as an additional safety measure. Ensure there is no power flowing to the system before proceeding.
Step 3: Determine Location for Pump Installation
The ideal location for your recirculating pump is near the water heater’s outlet, where hot water enters your home’s plumbing. This placement ensures a shorter distance for the hot water to travel, reducing wait times and energy consumption. You can install the pump at each outlet for even faster results if you have multiple units. Once you’ve identified the location, use a mounting bracket or strap to secure the pump.
Step 4: Install Check Valves
Check valves play a critical role in controlling the direction of water flow within your plumbing system and ensuring the recirculating pump operates efficiently. Before installation, identify the direction of water flow in your system, as the check valve must align with this flow. Most check valves feature an arrow or marking to indicate the correct direction.
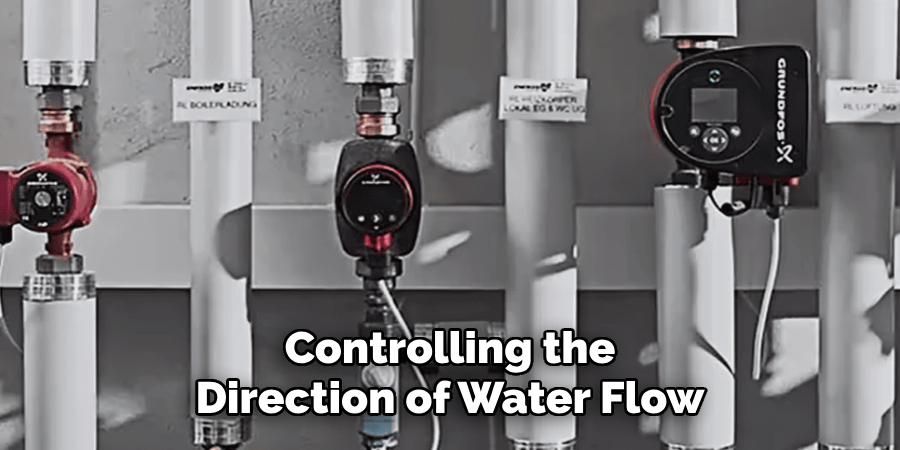
Once you’ve determined the proper orientation, attach the check valve to the appropriate plumbing section, typically near the pump or on the outlet side of the water heater. Use pipe thread sealant or plumber’s tape on threaded connections to create a watertight seal and prevent leaks. Secure the valve firmly but avoid overtightening, which can damage the threads or valve.
Step 5: Connect the Pump to the Power Source
After securing the pump and installing the check valves, the next step is to connect the recirculating pump to a power source. Ensure the power supply matches the pump’s voltage requirements as specified in the manufacturer’s instructions. If the pump includes a power cord, plug it into a nearby grounded outlet. For pumps that require direct wiring, follow safety precautions by shutting off the electricity at the circuit breaker before beginning.
Carefully connect the wires according to the color-coding or wiring diagram provided by the manufacturer—typically, this involves connecting the live, neutral, and ground wires. Once connected, restore the power and test the pump to ensure it operates smoothly. Always prioritize safety by double-checking all connections and properly isolating water and electrical components.
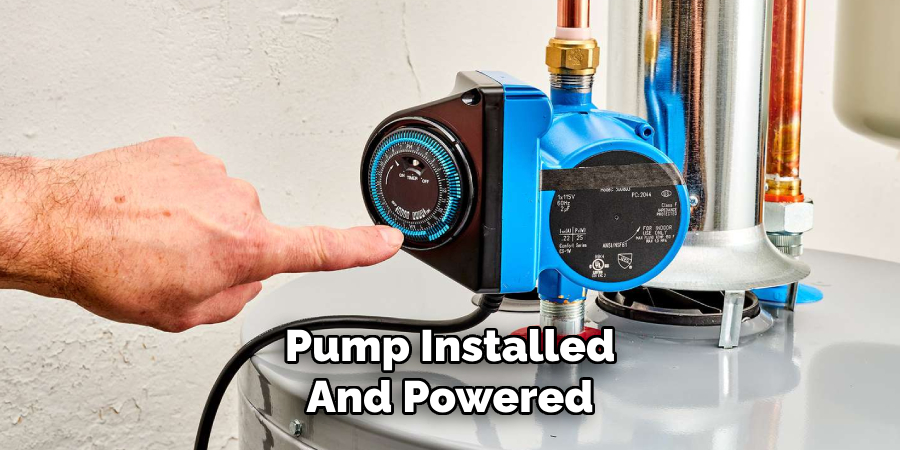
Step 6: Test the System for Proper Operation
With the recirculating pump installed and powered, it’s time to test the system to ensure everything functions correctly. Begin by turning on the pump and checking for unusual noises or vibrations that may indicate an issue. Observe the water flow through the system to confirm it is circulating as expected. Inspect all connections and fittings for leaks, tightening them if necessary.
If the system includes a thermostat or timer, adjust the settings to your desired operation schedule and ensure these features are working efficiently. Monitor the system over a short period to verify consistent performance. Address any irregularities promptly to prevent potential damage. A thorough test ensures the long-term reliability and efficiency of your recirculating pump.
Step 7: Perform Regular Maintenance
Regular maintenance is essential to ensure the longevity and efficiency of your recirculating pump. Begin by periodically inspecting the pump and system components for wear, corrosion, or debris buildup. Clean any visible grime or residue from the pump and surrounding areas, as even minor blockages can impact performance over time. Check all connections, seals, and fittings to confirm they remain secure and leak-free.
Step 8: Replace Worn or Damaged Components
Over time, specific components of your recirculating pump system may experience wear or damage, which can negatively affect performance. Regularly assess critical parts such as seals, gaskets, and bearings for deterioration. If you notice cracks, leaks, or unusual noises from the pump, it may be time to replace these components. Always use manufacturer-recommended parts to ensure compatibility and optimal function. Promptly addressing worn or damaged elements will help maintain the efficiency and reliability of your system.
Step 9: Monitor System Performance
Consistently monitoring the performance of your recirculating pump system is key to identifying potential issues before they become significant problems. Monitor essential indicators such as flow rate, pressure, and energy consumption. Sudden changes in these parameters could signal system blockages, leaks, or inefficiencies. Implement a regular schedule to review system metrics and record any variations over time. By staying vigilant, you can ensure that your pump operates at peak performance and address problems promptly to avoid costly repairs or downtime.
Step 10: Schedule Professional Inspections
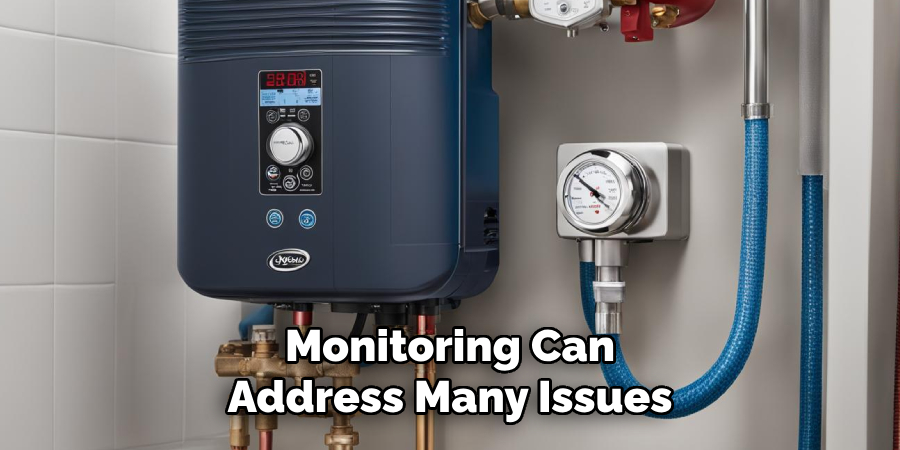
While regular maintenance and monitoring can address many issues, scheduling periodic professional inspections is essential for ensuring the long-term performance of your recirculating pump system. Certified technicians have the expertise to identify hidden problems, perform detailed diagnostics, and recommend any necessary repairs or upgrades. These inspections can also help verify that your system complies with industry standards and operates efficiently. Aim to have a professional inspection at least once a year or as recommended by the manufacturer to extend the lifespan of your system and avoid unexpected breakdowns.
By following these steps and implementing regular maintenance and inspections, you can ensure your recirculating pump system’s proper functioning, efficiency, and longevity.
Conclusion
How to install recirculating pump on tankless water heater requires careful planning, attention to detail, and adherence to the manufacturer’s instructions.
Following the outlined steps, including proper setup, regular maintenance, and professional inspections, you can enjoy the benefits of improved hot water accessibility, reduced water waste, and greater energy efficiency. Investing time and effort into the installation and upkeep of your system ensures optimized performance and extends the lifespan of both your pump and water heater.
With the right approach, your recirculating pump system can provide convenience and reliability for years to come.
About the Author
Adrian Green is a passionate woodworking enthusiast who has dedicated his life to the craft of woodworking. From his early days working alongside his father in the family woodworking shop, Adrian has honed his skills and developed a deep love for creating beautiful, functional pieces with his hands. As the voice behind The Woodenify Blog, he shares his knowledge, tips, and inspiration with fellow woodworkers of all skill levels, helping them build confidence in their abilities while learning new techniques.
Professional Focus
- Specializes in DIY woodworking projects, from furniture making to home décor.
- Provides step-by-step guides, tips, and practical tutorials for woodworkers at any skill level.
- Focused on empowering readers with confidence and knowledge through easy-to-follow instructions and hands-on techniques.
- Passionate about building a community where makers can share, learn, and grow together in the world of woodworking.
Education History
University of Craft and Design – Bachelor of Fine Arts (BFA) in Woodworking and Furniture Design
Woodworking Apprenticeships – Gained extensive hands-on experience through various workshops and mentorships with seasoned craftsmen, refining carpentry and furniture-making skills.
Expertise
- DIY woodworking, carpentry, furniture making, and home décor projects.
- Creating clear, accessible tutorials and guides for beginner to advanced woodworkers.
- Helping readers experience the satisfaction and fulfillment of turning raw materials into stunning finished products.