
How do you vent your tankless water heater? Well, you’ve come to the right place. In this guide, we will walk you through the process of properly venting a tankless water heater.
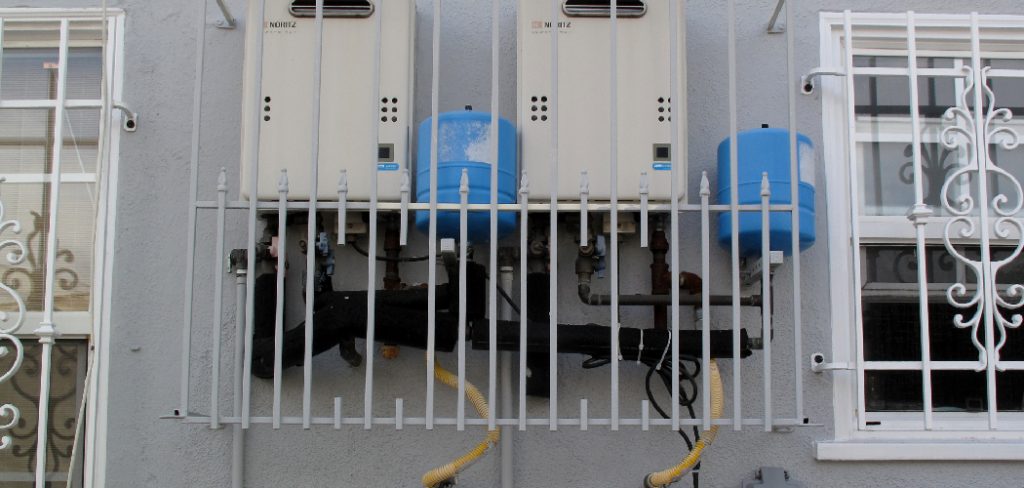
How to vent a tankless water heater is an essential step to ensure the safety, efficiency, and longevity of the unit. Tankless water heaters produce exhaust gases during operation, which must be efficiently expelled from the home to prevent the buildup of harmful fumes. Additionally, proper venting helps maintain optimal performance by preventing issues like overheating or backdrafts.
Whether installing a new unit or upgrading an existing one, understanding the venting requirements and processes for your tankless water heater is crucial to achieving a secure and reliable setup.
What Are the Benefits of Venting a Tankless Water Heater
Before we dive into the steps for venting a tankless water heater, let’s first understand why it is necessary. Here are some benefits of proper venting:
- Safety: As mentioned, venting removes harmful gases and fumes from your home, making it safer for you and your family.
- Efficiency: A well-vented water heater emits combustion gases quickly, leading to more efficient operation and lower energy bills.
- Longevity: Properly vented units experience less strain and stress on internal components, increasing their lifespan.
Once you understand the benefits of venting, let’s move on to the steps for venting a tankless water heater.
What Will You Need?
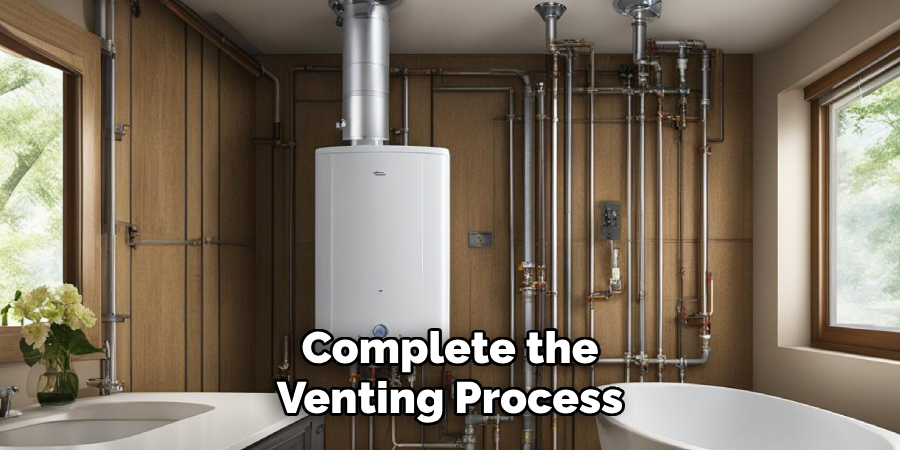
Here is a list of items you will need to complete the venting process:
- Tankless water heater
- Appropriate vent pipe and fittings for your unit (consult the manufacturer’s instructions)
- Vent cap or termination kit
- Screwdriver or drill (depending on the type of fasteners used)
- Hanger straps or brackets (if required by local building codes)
Once you have gathered all the necessary materials, follow these steps to vent your tankless water heater.
9 Easy Steps on How to Vent a Tankless Water Heater
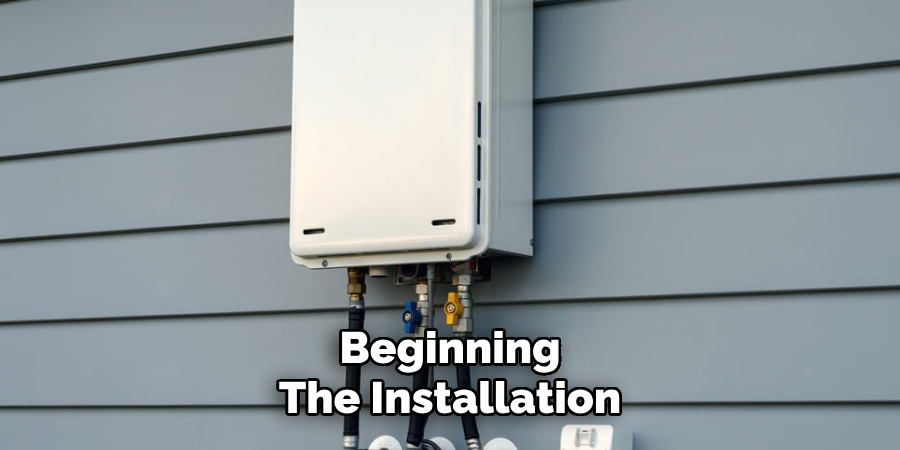
Step 1: Determine Venting Requirements
Before beginning the installation, it is essential to familiarize yourself with the specific venting requirements for your tankless water heater. Start by consulting the manufacturer’s manual or guidelines, as each model may have unique specifications for vent type, size, and material. Proper venting is critical to ensure the efficient and safe operation of the unit.
Evaluate whether the unit requires direct venting, which uses two separate pipes for intake air and exhaust gases, or a single vent pipe system. Additionally, confirm whether the venting system needs to run vertically, horizontally, or in combination to suit your installation site. Depending on your home’s layout and building codes, you may also need to consider clearance requirements and the maximum allowable vent pipe length.
Step 2: Gather the Necessary Tools and Materials
Before proceeding with the venting installation, ensure you have all the required tools and materials. Standard tools include a screwdriver, drill, level, measuring tape, and pipe cutter. For materials, you will typically need vent pipes (as specified in the manual), connecting brackets, sealant or adhesive suitable for high temperatures, and any additional fittings required by the venting system. Everything readily available will streamline the installation process and help avoid unnecessary interruptions.
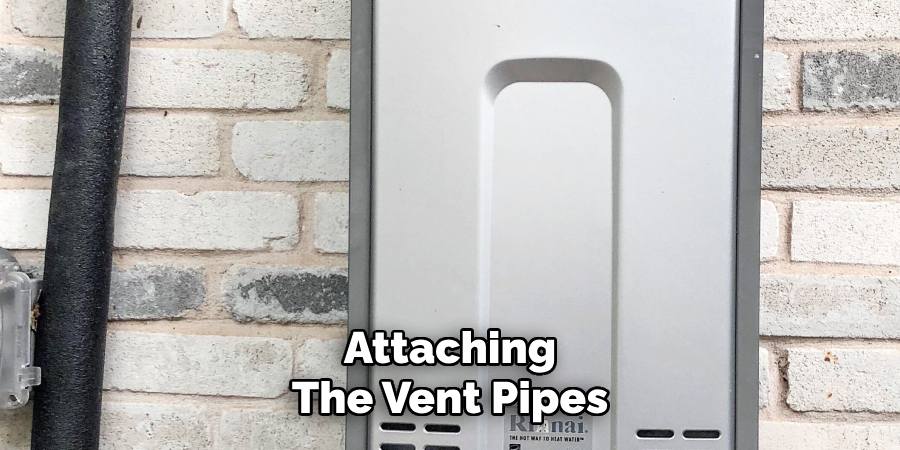
Step 3: Install the Vent Pipes
Begin the installation process by carefully following the manufacturer’s guidelines for attaching the vent pipes. Start at the appliance connection point and work outward, ensuring each section of the pipe is securely joined and properly aligned. Use a level to confirm that the vent pipes are positioned correctly, whether running horizontally, vertically, or both. Apply
high-temperature sealant or adhesive at the joints if specified to prevent leaks. Additionally, secure the pipes with brackets or clamps at appropriate intervals to maintain stability and avoid sagging. Maintaining the required clearances from combustible materials as outlined in the installation manual and building codes is crucial.
Step 4: Install the Vent Cap
Install the vent cap once the vent pipes are securely in place and properly aligned. The vent cap is critical as it prevents debris, rain, and small animals from entering the venting system while allowing exhaust gases to escape safely. Position the vent cap at the termination point of the vent pipes, whether on the roof or an exterior wall. Follow the manufacturer’s instructions for securing the vent cap, ensuring it is tightly fitted and stable. Verify that the vent cap is free from obstructions and that it adheres to local building codes and clearances. This final step completes the venting system installation and ensures proper functionality and safety.
Step 5: Test the Venting System
After completing the venting system installation, it is essential to perform a thorough test to ensure its functionality and safety. Begin by inspecting all connections, fittings, and joints to confirm they are secure and airtight. Next, activate the appliance connected to the venting system and monitor the flow of exhaust gases through the vents. Check for any signs of leaks, obstructions, or unusual noise. Use a carbon monoxide detector to ensure no hazardous fumes escape into the indoor air. Finally, the system must be reviewed against the manufacturer’s guidelines and local building codes for compliance. Proper testing ensures the venting system operates efficiently and safely under normal conditions.
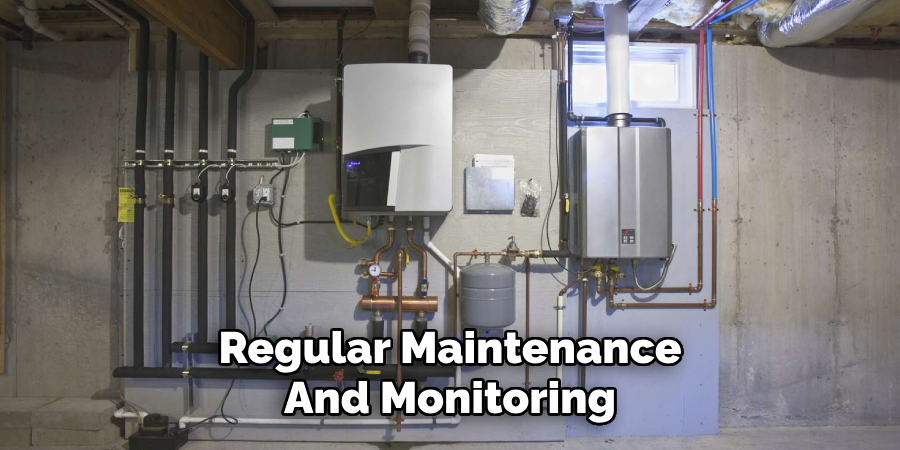
Step 6: Perform Regular Maintenance
Regular maintenance is crucial to ensure your venting system’s long-term efficiency and safety. Schedule periodic inspections to check for debris buildup, corrosion, or damage to the venting components. Clean the interior of the vents to remove any obstructions, such as lint, soot, or nests, which can restrict airflow and reduce performance if your system
includes filters, clean or replace them according to the manufacturer’s recommendations. Additionally, verify that all seals and connections remain airtight and free from wear and tear. Regular maintenance helps to prevent potential hazards and extends the lifespan of your venting system.
Step 7: Address Repairs Promptly
If any issues are identified during inspections or routine maintenance, address repairs promptly to avoid further damage or potential safety risks. Common repairs may include sealing leaks, replacing damaged sections, or securing loose connections. Always use compatible materials and follow the manufacturer’s specifications when performing repairs. If you are unsure about handling repairs, consult a qualified professional to ensure the work is done correctly. Timely repairs enhance the functionality of your venting system and help maintain a safe environment in your home or building.
Step 8: Monitor System Performance
Regularly monitor the performance of your venting system to ensure it is functioning efficiently. Look for unusual noises, reduced airflow, or persistent odors that may indicate underlying issues. Keep track of any changes in system performance and address them immediately to maintain optimal operation. Periodic performance checks help identify minor problems before they escalate, ensuring a safe and efficient system.
Step 9: Schedule Professional Inspections
Even with regular maintenance and monitoring, scheduling professional inspections is crucial to ensure your venting system’s long-term efficiency and safety. A qualified technician can perform a thorough assessment, identifying any hidden issues or wear and tear that may not be noticeable during routine checks. Professional inspections also ensure compliance with safety standards and regulations, giving you peace of mind that your system is in top condition. Aim to have your venting system inspected at least once a year or as the manufacturer recommends.
By following these steps, you can effectively install and maintain a venting system for your home or building.
5 Things You Should Avoid
- Improper Vent Material: Always use the venting materials specified by the manufacturer. Avoid using materials not designed to handle the high temperatures and condensation produced by tankless water heaters, as they can lead to damage or hazardous conditions.
- Insufficient Vent Length: Do not underestimate the required vent length or fail to account for specific clearance measurements. Failure to provide adequate length can result in improper exhaust flow and system inefficiency.
- Ignoring Clearance Requirements: Avoid installing the venting too close to combustible materials or failing to follow clearance distances outlined in the manual. This can pose fire risks and reduce operational safety.
- Mixing Exhaust with Fresh Air Intake: Ensure intake and exhaust vents are adequately separated. Avoid cross-contamination, which can disrupt combustion processes and lead to unsafe carbon monoxide levels.
- Skipping Routine Maintenance: Don’t neglect regular inspection and cleaning of the venting system. The build-up of debris or condensation can block proper airflow, reducing efficiency and potentially causing malfunctions.
By avoiding these common mistakes, you can maintain a safe and efficient venting system for your home or building.
Conclusion
Properly venting a tankless water heater is essential for ensuring its efficiency, safety, and longevity.
You can avoid common mistakes that compromise performance by following the manufacturer’s guidelines, using suitable venting materials, adhering to clearance requirements, and regularly maintaining the system. A well-installed venting system not only protects occupants from harmful gases like carbon monoxide but also supports the optimal functionality of the water heater. Taking the time to plan and execute the venting process carefully is a critical step in protecting both your investment and your safety.
Hopefully, the article on how to vent a tankless water heater has provided you with a better understanding of the key considerations involved in this process.
About the Author
Adrian Green is a passionate woodworking enthusiast who has dedicated his life to the craft of woodworking. From his early days working alongside his father in the family woodworking shop, Adrian has honed his skills and developed a deep love for creating beautiful, functional pieces with his hands. As the voice behind The Woodenify Blog, he shares his knowledge, tips, and inspiration with fellow woodworkers of all skill levels, helping them build confidence in their abilities while learning new techniques.
Professional Focus
- Specializes in DIY woodworking projects, from furniture making to home décor.
- Provides step-by-step guides, tips, and practical tutorials for woodworkers at any skill level.
- Focused on empowering readers with confidence and knowledge through easy-to-follow instructions and hands-on techniques.
- Passionate about building a community where makers can share, learn, and grow together in the world of woodworking.
Education History
University of Craft and Design – Bachelor of Fine Arts (BFA) in Woodworking and Furniture Design
Woodworking Apprenticeships – Gained extensive hands-on experience through various workshops and mentorships with seasoned craftsmen, refining carpentry and furniture-making skills.
Expertise
- DIY woodworking, carpentry, furniture making, and home décor projects.
- Creating clear, accessible tutorials and guides for beginner to advanced woodworkers.
- Helping readers experience the satisfaction and fulfillment of turning raw materials into stunning finished products.